Home » DIY Tutorials » DIY Sewing » Sewing: Clothing » Accessories » Tissue Holder
How’s the bottom of your purse? Is it chaotic down in there? Does it have stray tissues or wadded up mini tissue packages, jammed between your wallet and your cell phone? If so, you’re like the rest of us.
How about de-cluttering your purse a bit?
Let’s place those tissues into a little, no-fuss holder. You might be happier to find a clean tissue, rather than one crusted with ink and lint.
You’ll Need:
Then lay the adhesive layer between the two pieces of fabric (with wrong sides together) and iron to fuse them together.
Save
Then, on one of the 6 1/2 inch ends, fold your bias tape over the edge and sew into place.
Save
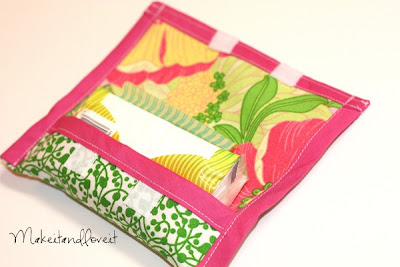
Pin two pieces of velcro right above your bias tape (to the outer fabric) about 1 1/2 inches apart. Sew into place.
Save
Then fold this end up 1 3/4 inches and pin into place.
Save
Fold one end of your bias tape down about 1/4 inch, to help hide the ends as your sewing it into place.
Save
Pin into place on your bottom right corner (with one side of the fold flapped over the inner fabric and the other side of the fold flapped over the outer fabric) and continue to line the edge as you make your way up to the top right corner.
Save
Fold the tape over at a 90 degree angle.
Save
Fold the tape over, to create a neat corner.
Save
Do the same with the next corner and keep pinning your bias tape in place until the very end. Make sure to leave enough of the tape at the end to be able to fold the last 1/4 of an inch under. Then pin the other sides of your velcro right onto the bias tape so that when you stitch the bias tape in place, you can just sew the velcro in at the same time.
Save
Stitch the bias tape and velcro in place.
Save
**I sewed two lines down the top flap, to secure the velcro into place.
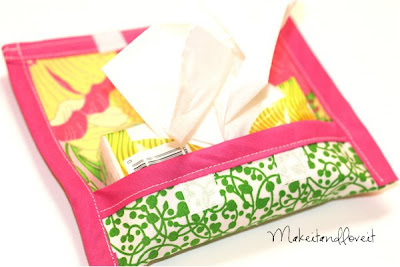
Drop in your tissue package……….
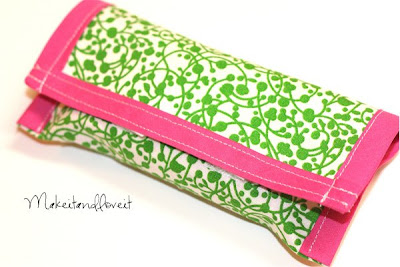
And you’re ready for a cleaner, less cluttered purse.
Simple.

Share via:


