Get ready to be excited! We are thrilled to welcome our newest guest contributor, Tiffany from Making The World Cuter, a blog that is dedicated to making the world cuter, one kid, DIY, yummy treat, or craft at a time! Today, Tiffany is sharing how to create your own DIY Bean Bag Toss game…..which is great for outdoor summer play but also a really great indoor game for all year long!
. . . . .
.
Hi everyone, it’s Tiffany from Making The World Cuter!
I am so excited to be here today! I am going to show how we made a super easy DIY Beanbag Toss game.
I LOVE hosting just about anything at my house, and in the summer we have lots of BBQ’s, ice cream parties, carnivals…you name it. I’m just like Monica on friends, and always need to be the host. There is just something so satisfying about having people we love and care about at our house that makes it feel more like a home.

At the end of this past school year, we had an ice cream party, and while I was out shopping for some last minute items I saw a beanbag toss game for $89. I considered picking it up because I knew it would be a hit at the party, but then I figured my husband and I could probably make it for free, or next to free with scraps that we had at home.
This is the second one we have made, and I plan on making more to give as gifts. They are so cute and we really have spent hours with friends playing this fun game.
Here is a list of supplies that you will need:
Optional supplies:
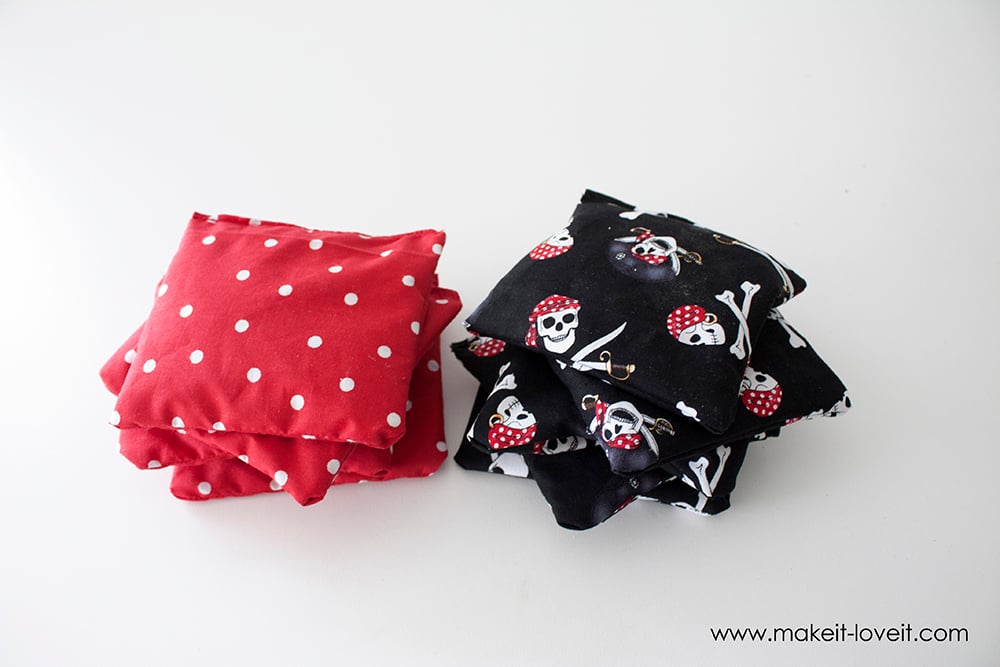
The first thing I did was whip up some beanbags that matched our theme. I did 5 of each kind of fabric.

To sew them, I just cut 2 squares of fabric, put the right sides together and sewed three sides. I then turned them out, filled them with beans (rice actually because that’s what I had on hand) and tucked in and sewed the last edge. Easy peasy.

To create the game board, you will need to cut your circle into your plywod. We traced the lid of a pitcher to use as a guide. My husband drilled a hole into the circle to make a place for the saw blade to start, and then he used the saw to cut around the circle. You can sand around the inside edges if you’d like.
Then you will need to make the legs. Hold the 2×4 up to the board and decide how high you want it. Use a pencil from underneath to trace where you need to make the cut. Draw the same line on another piece of wood so that you have 2 legs the exact same length. Cut.
*TIP* Put the board and 2×4 on the surface you plan on using it on before tracing it and cutting it. We cut ours on the grass, but if we put it on the deck, it doesn’t stand exactly straight. Line up legs and drill 2 screws into each leg.
Do the same thing for the support pieces…if you don’t have kids or dogs that will use these as ramps to run up then you might not need the support pieces, I have all of the above. :)
You can be done here, but we decided to make it cuter. I wanted to do a summery theme with pineapples and pink flamingos, but my 3 little boys vetoed that idea and demanded pirates. Since they outnumber my daughter and I, they won. I started out by just taking some white spray paint and painting the whole thing.
Then I took some painters tape and taped off two lines. I used black paint to paint the stripes.
*Tip* If you are doing lighter stripes and a darker base. I would paint the board the lighter color first, tape off the stripes and then paint the darker color over.
For the numbers, you can either use vinyl, or use stencils and paint them on. We’ve done both. I like having the points on there; it makes it a little more competitive…and I like to win. ;)
Finally, we used some Aleen’s tacky glue to adhere some of those pre-painted wooden decor pieces that you can find at any craft store (for next to nothing) in a pirate theme.
And that’s it!
Now I want to make a beach themed one for my friend who owns a beach house, and a camping one for my friend’s camp trailer…really the possibilities are endless, and so are the hours that we will play with these.
Good luck!
Tiffany
You can find Tiffany over on her blog (Making The World Cuter) on Instagram (@makingtheworldcuter), and over on Pinterest (@tiffhewlett).
. . . . .
Your DIY summer fun doesn’t have to stop with this cute bean bag game.
Keep the activities going with some of these simple game and toy tutorials: