Today’s contributor is Terra from Mama Says Sew. All posts written by Terra for Make It and Love It can be found HERE.
. . . . .
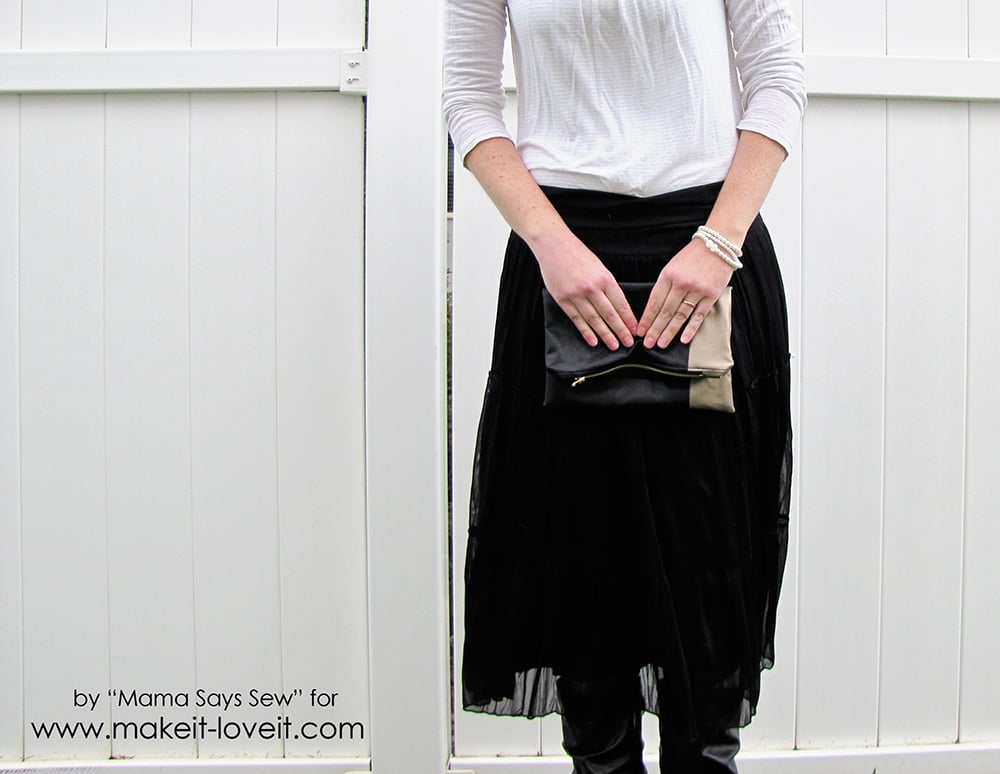
Hi everyone! It’s Terra from Mama Says Sew, and I’m excited to be here to show you how to make this leather clutch. It’s a pretty simple project, and makes a great gift. You can never have too many clutches, right?

It’s also lined with some coordinating fabric, so it hides the messy insides. It also makes the project faster, since you don’t have to finish your seams if you don’t want to, since they’re all hidden underneath the lining.
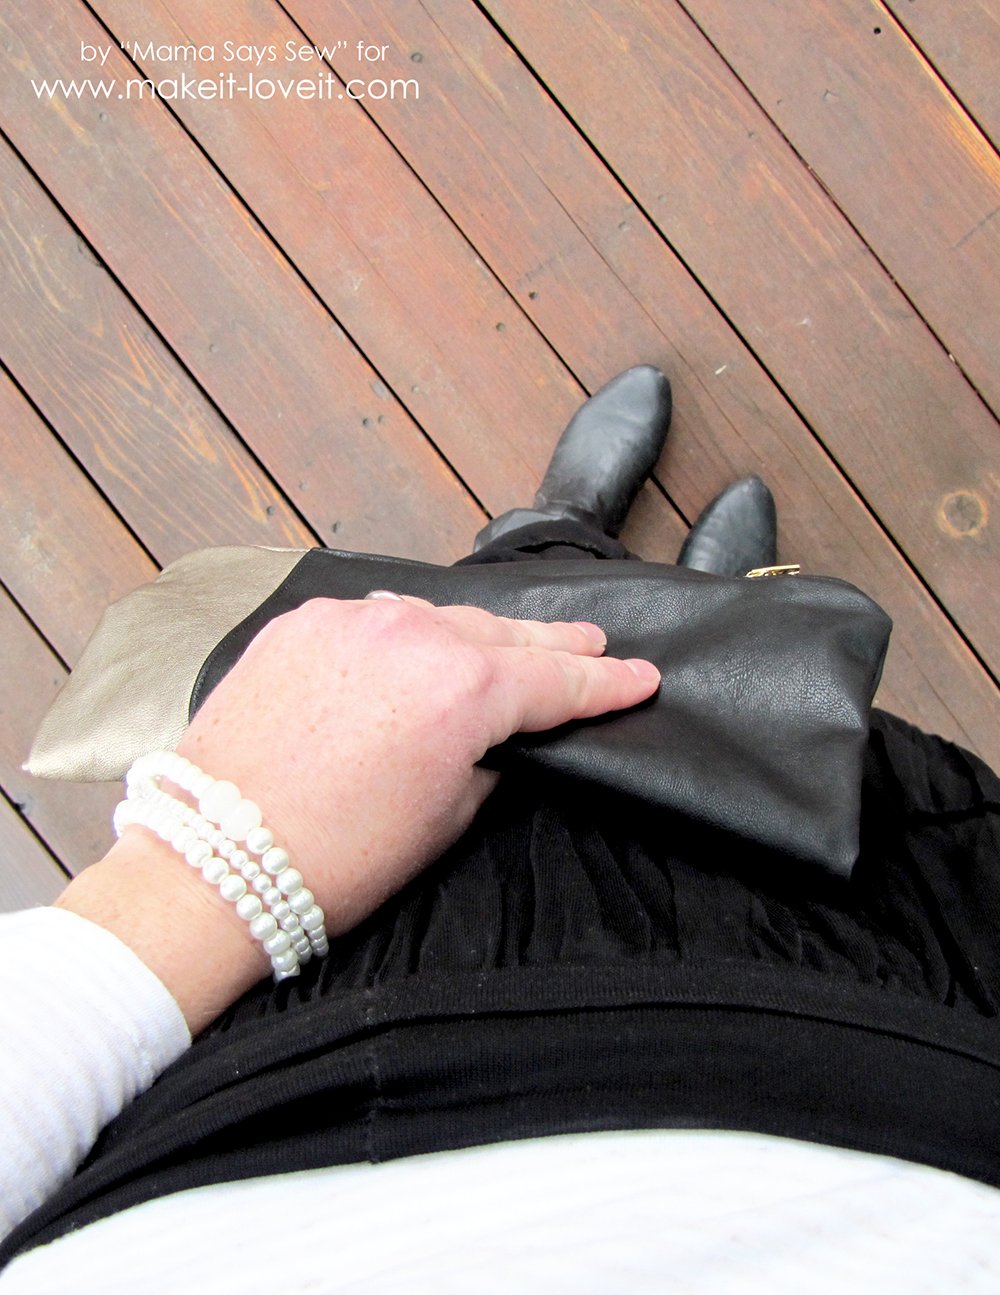
I used a metal zipper for my clutch because I wanted it to be a little more durable and I also liked the way the gold coordinated with the gold leather I used, but you could also use a plastic zipper if you’d prefer.
I used gold and black leather to make it a little more visually interesting, but you could make the clutch out of just one color of leather.
 I also think it would be fun to mix leather with canvas or duck cloth, or even quilting cotton backed with interfacing to make this a bright and colorful clutch.
This tutorial calls for a lot of topstiching, which is important for the look and feel of this clutch, so don’t be tempted to skip it! 

Sewing leather can be tricky, so make sure that you have the right supplies. There are special needles for sewing leather, or in a pinch, you can use microtex or sharp needles. I also recommend using a foot that will help feed the leather through your machine, because leather can be kind of sticky. I use a walking foot, which works fine, but there are also machine feet that have little roller things that you can use.
To make this clutch you will need:
***As always, if you need a bit of help with the basic sewing skills used in this tutorial, don’t hesitate to check out the Sewing 101 post for more help.
Start by cutting out your fabric. You will need to cut 2- 10 1/2 inch by 12 inch rectangles of your lining, and 2-10 1/2 inch by 12 inch rectangles of your main fabric. Note: if you want to color block as I did, you can adjust those measurements, just make sure your finished rectangles are those dimensions. Also, the top of the clutch where the zipper goes is the 10 1/2 inch side.
You will also need to cut two 1 x 2 inch pieces of your lining and two 1 x 2 inch pieces of your main fabric.
Sandwich the zipper between two of these small pieces with right sides together. One should be lining fabric, and one should be main fabric.
Sew the fabric pieces to the zipper, getting as close as you can to the zipper stop. Be careful not to break your needle! Repeat for the top of the zipper. It may be helpful to unzip the zipper to get it out of the way, but be careful not to let the sides of your zipper separate.
This is what the right side of the zipper should look like. Topstitch close to the zipper ends (not shown).
And the wrong side:
With right sides together, sew the zipper to a main fabric piece along the top edge. The zipper with the end pieces should be the same length as the 10 1/2 inch side of your main fabric piece.
Lay the lining piece right sides together with the main piece. The zipper will be sandwiched in between. Sew along the same stitching line as the last step. It can be tricky to sew around the zipper; I find it helpful to sew about halfway, lift the presser foot (with the needle still in the fabric), unzip the zipper, and finish sewing.
It will look like this. Press your seam allowance toward the main fabric.
Making sure the lining is out of the way, topstich along the main fabric, close to the zipper.
Repeat for the other side of the zipper tape with the other lining and main fabric piece, and this is what you should have:
The inside (lining) will look like this:
Now we’re going to turn it into a clutch. You want to pinch that little piece of fabric on each end of the zipper to form a little pleat, so that it doesn’t get sewn up wonky.
Pull the lining and the main fabric so they are right sides together. You need to make sure the zipper is at least half way unzipped, or it will be tricky to turn this right side out!
Sew all the way around, leaving an opening at the bottom of the lining to turn. Clip your corners.
Turn right side out, then tuck the lining to the inside of the bag.
Stitch the opening in the lining closed, and enjoy your new clutch!
Enjoy!
-Terra
. . . . .
Are you a purse fanatic?
Check out some of our other favorite purse/tote tutorials that will make you (and your pocketbook) happy!