Home » DIY Tutorials » DIY Sewing » Decorate My Home, Part 14 – Pleated Pillow Covers
.
I’ve been on a pillow kick again.
It’s a strange addiction.
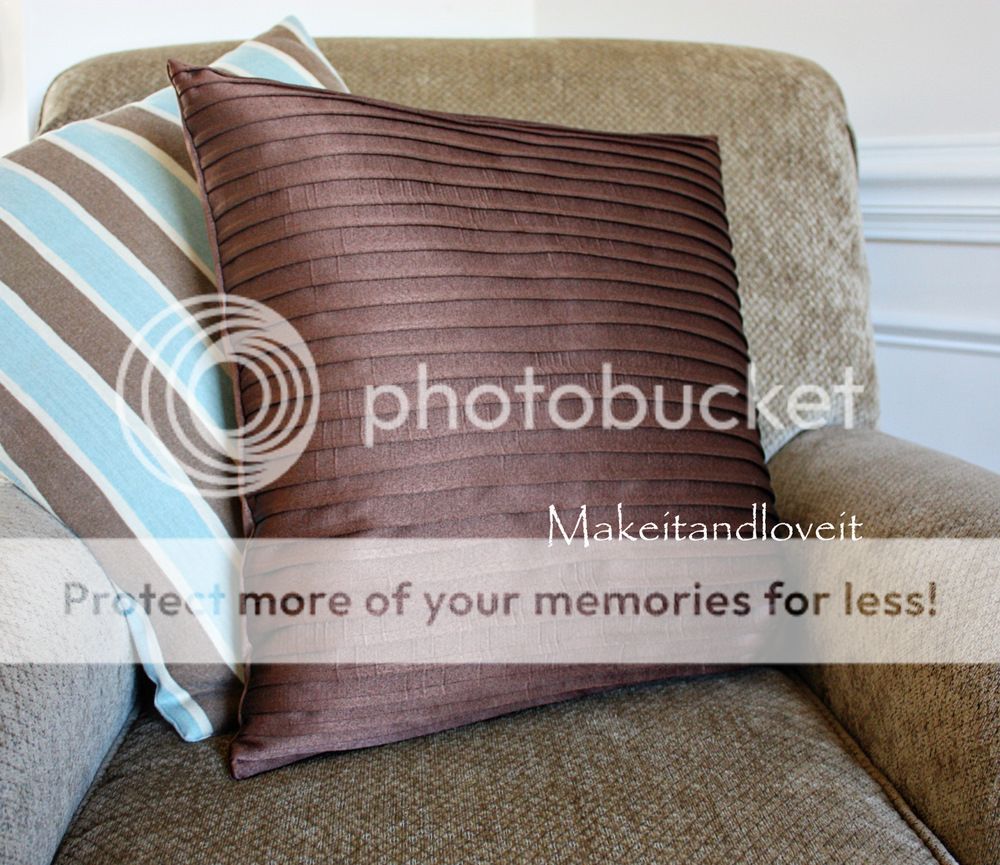
But I love the texture that this pleated pillow gave to our chair.

Save
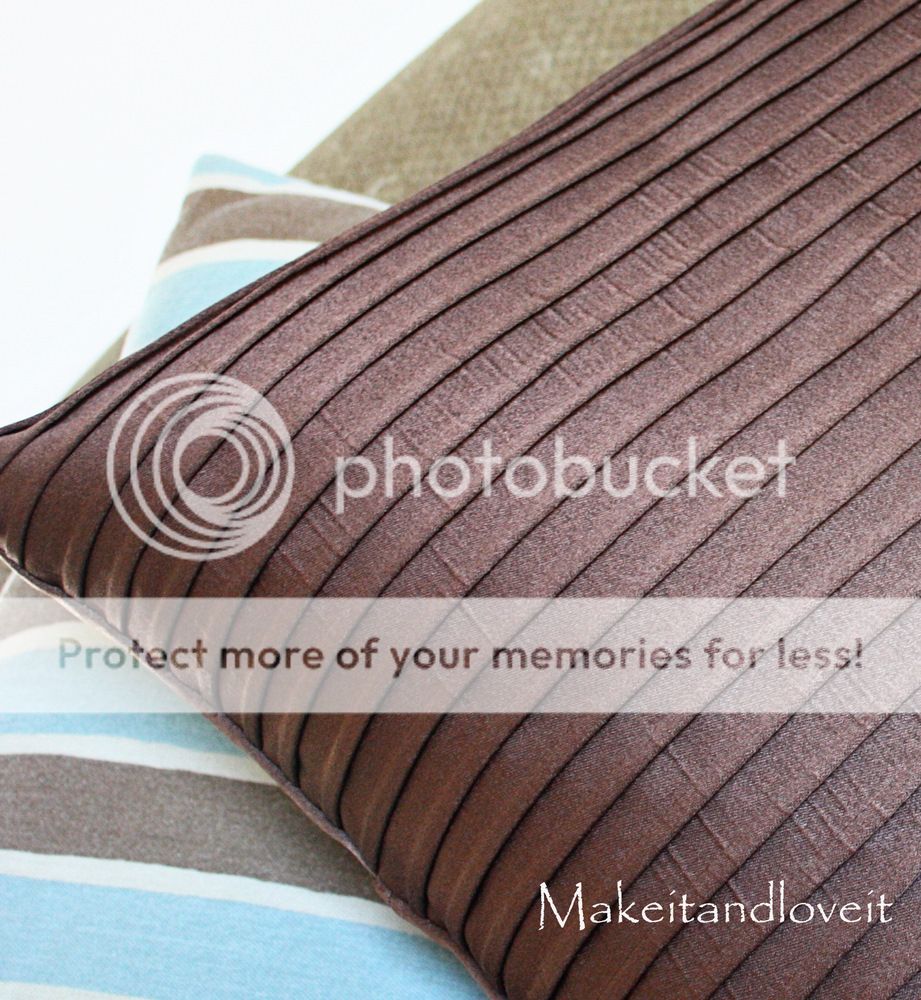
Nice crisp pleats.

Save
A perfect way to liven up furniture.

Save
Want to pleat your own pillow cover?
I was covering a 20 x 20 inch pillow, so I needed to come up with a finished pleated piece that was 21 x 21 inches, to have enough for a seam allowance on all sides. So I cut a strip that was the length of my yard of fabric (about 60 inches wide) and 21 inches tall. (I didn’t actually need the full 60 inches…..but I’ll show you that in a bit.)
Then I marked every 1 1/4 inches along the edge of the 60 inch side. (But I started about 2 inches from one end, to leave that for the seam allowance.) I folded over that edge and used it as a guide to mark the same marks along the middle of the fabric and the other end. And then I added more marks about a 1/4 way up and 3/4 of the way up. These marks, when lined up, will act as a guide as you’re folding over the fabric and sewing…..
Save
Then I folded along one row of marks and made a 1/4 inch seam along the fold. With the right side of the fabric facing out. (If you need to, you can pin each row as you go……this would probably help if you’re a beginner sewer, just to keep everything in place for you.)
Save
When opened up, it looked like this.
Save
Then I continued along, making more and more 1/4 inch seams, folding right where the marks were.
Save
Until I had enough seams to stretch 21 inches.
Save
Make sure and iron/steam your pleats completely flat, and pull the fabric as you are ironing……to be sure that you are not puckering the fabric underneath.
Save
(Iron flat before cutting the excess fabric off. Make sure you have enough and then trim off the extra from the 60 inch width.)
Here’s a look from the back…
Save
Then using the same instructions here, attach this pleated piece to your back pieces with right sides together……to create the slip cover.
Save
And then toss onto that chair.
And enjoy.
Save

Share via: