Home » DIY Tutorials » DIY Sewing » Decorate My Home, Part 20 – Button/Piping Pillow Cover
Decorate My Home, Part 20 – Button/Piping Pillow Cover
June 7, 2010 - By Ashley Johnston 23 Comments
.
I know, I know.
Lots and lots of pillows on this blog during the
Decorate My Home series.
But maybe one or two of these ideas will suit your fancy.
(All the while…..I have tons of pillows. Love them all!)
This new idea came from a photo text from a friend. She saw a fun pillow in a store, sent me a text thinking I’d like it………and I loved it. (Thanks Kim!)
The photo in the text was small…..so it may have turned out differently. (Only Kim will know…)
But it gave me the texture I was looking for.
.
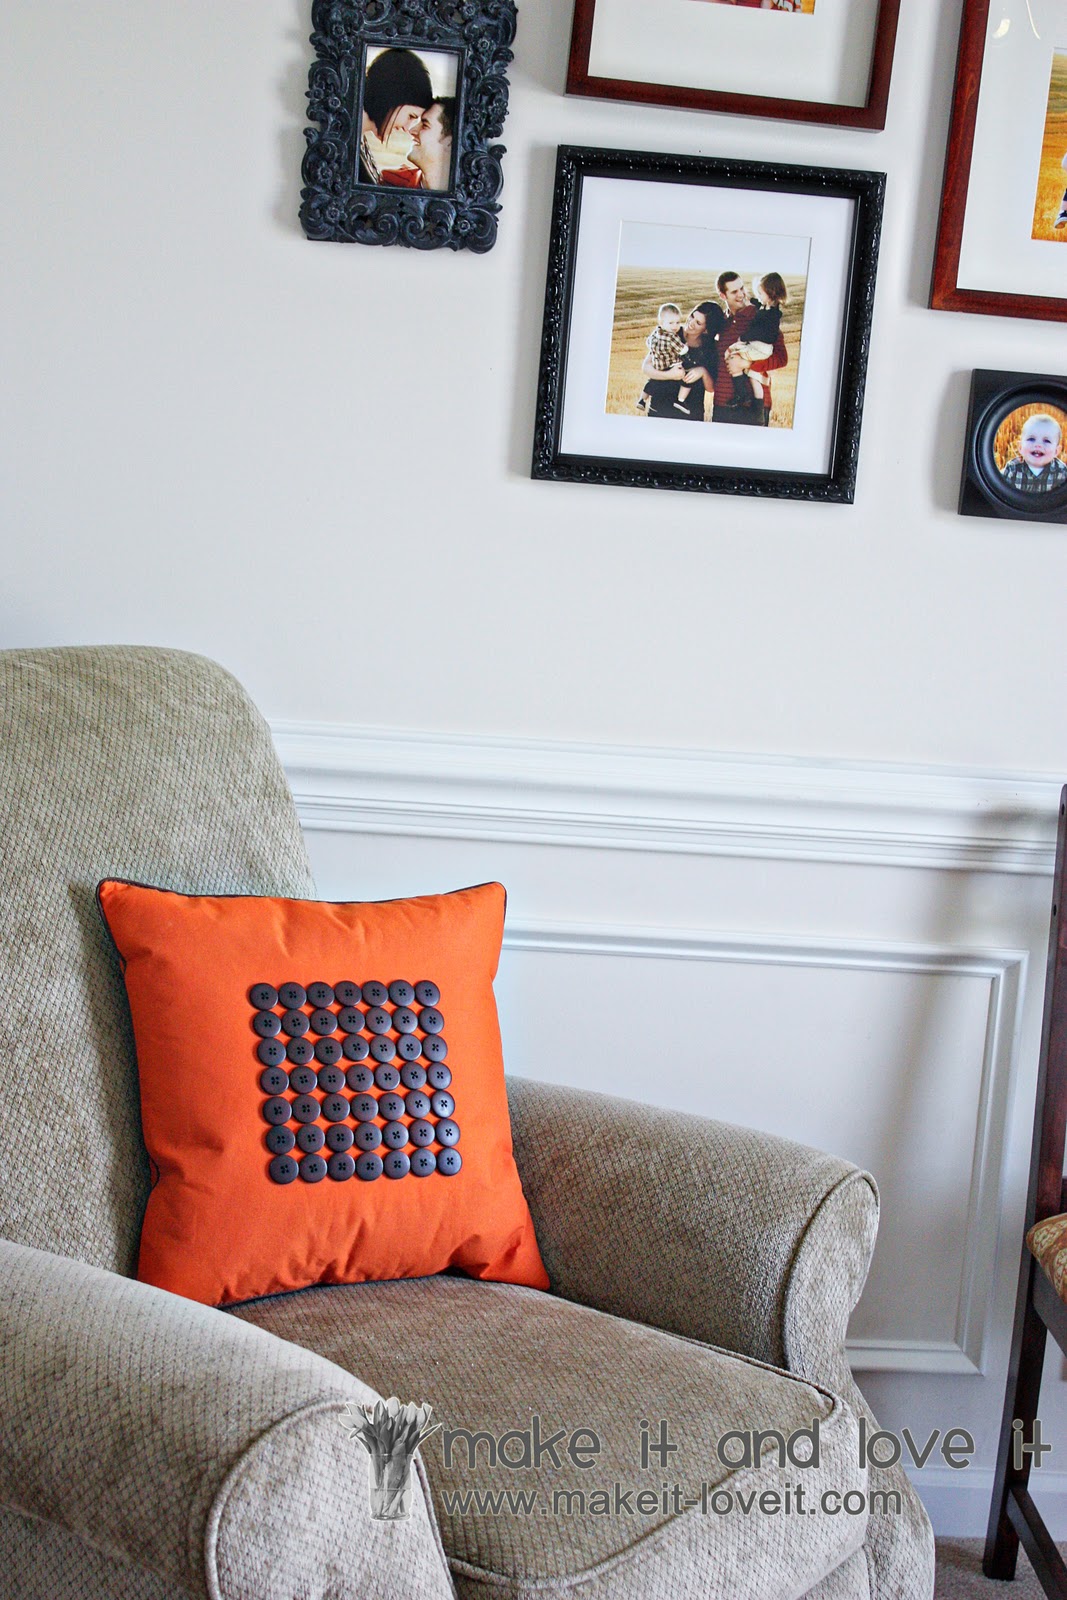
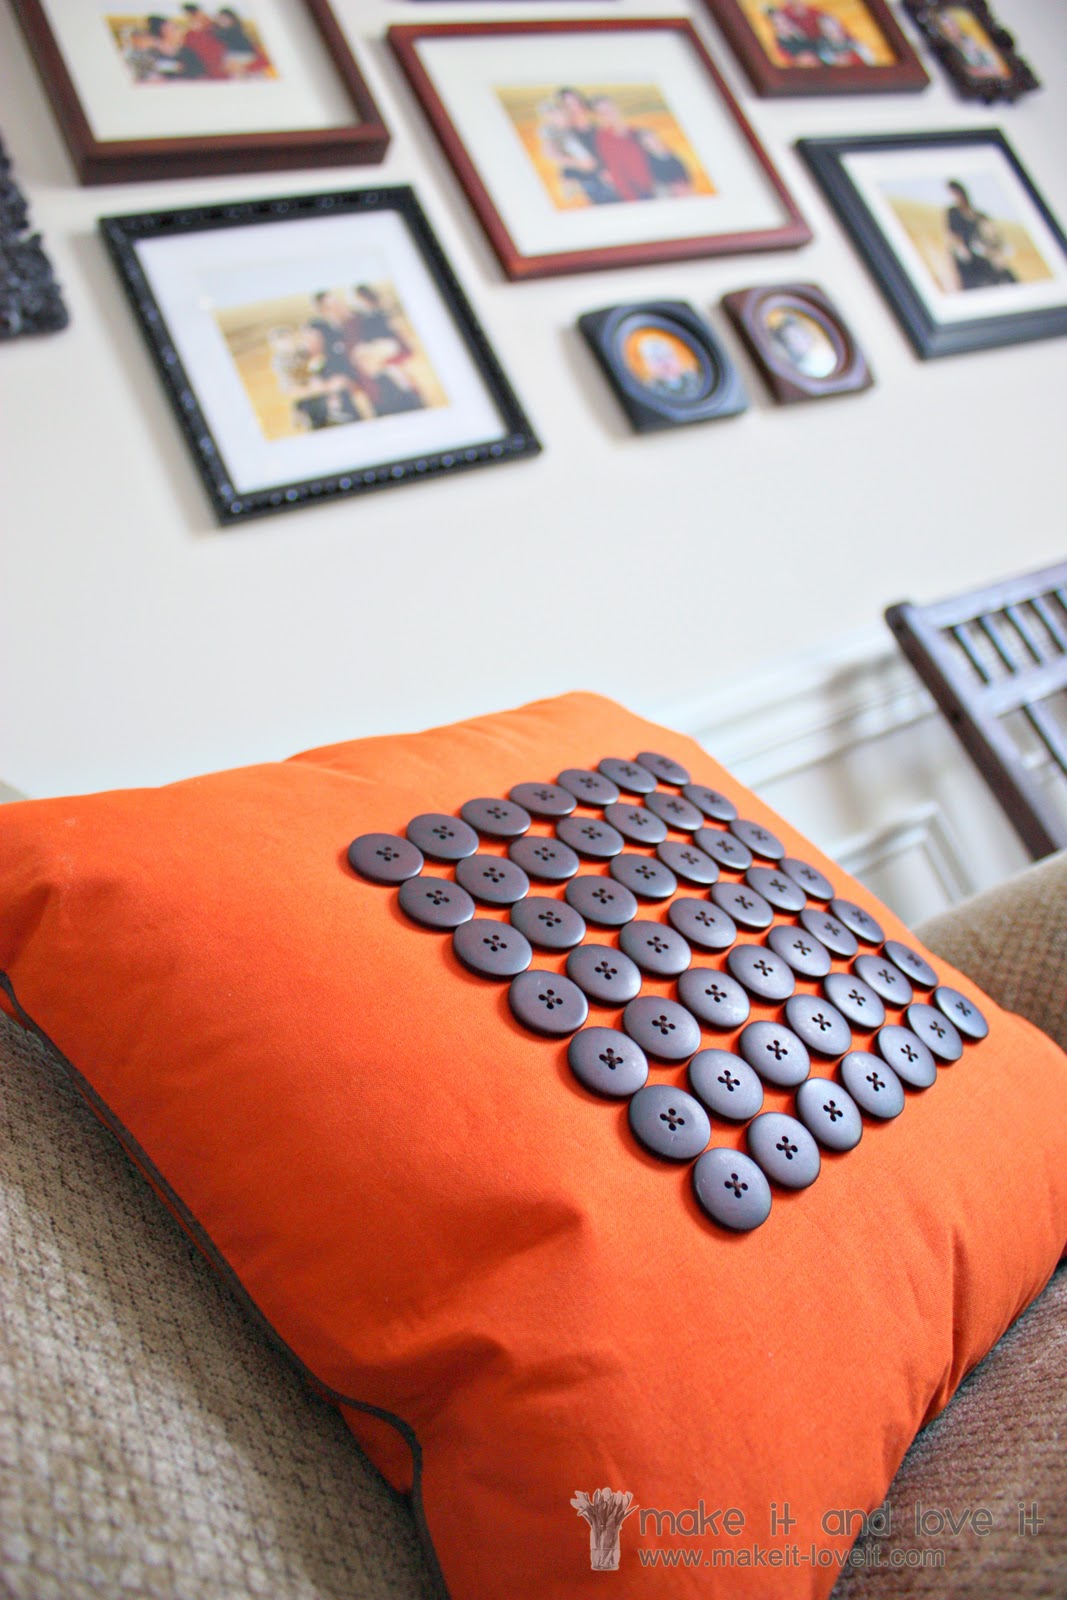
And that’s because of those large round buttons covering the front.
And the chocolate brown piping around all of the edges.
Itadds perfectly to the oranges, golds, and browns in the room.
And really helps the warm colors pop in the photo collage that’s nearby.
Would you like to make your own?
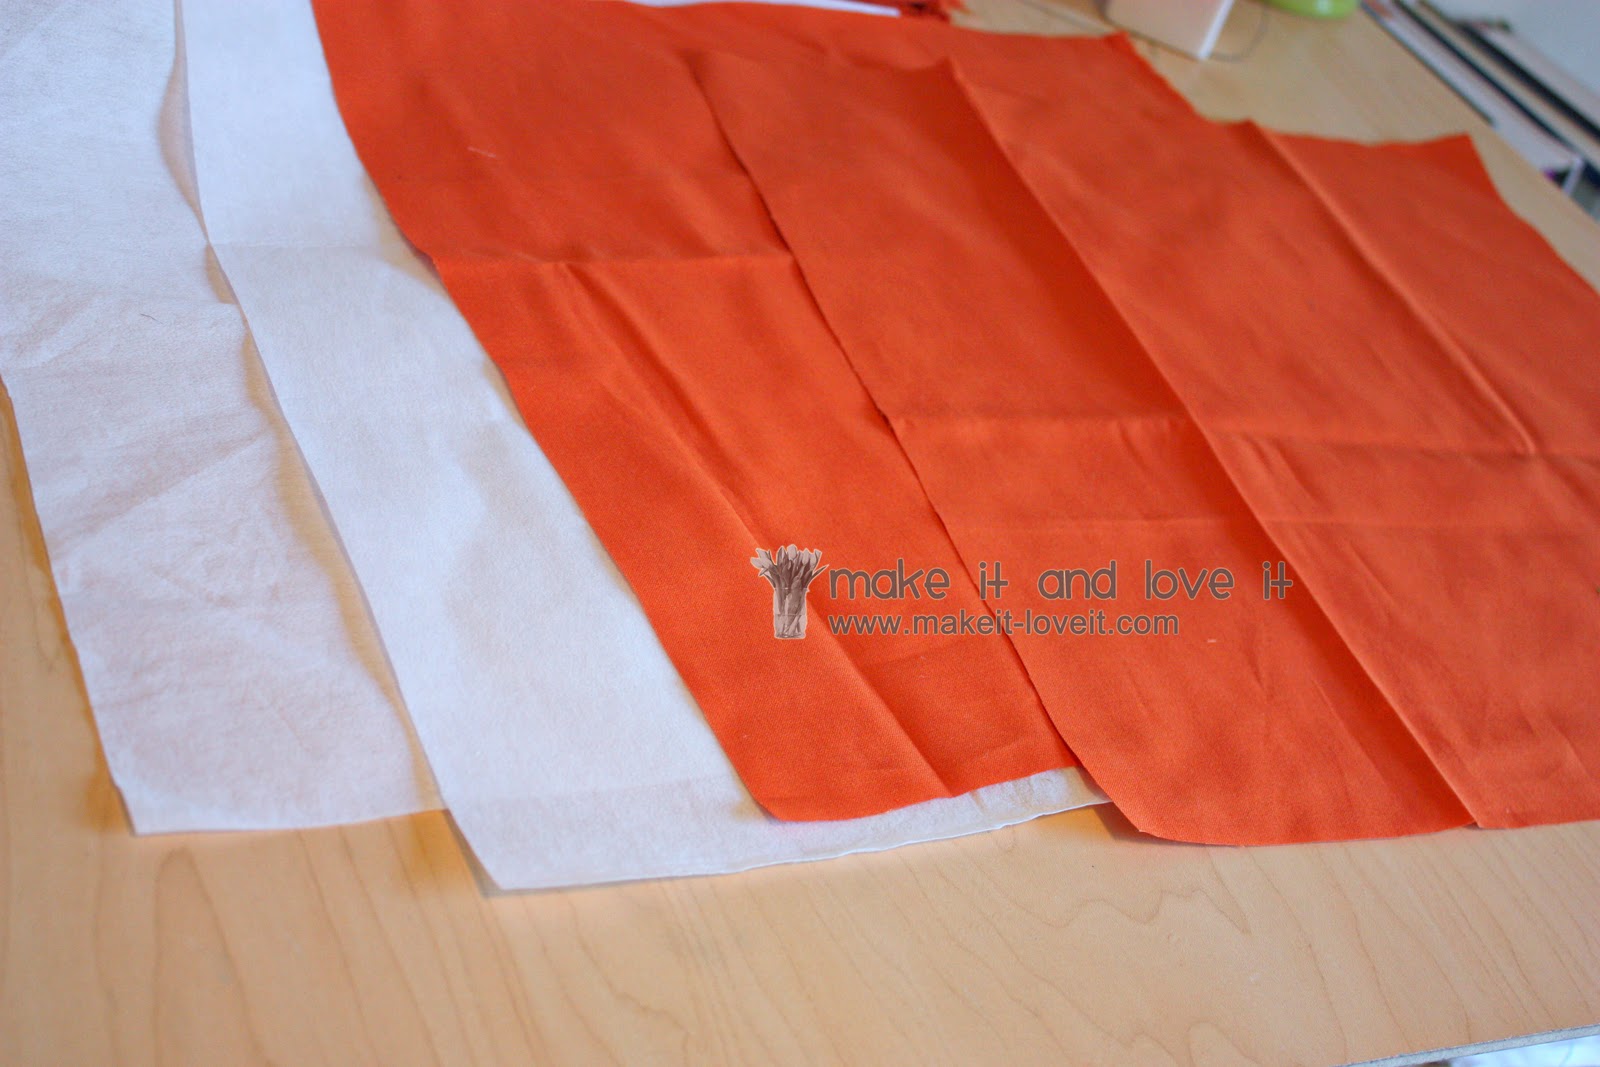
First, decide how big of a cover you’d like. My pillow size was 16 x 16 inches, so I cut out 2 pieces of orange cotton and 2 pieces of fusible interfacing that were all 17 x 17 inches. (If you use a sturdier fabric, you can skip the interfacing.)
Then I ironed each piece of interfacing to the wrong sides of the 2 pieces of fabric.
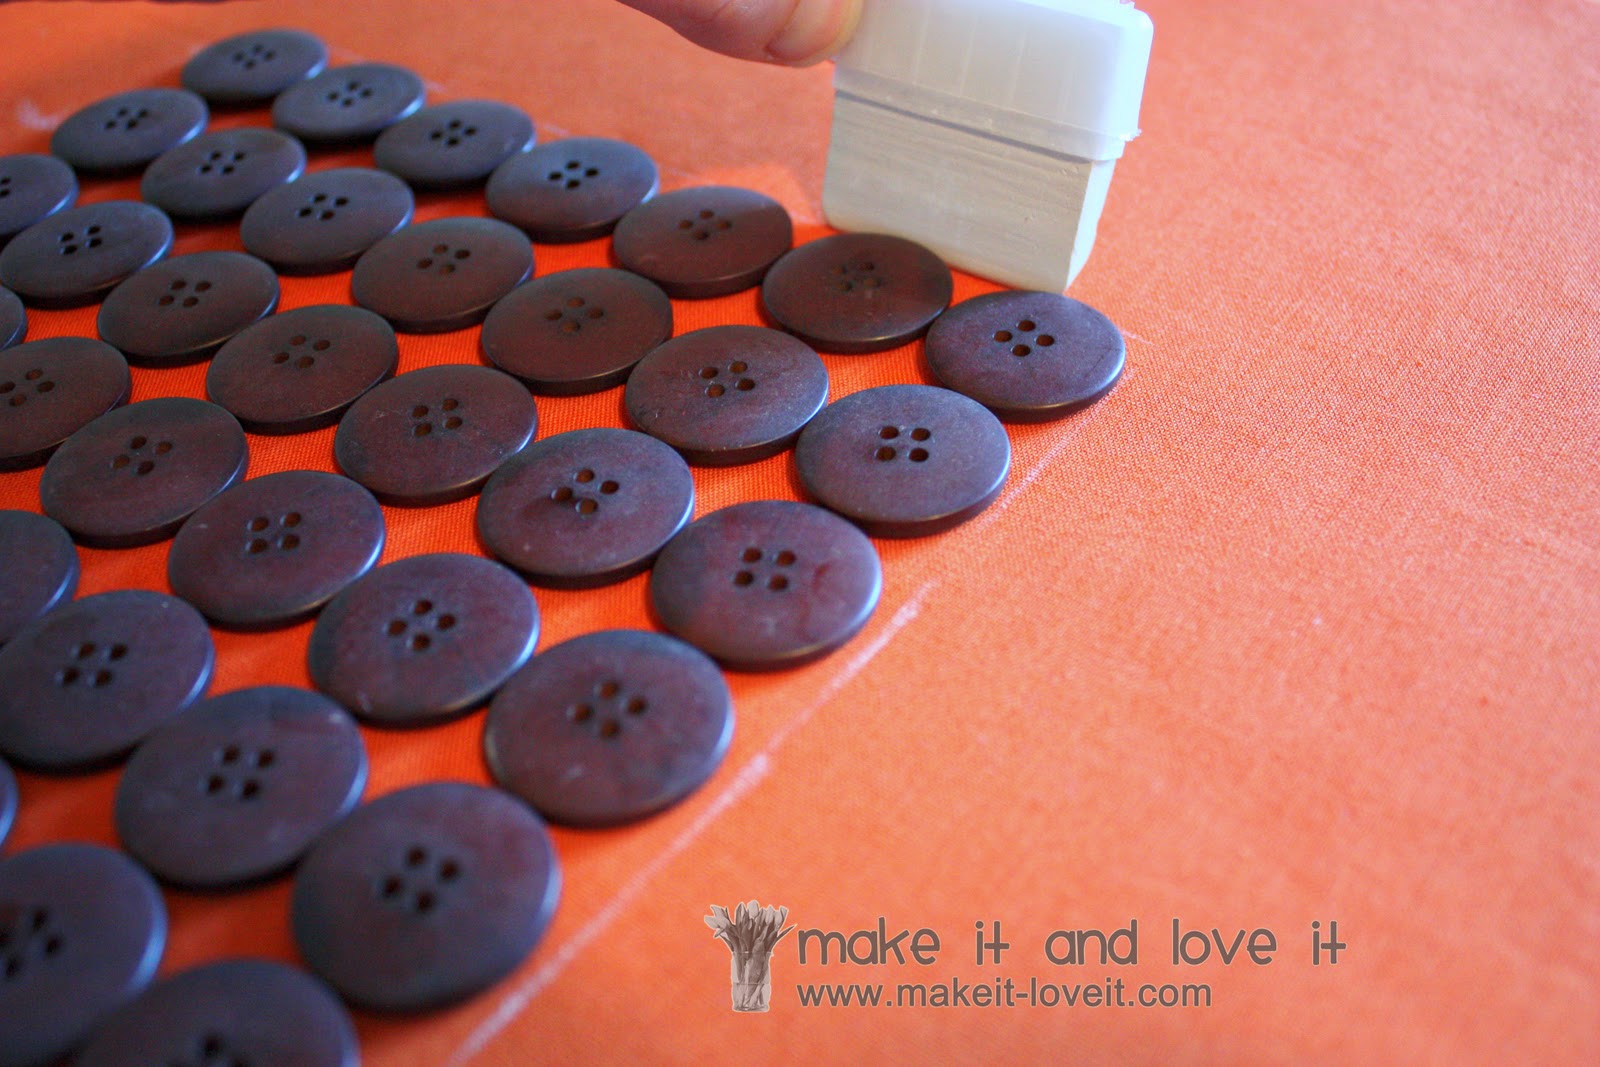
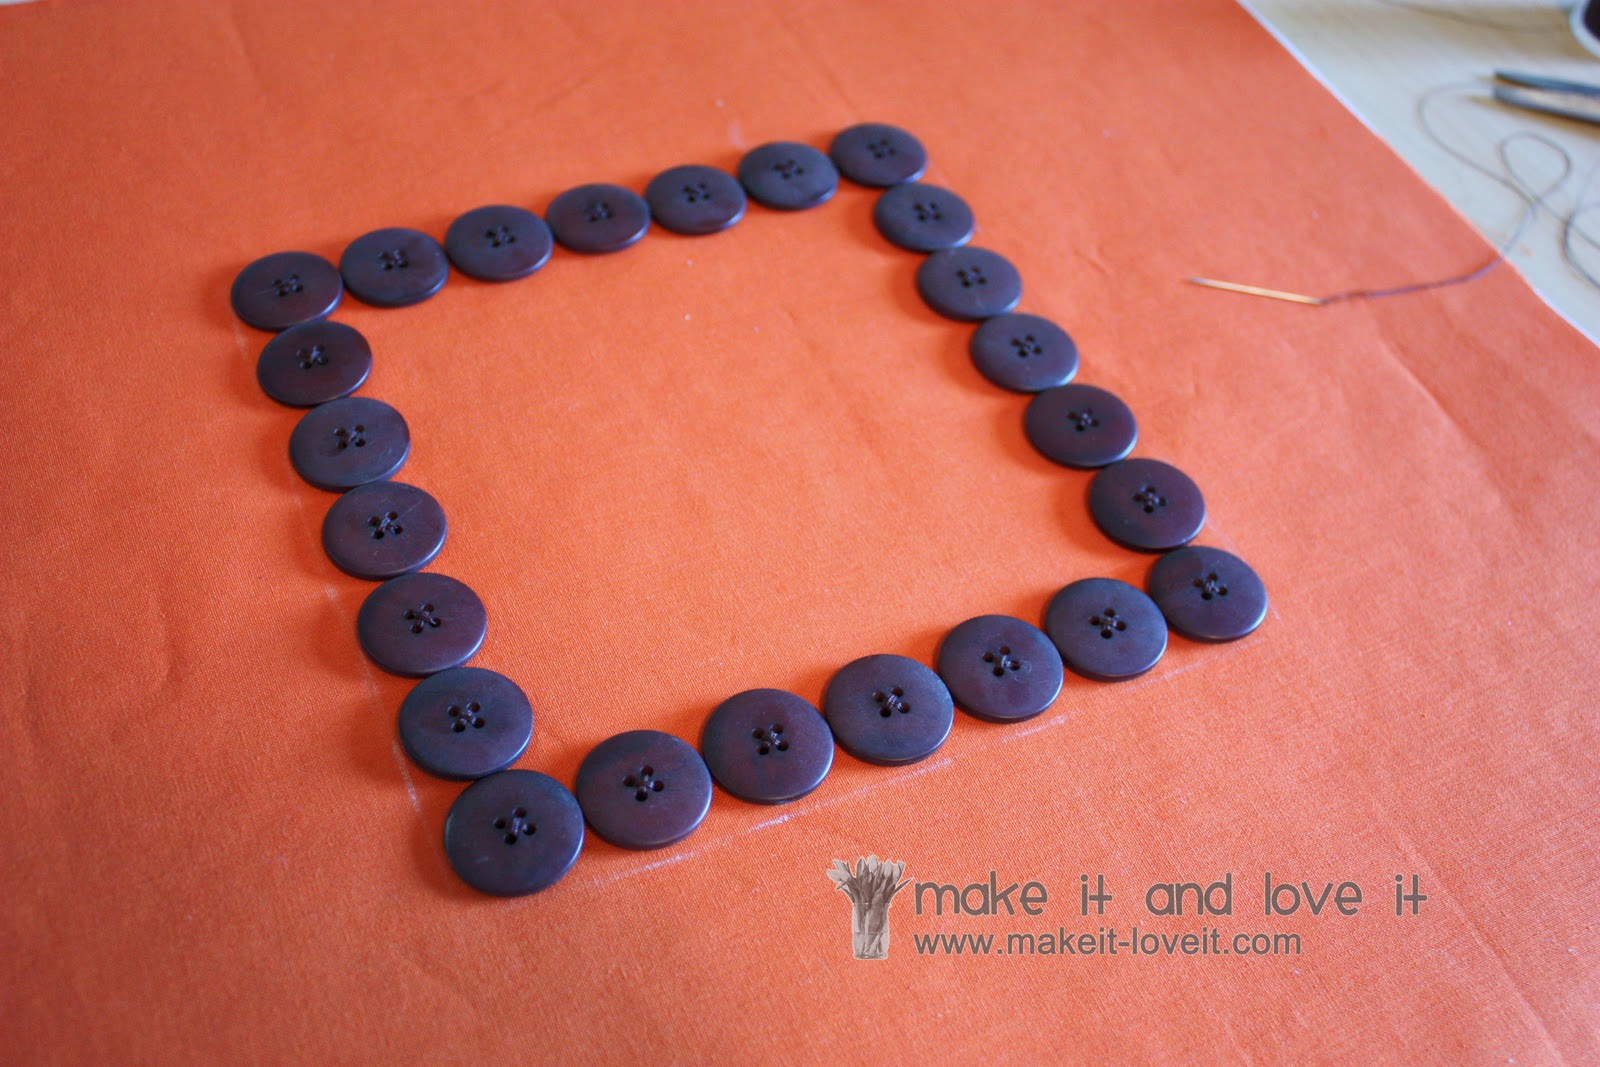
Then I placed all 49 buttons (7 rows of 7) on top of one of the pieces of fabric. (You can decide how many buttons you’d like depending on the size and spacing that you prefer. And try searching
etsy or
ebay for a good deal on a bag of buttons. I found mine on ebay for only a few dollars.)
Space them evenly in the center of your pillow.
Then I used fabric chalk to make a temporary line around the buttons……helping to keep the buttons centered as I stitched them to the pillow.
Then I hand-stitched each of the outer buttons in place first, so that my square of buttons would be straight and even.
Then I filled in the square and attached all of the other buttons.
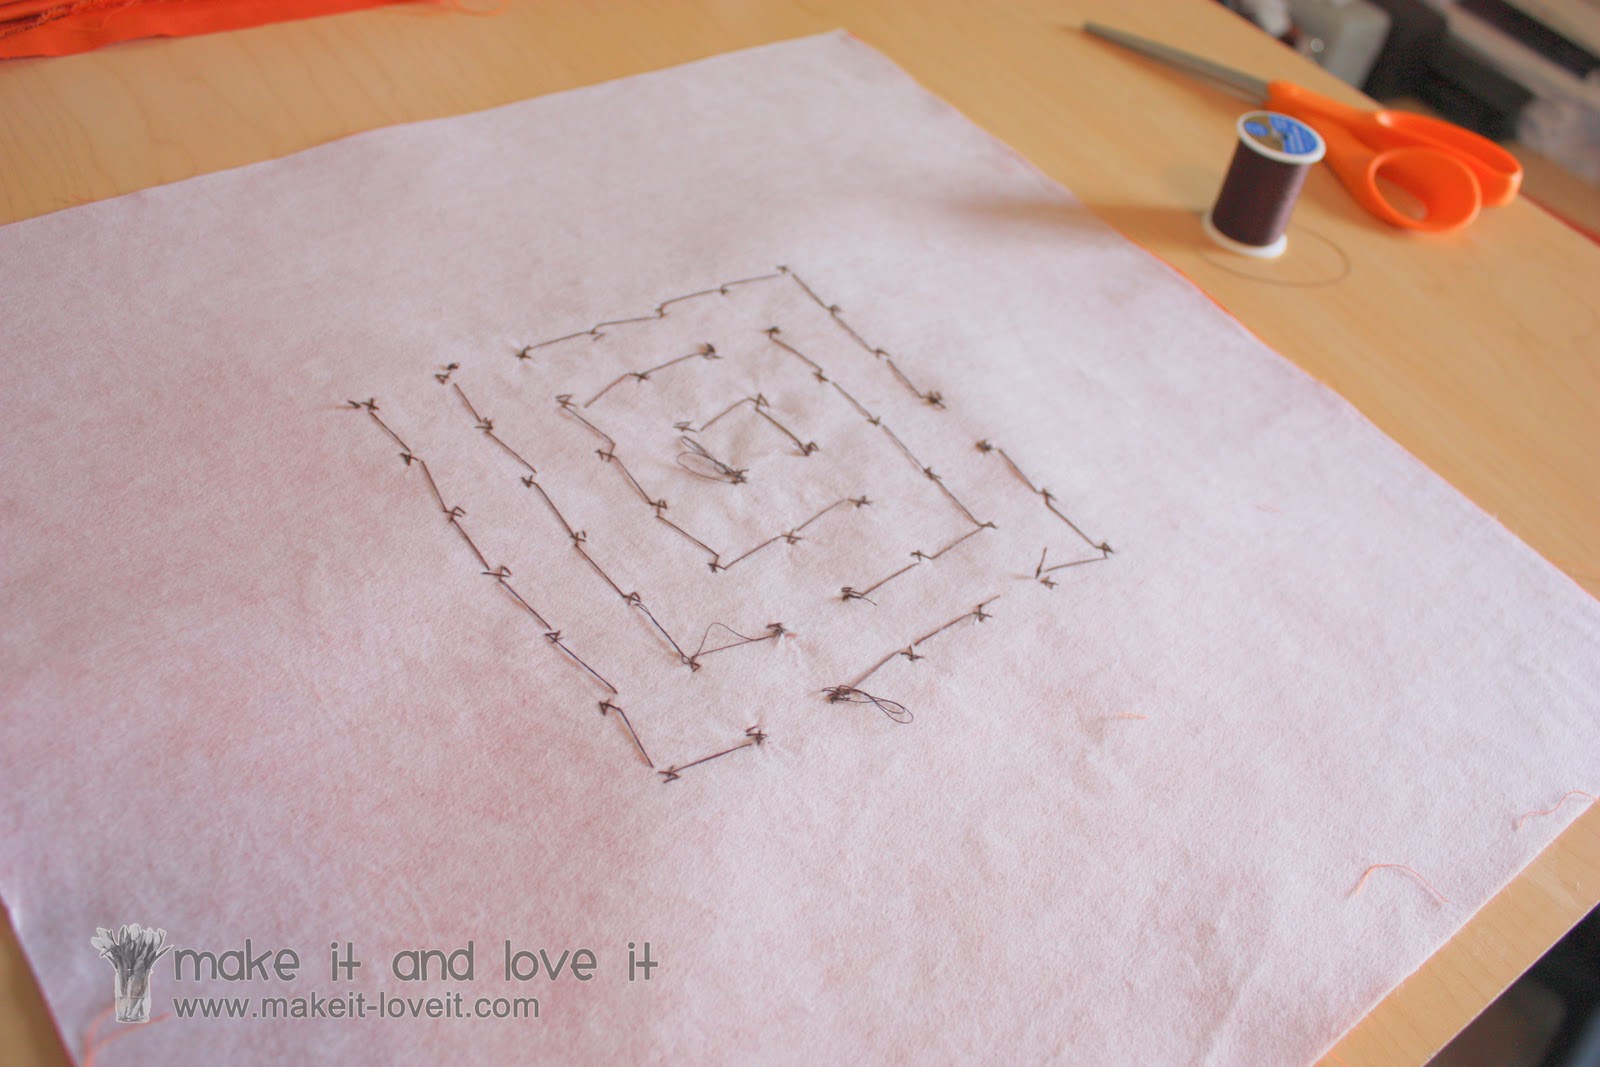
Here’s a view from the back. Take note that I didn’t knot each button separately. I looped each button hole a few times, then went on to the next button. I only knotted the thread when I ran out……then started with a fresh piece of thread.
Then I placed that aside and grabbed a package of
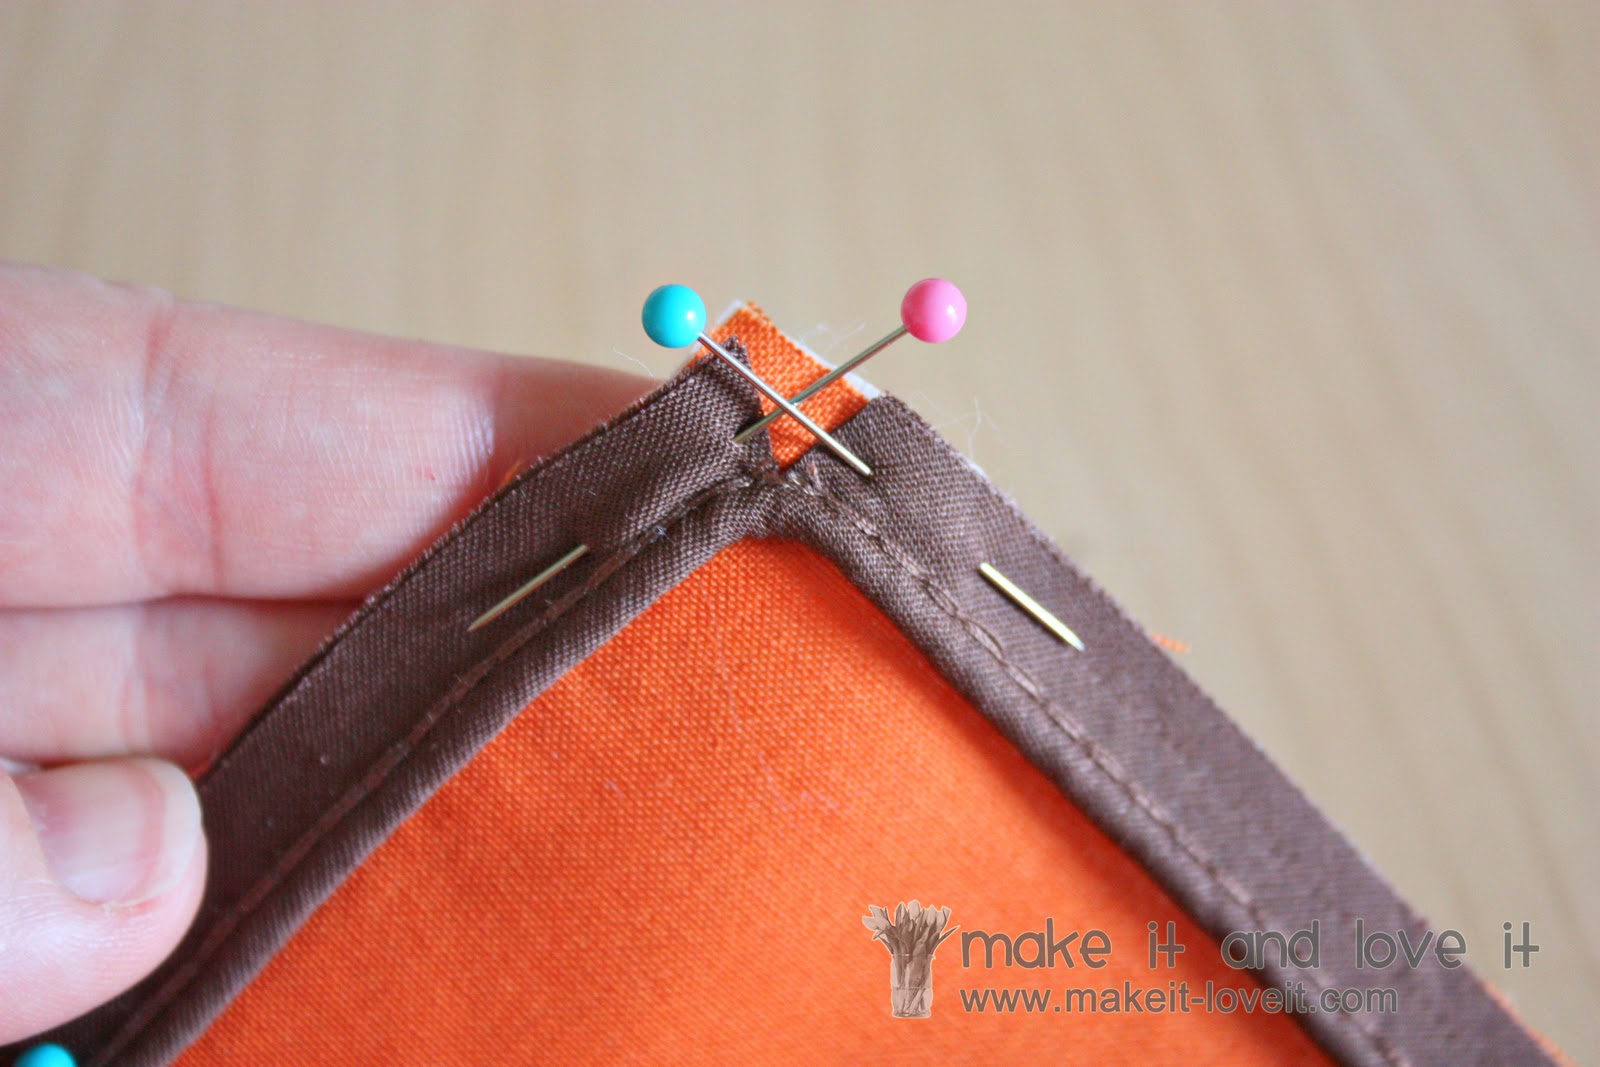
bias tape piping. (One package of 2 1/2 yards was plenty for me.) I started pinning the piping to the middle of one of the sides of the pillow, making sure to line up the raw edges of the piping with the raw edges of the pillow.
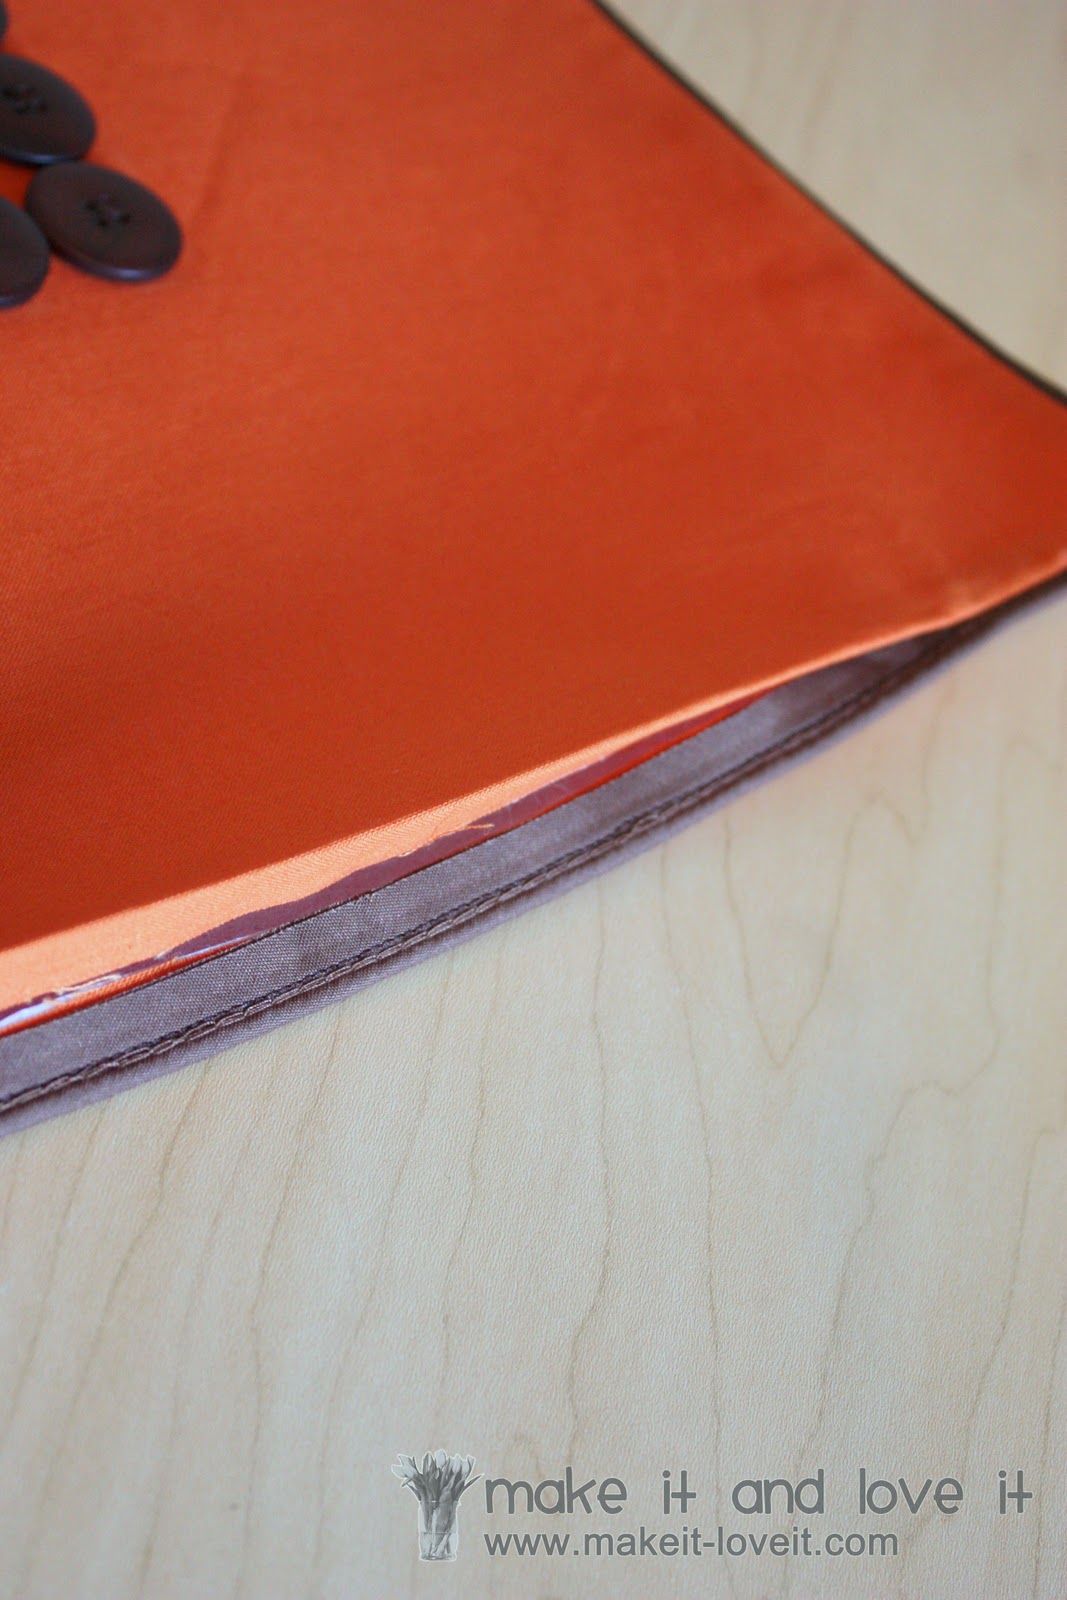
(See how the rolled edge of the piping is facing towards the inside of the pillow?)Then, as I got to a corner, I made a slit in the raw edge of the piping, so that it would turn the corner….and continued pinning. (Be careful to not cut through the piping.)
Then as I got back to the original side, I re-pinned the first end, so that it gradually veered off the pillow edge.
Then I placed the second end over top of the first and veered the very end off of the pillow too. (I did this so that the raw ends wouldn’t show when I finished. This will make more sense after you finish sewing and turn the pillow right side out.)
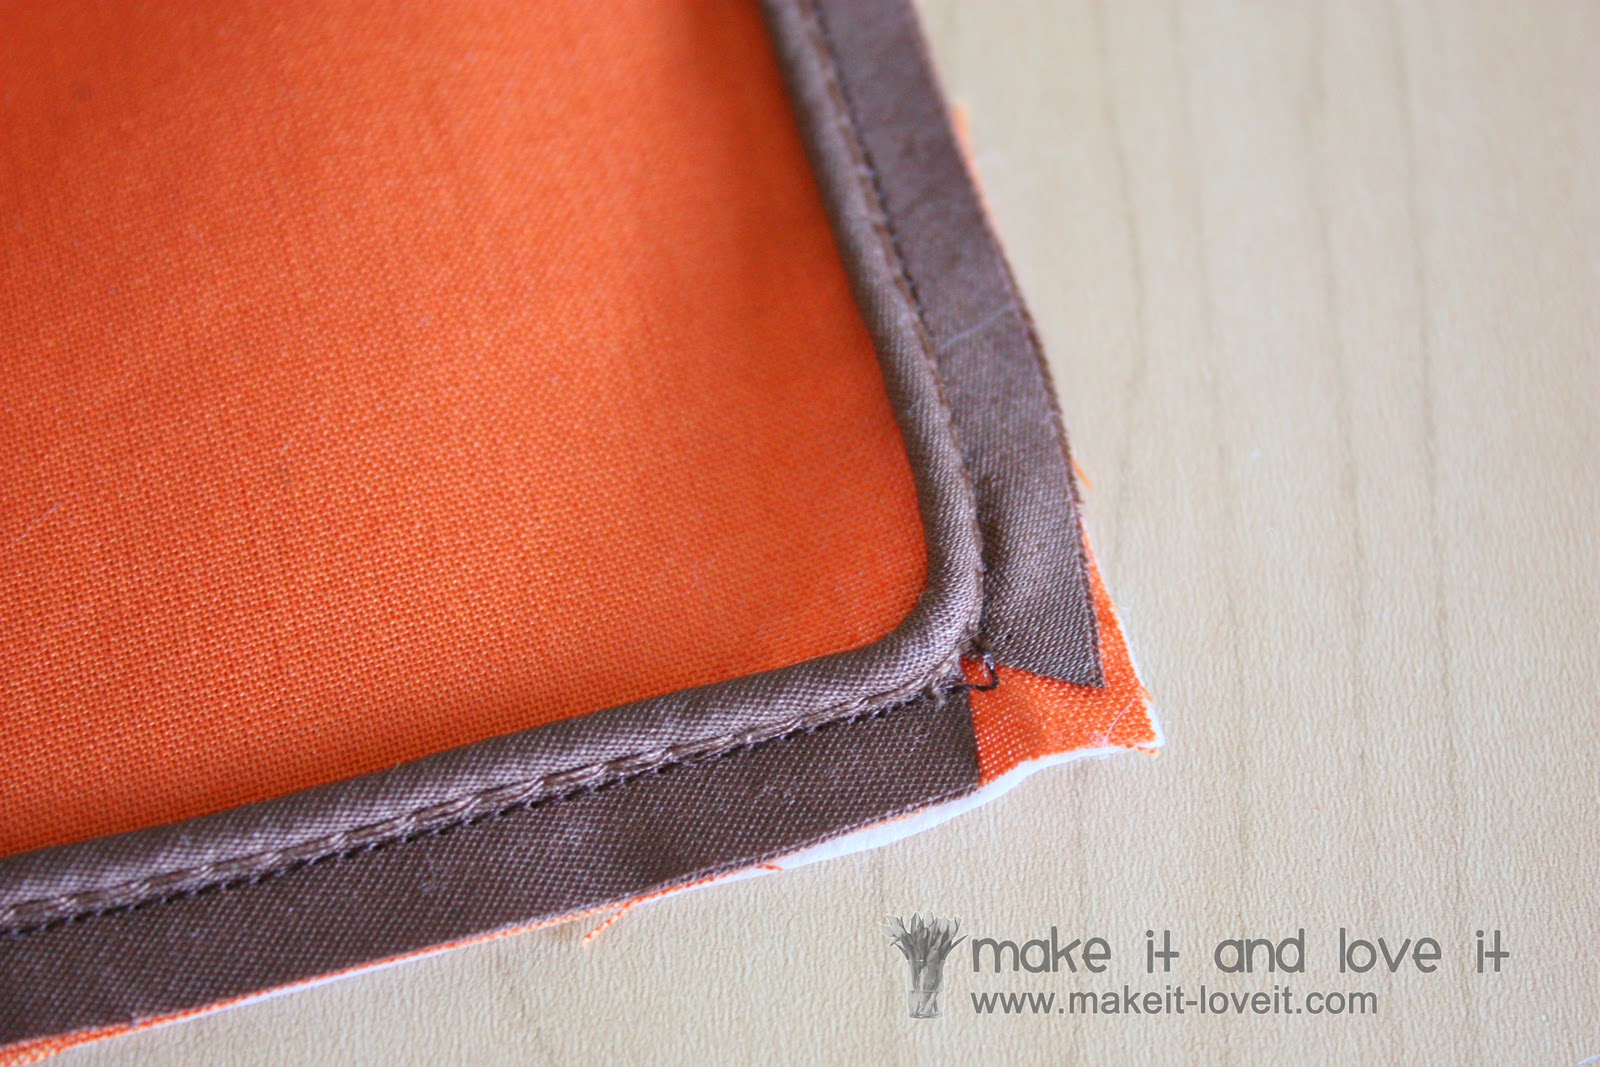
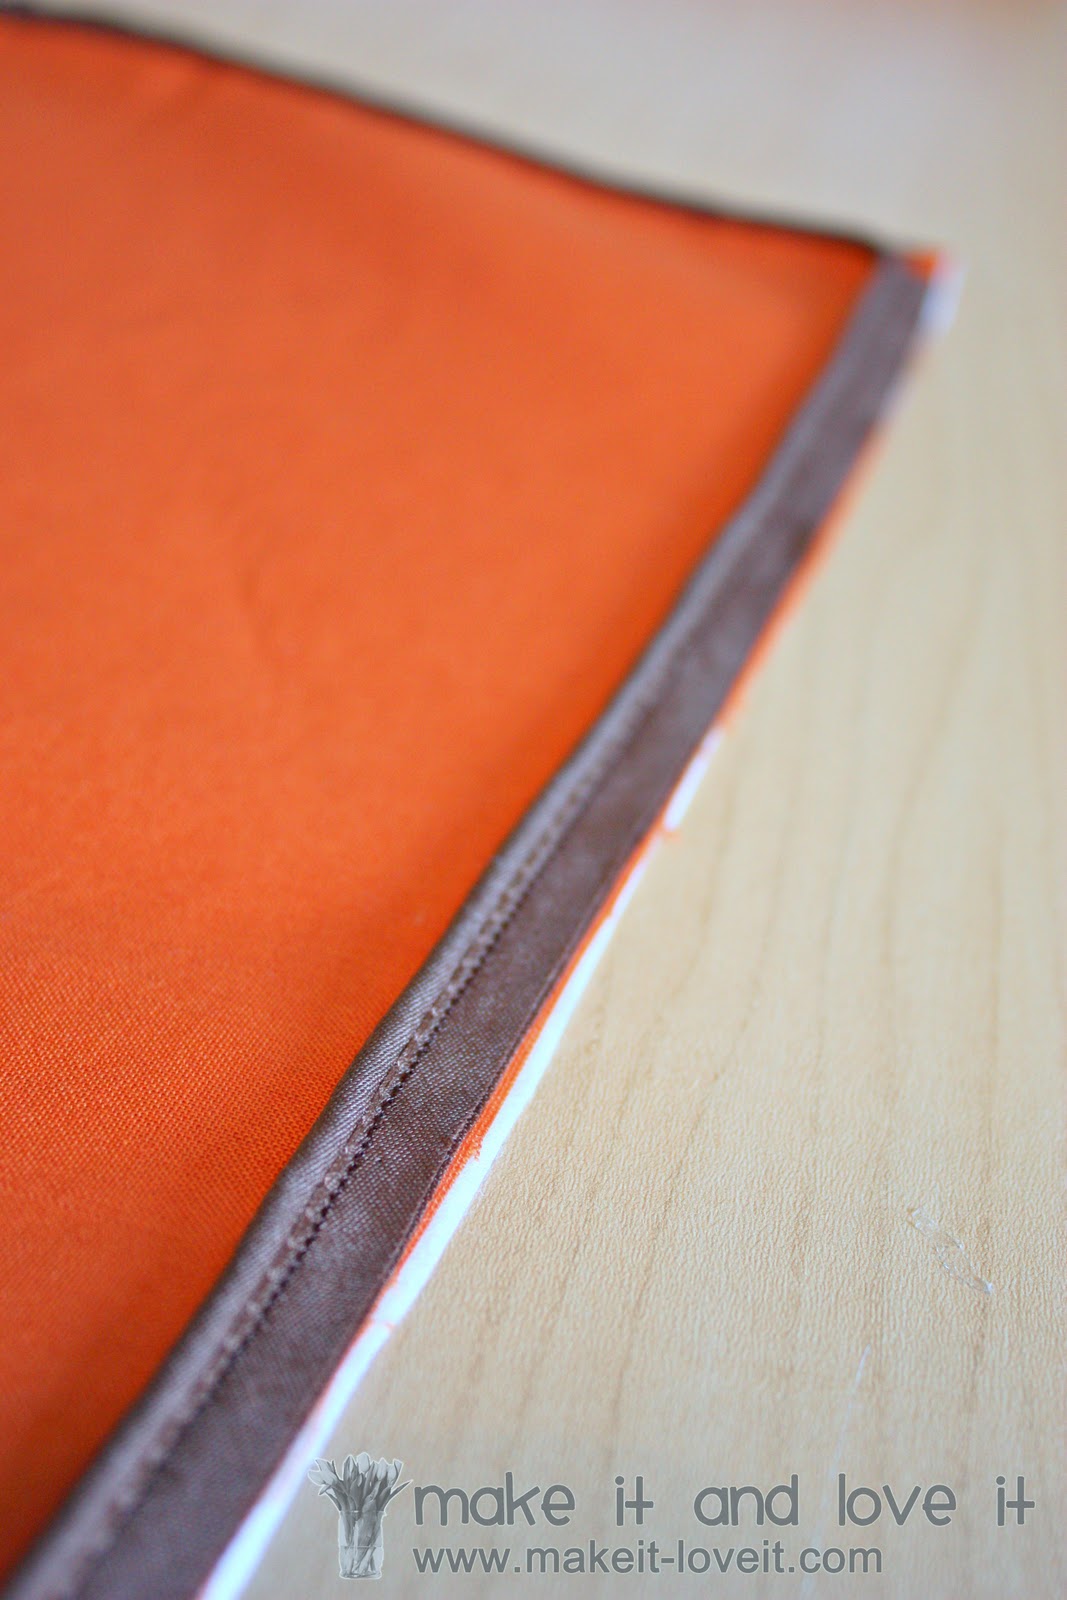
Then I sewed all the way around the pillow, keeping the raw edges of the pillow and the piping lined up……..and sewed as close to the piping that I could.
Make sure to use your zipper foot so that you can get the needle as close to the cording as possible.
Here is a view of the corner, all sewn……
And along the straight edge.
Then place the two sides of the pillow together, with right sides together. Pin in place.
Then sew the two pieces together, with the back side of the pillow up (where you just attached the piping), the outer edges even, and using the seam along the back side as a guide as you sew right on top of it. This will help you keep both sides even and will allow only the cording part of the piping to poke out after turning the pillow right side out.
Make sure to leave a wide opening along one side, where you will insert your pillow.
Then clip your corners and zig-zag around the raw edges of the pillow (except for the wide opening).
Then turn it right side out, poke out the corners (that will appear a bit rounded), and then press flat.
Also, press your opening towards the inside, making hand-stitching easier in the next step.
Then blind-stitch the opening closed with a needle and thread. (Need help with hand-stitching? Go
here for help.)
That’s it.
Fluff up and toss on your chair, couch, bed, or wherever…