My bathrooms have been naked since we moved in.
Towels, hand soap, and a few other necessities.
That’s it.
So today I added some color to one of the bathrooms.
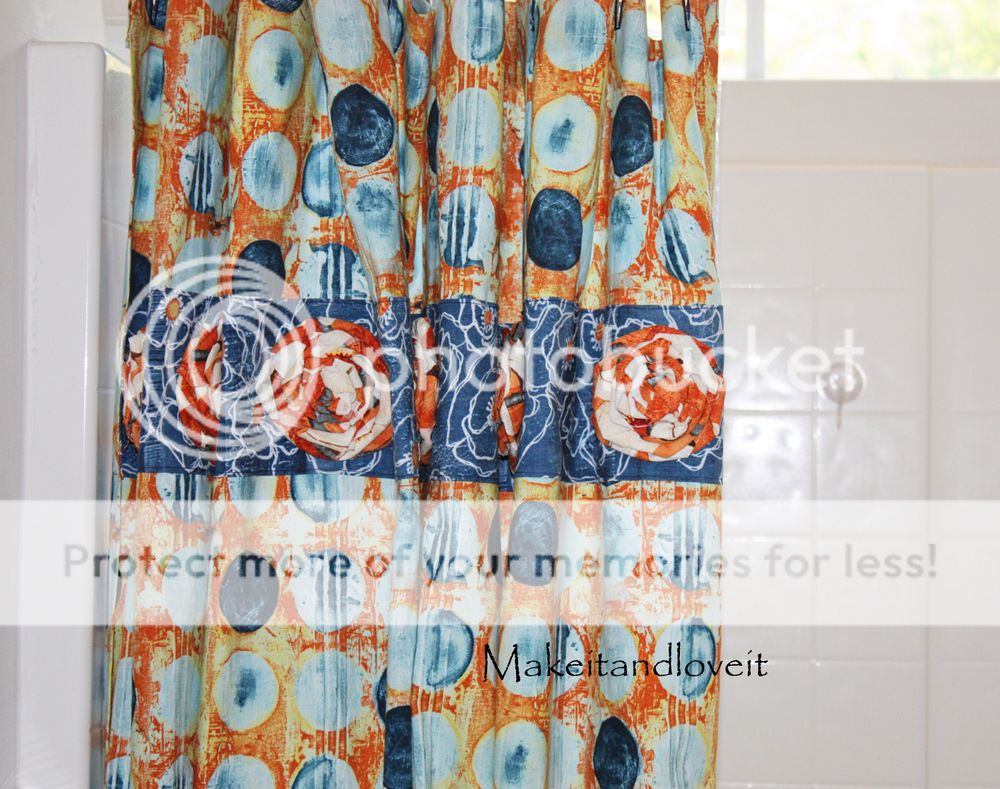
By way of a new shower curtain.
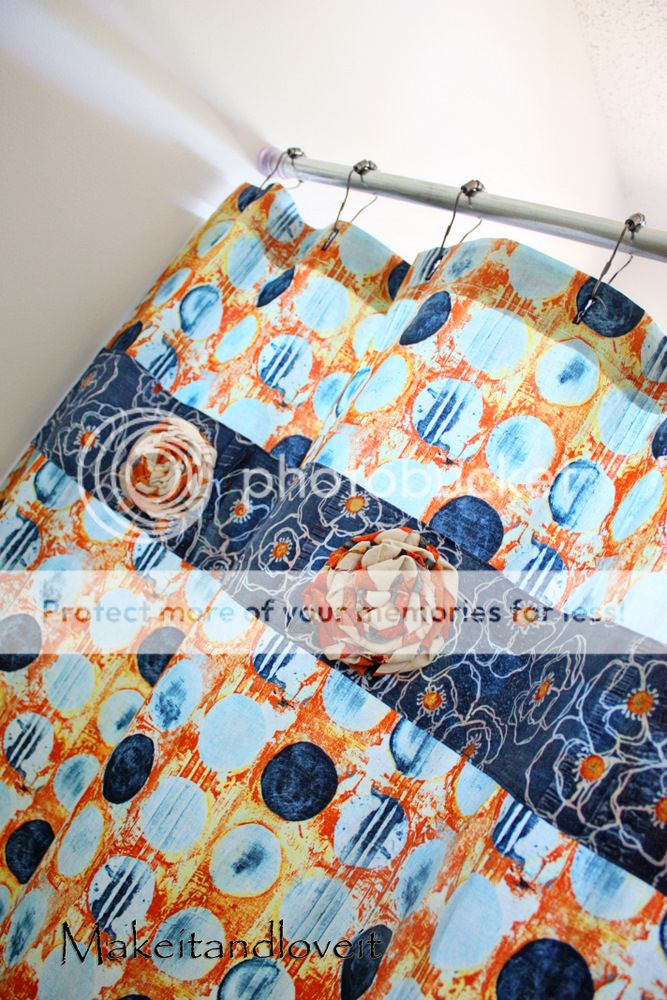
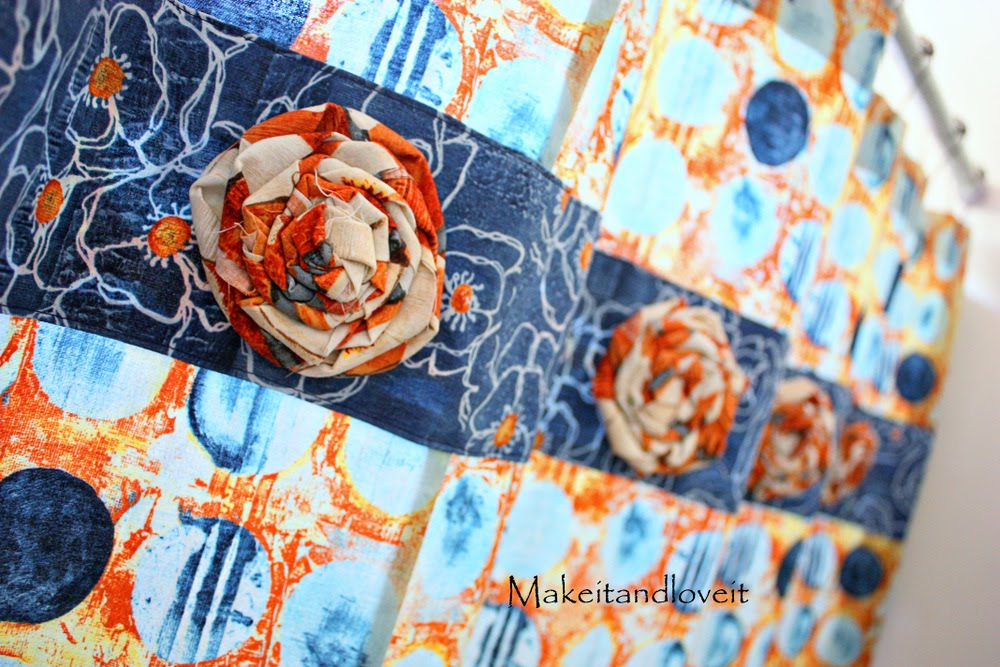
With some big ‘ol fabric rosette’s.
Over a strip of coordinating fabric….
I kind of adore the rosette’s….even all scrunched up to one side.
But why not make your own shower curtain, in the exact color you’d like? Instead of hunting and hunting for the perfect curtain. (And you can leave off the rosette’s, add multiple strips of fabric, add gathers, designs, whatever…..get creative.)
Are you in need of a new shower curtain?
Here’s how I made mine:
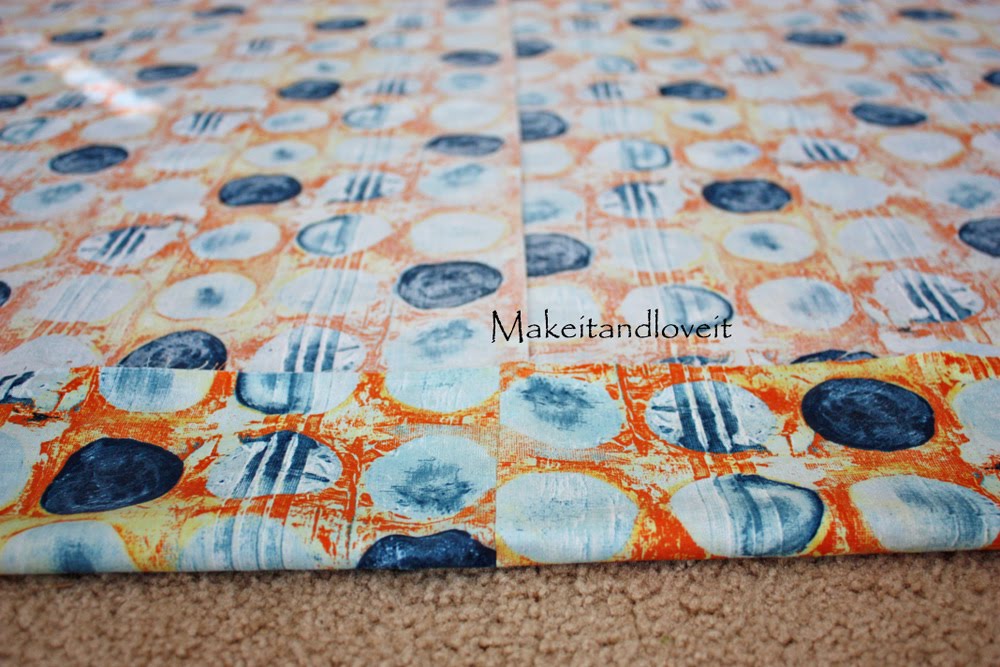
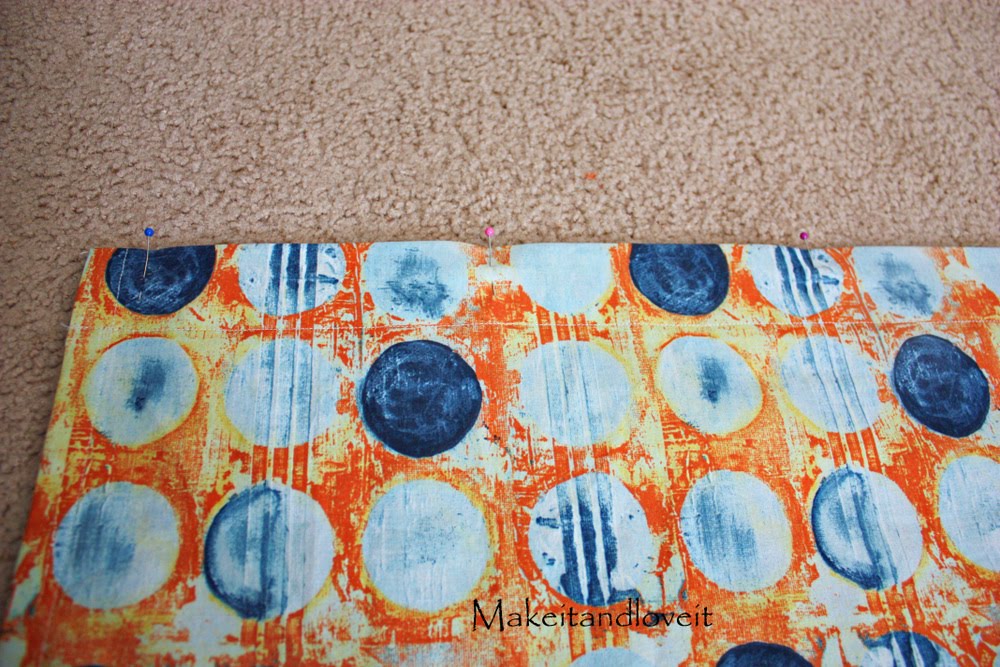
I bought 4 1/4 yards of fabric (this fabric collection was designed by Laura Gunn) for my main piece. (This fabric is 100% cotton…..but you could use a variety of fabrics.) I cut the yardage in half, so I had two, 2 1/8 yard pieces (or 76.5 inches). I sewed them together side by side (along the 76.5 inch side) to make the main piece wide enough for a shower curtain. Then I ironed this seam flat. (do you see the bottom edge of the fabric is folded up just to show you the seam from the front?)
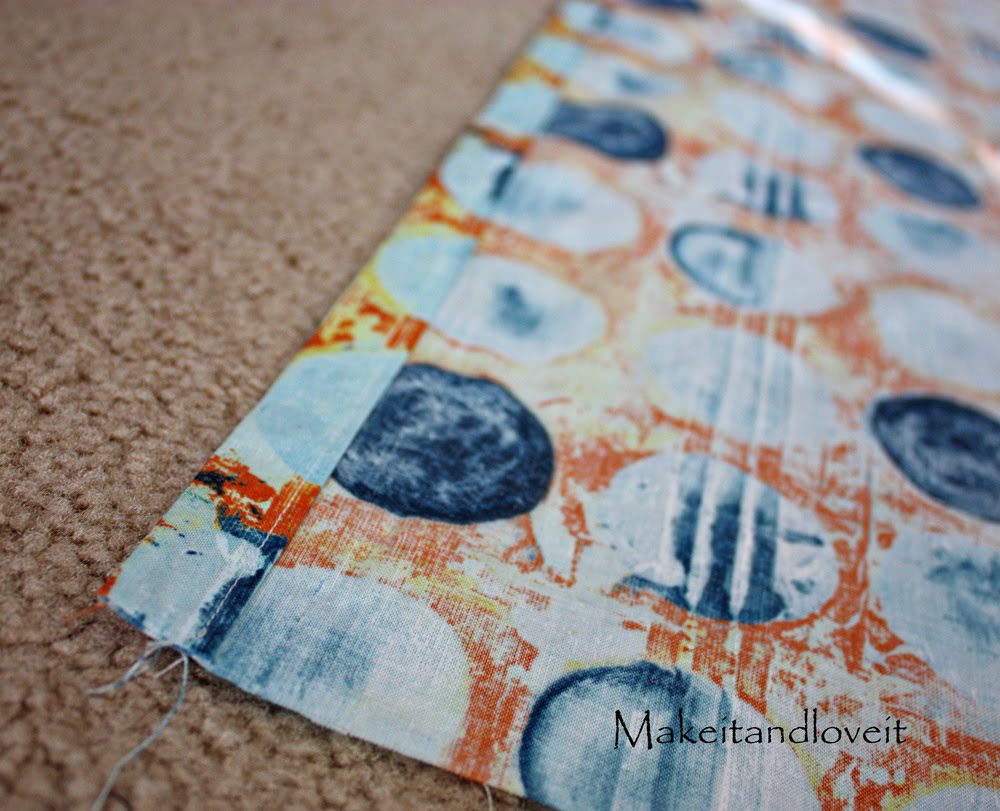
Then I trimmed off some along each side so that my main piece was 72 inches x 76 inches long.
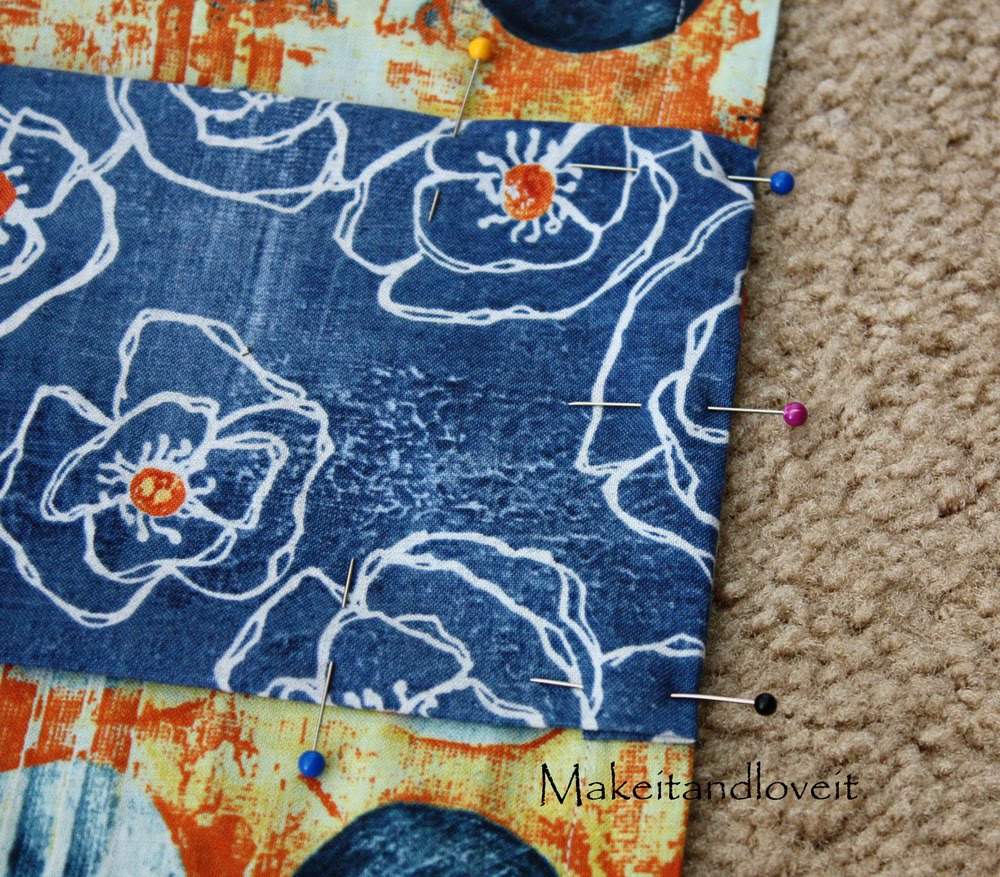
Next, I folded each 76.5 inch side under a 1/2 inch and then another 1/2 inch and then sewed this in place.
Then I folded the top of the curtain down 2.5 inches and then 2.5 more inches and pinned it in place.
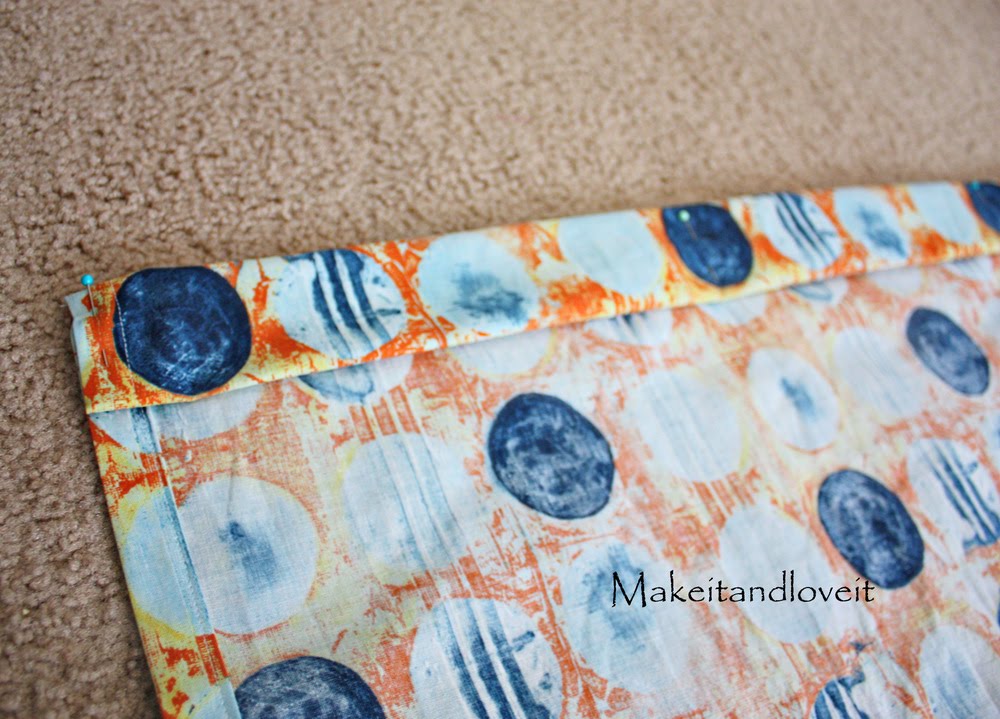
Then I sewed this in place close to the bottom fold. Then I spaced out 12 pins evenly along the top, marking the place where the shower curtain hooks will go.
Then I made inch-long button holes about 1/2 an inch from the top, where each pin was. (And you are sewing through 3 layers of fabric, so they should hold up pretty well.)

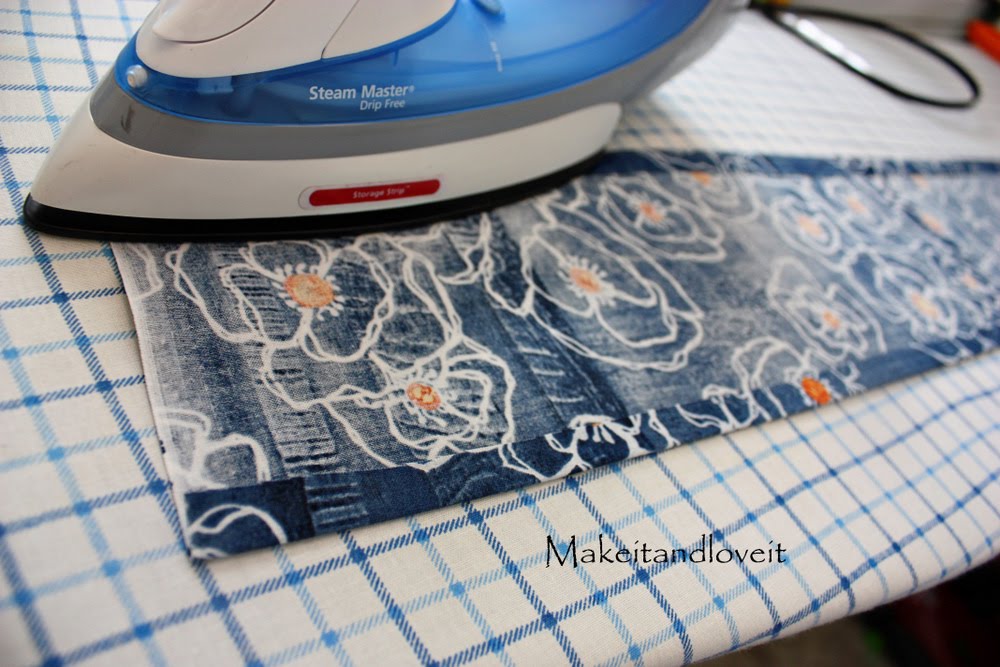
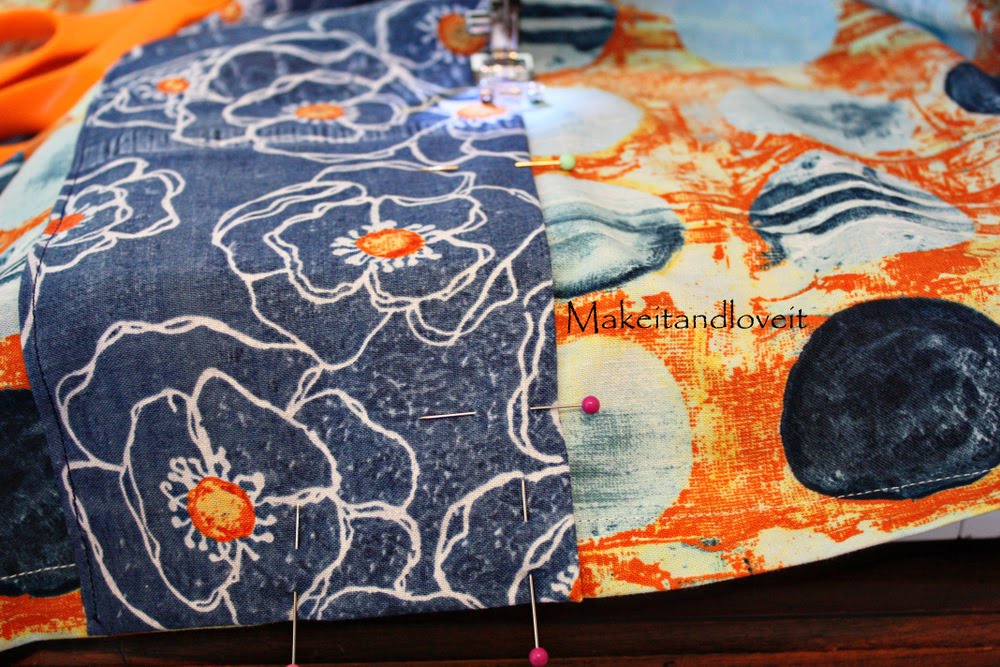
Then I cut two strips of fabric that were each 5.5 inches wide and were 44 inches long (the width of the fabric I bought). I sewed them together at one end so that I had a nice long piece that was 5.5 inches tall. I ironed each of the long sides under 1/2 inch.
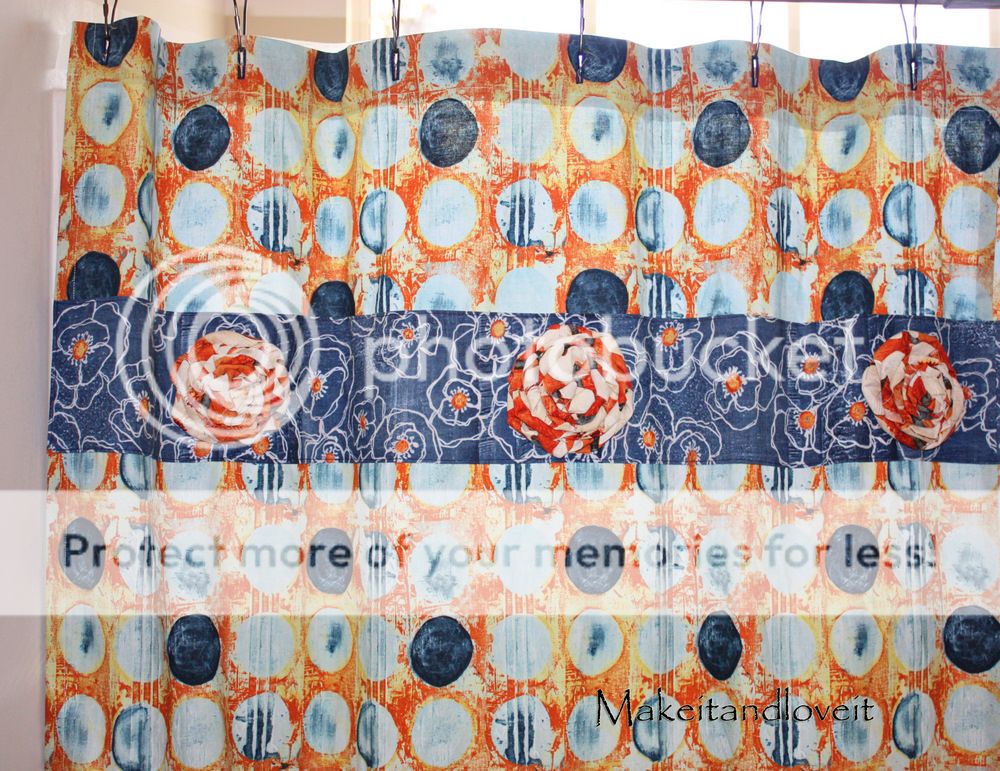
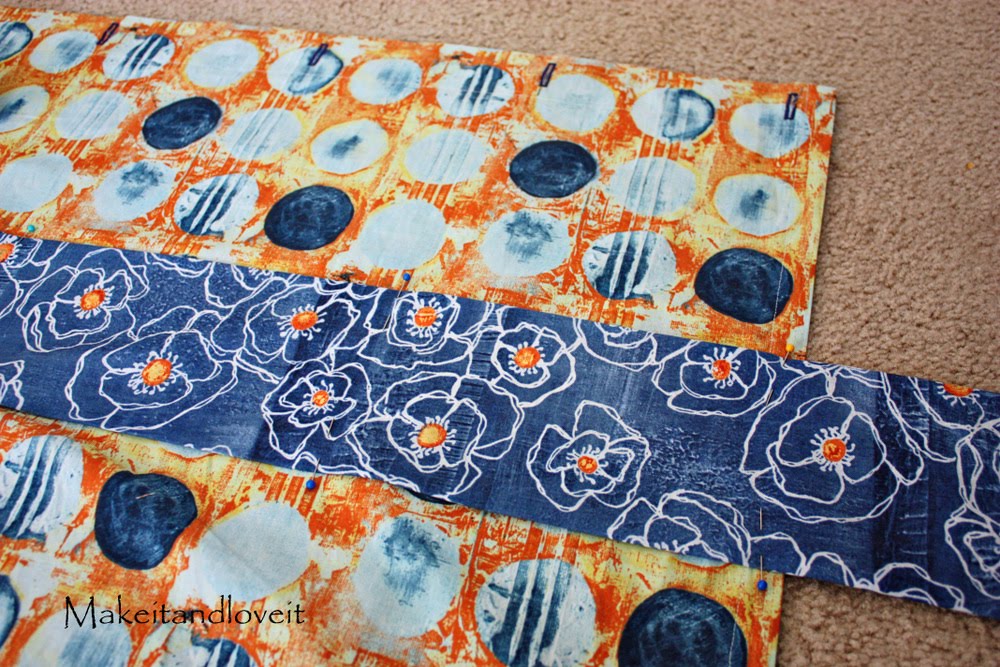
Then I pinned this panel of fabric 8.5 inches down from the top of the curtain (but place it however far down you’d like it).
Then I cut the excess of each end off, leaving 1/2 inch at each end.
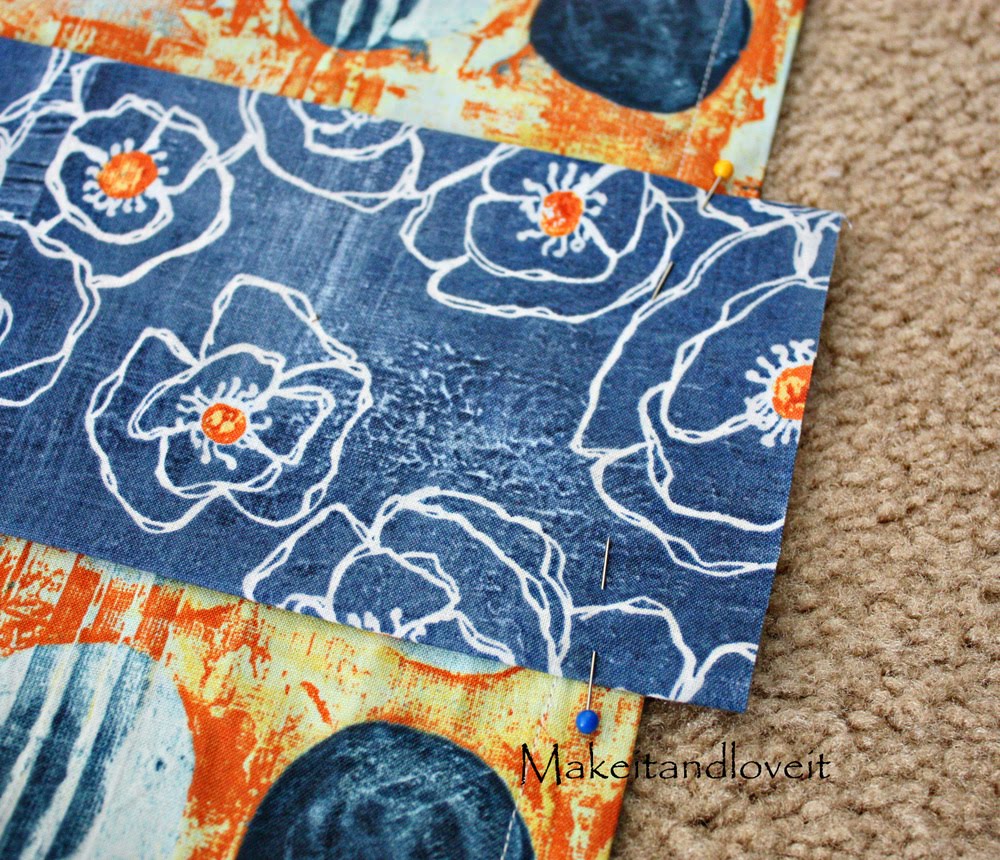
Next, I tucked each end under, making it even with the edge of the curtain, and pinning it in place.
Then I sewed around the entire piece of fabric, really close the the edge…..attaching this panel to the curtain.
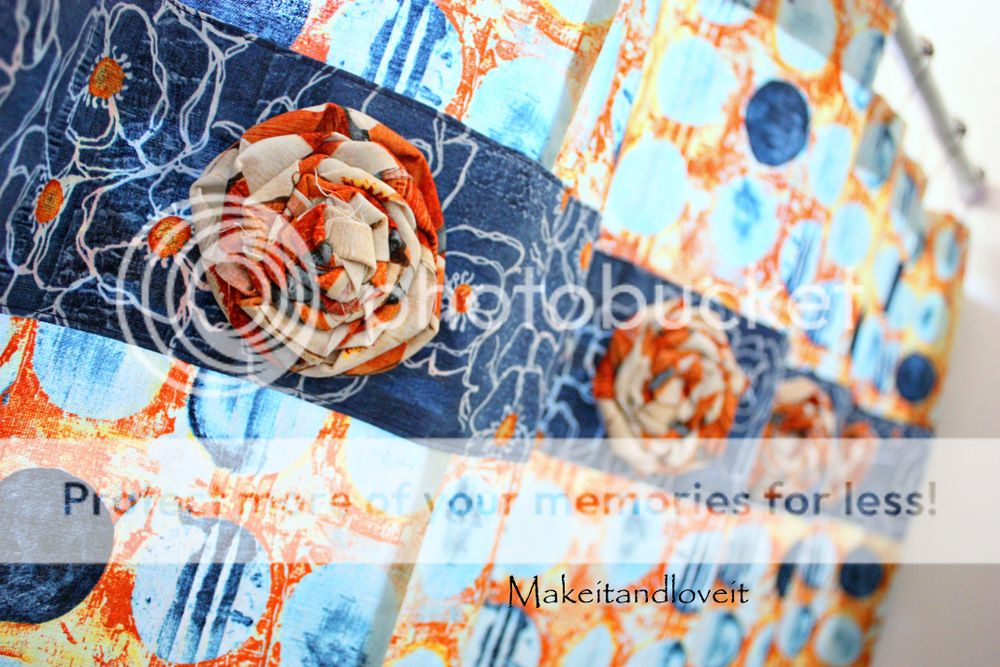
Then I made 6 fabric rosette’s that are about 3 3/4 inches in diameter. I did so by using strips of fabric that were 3.5 x 42 inches. (refer to this post here for rosette tutorial.) Instead of glue, I used thread and hand stitched as I wound the fabric around and around. And then I hand-stitched the rosette’s to the curtain….spacing them along the fabric panel.
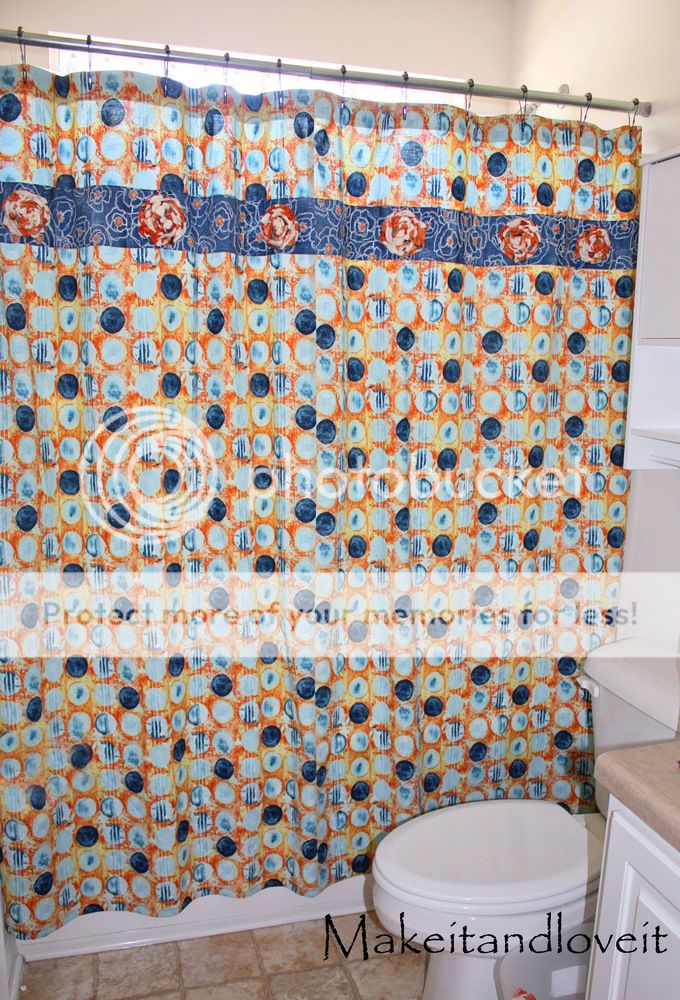
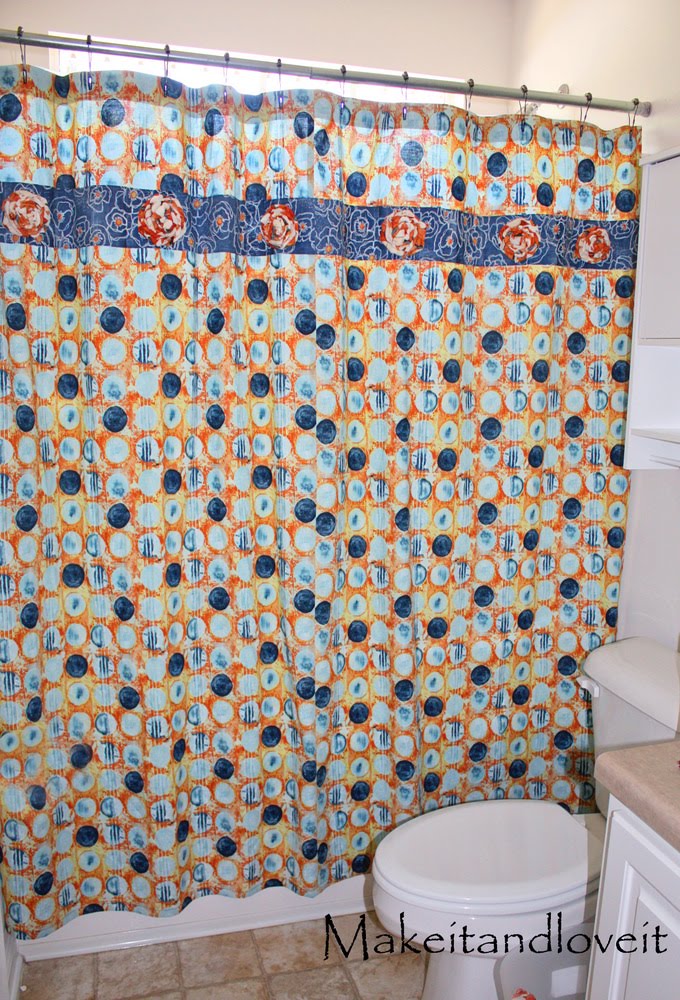
And then I hung my curtain (with a clear plastic curtain behind it)…
…and freshened up the bathroom.
**More will be added to this bathroom in posts to come…

Hi, I’m Ashley—the DIY-enthusiast behind this crazy blog!