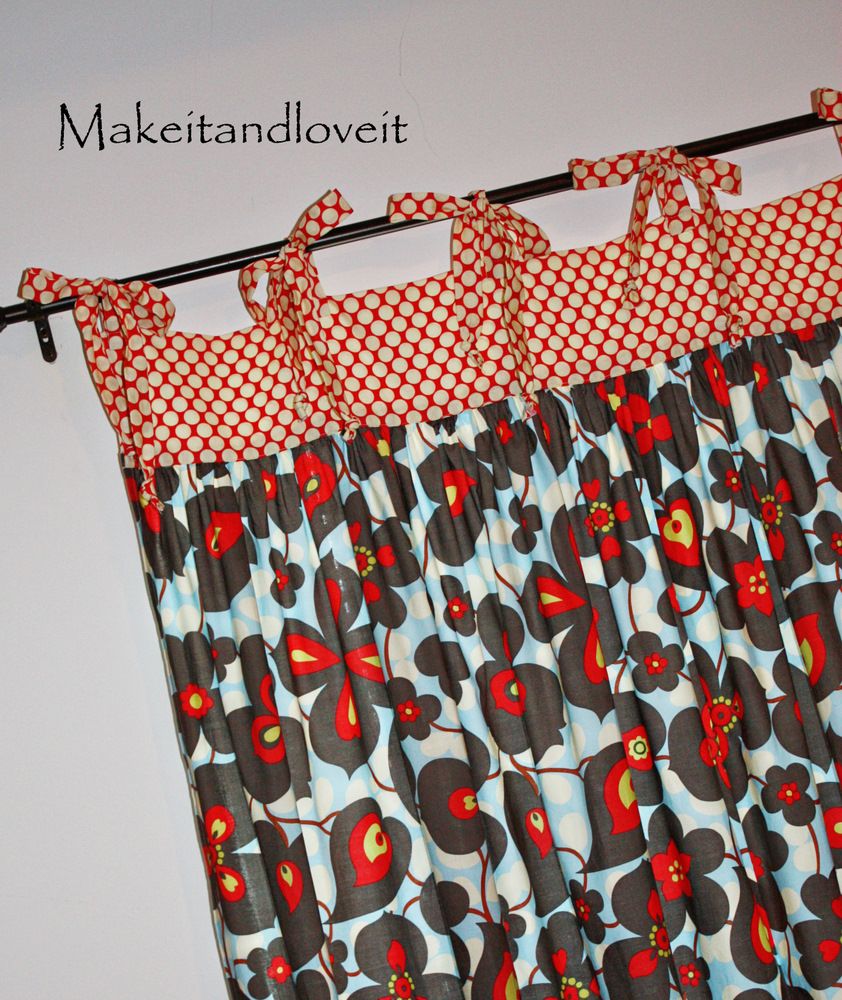
Remember the pillows I made here, here, and here?
Well, I had to splash more of that fabric by Amy Butler up on my windows.
Some serious vibrance.
All neatly gathered below a panel of floppy ties at the top.

I’m in love with this fabric…..but you probably already knew that.

Want to make some of your own?
I made 2 hanging panels to cover our bedroom window, but I will give you the directions to make one panel. (my window measures 70 inches wide by 52 inches tall.
First, I cut a panel for the top of the curtains that was 38 x 11 inches. I ironed the very ends towards the inside of the fabric, 1/2 an inch.
Then I used 4 yards of fabric, that was 45 inches wide, and cut it into two 2 yard pieces……so 2 pieces that were 45 x 72 inches. Then I sewed the two pieces together (with right sides together) along their long side (72 inch side). So I had a great big piece that was 90 x 72 inches.
I then hemmed the sides of this great big piece by folding the edge over a 1/4 inch and then another 1/4 inch and then sewed it into place. (You are sewing the 72 inch sides.)
Then, I made a basting stitch 1/2 inch from the edge along the width of the fabric (the 90 inch side) and gathered the fabric all along the top. Then I pinned it to the long edge of the top panel, with right sides together. Make sure to evenly space all of your gathers.
Sew the 2 pieces together, right along that original seam line. (make sure the folds that you ironed on the ends of your top panel, are still folded towards the wrong side of the fabric as you sew.)
Then fold the other edge of your top panel towards the inside a 1/2 inch and iron in place.
Then fold down and line up that edge with the seam you just made while attaching the gathered piece to the panel. Pin into place.
Then carefully sew from the other side and remove your pins as you go. (If it seems a little too tricky to lift up the panel to remove a pin each time you reach one, put the pins on the front of the panel instead, to secure the back of the panel in place.) This step will help the front lay flat and finished while securing the other edge of the panel down to the back. And you want to sew from the front so that you can watch as you’re sewing and make an even stitch across the front.
Now, sew the entire panel flat. Then sew the ends of the panel closed, making a seam really close to the edge.
Then I cut 6 strips of fabric that were 40 x 3 inches. (there are 12 in this picture because they are for both of my panels.)
Then I folded them in half lengthwise and sewed them along the long side, with a 1/2 inch seam allowance. Then I turned them right side out and ironed them flat. (click here if you need help turning them right side out.)
Then place 6 pins evenly spaced along the top of your panel. Now fold each tie in half to find the middle……..
…….and fold them over the top of the panel, where your pin was marking its spot.
Then make a seam an inch away from the edge, securing the tie in place.
And then flip both ends out, and make another seam 1/4 inch away from the edge. Make sure you have sewn the through both ties and the panel.
Repeat with the other ties and you should have 6 ties evenly spaced along the top of the panel.
**Then you can either hem the end of each tie, or tie them in a knot like I did. Easy and quick…..and pretty cute.
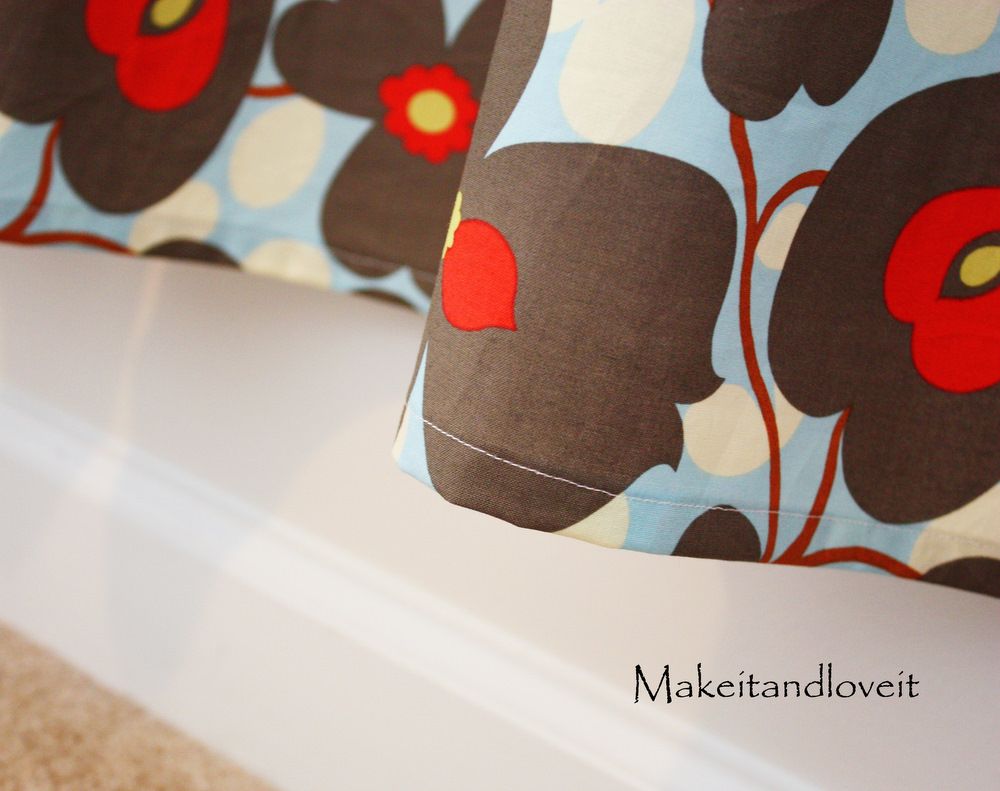
Lastly you’ll hem the bottom of the curtain by folding it under a 1/4 inch and then another 1/4 inch and then sewing it in place.
(remember to make 2 and buy twice the amount of fabric if you’re wanting 2 panels…)
And that’s it.
A completely unique ruffled curtain
………adorned with some floppy ties at the top.