Home » DIY Tutorials » DIY Sewing » Sewing: Clothing » Accessories » Gift Card Cozy
Gift Card Cozy
December 1, 2010 - By Ashley Johnston 41 Comments
. Today’s tutorial will also be posted on
Ucreate, as part of an
inexpensive gift idea series that Kari has put together. I can’t wait to see what other ideas she features this week.
. . . . . . . . . . . . . . . . .
Gift giving can be so fun.
But what about when you can’t think of what to give?
Ugggh. Frustrating.
Gift cards are an easy gift. But so impersonal.
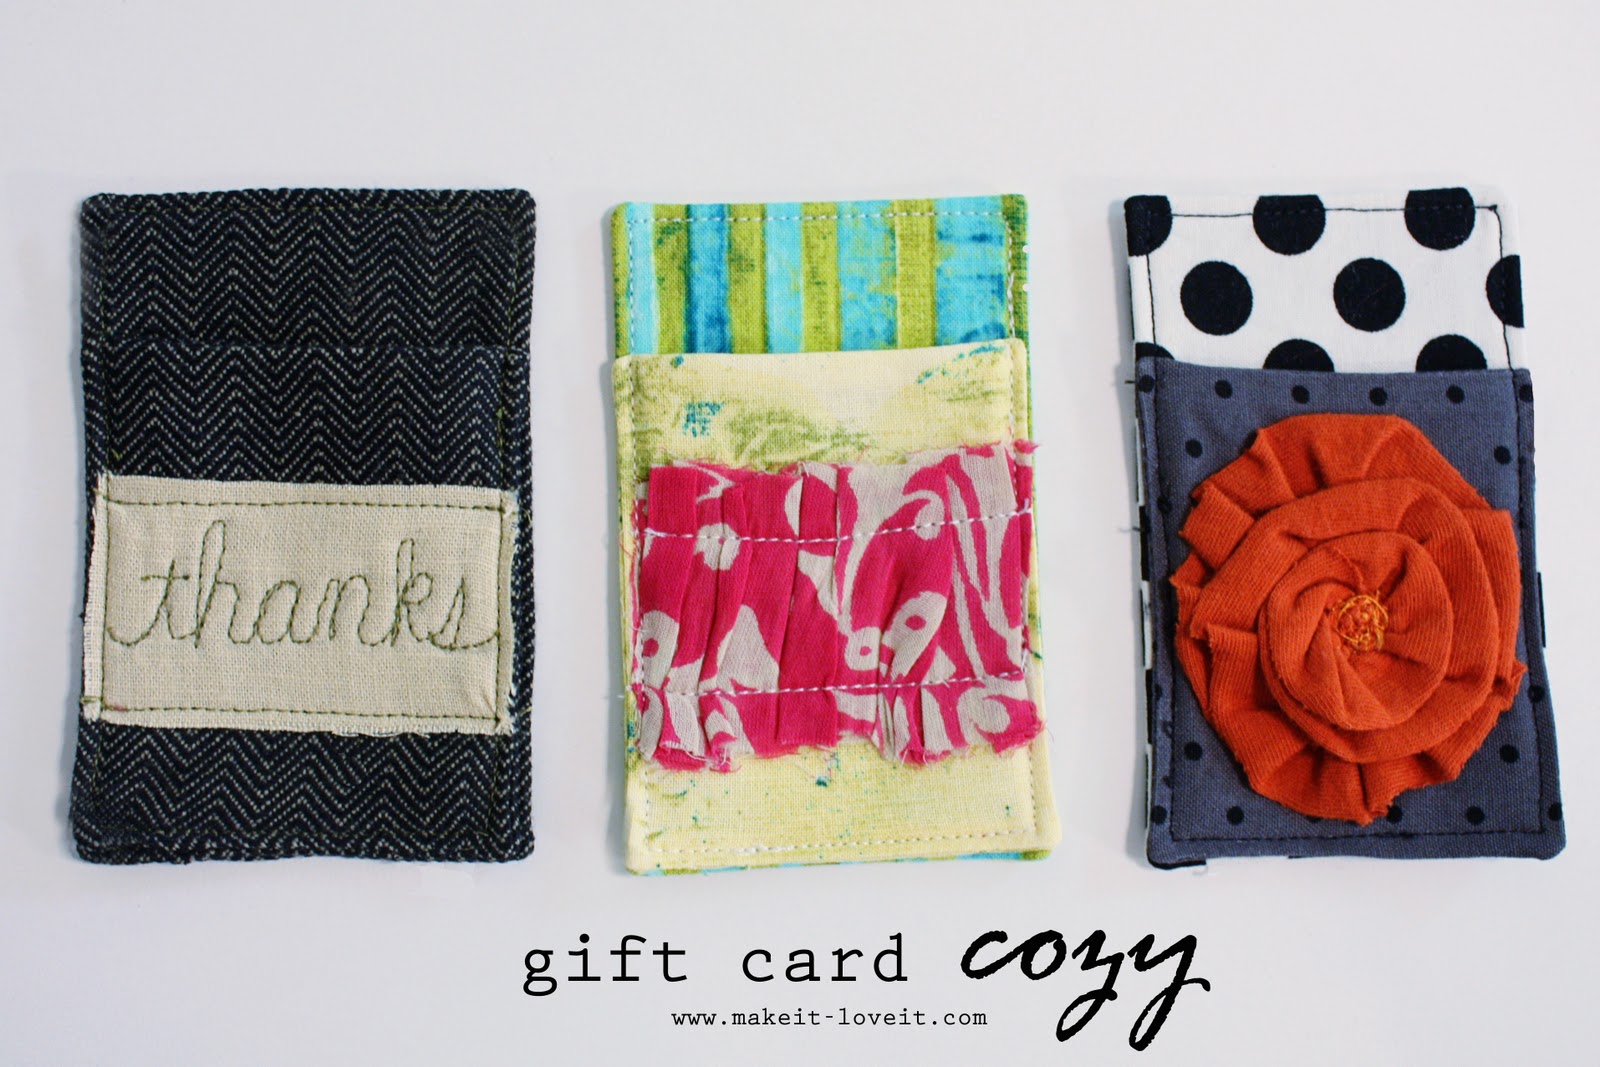
So how about making them a little more personal……and putting them into a little
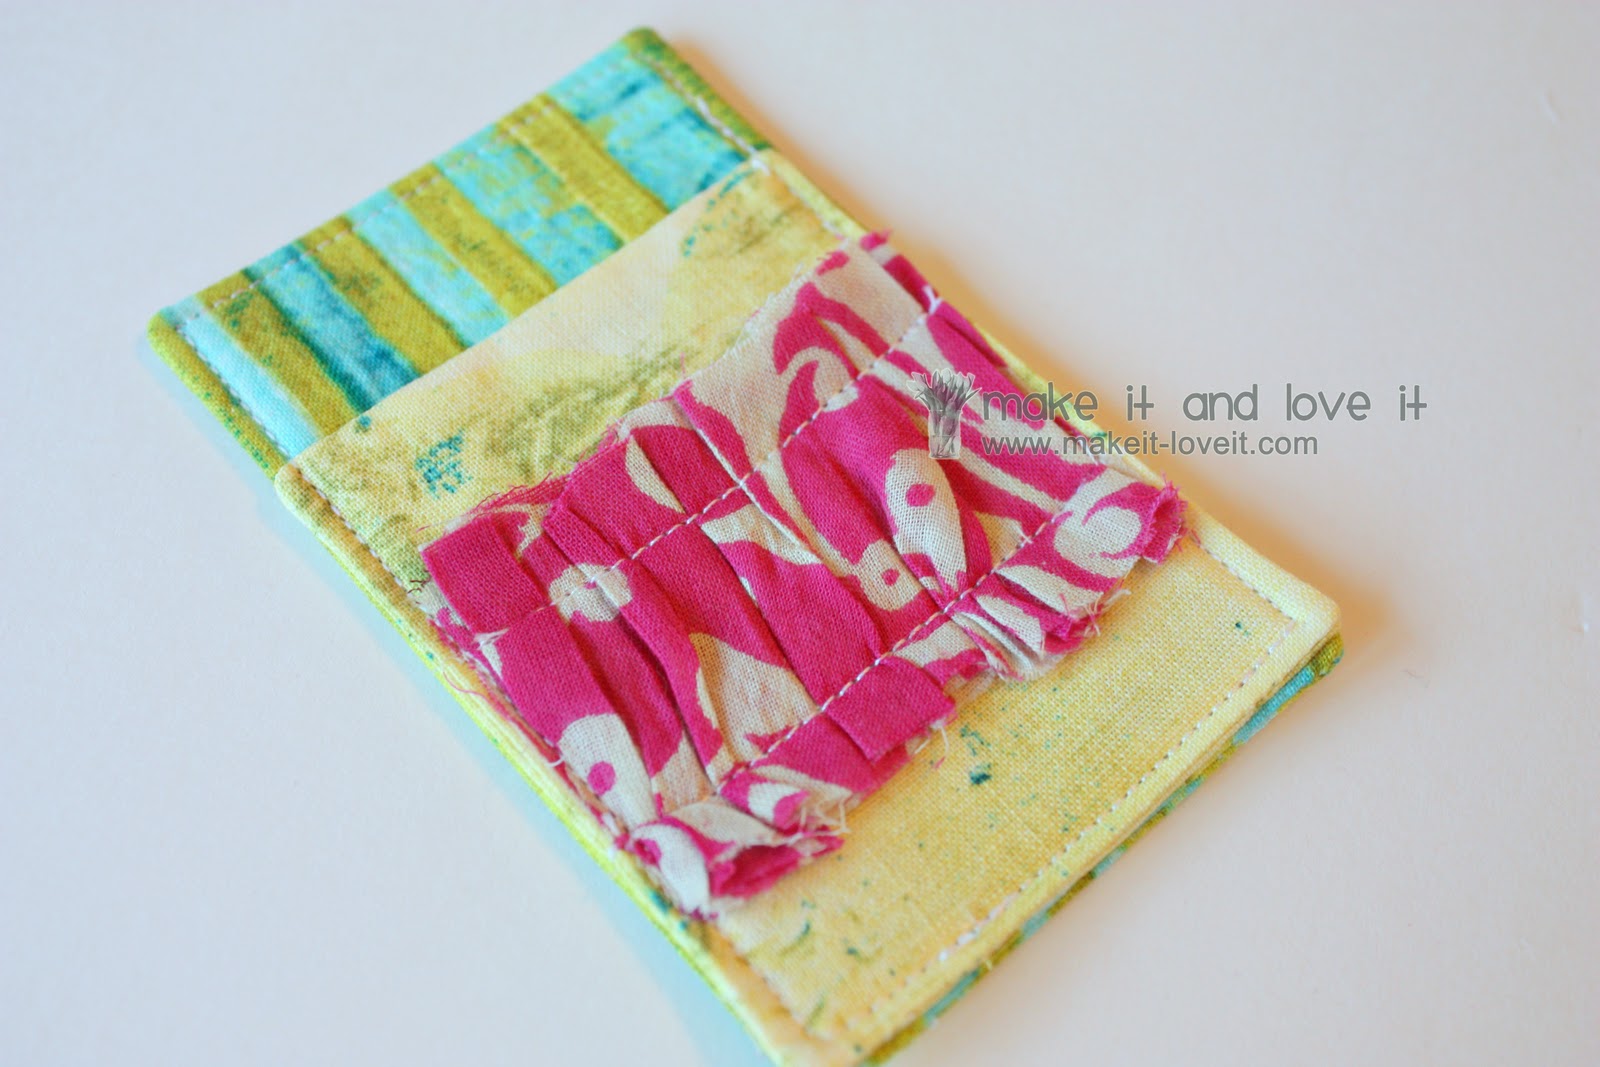
gift card cozy.
The idea of putting a gift card in a cozy makes me laugh. But the ice cream cozy I made (found here) made me laugh too. But nothing’s cuter than putting an ordinary object into a nice fabric cozy. It’s just sweet.I have seen different varieties of gift card holders floating around, but I tried to create one with a really easy shape……with a little added flair to the front.
You are still able to offer a simple gift, but still show that you put a little thought and time into the gift.
Sounds perfect to me.
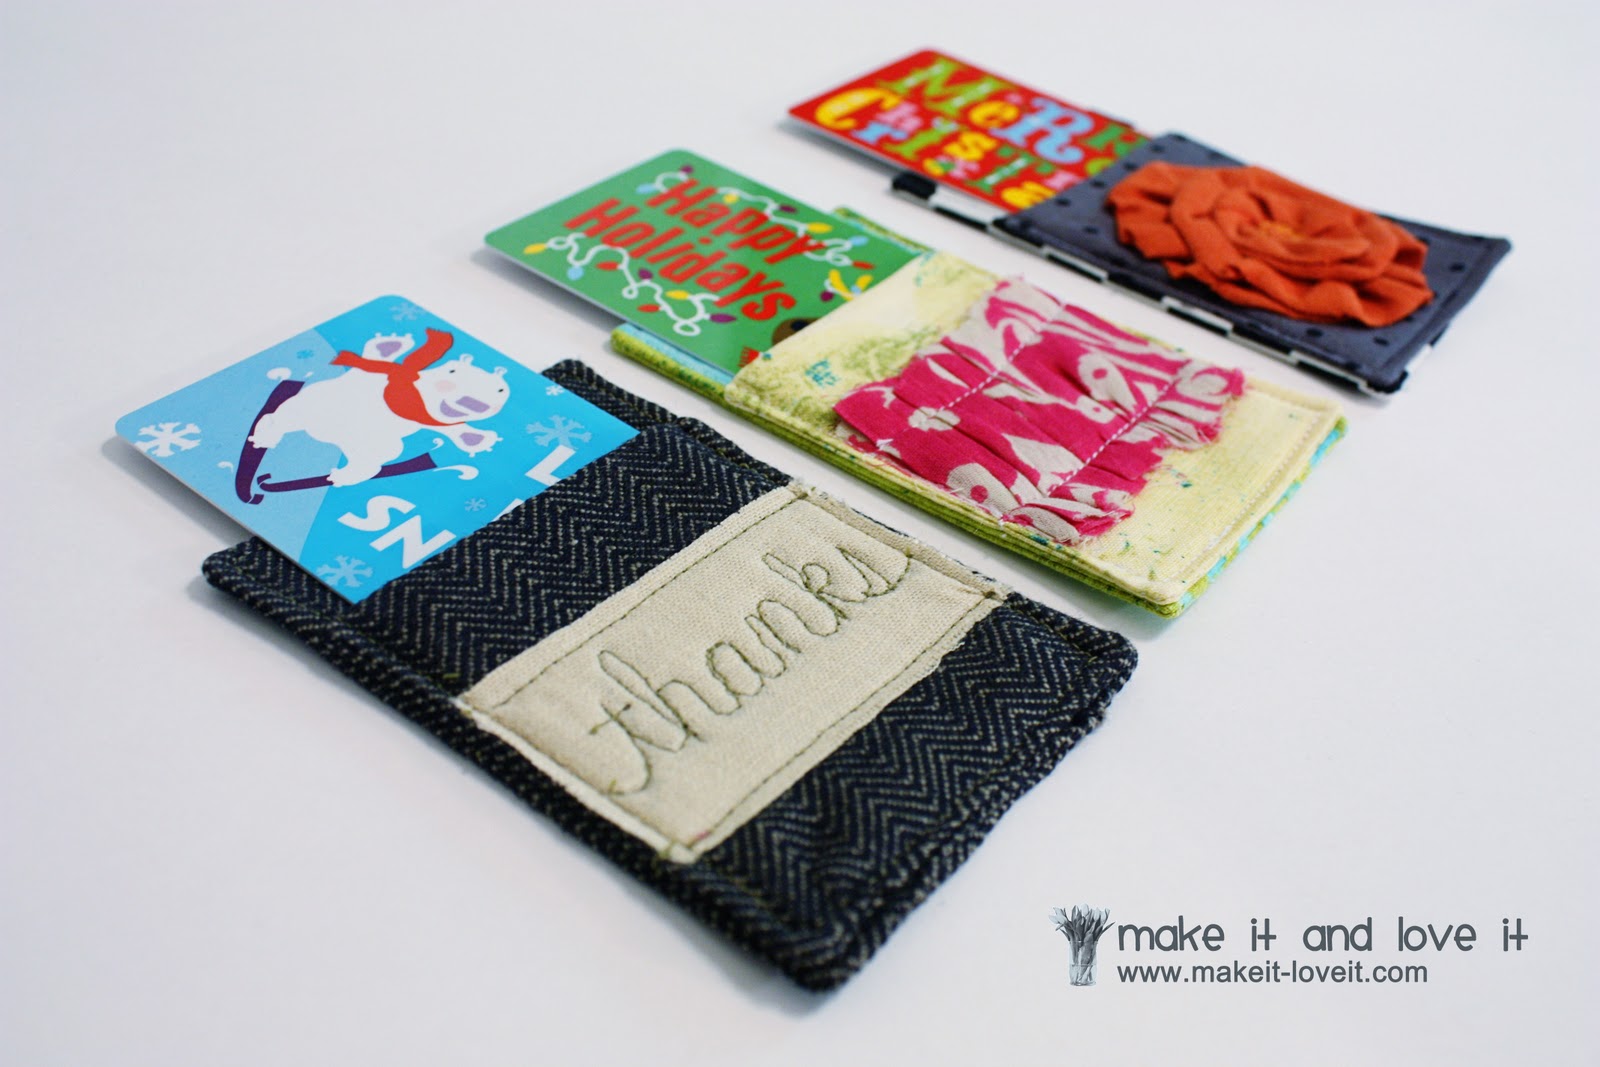
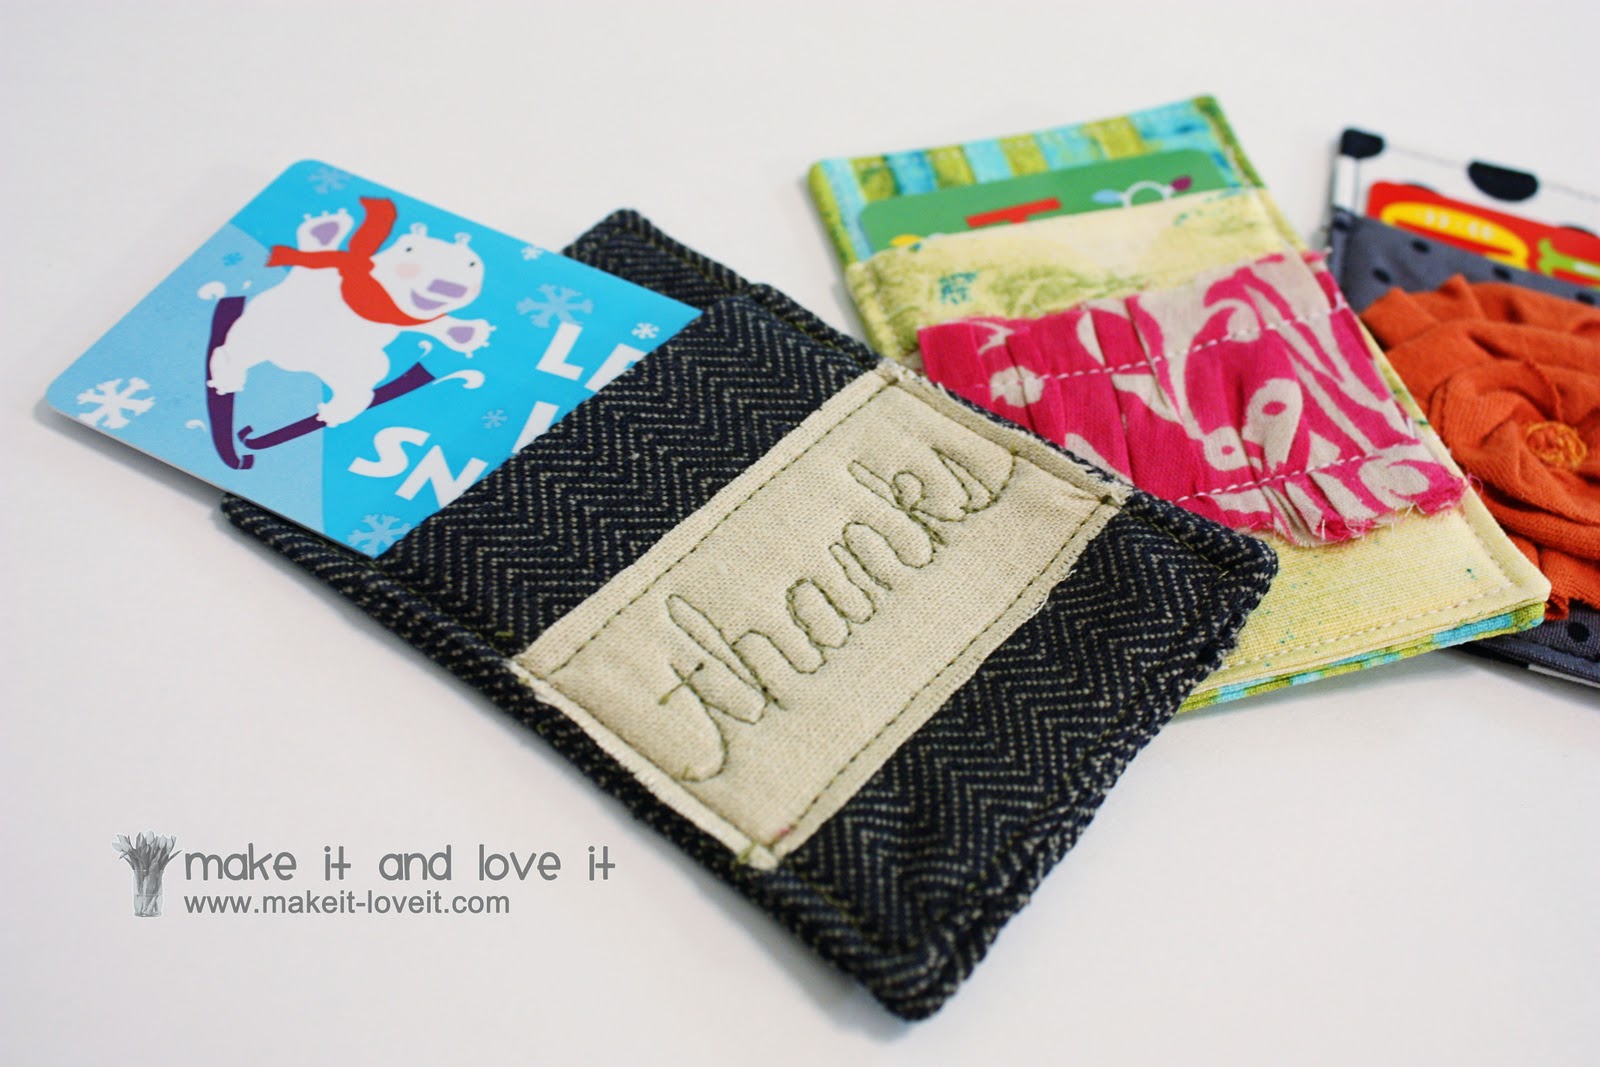
Just slide in that little gift card…….and you’ve got the perfect simple gift.
Dress up a $5 gift card, or a $50 one……..either will look fabulous in their new little cozy.
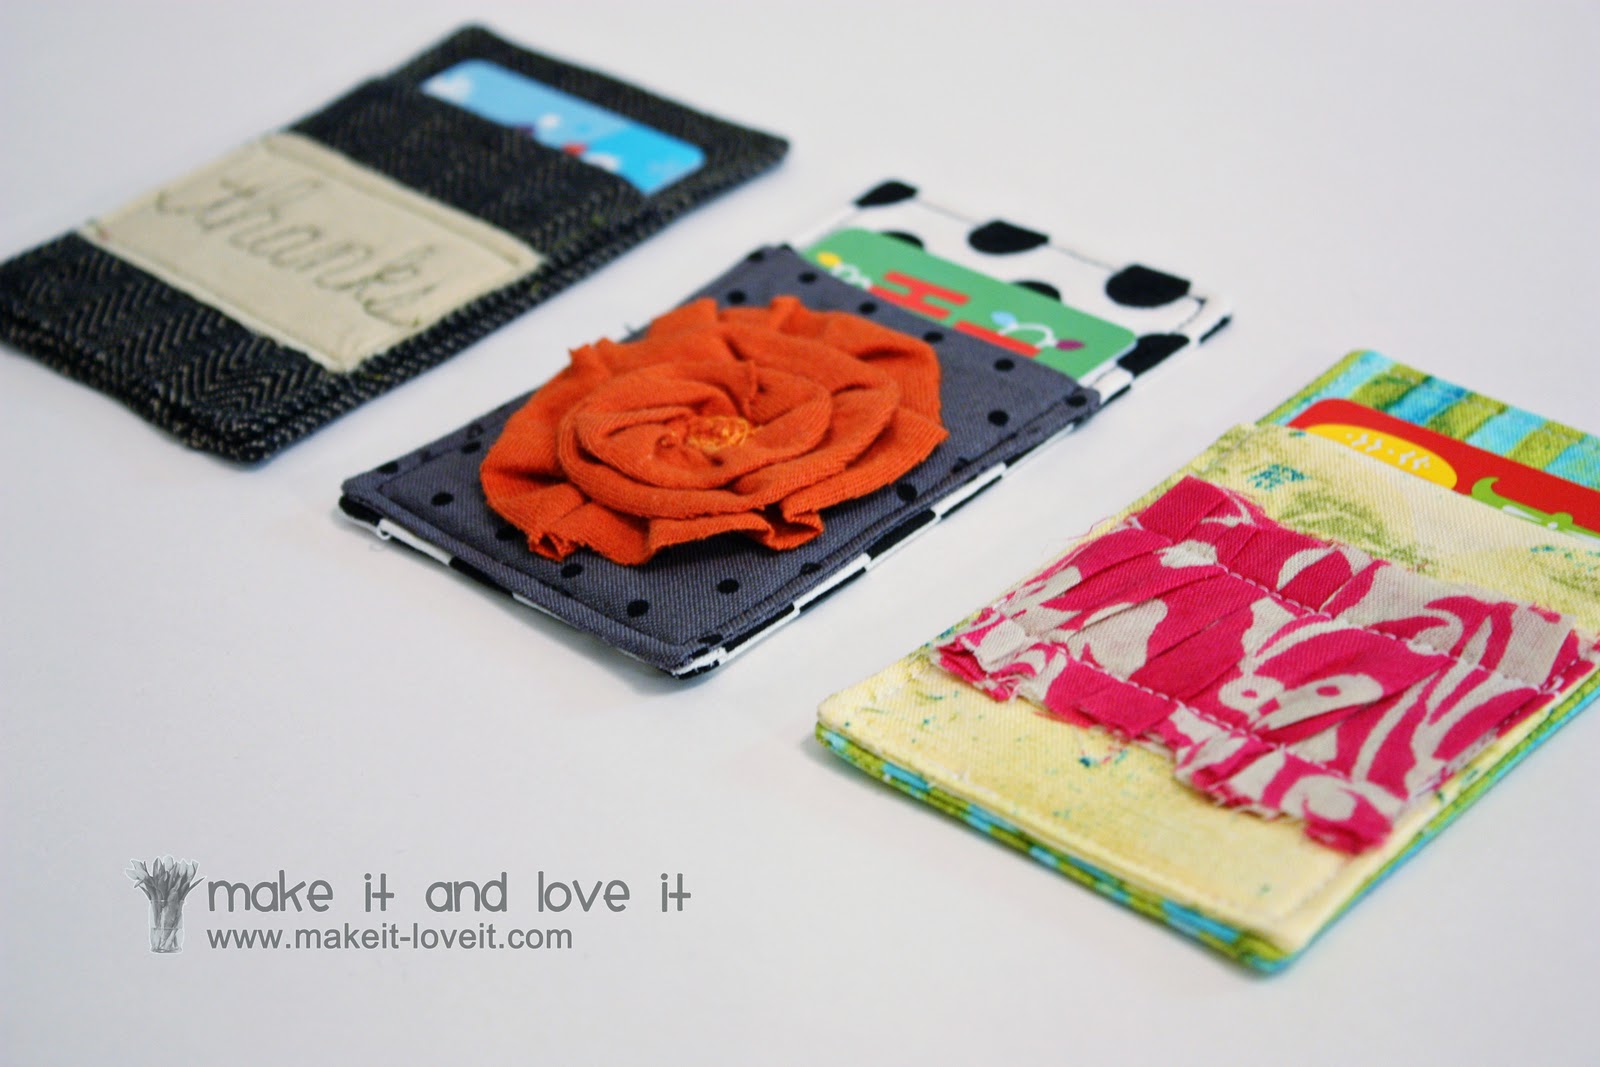
And keep in mind that you can really dress these up and make them frilly……or keep them more simple and masculine. Men like gift cards too!
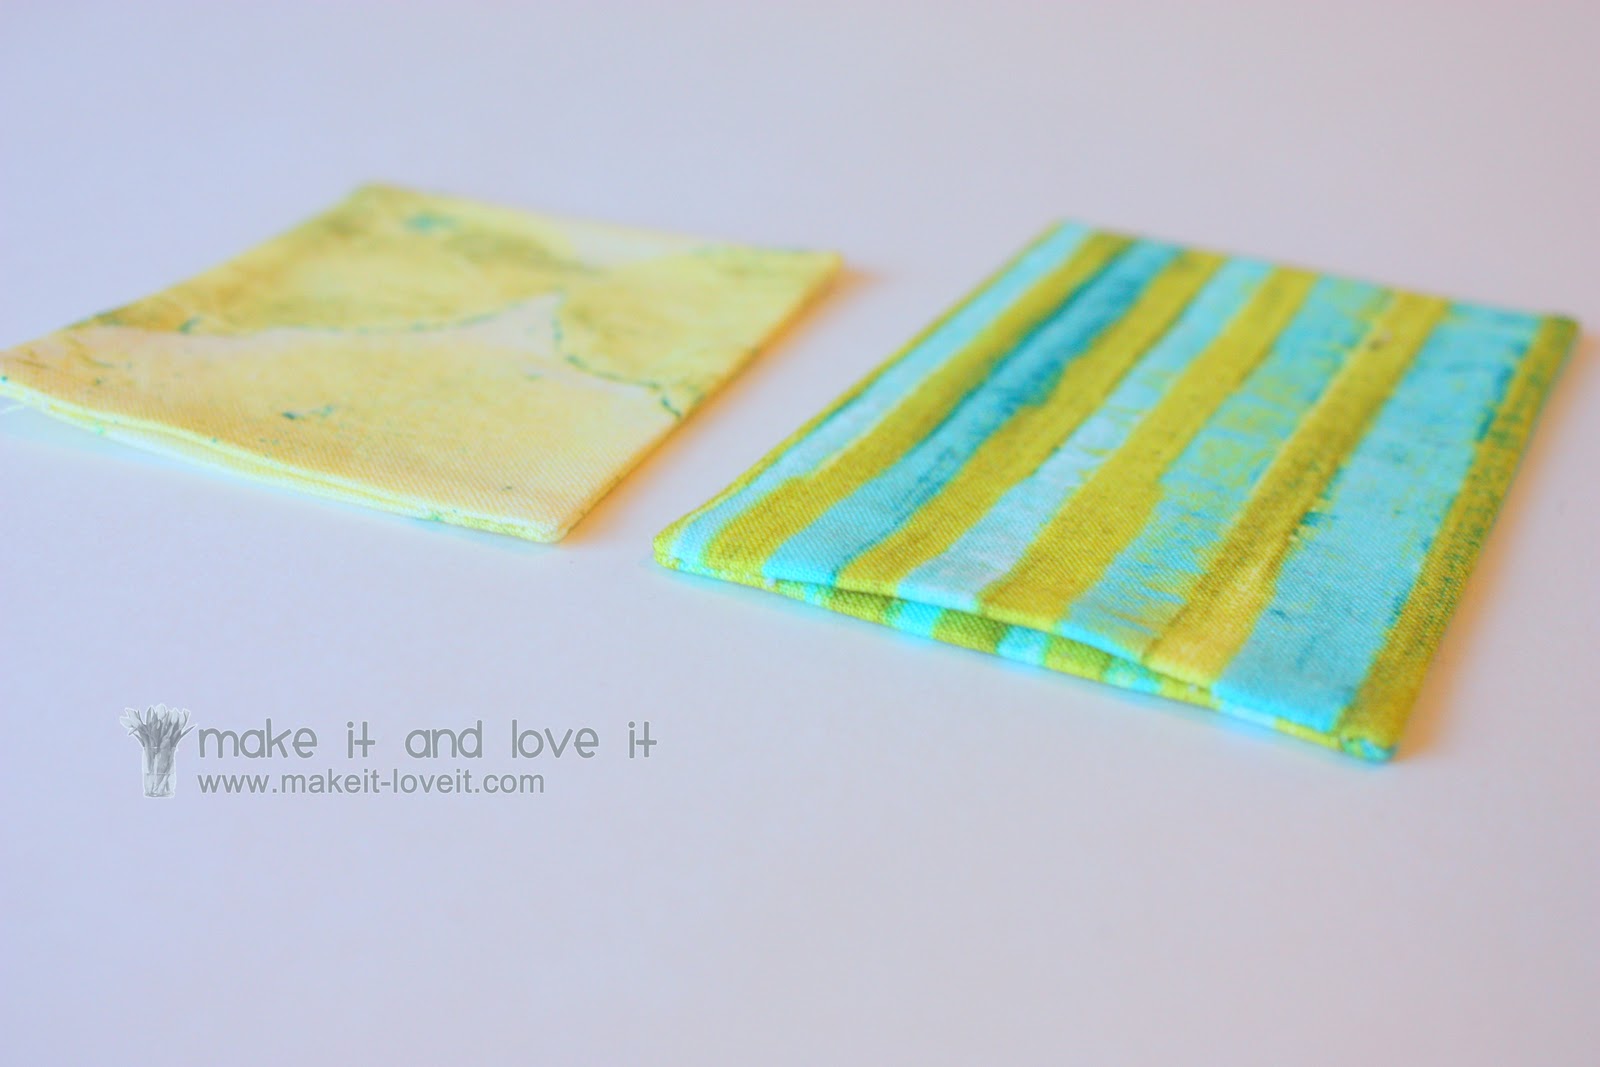
I used cotton for 2 of the gift cozies and wool suiting for the 3rd one…….but many types of fabric would work. Start digging through that scrap pile.
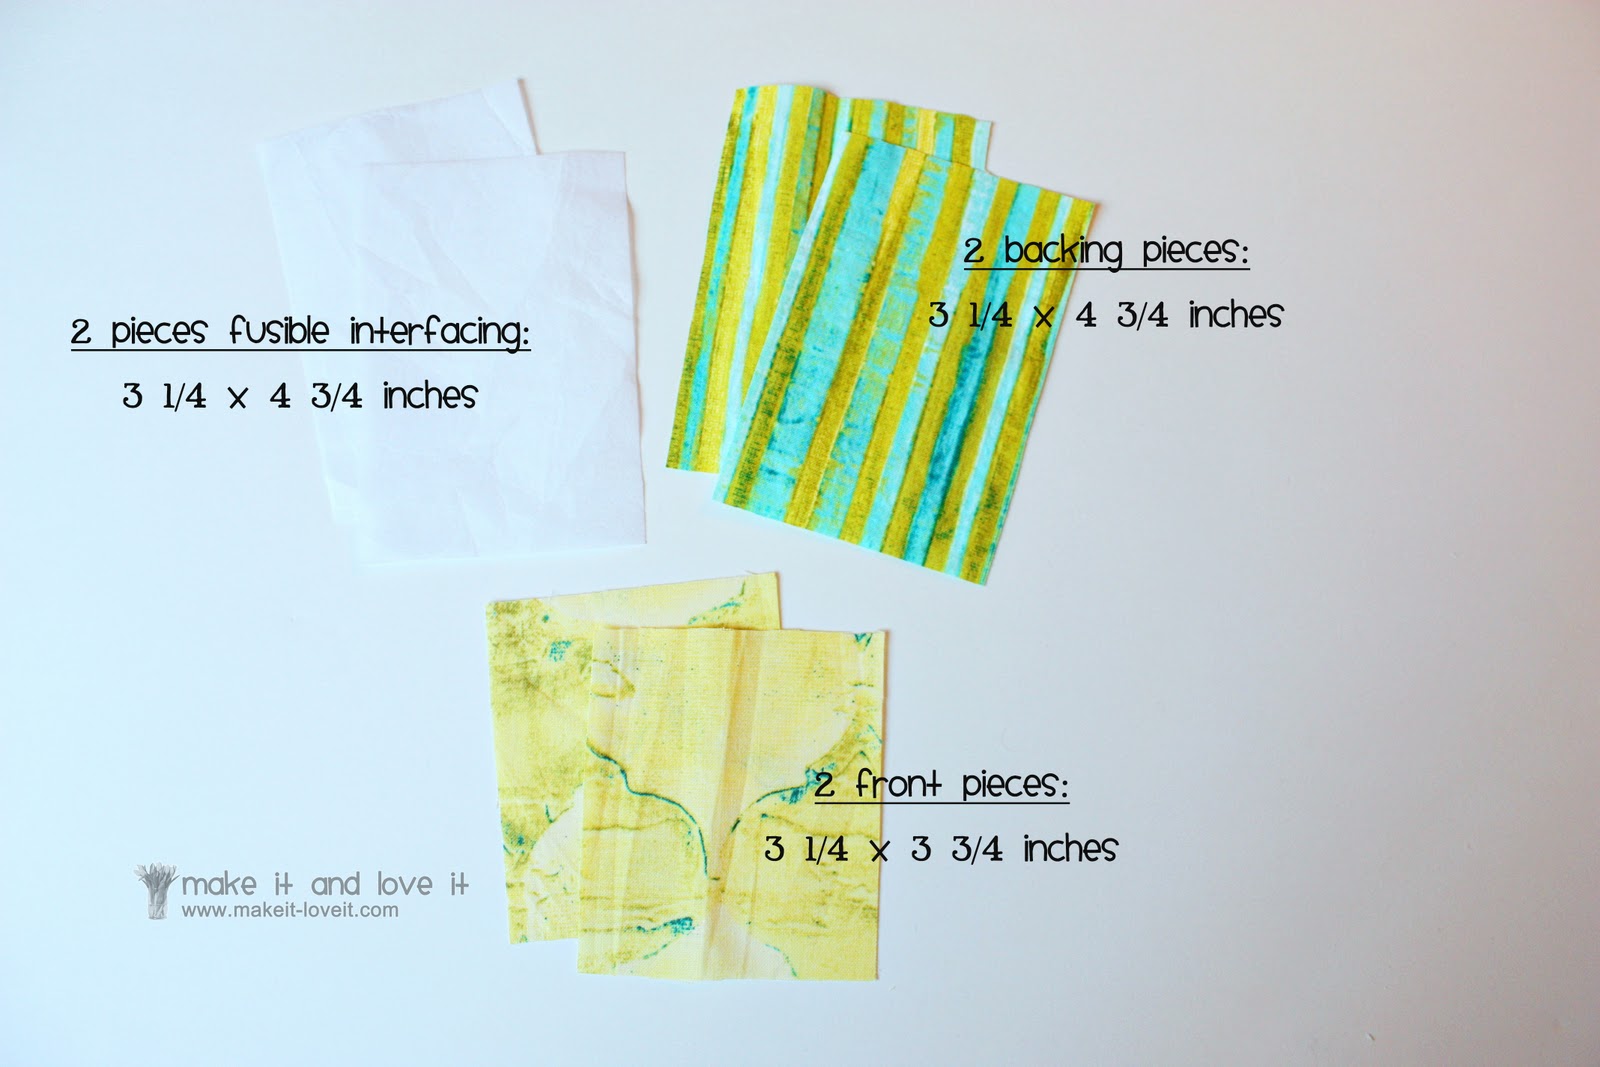
And many sizes will work for these cozies, but here’s the dimensions that I used.
- 2 backing pieces of fabric that are 3 1/4 x 4 3/4 inches.
- 2 pieces of fusible interfacing that are 3 1/4 x 4 3/4 inches.
- 2 front pieces of fabric that are 3 1/4 x 3 3/4 inches.
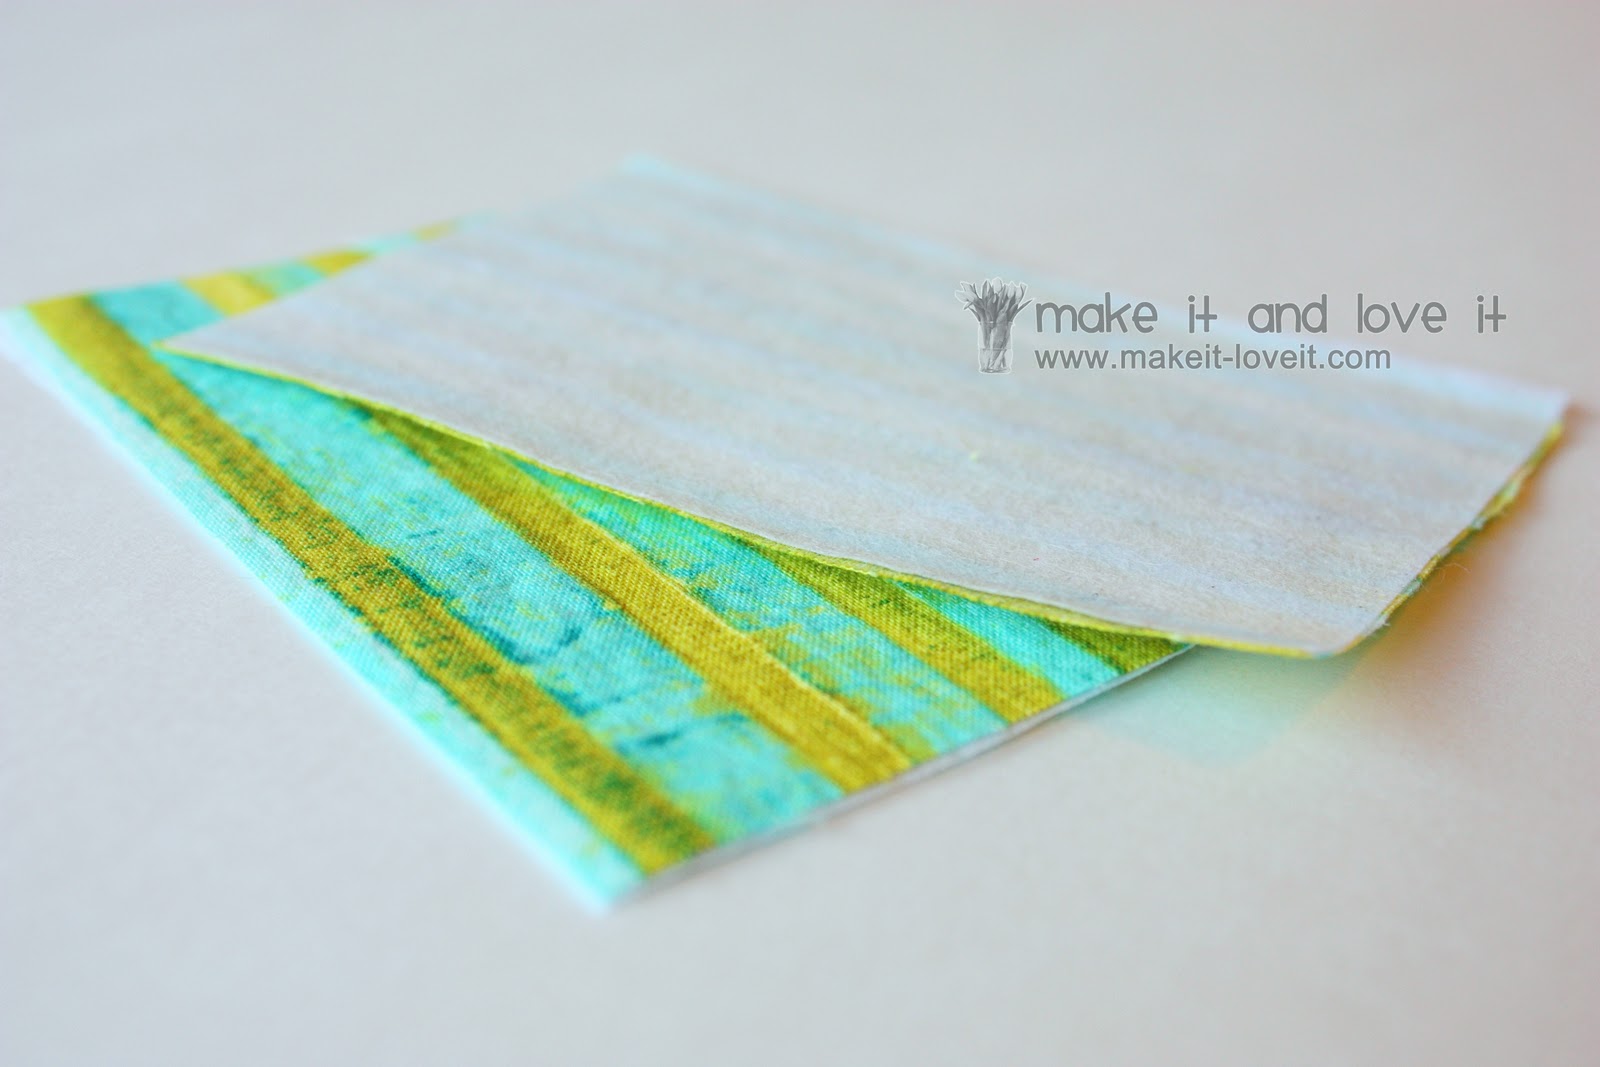
First, iron the fusible web to the wrong side of the backing pieces.
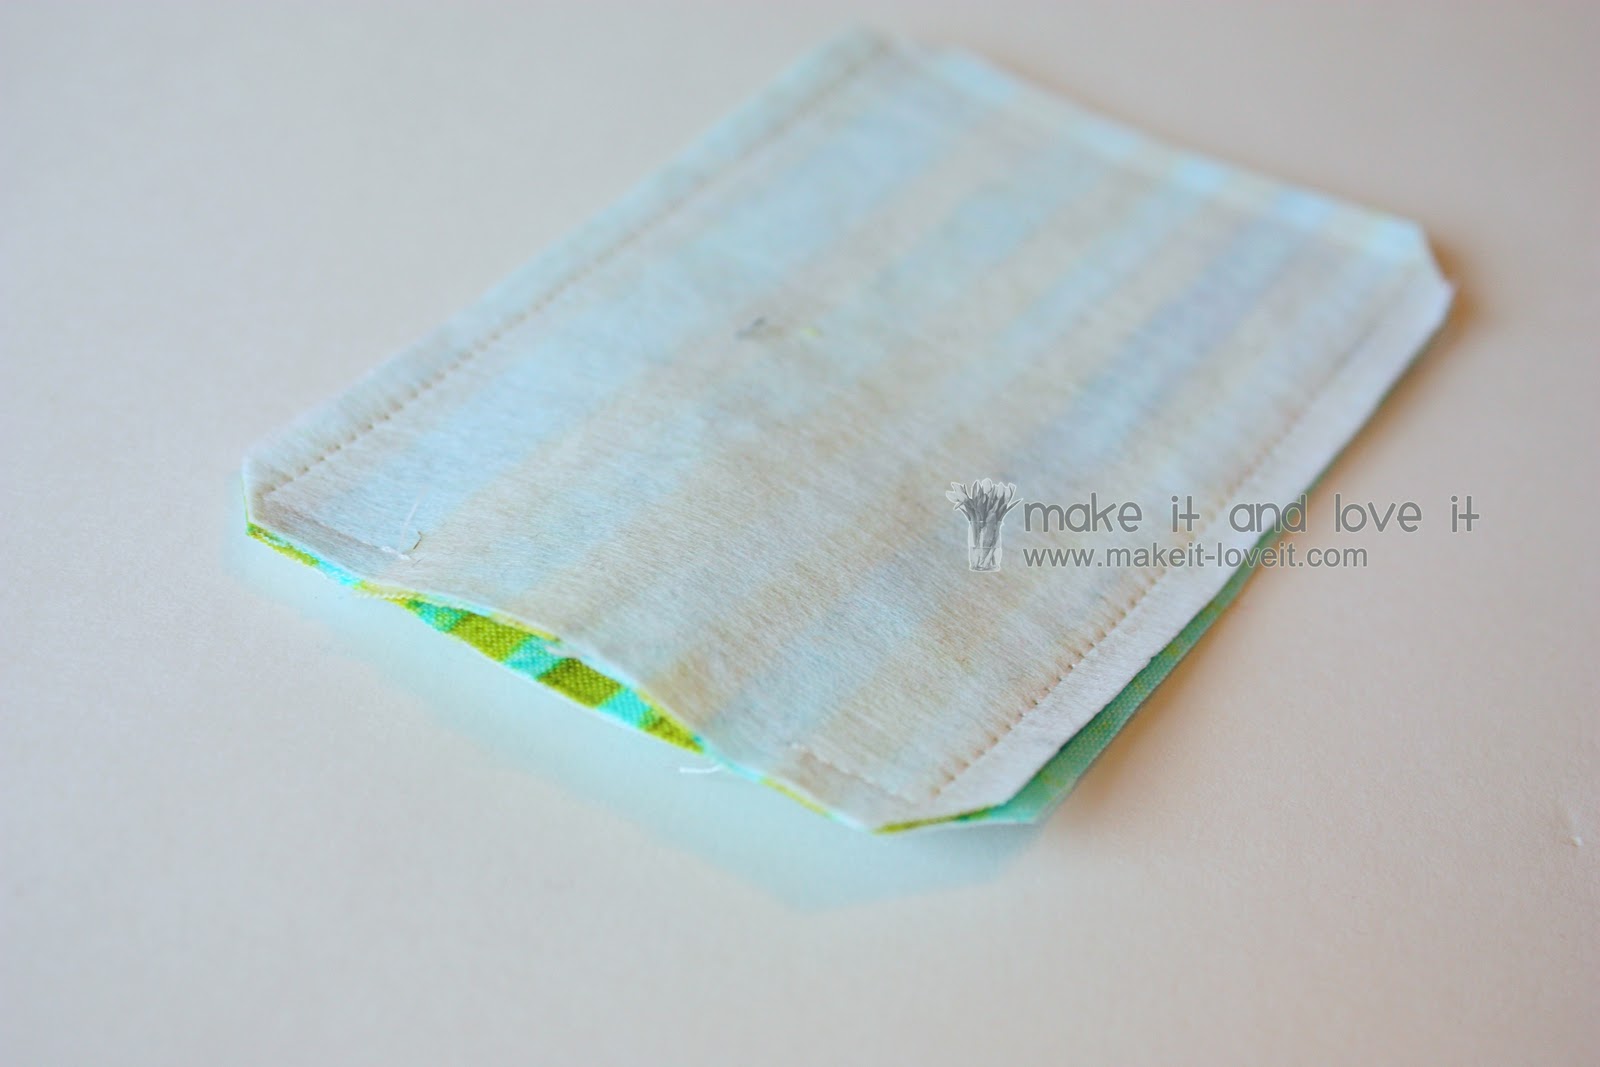
Then place the two backing pieces together, with right sides together and stitch all the way around……..leaving about a 2 inch gap along one of the shorter ends. Use a 1/4 inch seam allowance and then clip each of the 4 corners.
Then turn right side out and press flat, making sure to tuck in the raw edges of the opening a 1/4 inch.
Do the same thing to the 2 front pieces, skipping the interfacing part.
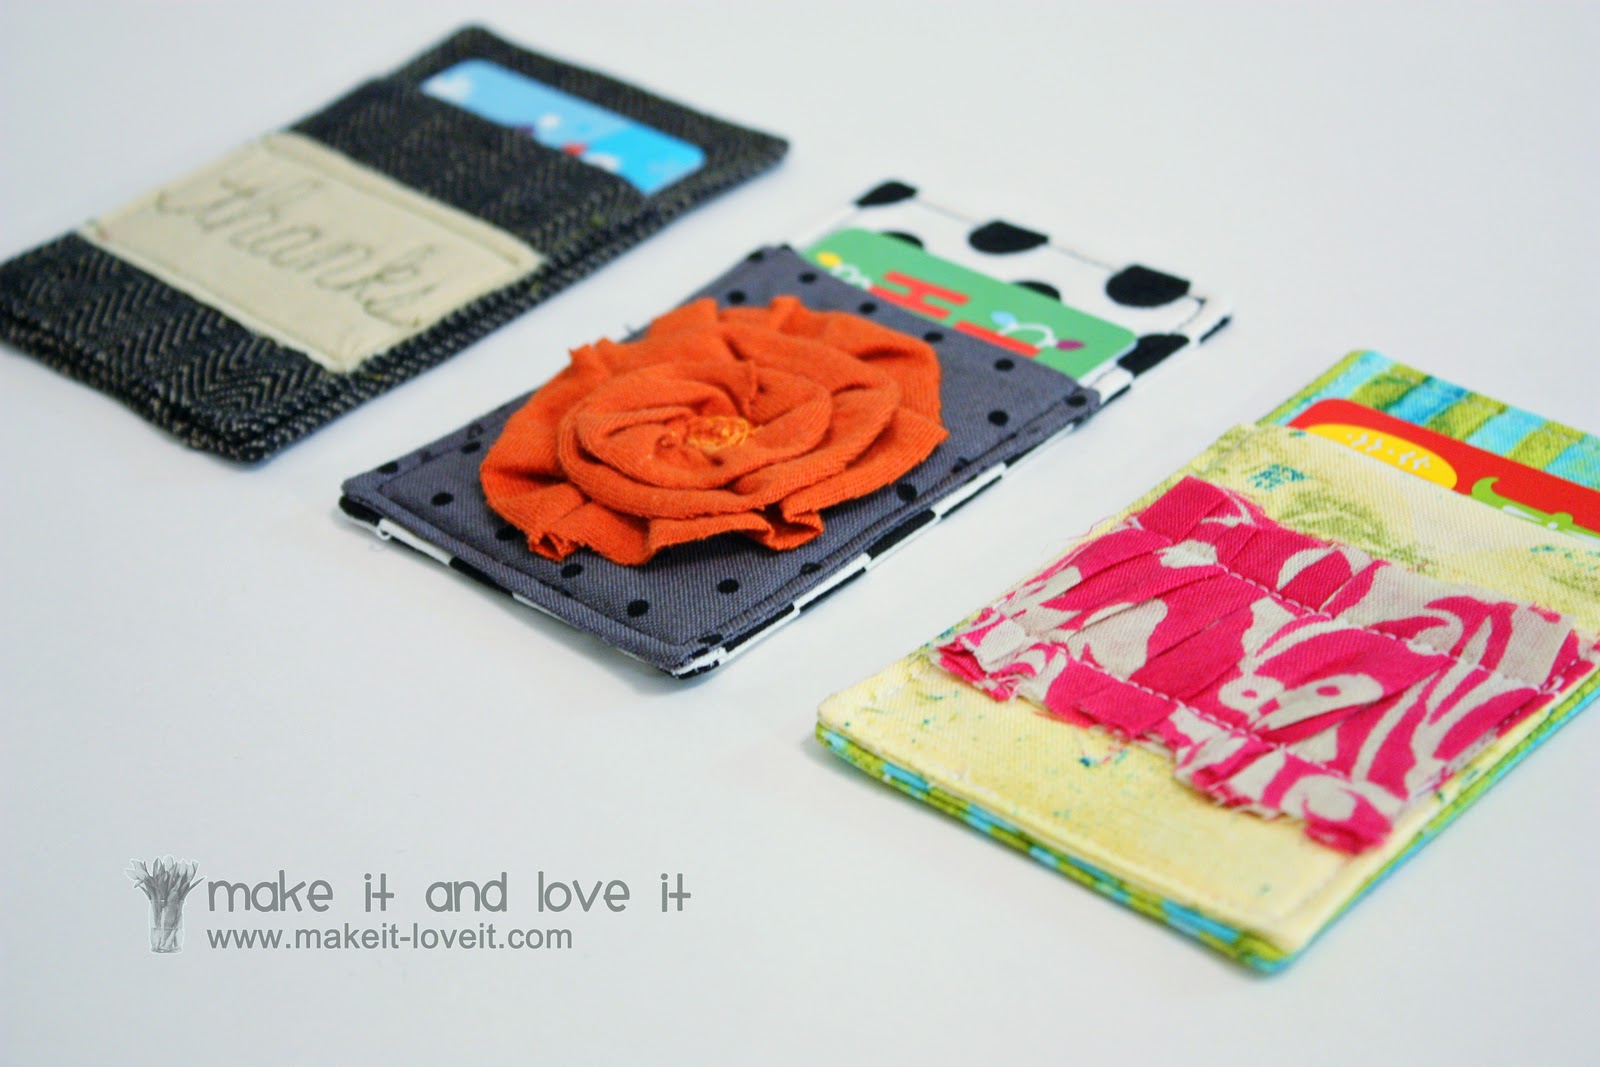
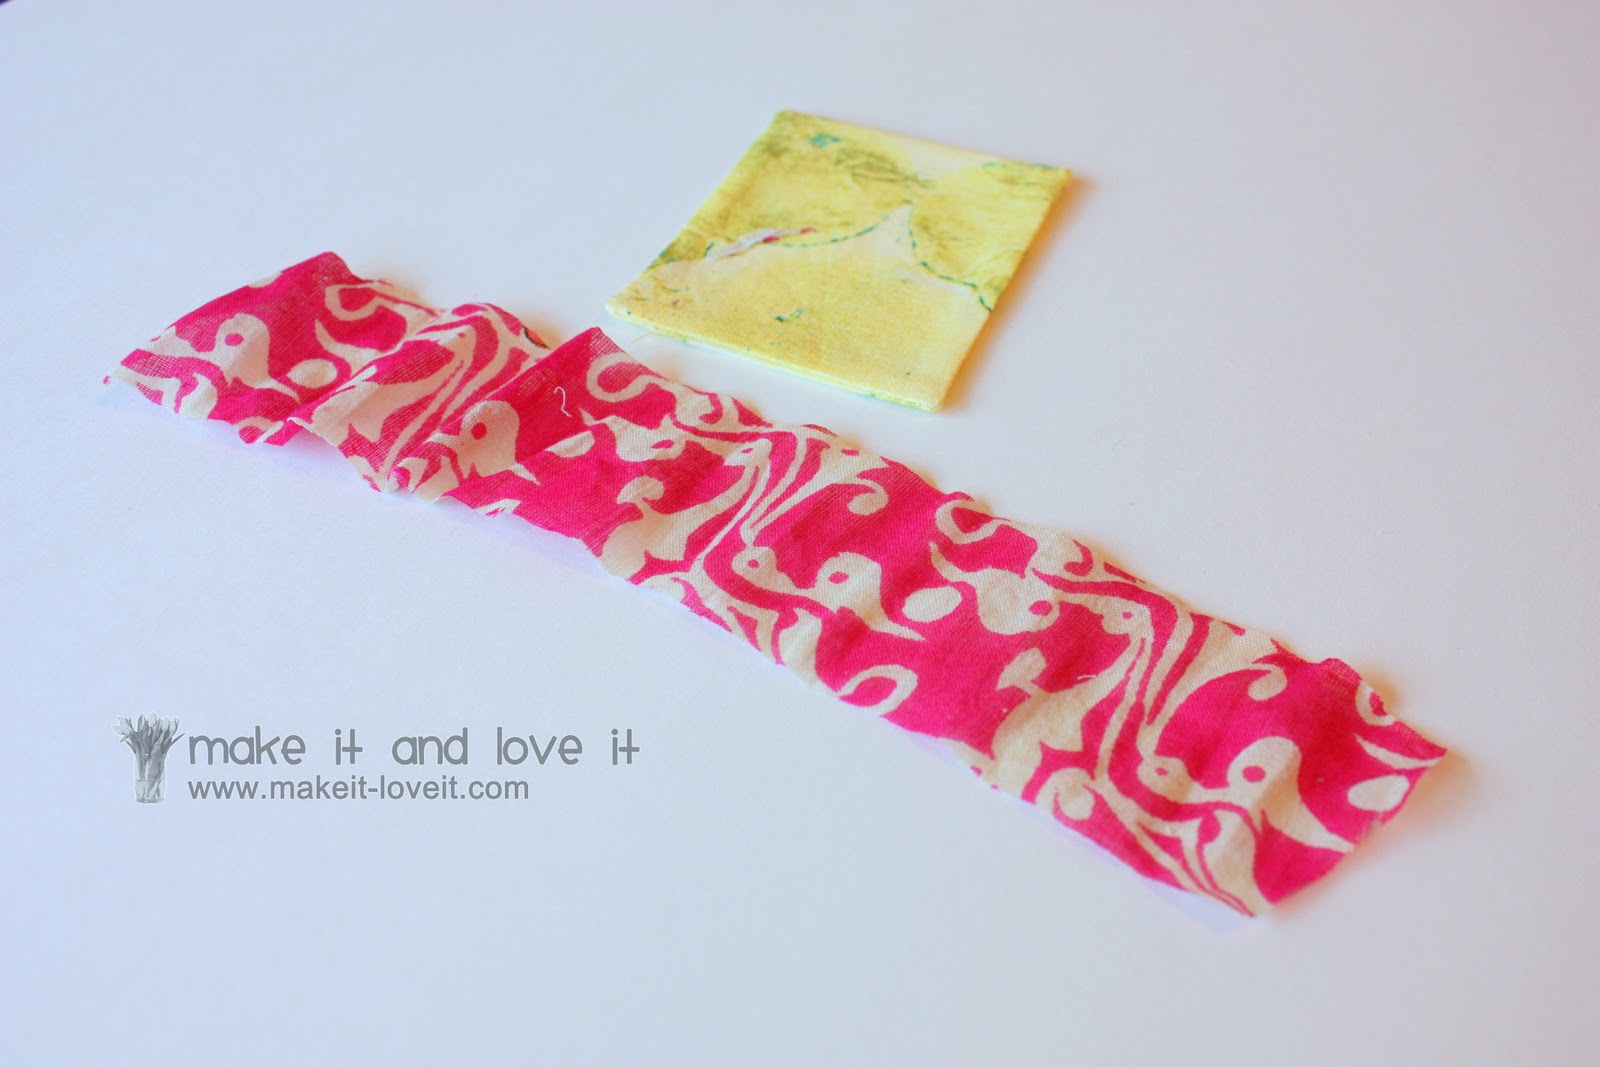
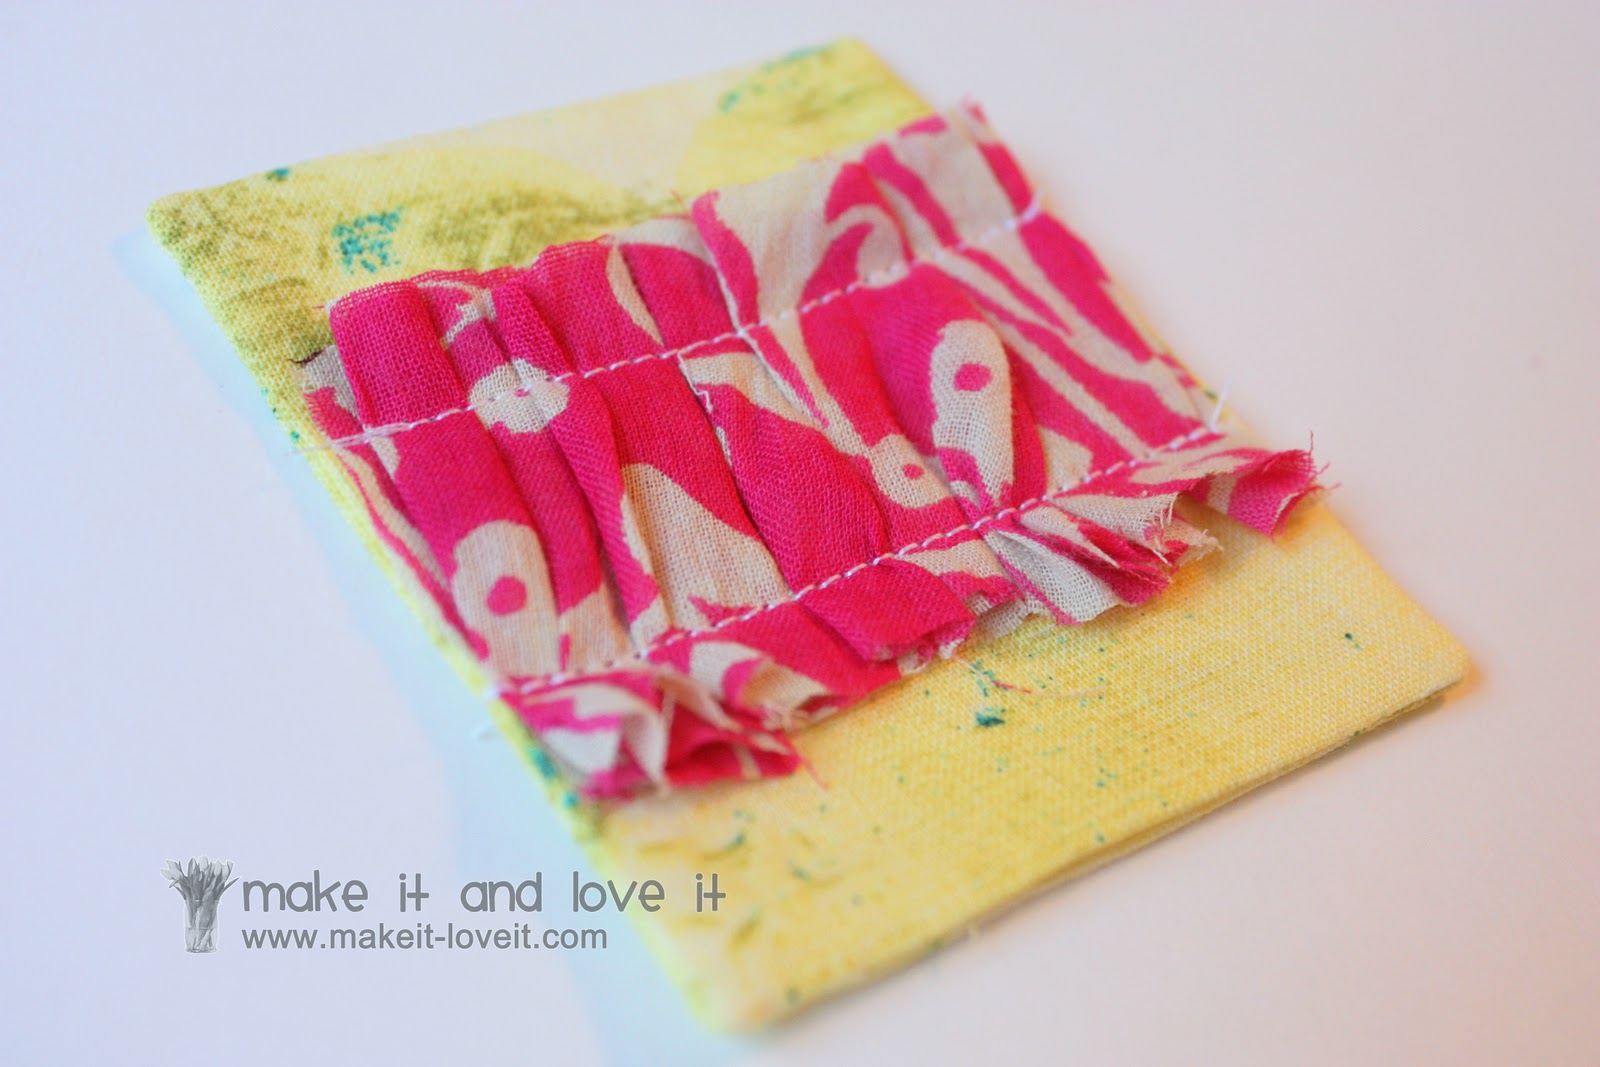
Now is your time to embellish the front of the cozy a bit. Add a ruffle, a flower, a panel of fabric, etc…….really making the front of the cozy look fantastic.
Attach your embellishment to the front of the front piece. Keep the opening on the one end of the front piece, towards the bottom.
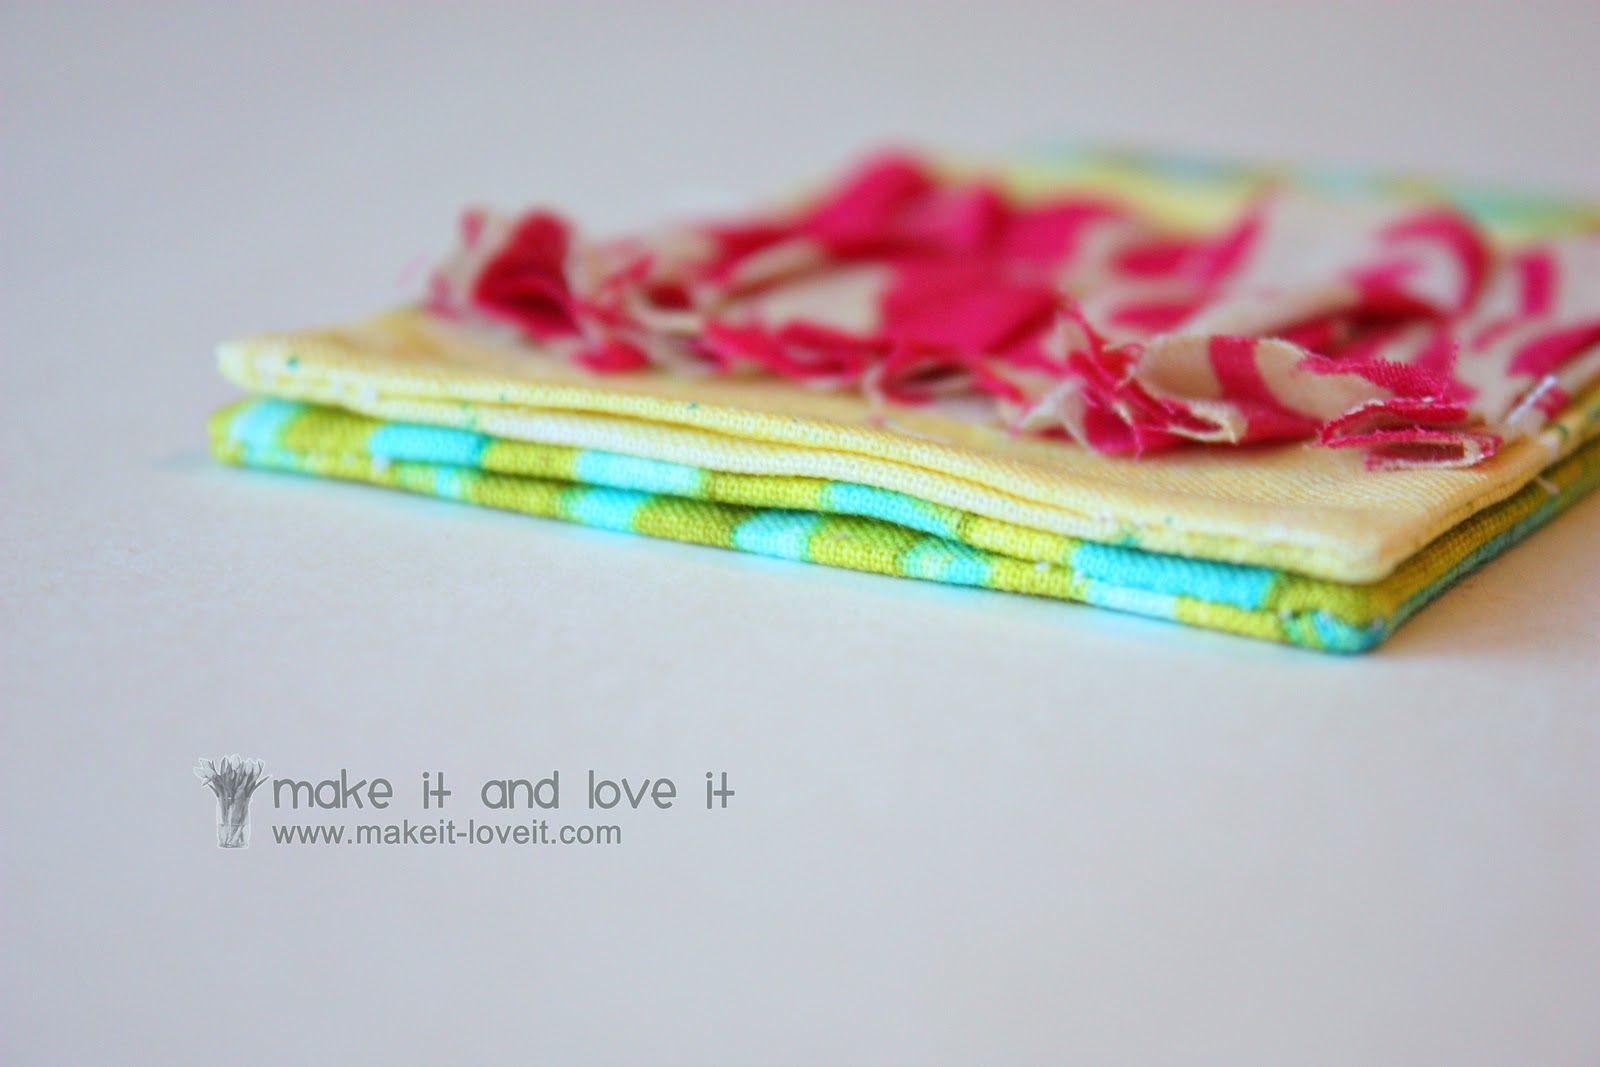
Then place the front piece right on top of the backing piece and be sure both are facing up. Line up the bottom corners and make sure that both openings are along the bottom.
Then stitch all the way around the perimeter of the rectangle shape, attaching the front piece to the backing. Use a 1/8 seam allowance and be sure to seal off the openings at the bottom.
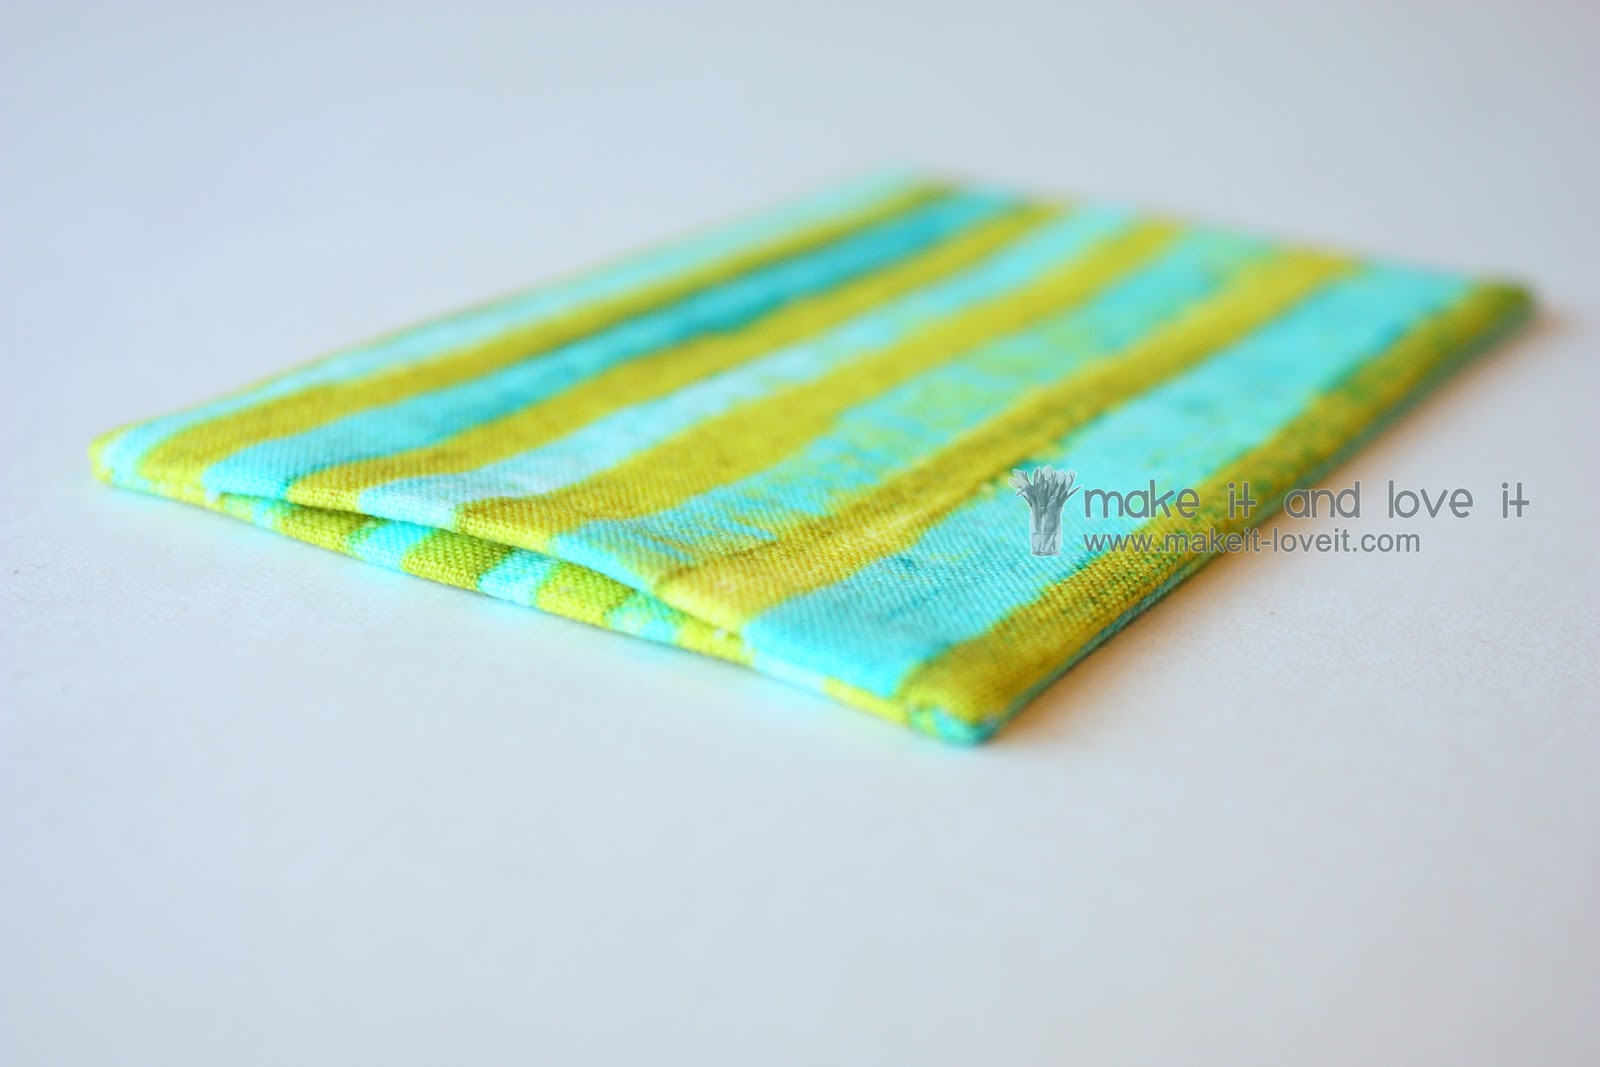
And that’s it.
A great little cozy for your gift card.
Now go make several more and keep them stocked up for your next ‘simple gift’.
I really like this!! I can think of a several instructors that this would be the best end of season present for!! Thanks for discussing with us all.:)
used this today as a bus driver gift! worked great! thankyou!
It looks like the perfect work to cuteness ratio. (Little works/lots of cuteness.) We’re making some little stationery sets for my son’s teachers this year. I think I’ll expand the measurements of your cozy and make a little stationery cozy for each teacher. Thanks so much for the tutorial!
These are lovely, I like buying giftcards so the recipient can choose something they would really like (instead of me guessing) but it always feels like I’m not going to enough effort, these are perfect because it makes the gift more personal.
I just made 4 of these for Christmas- love the tutorial, so I pinned it for my friends!
I made a couple of these today for our Teacher Appreciation gift cards..they came out great! Thx for the tutorial!
I made three of these today and like the results. The only thing that keeps me from loving them is my ironing skills (square corners, even folded seams). The tute was easy to follow. I think the interfacing is a must if using a lightweight fabric, or else the result would be too floppy.
Do you think the fusible interfacing is necessary? I don't have any, nor have ever used it before. I think I'll try this tute without it, thoughts?
Thank for the fun tutorial, I made one for a Christmas present for my uber-crafty MIL and it turned out great! In fact, she liked the cozy almost more than the gift card inside!
completely and totally obsessed with this. this is one i'm also featuring on my blog today! smallfineprint.blogspot.com
can we get a tutorial for the adorable flower?? i love the size and the fact that its not too puffy. so cute!
Would also be great to use if you carry a debit card. Better than those stupis paper things the bank gives you.
So adorable, I'm so making some. I want a tutorial for the orange flower too!
These are absolutely beautiful! It is a gift within a gift! Just so pretty.
these are lovely!
this is a fantastic idea!!!
I mention it here: https://orlosubito.blogspot.com/2010/12/tiempo-de-regalos.html
Thank you:-)
fab idea! and it can be used like a wallet too!
I really like the look of these, especially the ruffle and the flower. I recently bought a portable hard drive that I need a cosy for so this design will be perfect, thanks!
Those are so dang cute! You come up with the cutest ideas!
I love how you sewed the words 'thanks', lovely.
These are fantastic. So going to share this with our Facebook Followers today! Smiles~
super idée !j'adore vous rendre visite ,merci de partager toutes vos merveilleuses créations !
Fabulous! I will be making these soon :)
You make my life complicated :) how am I now in good faith supposed to give my family regular paper gift card holders?! Sooooo cute! I better go get to work, I have a few gift cards to dress up.
Fantastic idea!
That is such a darling idea!
Thanks for sharing!!!
Tootsiewootsieboutique.blogspot.com
Very cute and could work as a card holder or business card holder afterwards! Clever!
what a wonderful Idea!
This is such great idea! You could even store other gift cards in them. Oh and I love the fabric colors you used! :)
Love it – thanks for the great idea.
Always look forward to your posts!
You could also put the flower on a pin, then pin it to the cozy, and they would have two gifts in one!
love it. totally makes a gift card more special than a little envelope. and a great way to use scraps!
Very cute! Thanks for the demo.
*smiles*
debbi
Thanks! I am all over this today!!!
So cute!! I love this I can't wait to make some!!!
If you added another card holder this could even be a great small wallet type thing for summer that would fit into a smaller bag or your pocket. Add a place to slip a bit of cash and you're set. Sometimes, at least for those of us who don't need a diaper bag, don't want to bring your whole wallet or a big bag and just need a card and a bit of cash.
Love that orange flower! Do you have a tutorial for that??
How adorable!
These are so cute! What a great idea to make these for the holidays.
What a great idea! I bet the fun cozies make it easier to find gift cards. The whit envelopes many are presented in tend to be easy to overlook.