Today’s contributor is Crystal from Stitched By Crystal. All posts written by Crystal for Make It and Love It can be found HERE.
. . . . .
Hello hello! It is Crystal here, from Stitched by Crystal, with a fun tutorial to share!
I love sewing bags and purses, and my little girl loves to fill and carry them. I made this cute simple circle purse for my daughter and it is so quick and easy to sew!
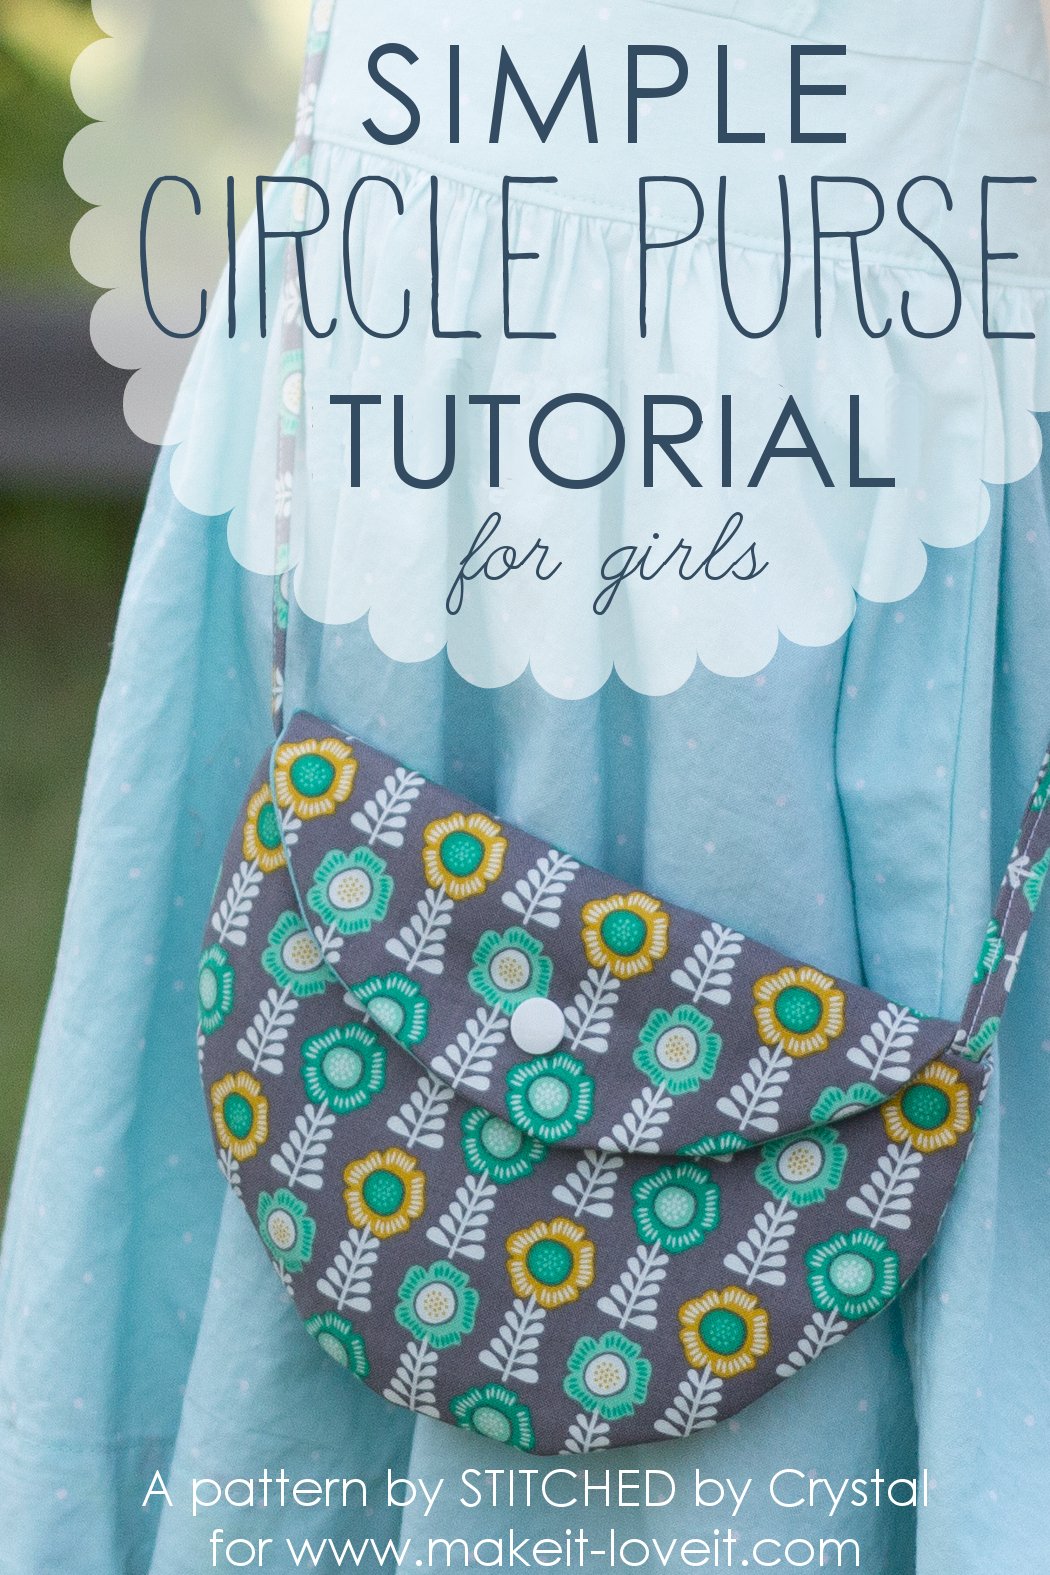
To make this simple circle purse, all you need are a few circles of fabric and interfacing (I used a small plate to cut my circles), a button or snap, and some bias tape. And it sews up in no time! You could finish this one during nap time.

The cross body strap makes it easy for little ones to carry. My daughter loves to take her purses shopping with her and this one never gets put down and left behind in the store. And the snap or button closure keeps all her treasures tucked away inside.

Want to make a circle purse for you or your little one? Great!
Let me show you how:

***As always, if you need a bit of help with the basic sewing skills used in this tutorial, don’t hesitate to check out the Sewing 101 post for more help.
Start by cutting 2 circles from your main fabric, using your plate as a pattern.

Cut off the top of one circle about 1″-2″ above the middle.

Cut the same shapes from your lining and interfacing using the pieces you already cut as a guide. Iron the interfacing to the back of your main fabric.

If you want, you can add some fun trim to the bag by basting it to the full circle of your main fabric now.

Place the two main pieces together and sew around the curve, backstitching at both ends.

Repeat with your lining pieces, but leave an opening at the bottom about 3” long for turning the finished bag.

Turn the main bag right side out. Sew the open side of your bias tape close and determine the length of bias tape you need, you can do this by looping it over your child and deciding how long you want the strap (I used 32” for my 4 year old). Baste the strap to the front of the bag, right next to the side seam, making sure there are no twists in the strap.

With the main bag still right side out, place it inside the lining (which should be inside out). Line up the side seams and pin along the front and flap of the bag. Sew the main bag and lining together around the front and flap. Clip the fabric in the corners, clipping close to the seams but being careful not to cut your stitches.

Turn the bag right side out and sew the opening in the lining closed.

Tuck the lining down inside the purse, iron, and then add your button or snap to the front.

Your purse is done!

Thanks for reading!
-Crystal

Check out Crystal’s blog here. Her darling shop here. Follow her on Instagram here. And her Pinterest page here.
***ALL contributor posts by Crystal, can be found HERE.
. . . . .
Looking for more bag inspiration? We’ve got you covered! Check out a few more of our favorite purse/bag tutorials:
How to make a Kid’s BUMBLEBEE Cross-Body Bag
Farmers’ Market Bag (From an Ikea Rug)
Shirt & Tie Tote Bag……for BOYS!

Hi, I’m Ashley—the DIY-enthusiast behind this crazy blog!


