Home » DIY Tutorials » DIY Sewing » Sewing: Clothing » Baby Clothing » The Double “Doodie” Bag (a wipe-able diapering “wet” bag)
The Double “Doodie” Bag (a wipe-able diapering “wet” bag)
May 19, 2014 - By Ashley Johnston 23 Comments
I’m thrilled to have Cami from Tidbits here again today, sharing her clever little “Doodie Bag” with us. Anyone who has ever had a baby (or babysat one), knows how handy this is! And I love that her little baby boy is only a few months old….because everything she is needing for him, I’m going to need in another couple months. :)
-Ashley
. . . . .
I’ve got to warn you, there is going to be some “dirty talk” on this post today. Hope Ashley doesn’t mind ;)
Seriously though, diapering is not for those with a weak stomach. (Though you have my sympathy if you are pregnant and have a toddler in diapers still. Boy, I’ve been there and lets just say I kept a bowl real close by.) Today I want to share a project to make on-the-go diapering a little less messy.
If that is possible. :)
Just before the arrival or our baby boy, I set out to make some portable changing pads and some of those cute diaper clutches I was seeing on Pinterest.
But while researching I decided those weren’t enough for me.
I was remembering back to my baby girls and some of the diaper catastrophes I had faced.
For example, thinking I could make a quick run to the library with all the kids, without a diaper bag.
I mean, what are the chances she would poop in the next half hour anyway?
Apparently, they were pretty high.
MAJOR BLOW OUT.
So there I was. Poop saturated baby. Poop saturated clothes. And then…..a poop saturated car seat. Ewwww. (I told you this was going to get dirty. ;) )
BUT NOW I AM PREPARED!! It only took 4 kids to figure it out.
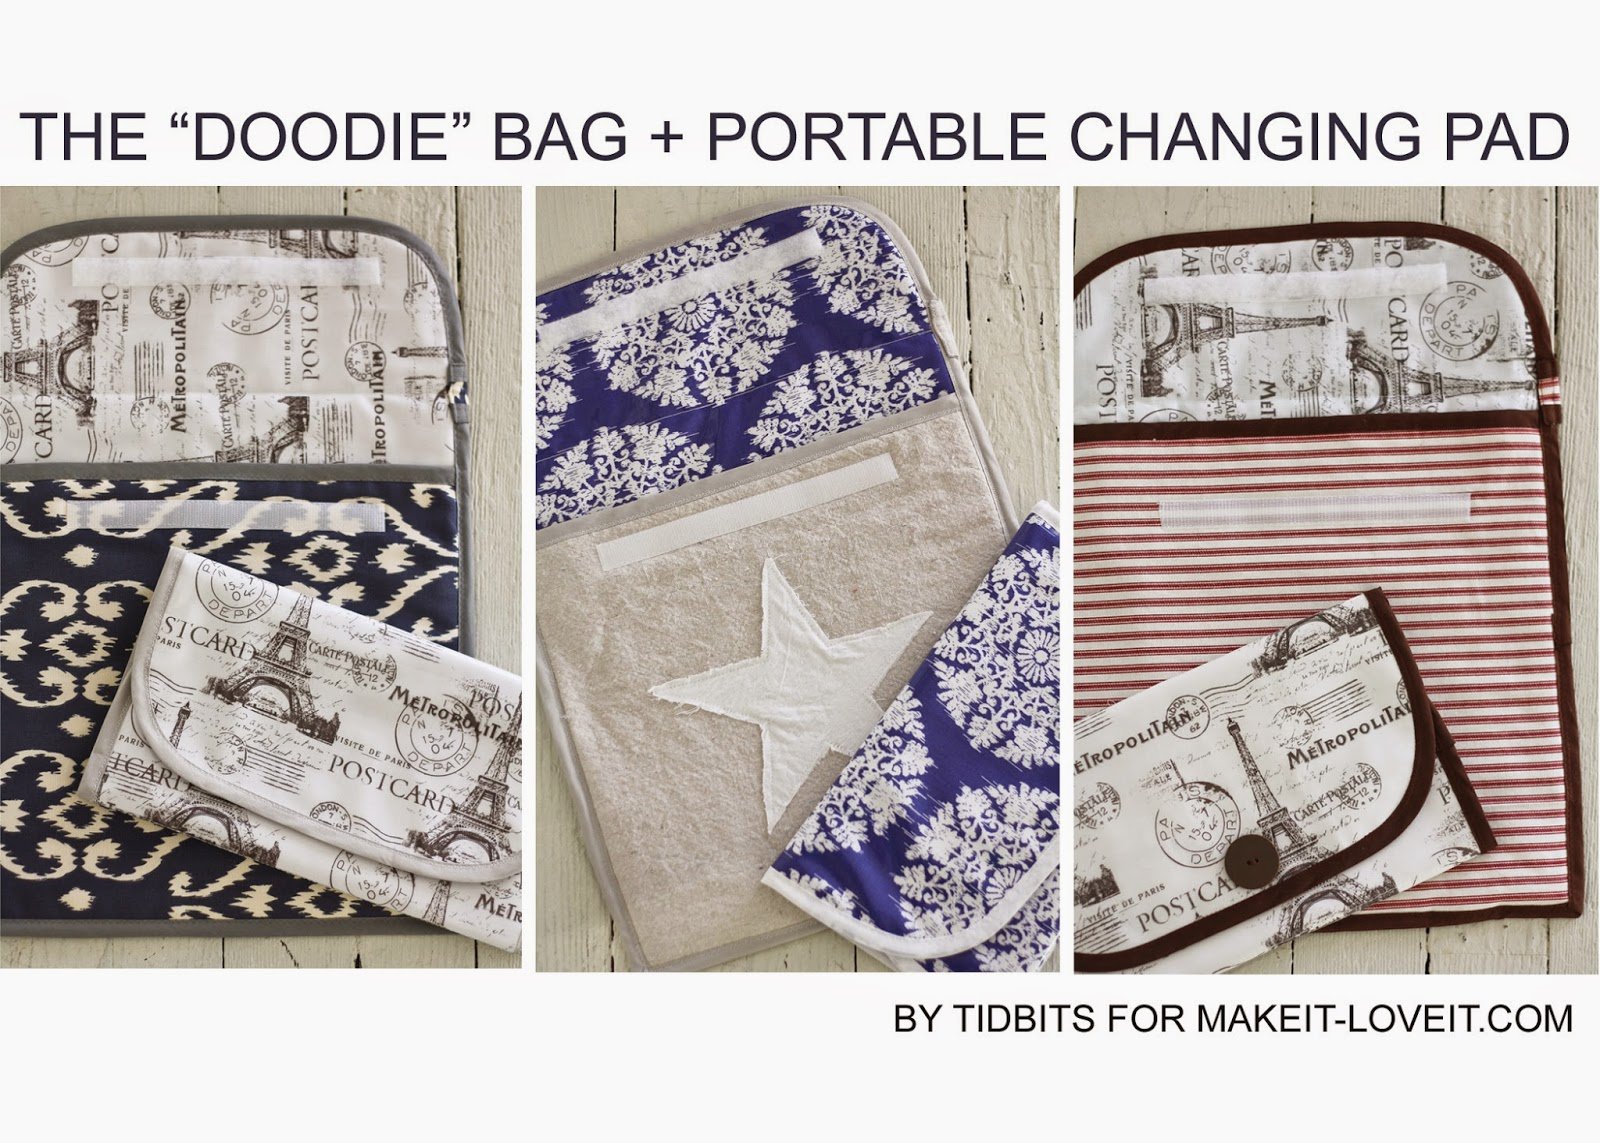
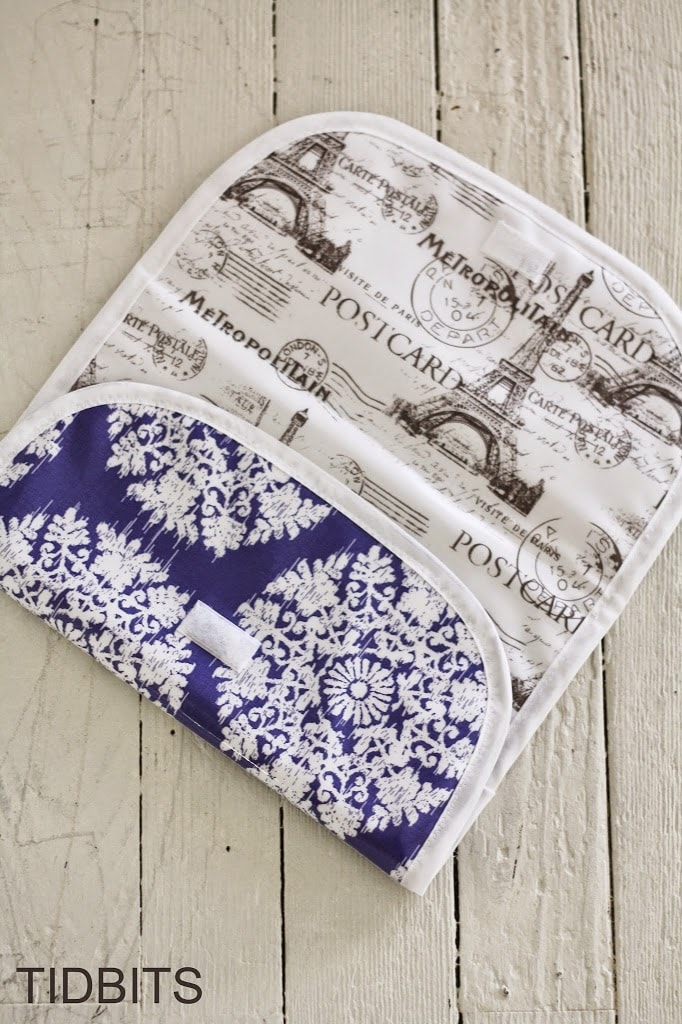
The Doodie Bag is fully lined with a laminated cotton, making it completely wipe-able and easy to clean up. This will contain any sort of mess or smell, until you can make it home to clean it out. I stock my Doodie Bag with the essentials . . . .
And it goes wherever baby goes.
This compact bag can be stored in the car or whatever bag is with me.
I can switch it out easily from my diaper bag, to my church bag, to my swim bag – or just grab it for a quick library run. You just never know when you might need it. Trust me. :)
Now, whenever baby decides to make a stinky little mess – I am so prepared!! If he wants to spit up, pee out, or blow out, the Doodie Bag doubles as a wet bag to contain the mess.
It is a whole lot easier to wipe out, than even a car seat cover.
Oh, and things go even better if you have a small changing pad to use, rather than the car floor. Been there. Done that. So match it up with a portable changing pad….and you’re completely set!
The matching
Portable Changing Pad tutorial is over on my blog….and fits the Doodie Bag dimensions perfectly!
But if you are ready to make your life (or the life of another mama), a little less crappy (hee hee) – Let me show you how here, with the Doodie Bag Tutorial.
Supplies:
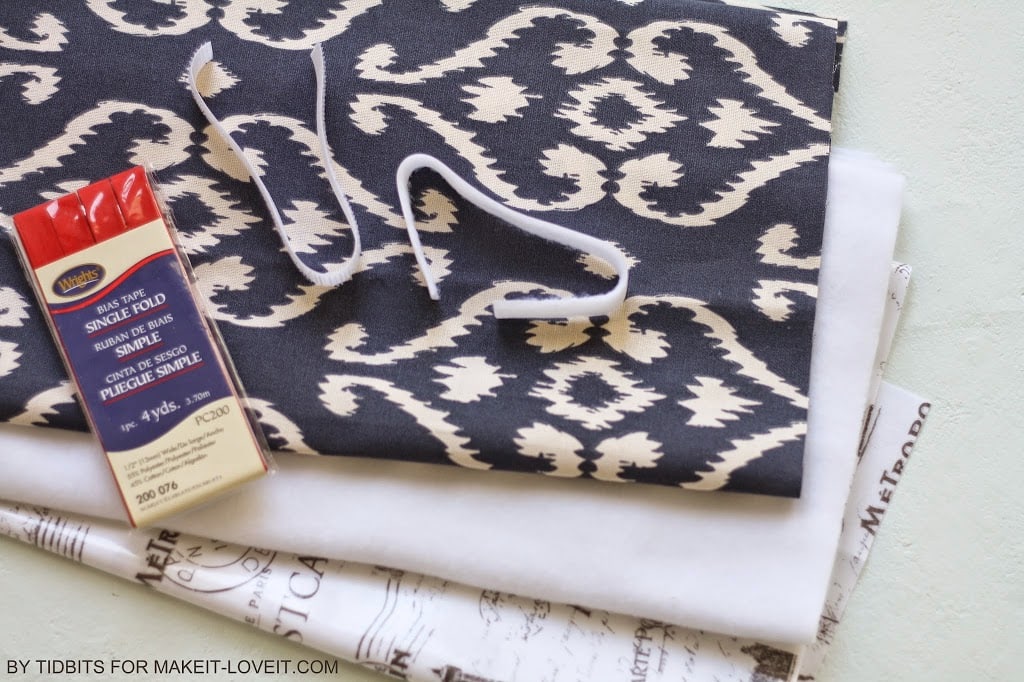
You will need to buy:
- 1/2 yard of some kind of thicker fabric (like canvas, Home Decorators fabric, or I used a bleached painters drop cloth for the star Doodie Bag)
- 1/2 yard of white fleece
- 1/2 yard of laminated cotton on the big rolls (found mine at hobby lobby)
- Sew-on Velcro
- 1 package of double folded bias tape (at least 3 yards)
**I realized after I was going through my pictures, that I had the wrong type of Bias Tape in my picture. DO NOT buy the single fold like you see above.
Rather, this is what you will need.
One package of double fold bias tape, 3 yards.
Cuts:
Cut each of your 3 fabric pieces, 13 x 31 inches.
Cut a piece of Velcro (both scratchy and soft side) 8 inches.
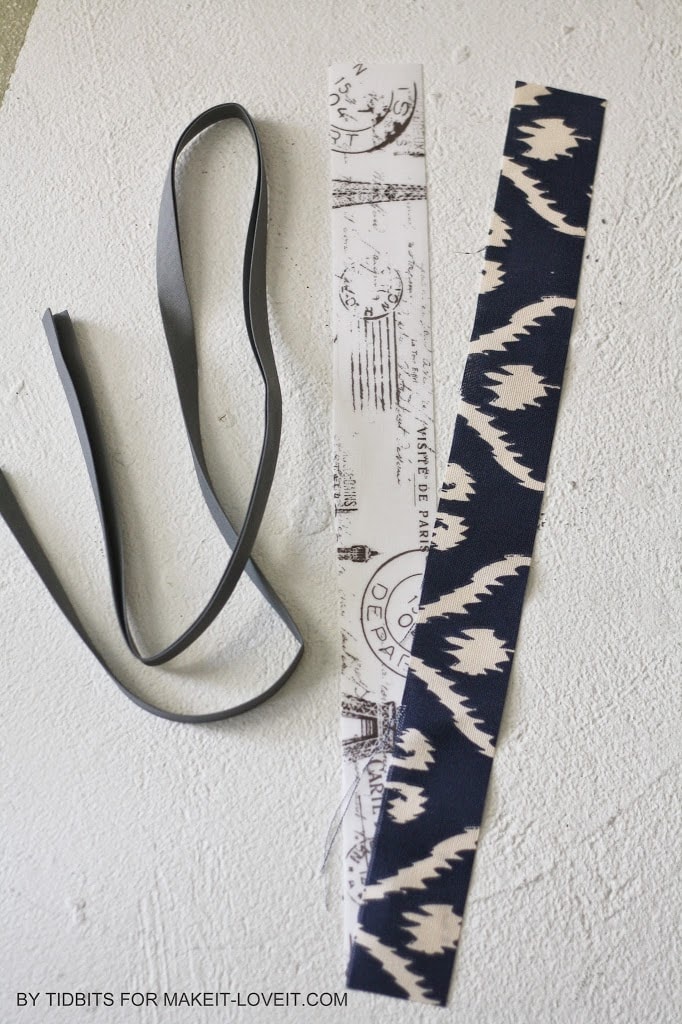
Also, cut 2 strips of the laminated cotton AND your outer fabric, measuring 15 x 1 1/2 inches out.
**The bias strip you see above will just be what is left over after you sew the bag. One package will be just enough.
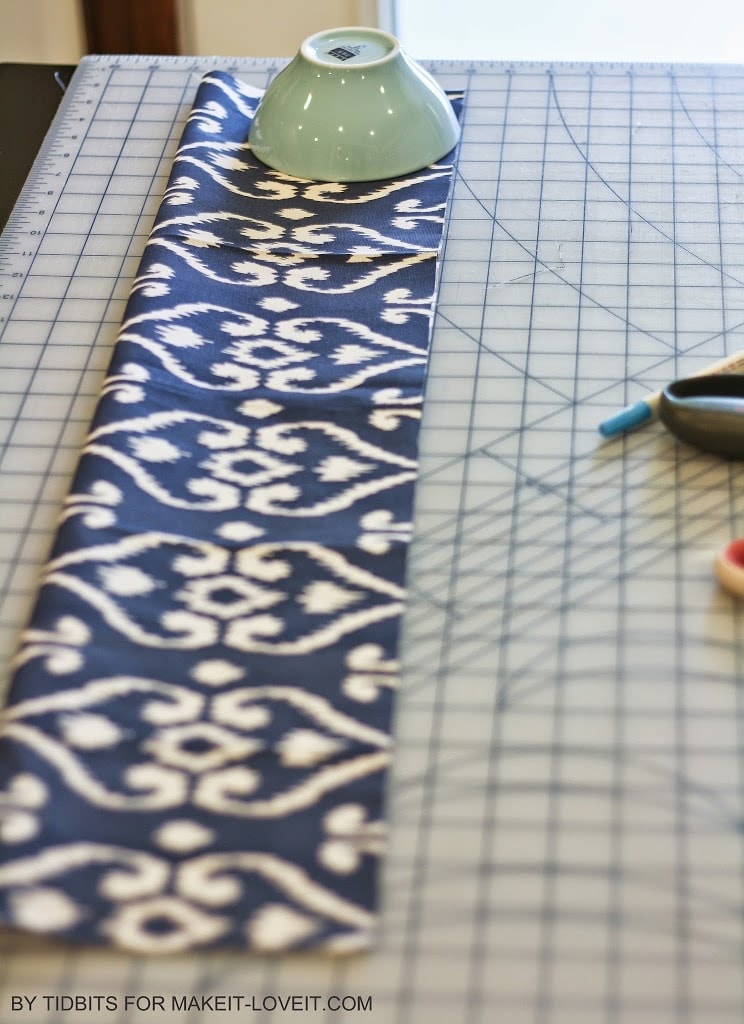
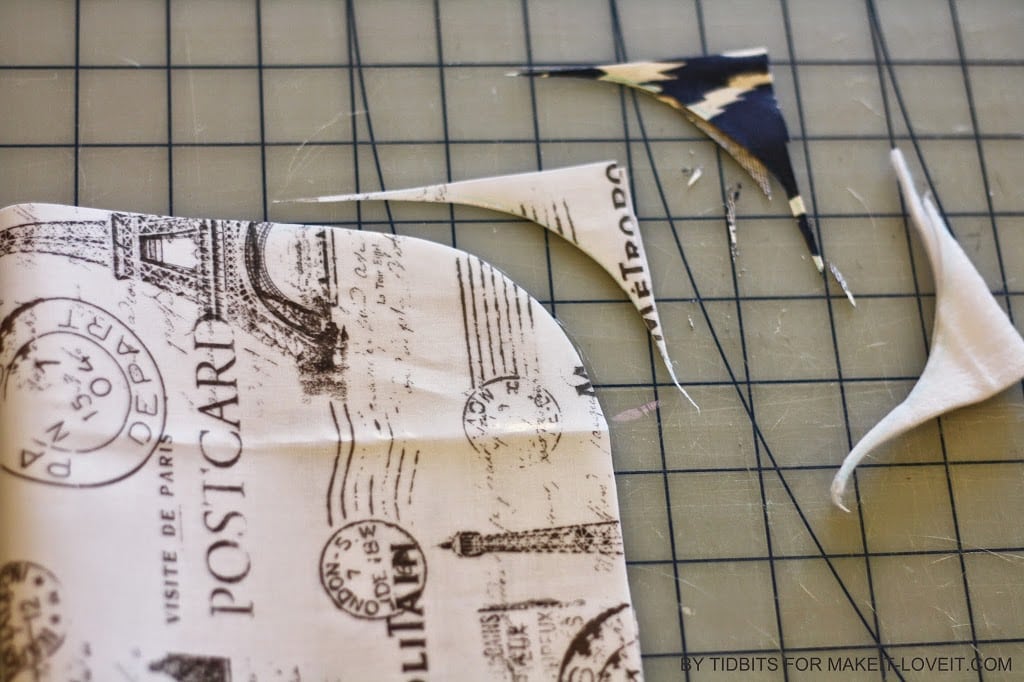
First thing – fold your heavy outer fabric in half, hot dog style. Use a bowl to mark a curved edge along the two corners at the top of the fabric. Cut through both layers to form the curve.
Do this same thing for all 3 of your fabrics (outer fabric piece, fleece piece, and laminated cotton piece). Be sure you only do this for the top edge of each piece.
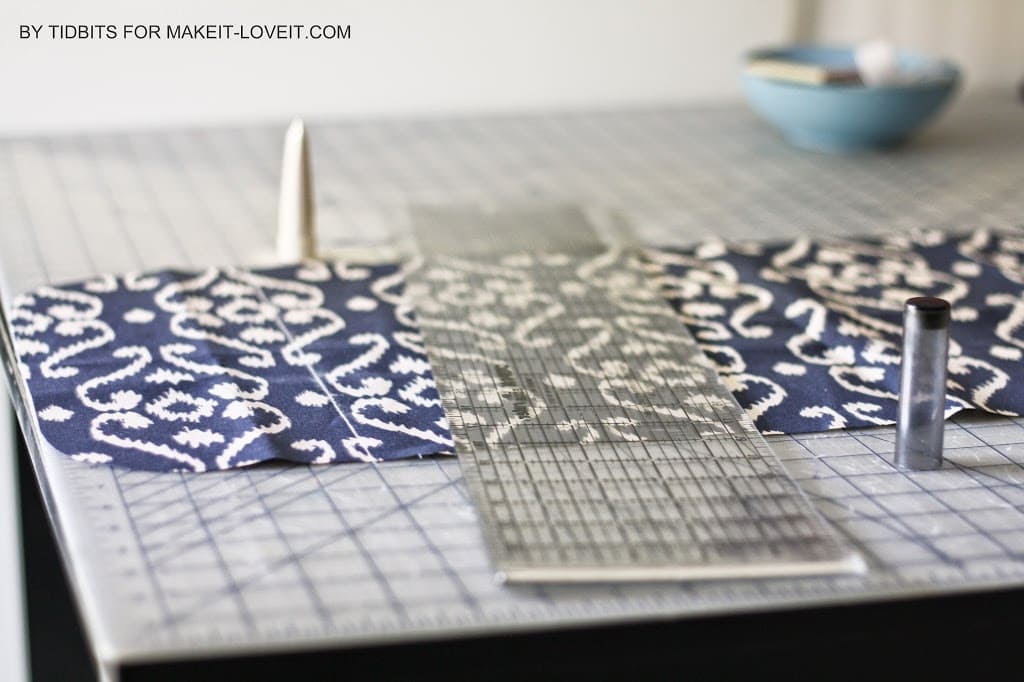
Now you are going to mark some reference lines on your outer sturdy piece of fabric only.
At 5 inches from the top edge (which has the two curved corners), make a line all the way across the width of the fabric. (I like to use a chalk marker.) My fabric in the image below is sideways and the upper edge is off to the left. The chalk line is 5 inches from the curved edge on the left…do you see it?
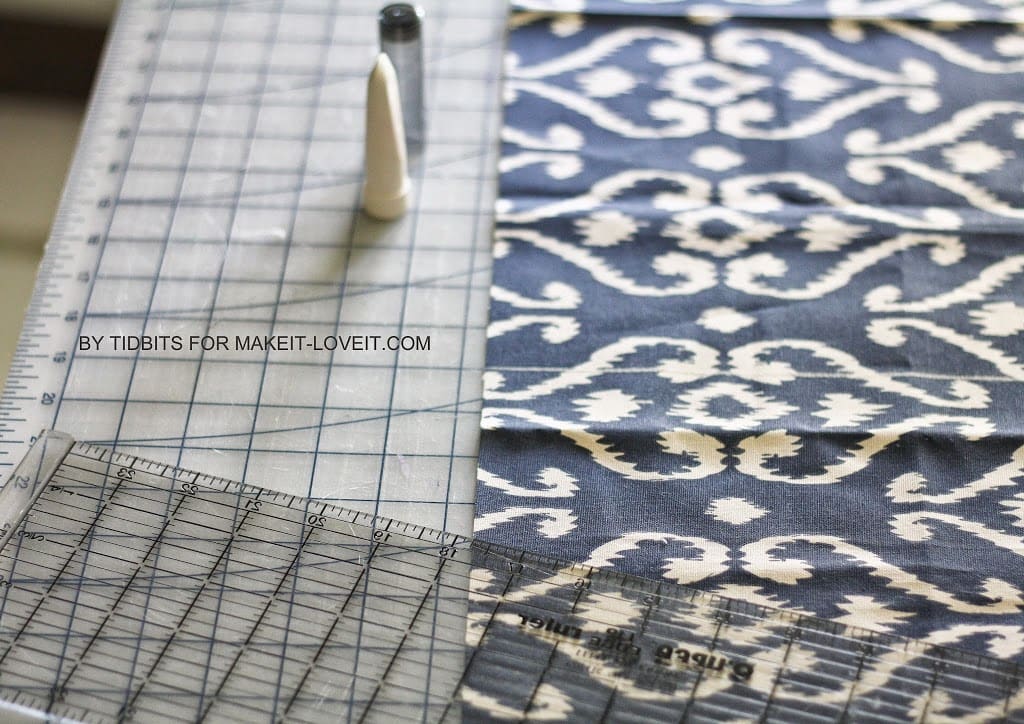
Then make one more line, 19 inches from the top. Mark with chalk again.
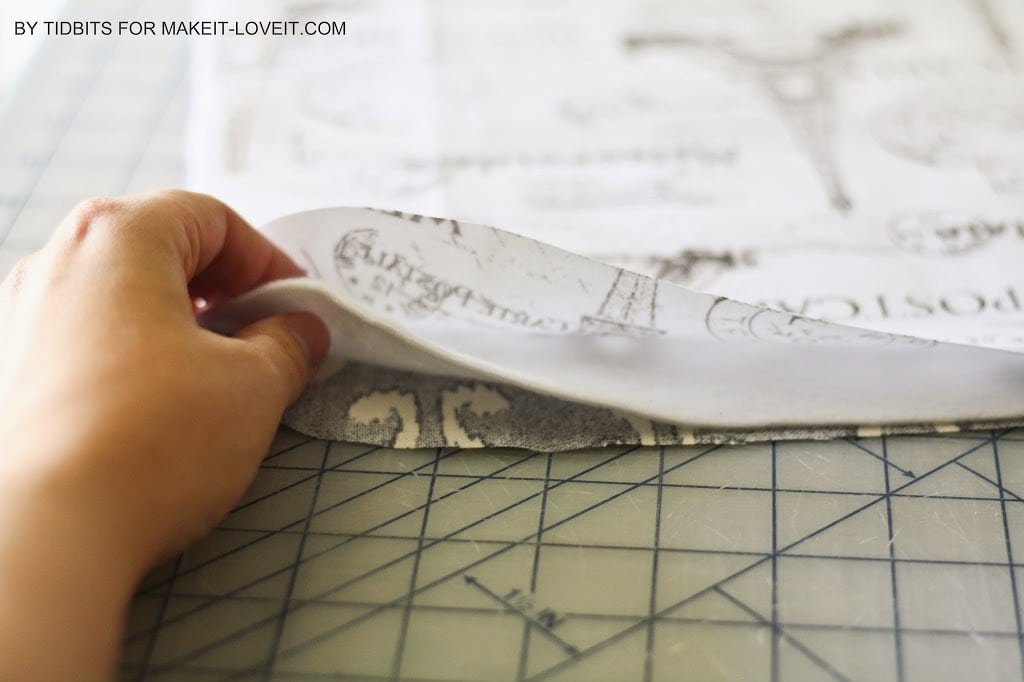
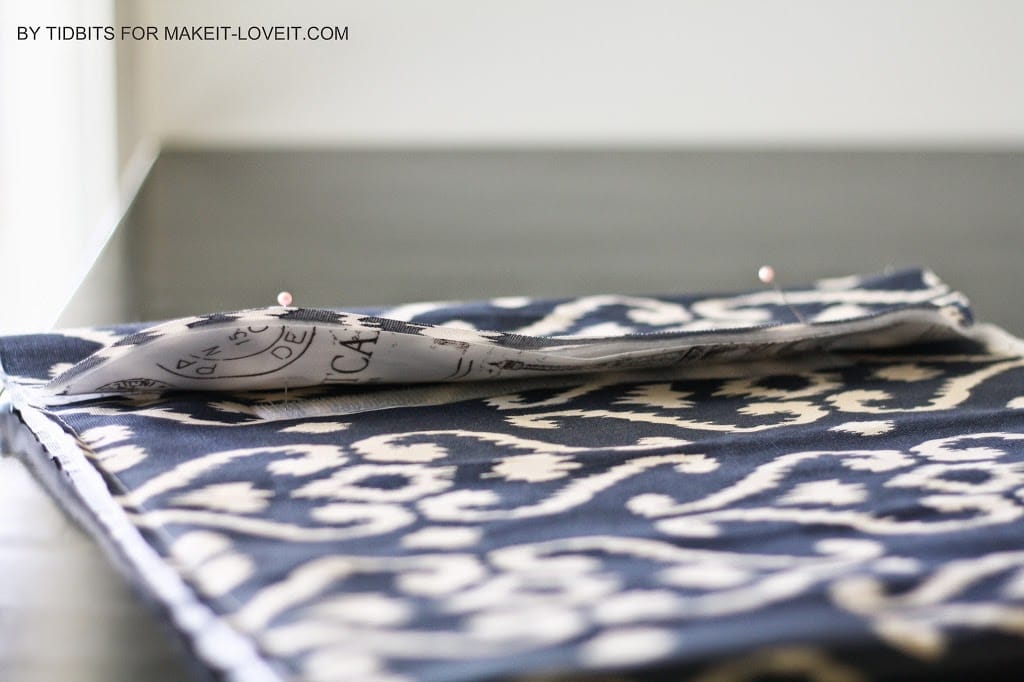
Now, sandwich all 3 layers together, with the fleece in the middle. WRONG SIDES of both fabrics will be facing the fleece. RIGHT SIDES will be facing outward.
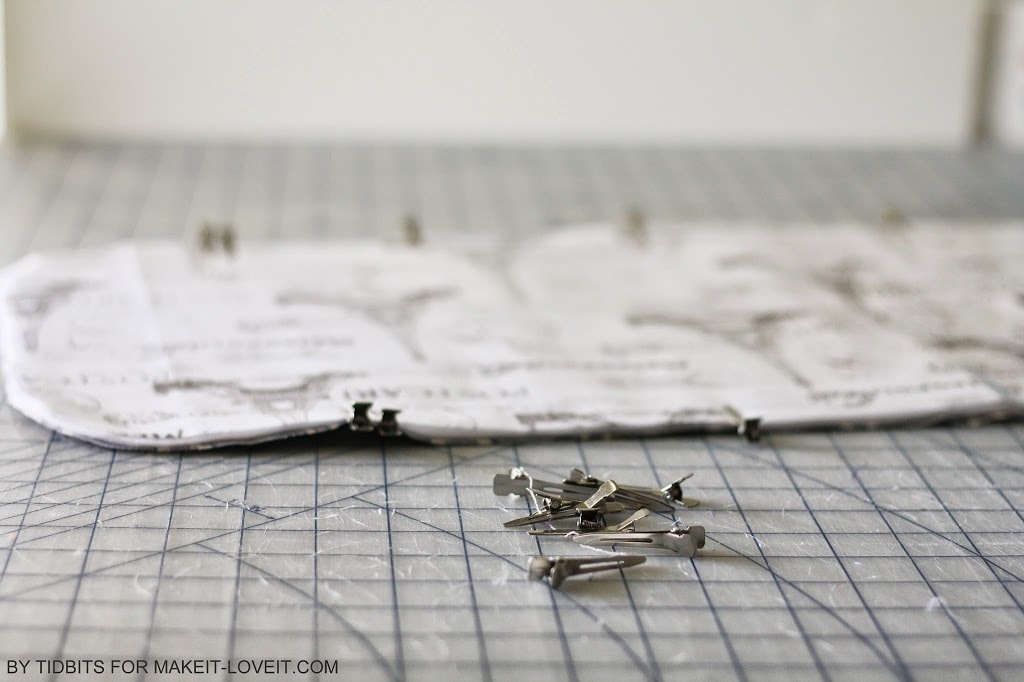
It is a bad idea to pin laminated cotton, since the fibers will not recover. Instead, use hair clip pins, or paper clips work great as well. Put double pins close to your 5 inch marking at each side, to remind you to stop and start when you sew. You are basically leaving the top open for now…..so you WON’T be sewing along the curved upper edge, on down to the double pins at each side.
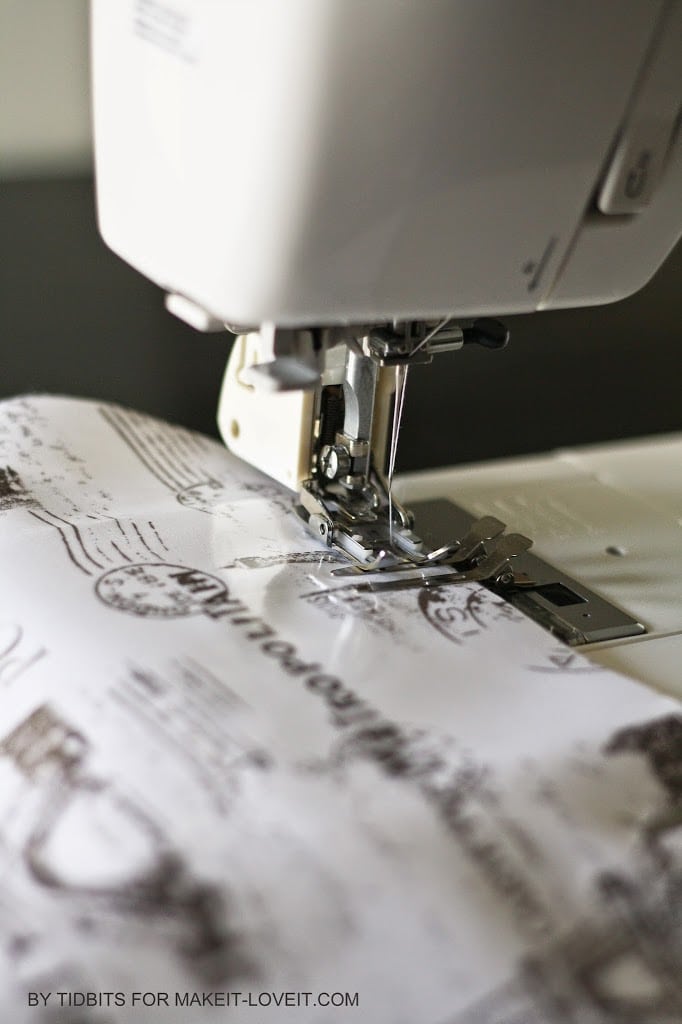
Now, a quick word on the presser foot I use. I attach my walking foot to my machine whenever I deal with heavy or slippery fabrics. If you sew and do not have one, I HIGHLY recommend the investment. If you ever find yourself frustrated at sewing because your fabrics bunch or shift – you will find much greater joy in it with this foot. You can still make this project without this special foot, but you might find the laminated cotton doing things you don’t want it to. But if you don’t have one, it will help to sew with the laminated cotton on the top. (And
Ashley has a tip for sewing with vinyl or slick fabrics here.)
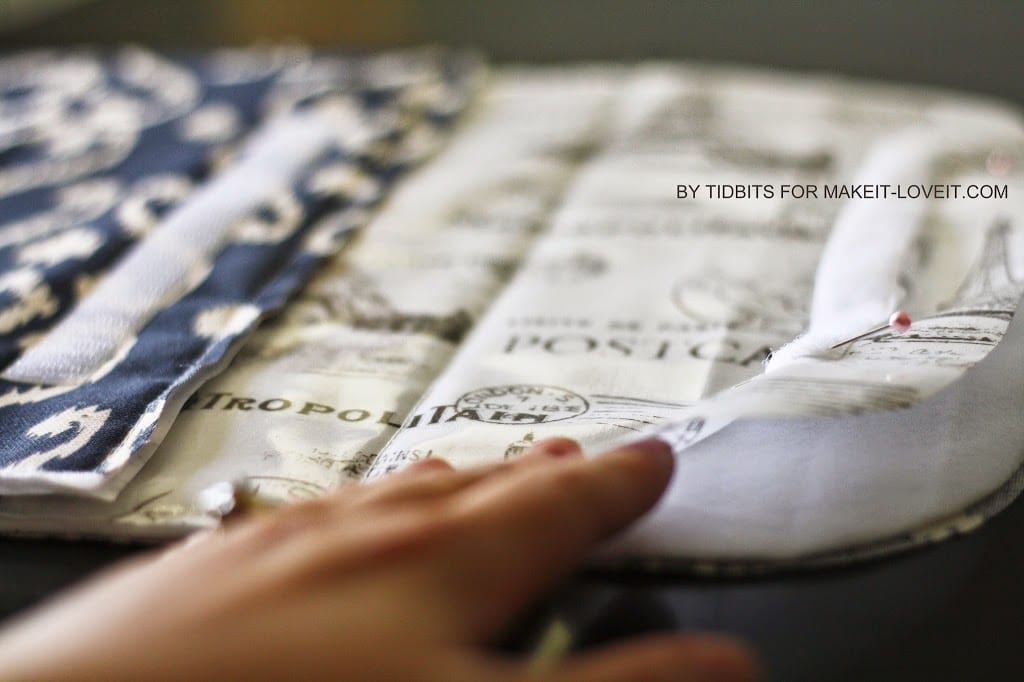
Now you are going to baste these 3 fabrics together, starting at your double pins. Be sure to take the clips out before you come to them. I set the edge of the fabrics on the edge of my presser foot, and move my needle all the way to the right…making the seam allowance less than a 1/4 inch. Stitch all the way around to the next set of double pins.
Turn your fabric over and stitch down those reference lines you made earlier. Both the 5 inch and 19 inch lines. (These will serve as your folding line for the bag.)
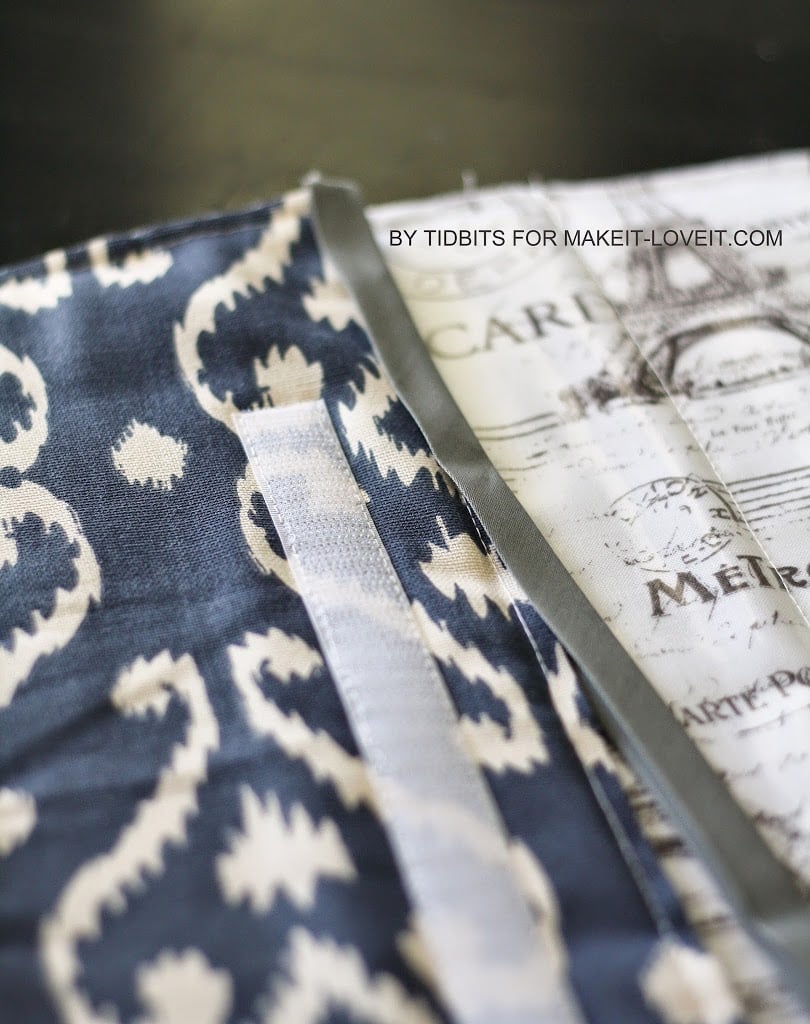
Now is the time to attach the velcro. Place the bag down in front of you with the outer fabric facing down. Fold up the bottom edge along the 19 inch line. Now center a velcro piece about an inch and a half down from the top of this edge that you folded up. Pin in place and then sew in place through all 3 layers of fabric that you folded up (but not through the back side of the bag).
Fold your top flap down (that has the curved edges) and insert pins in where they match up with the velcro you just stitched on.
This will show you where to pin your other velcro piece.
This time only sew the velcro onto the laminated cotton. This is why we left these layers open for now.
Now you can baste those layers together on the top flap, meeting the other ends where you already sewed.
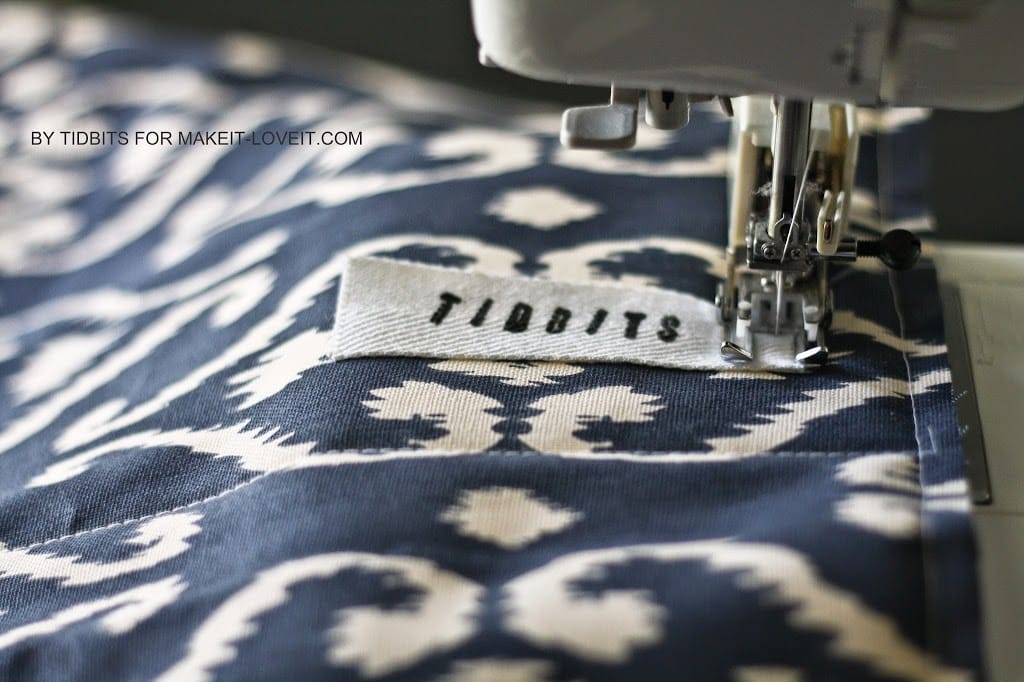
If you have a label you would like to add, now would be a good time.
Open up your bias tape package and iron out the creases where it was folded around the cardboard piece.
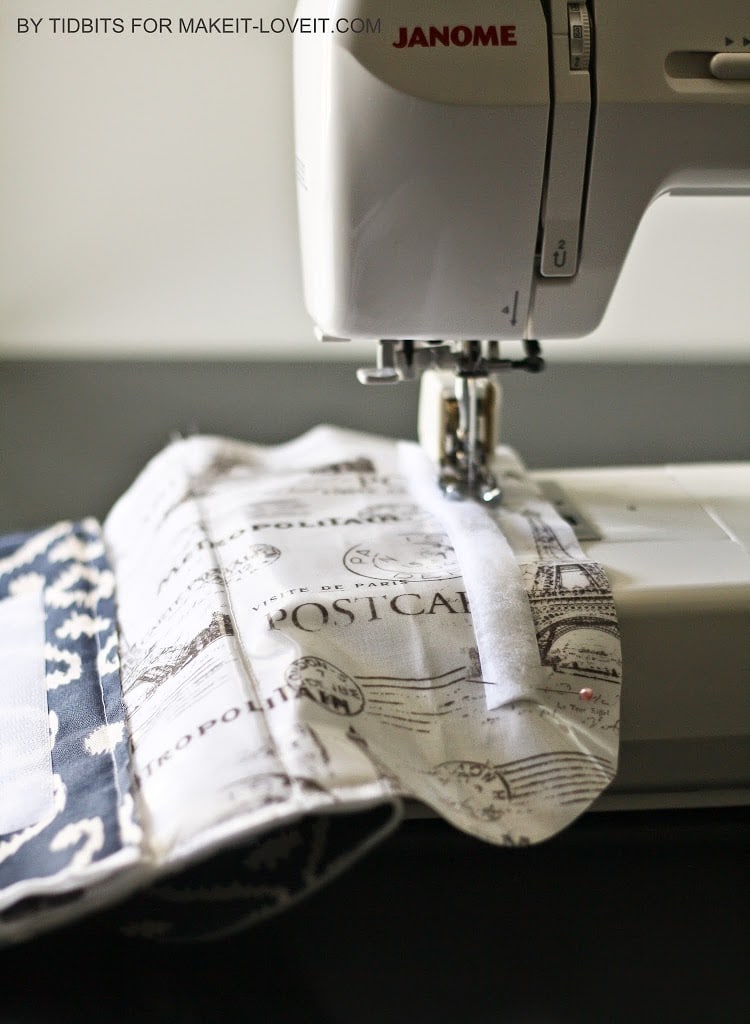
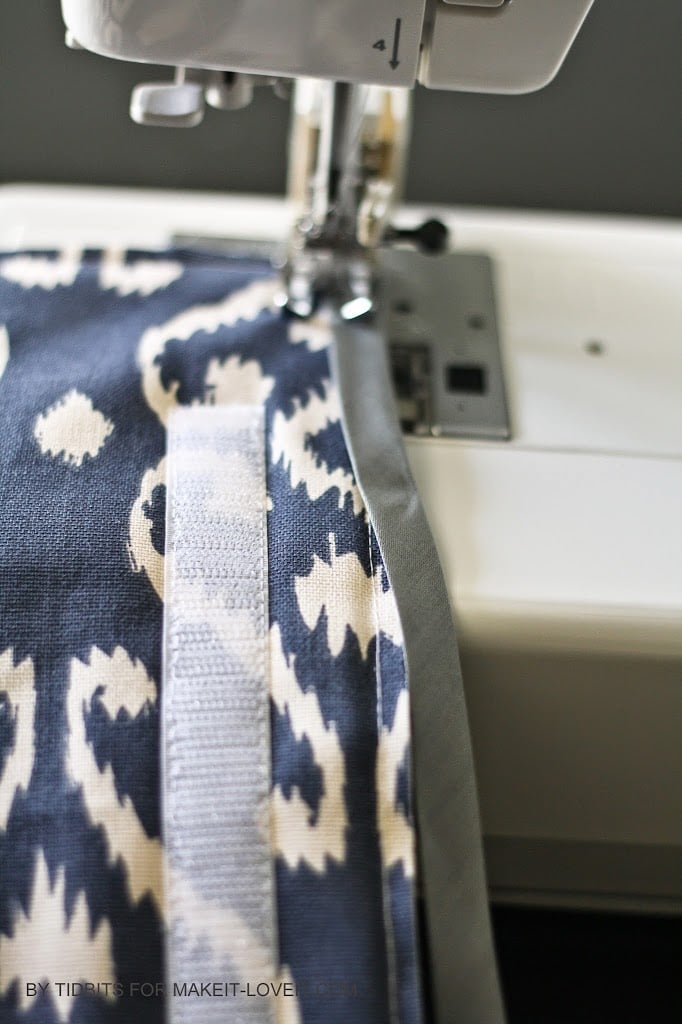
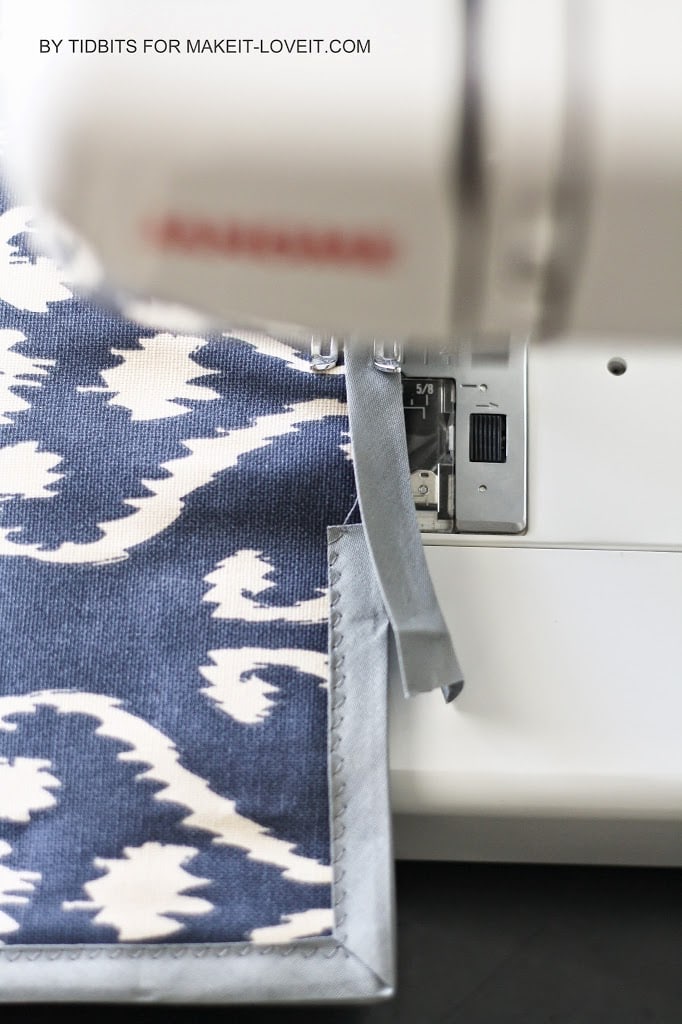
You are going to sew your first strip along the top edge that you folded up, right above your velcro. Just cut enough to to reach all the way across.
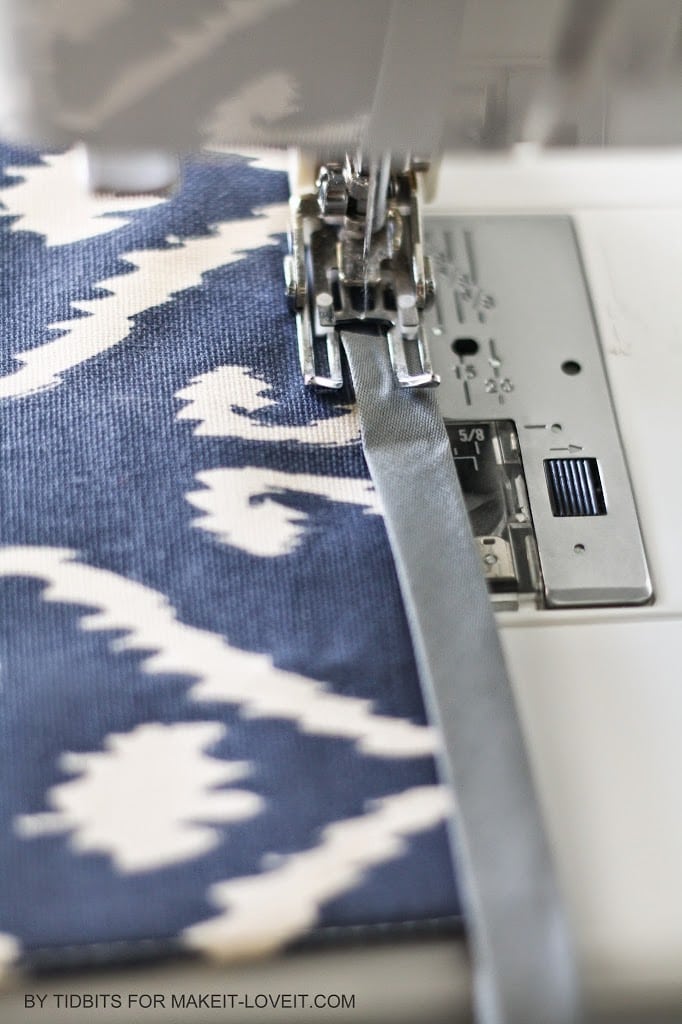
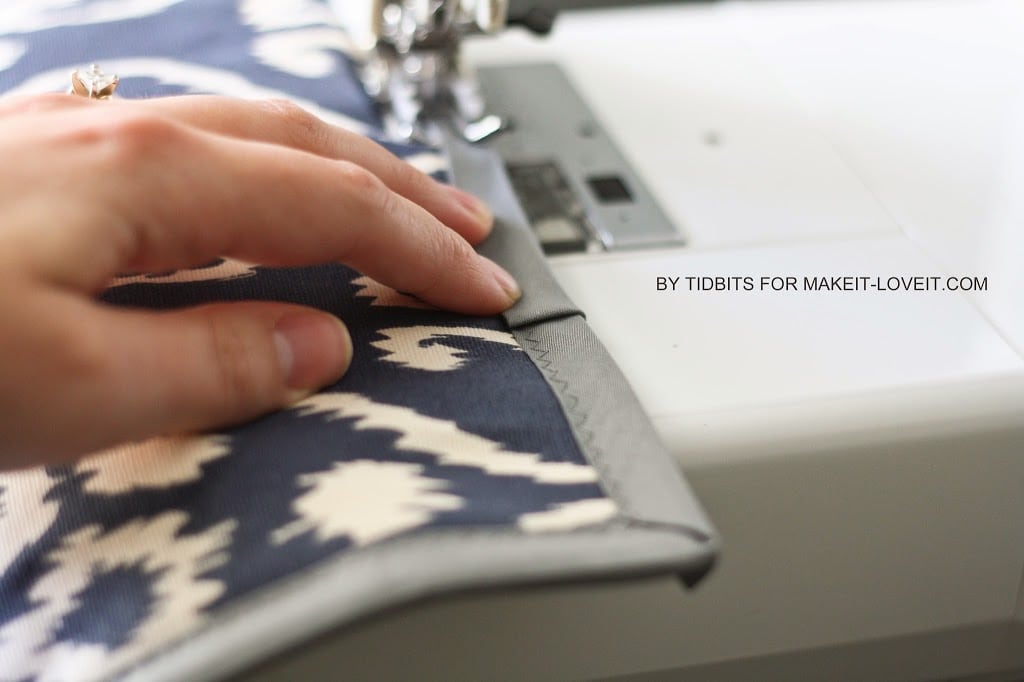
There are many ways to sew on bias — but I choose the lazy way. You’ll notice a slightly wider edge of the Bias Tape when it’s folded. Put that edge along the back. You can pin in place, but I prefer to just sandwich the bias tape around the fabric I’m attaching it to, and finger it in place as I sew.
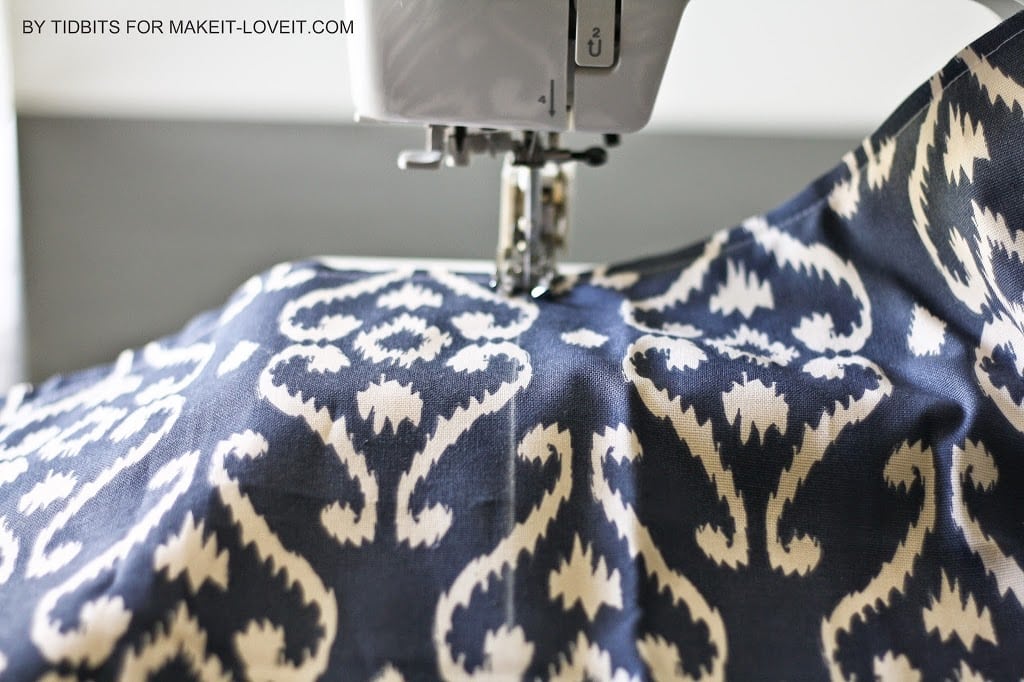
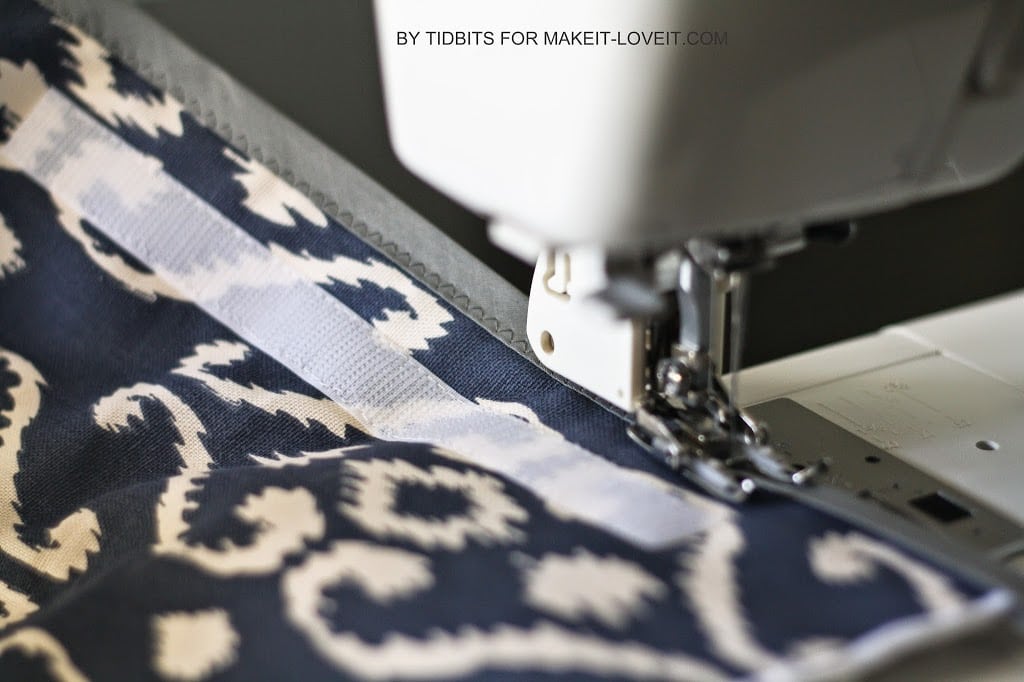
Many stitch types will work but by doing a medium length and width zig zag stitch (like I did below), it is easier to ensure that you catch the back side when you sew it on. And it looks really nice too.
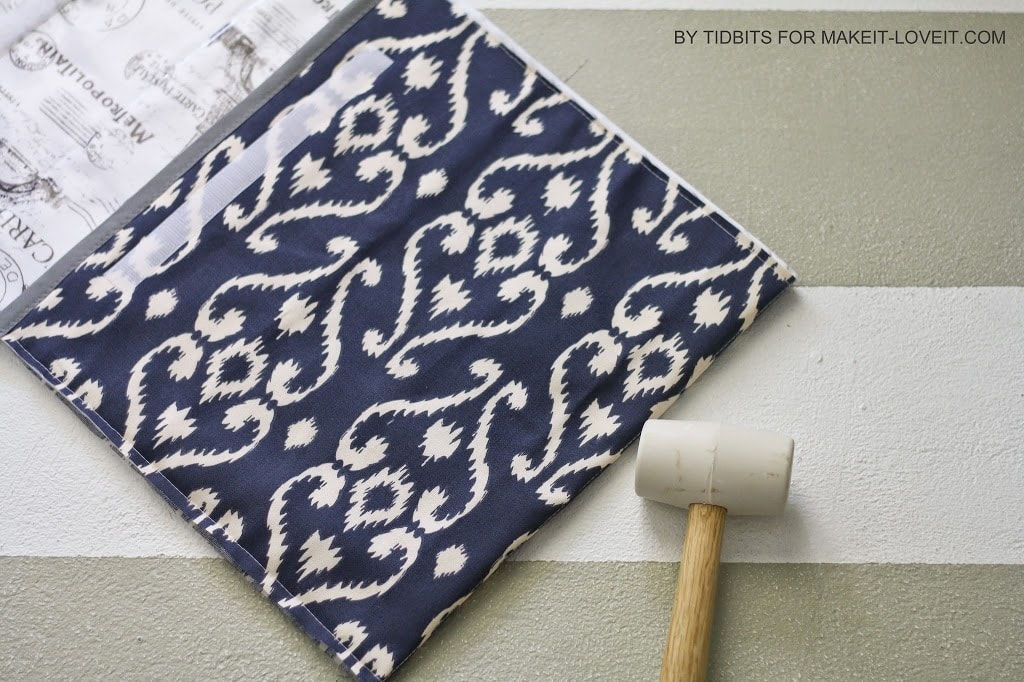
Here is the fun part. You need to sew the bias tape all around when it is folded at the 19 inch mark. But that fold makes things a bit bulky and hard to sew.
I have a rubber mallet, and I love it. You can find them at Joanns or Walmart. I set the bag on my painted concrete floor and started pounding on that fold. You would not believe what that does to decrease the bulk in those fibers. I use this trick a lot. Plus, it is very therapeutic ;)
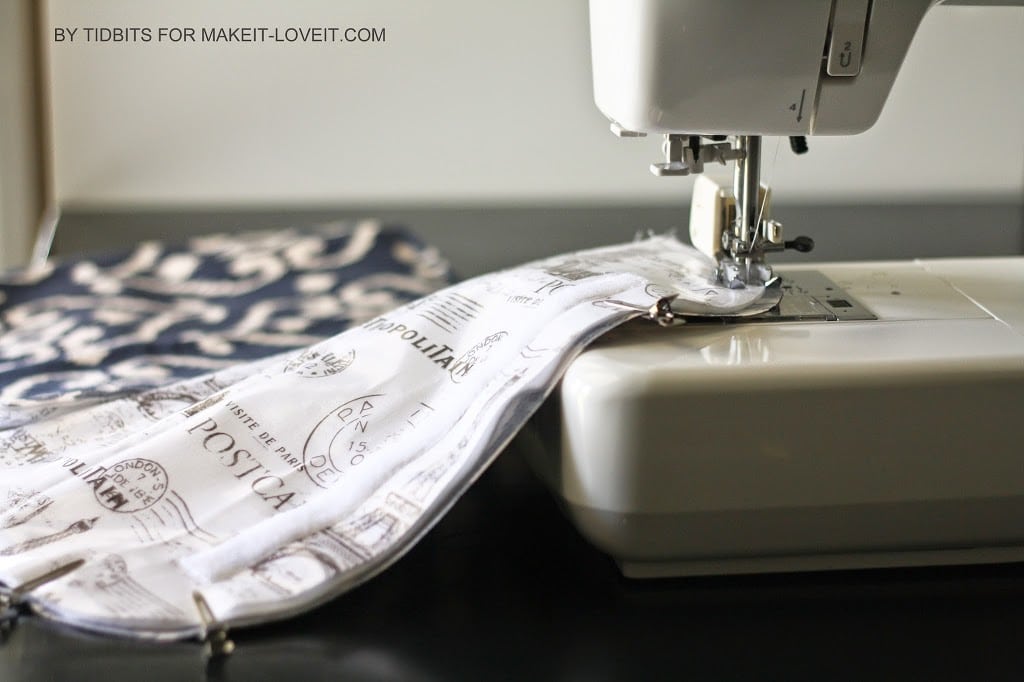
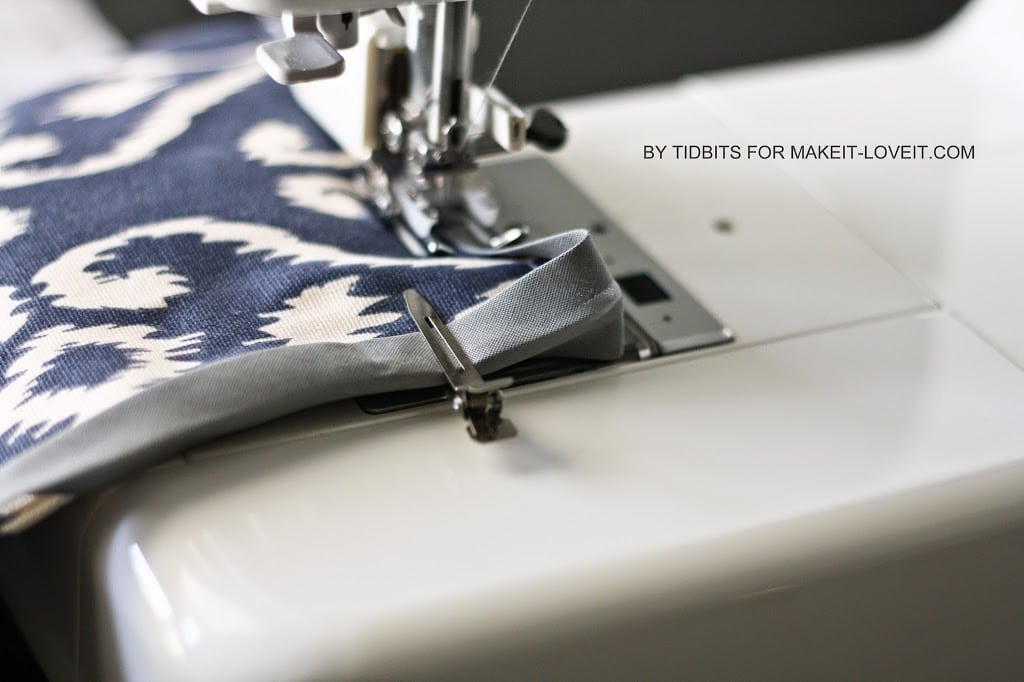
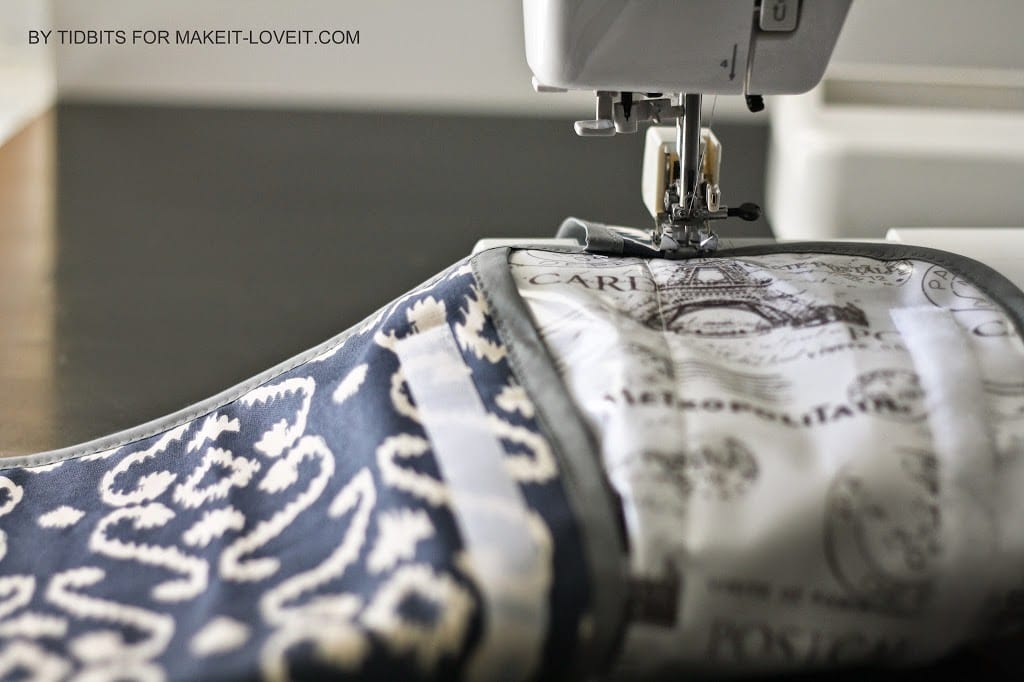
Now you can sew bias all the way around, closing up the bag. Just start wherever you would like, but be sure the top flap is up and sew the bias tape right around those curves.
When you come to a corner, shape it around the curve and place clips to help hold in place, like seen below.
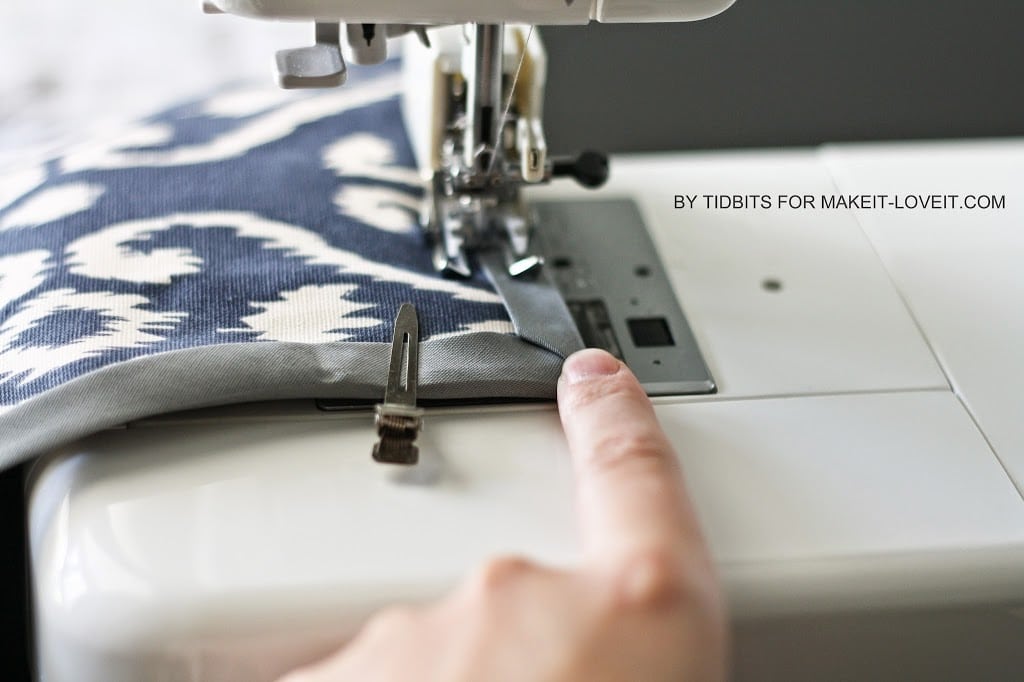
For the corners, fold the front and back of your bias tape corners at an angle. It takes a little patience to do this. Then carefully stitch it down.
When you come to your starting point, clip the excess bias tape off, leaving a small tail.
Fold the unfinished edge under, let it overlap the first edge where you started, and stitch in place.
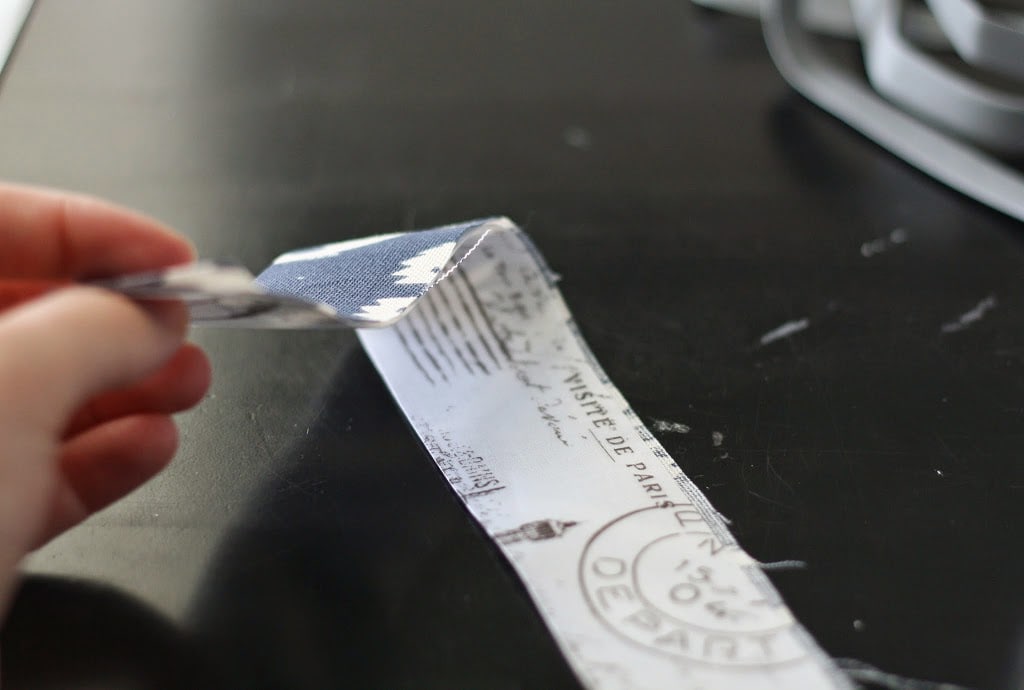
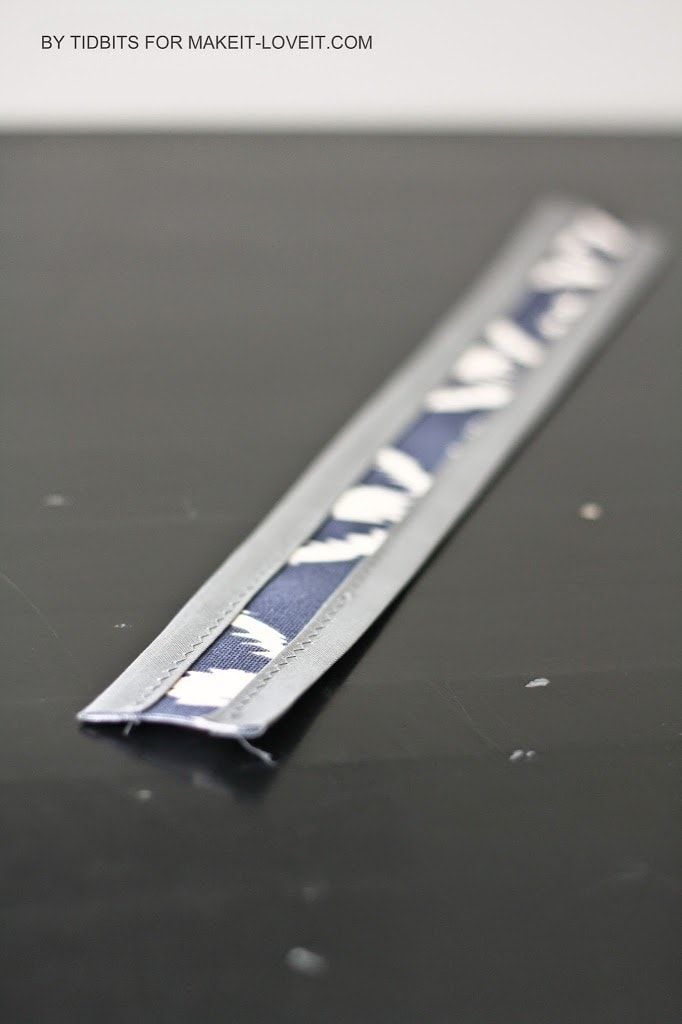
Now you are going to make the little handle for the bag, if you want it on there. Take your strips you cut and put wrong sides together.
Sew bias tape down both edges.
No need to worry about the ends. We will take care of those next.
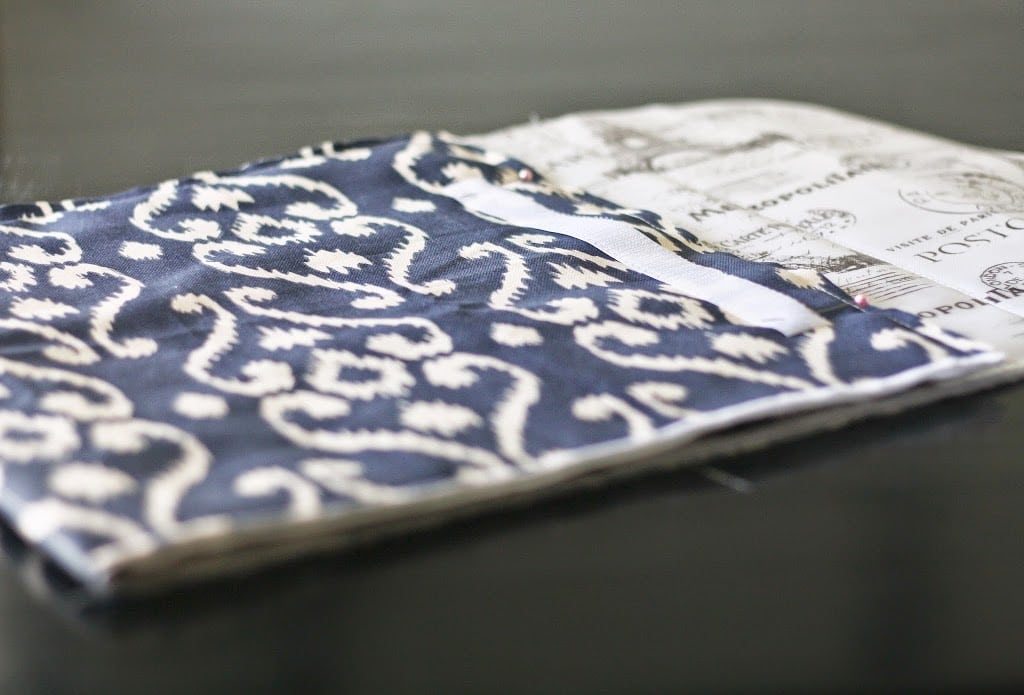
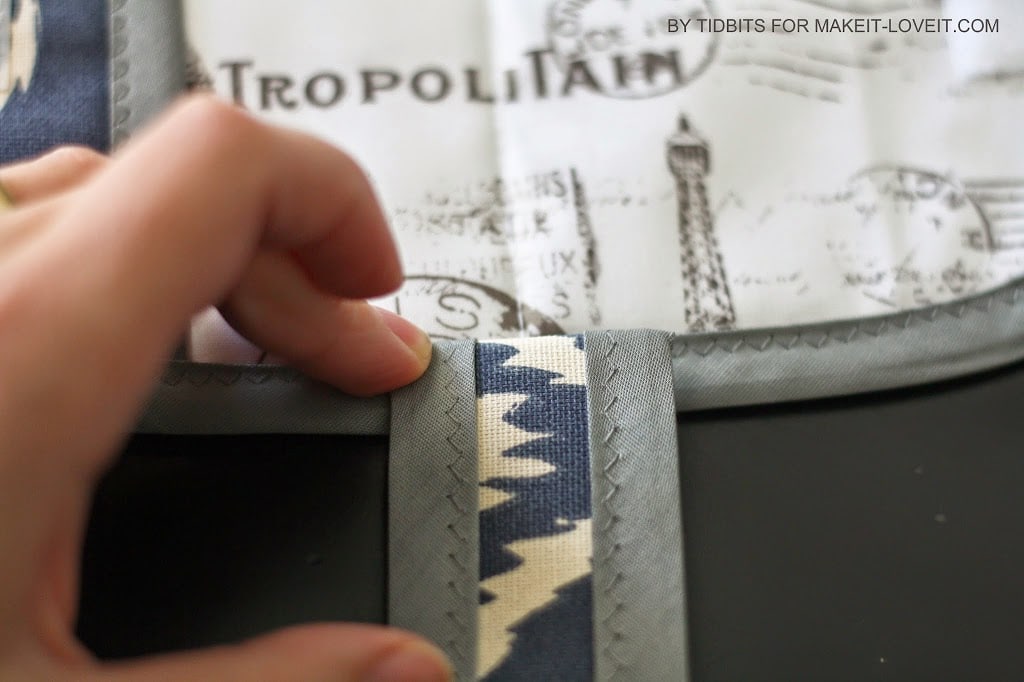
Fold one end under about 1/2 an inch. Open up the bag with the curved flap of the bag facing down. Center the folded end of the strip up with the 5 inch marker line, at one side of the flap, overlapping about 1/2 inch.
Stitch that down as shown below.
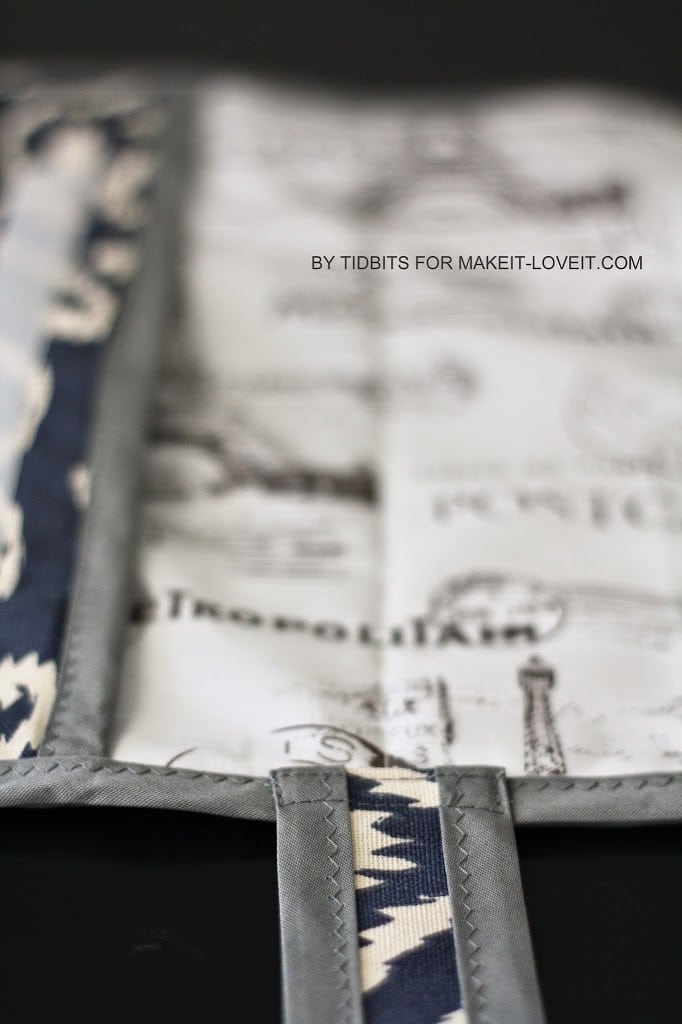
For the other end, you are going to wrap the strip around the front of the flap to the other side and sew it on the same way. This gets a little tricky because your bag is now in the way. I removed the free arm on the machine so this task was a little easier.
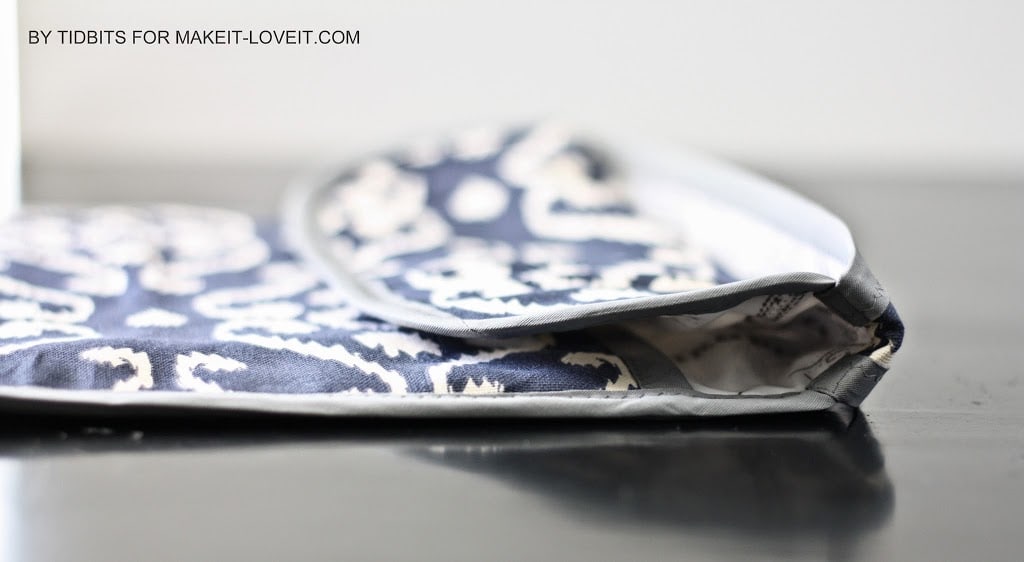
And there you have it!
You are done! I would love to hear what you think!
Have you figured out some diapering system for on-the-go messes that works for you?
Just one last thing. If you bought the recommended fabric I mentioned, you will have enough fabric left over to make 2 portable changing pads. Head on over to
Tidbits, and I’ll show you how!
Have fun!
-Cami