Home » DIY Tutorials » DIY Sewing » Sewing: Clothing » Accessories » Satin Flower Headbands
Satin Flower Headbands
August 9, 2010 - By Ashley Johnston 95 Comments
Satin Flower Headbands
Remember
this post about the pettiskirt? Well, many of you asked about the headband…….
I have posted about the satin flowers before…….hmmmm, maybe a year or so ago, but didn’t give a step-by-step and didn’t show it on a headband. But these little satin flowers really are a fun little thing to put on anything. Clothing, bags, headbands, etc.
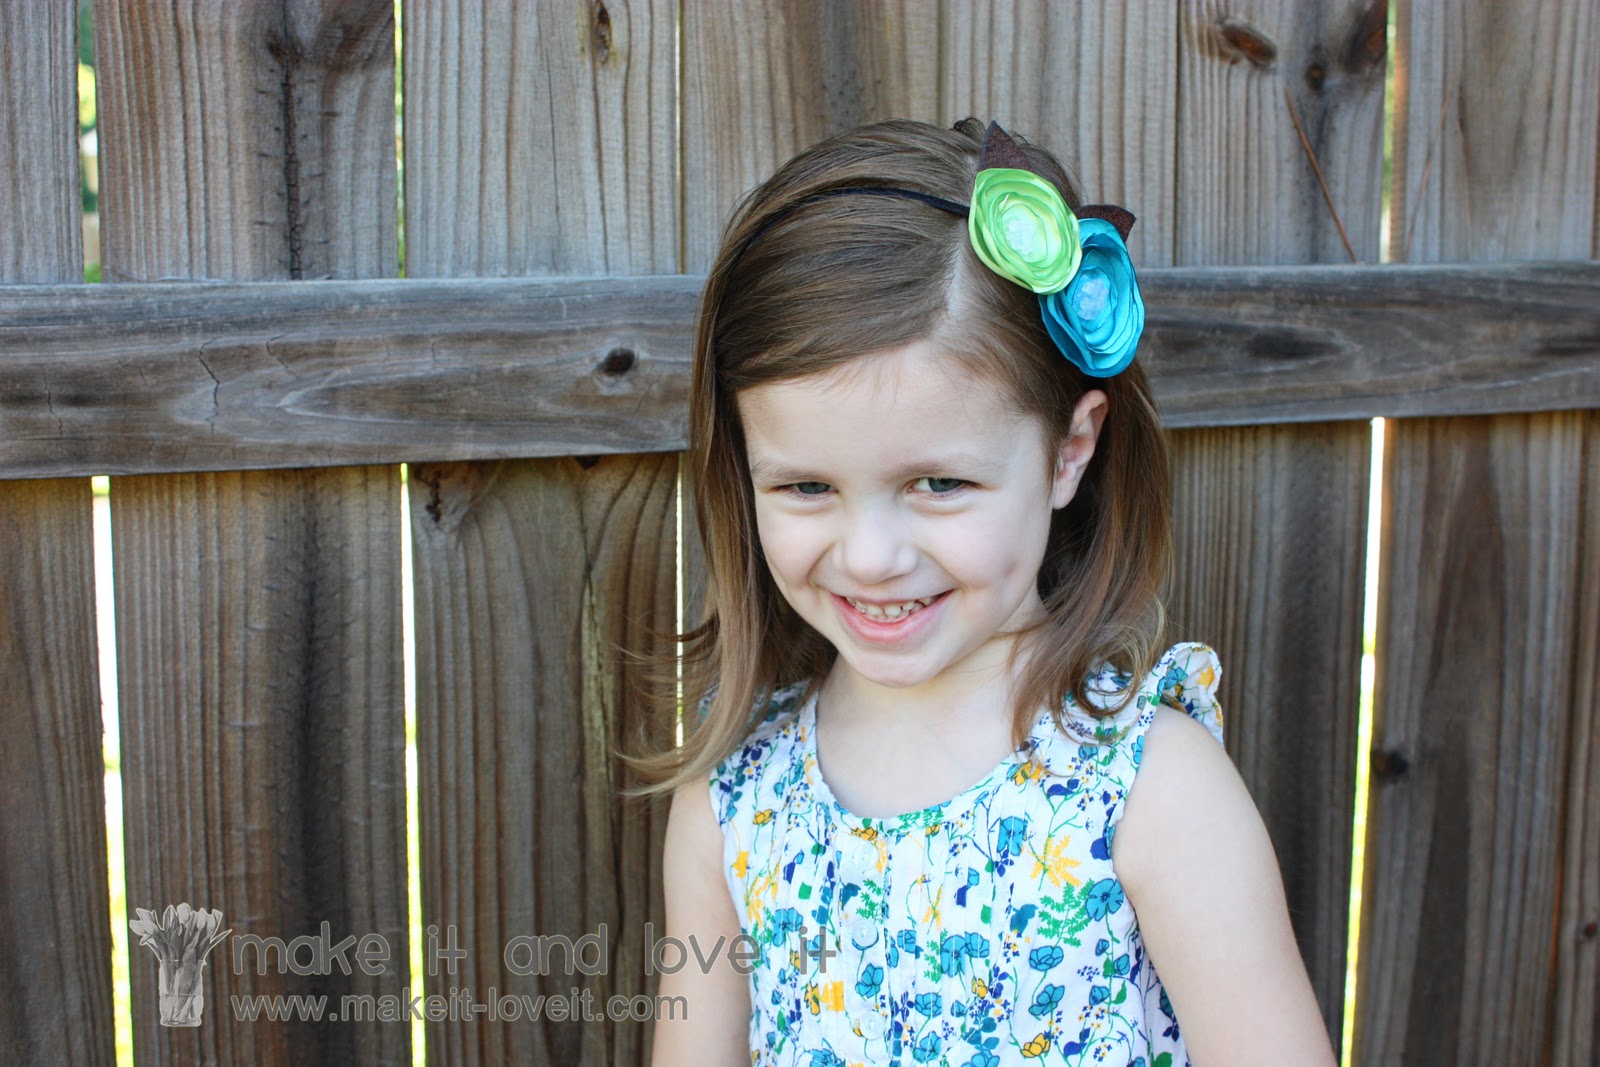
But since many have requested the headband version, here it is:
Such a fun and vibrant accessory.
Many color combos are at your fingertips.
The headbands work especially well to keep hair out of the face,
while your little one peeps on the neighbors.
(We’ll have to have a talk…)
And how can you resist all those layers of petals… Nice and full and perfectly sweet.
Ready to make your own?
First, begin by cutting about 6 circles of satin material for each flower. (I just found the cheapest satin I could…..only a few $’s a yard, and it worked great. The satin just needs to be able to melt with fire, rather than burn.) The blue flower is bigger and the largest circle is about 3 inches in diameter. The largest green circle is about 2 1/2 inches in diameter.
I made each circle gradually smaller, making sure they fit on top of the circle just larger than it, and didn’t worry one bit about making it a perfect circle. The uneven-ness of each circle will add to the beauty of the flower. Promise.
Then I used a lighter and slightly melted the edges of each flower, This also caused the edges to curl up a bit.
Then, one at a time, I hot glued each circle to the one below it, until I had my layered flower.
Then I placed a rather full blob of hot glue in the center of the flower…….
…….then dumped a pile of these little filler beads right on top. (You know, the same ones I used for filling up the “I-spy” bags
here.) You could use real beads or skip the hot glue and sew on beads to the center. But I just had these filler beads and thought they were the perfect shape. And I have had the pink flowered headband (shown above) for a while, which has been tossed and smashed and in the bottom of my purse……..and the little beads are still holding strong.
Then I mashed the beads into the glue blob, and formed it to the shape I wanted it with my fingers.
Then I dumped off the excess beads.
And that was it. The centers for the flowers are done.
Then I cut out pieces of felt, into the shape of petals.
Then I melted the edges of the felt, just for a textured look. And also held the flame on the center of the petal a bit……which gave it more texture, but also made the petal round inwards just a bit.
Then I glued the two petals together…
Then glued the flowers right on top of the petals. Trim any parts of the petal off, that may be peeking from the top or sides, if necessary.
Then, I just use these stretchy headbands (from Wal-Mart/Target) because they stay in my little girl’s hair better than hard headbands. But you could use either. I glued the headband right to the back of the headband.
Once that cooled, I added a nice thick layer of hot glue to the top of that, and let it dry. This creates a nice rubbery surface, and helps keep the headband in place on slippery hair.
And that’s it.
Headband completed.
Now make several more, in all sorts of colors.
And be sure to make some for yourself.
They sure are fun to wear.
With any outfit.