Home » DIY Tutorials » DIY Sewing » Sewing: Repurpose/Upcycle » Altering a Knit Summer Dress
Altering a Knit Summer Dress
April 22, 2010 - By Ashley Johnston 44 Comments
.
Have you noticed all of the long Maxi dresses out for summer?
They’re everywhere this season.
And I love so many of the colors and styles…..
But I decided that I wanted one that was a bit shorter and breezier.
With some fun little extras on it.
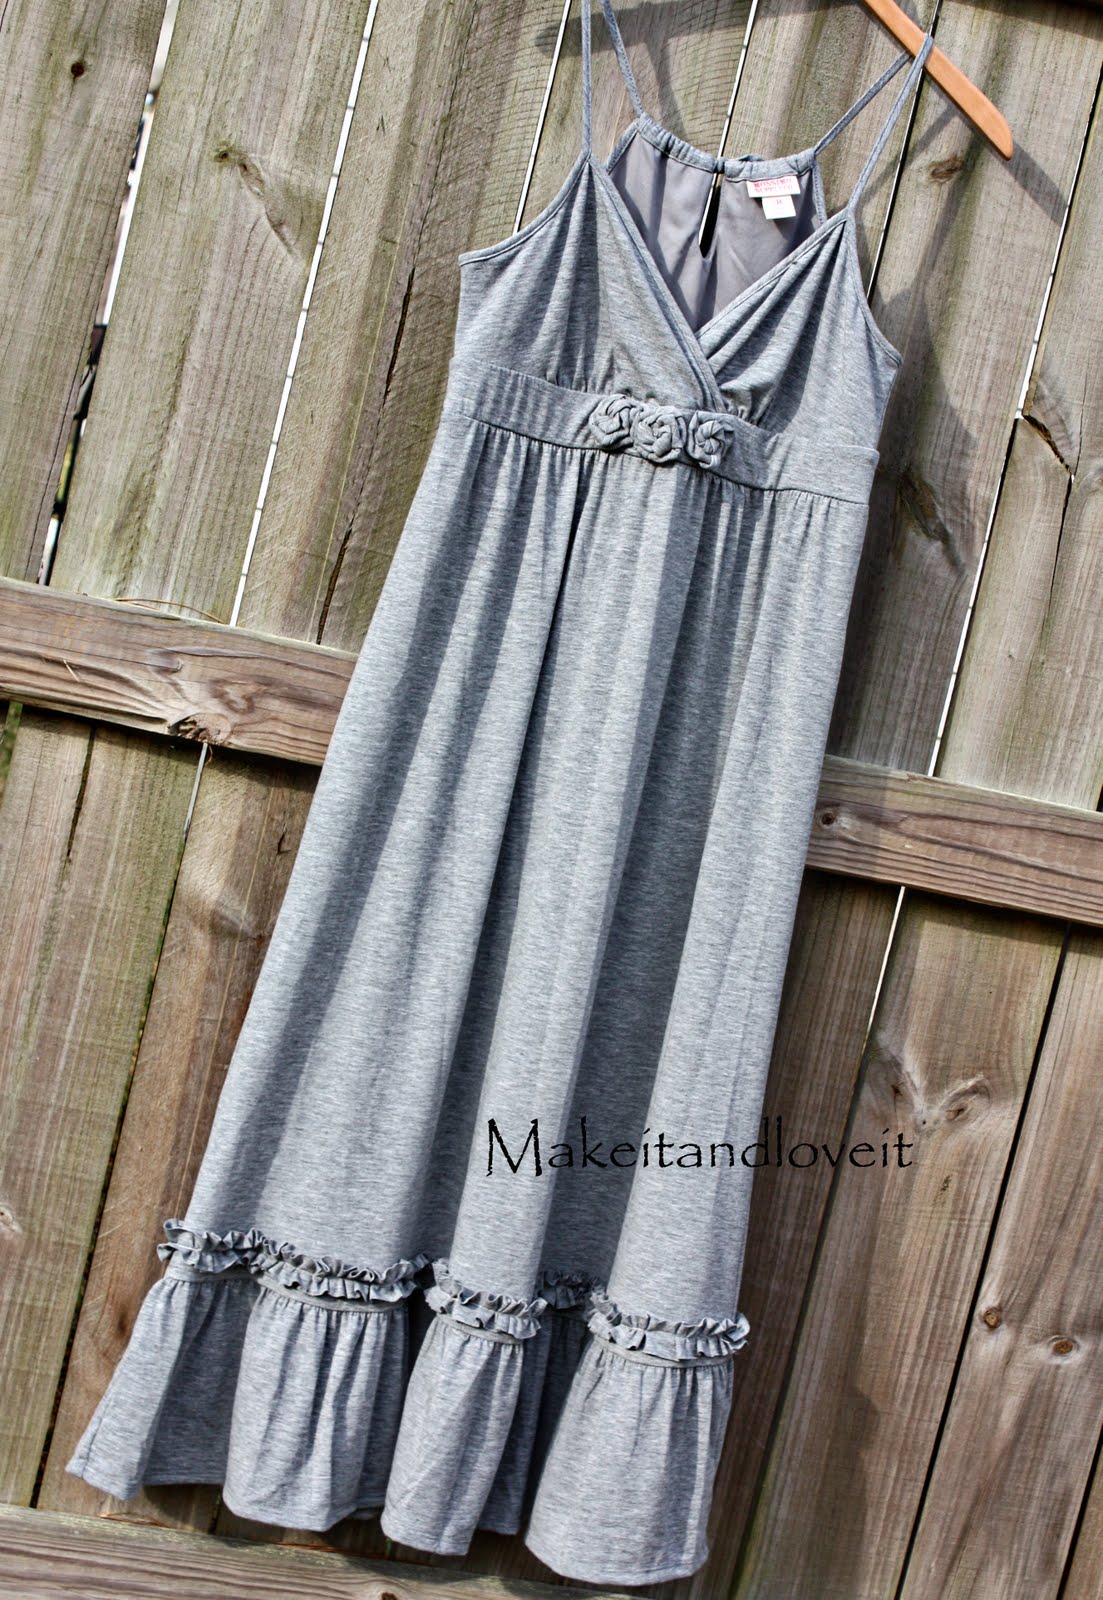
So I turned the Maxi dress from the link above, into this:
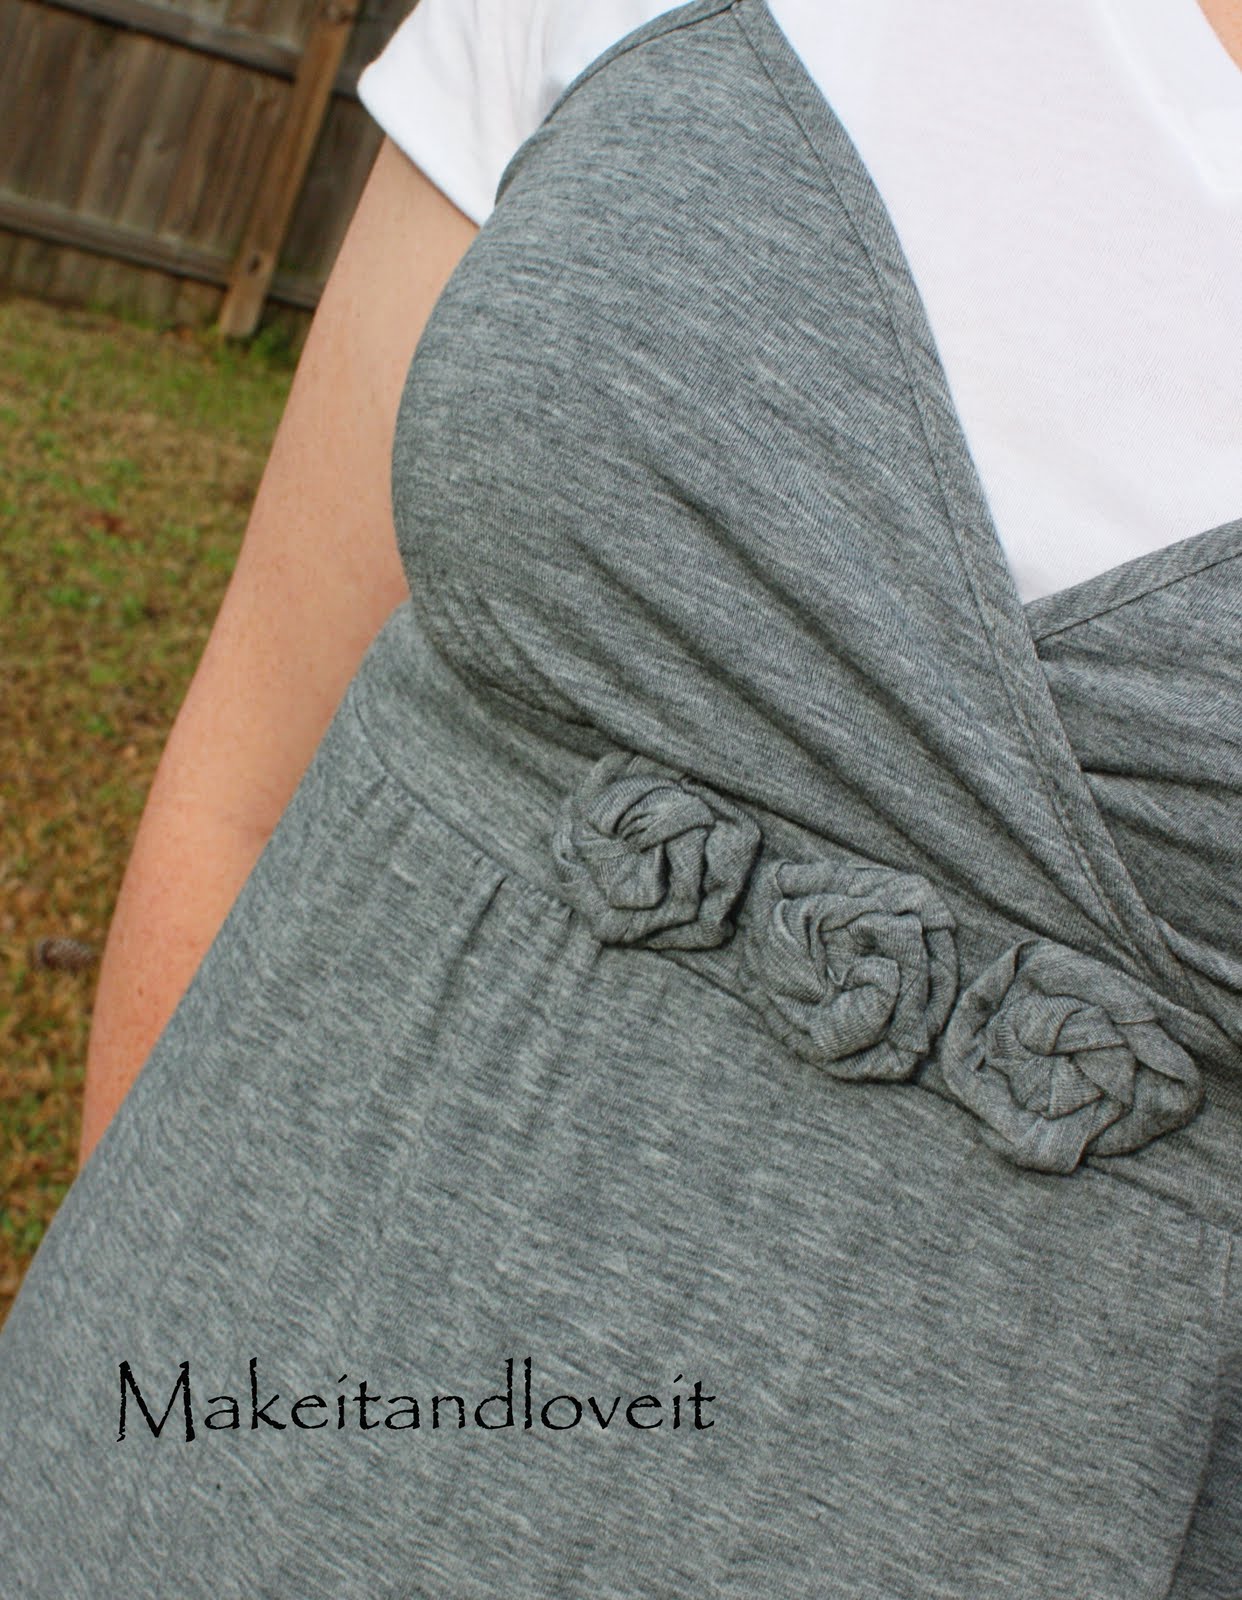
With sweet little rosette’s below the bust line.
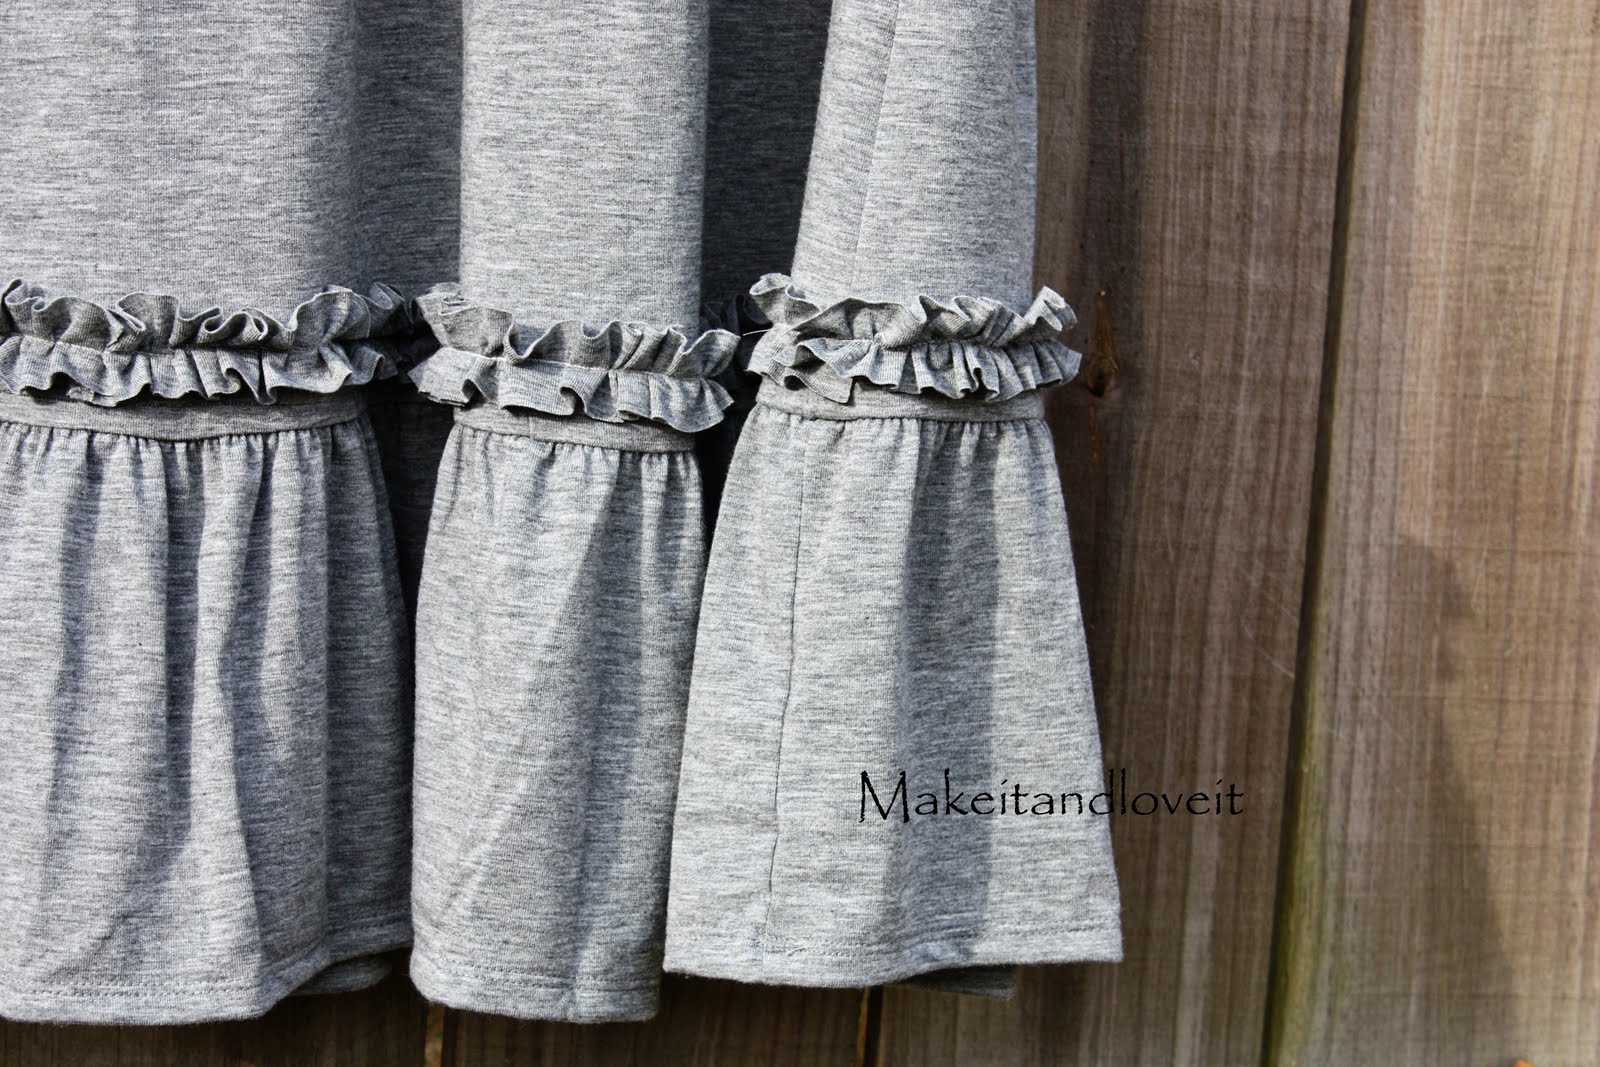
And a simple ruffle towards the bottom.
Nice and cozy.
**And just a bit below the knees.
An easy transformation to make your summer dress a little cooler.
Hey, I’m in GA now.
It’s hot.
How to transform your own Maxi Dress.
If there is no ruffle along the bottom, just cut it off however many inches shorter you want it, but make sure to leave a little extra for a hem.
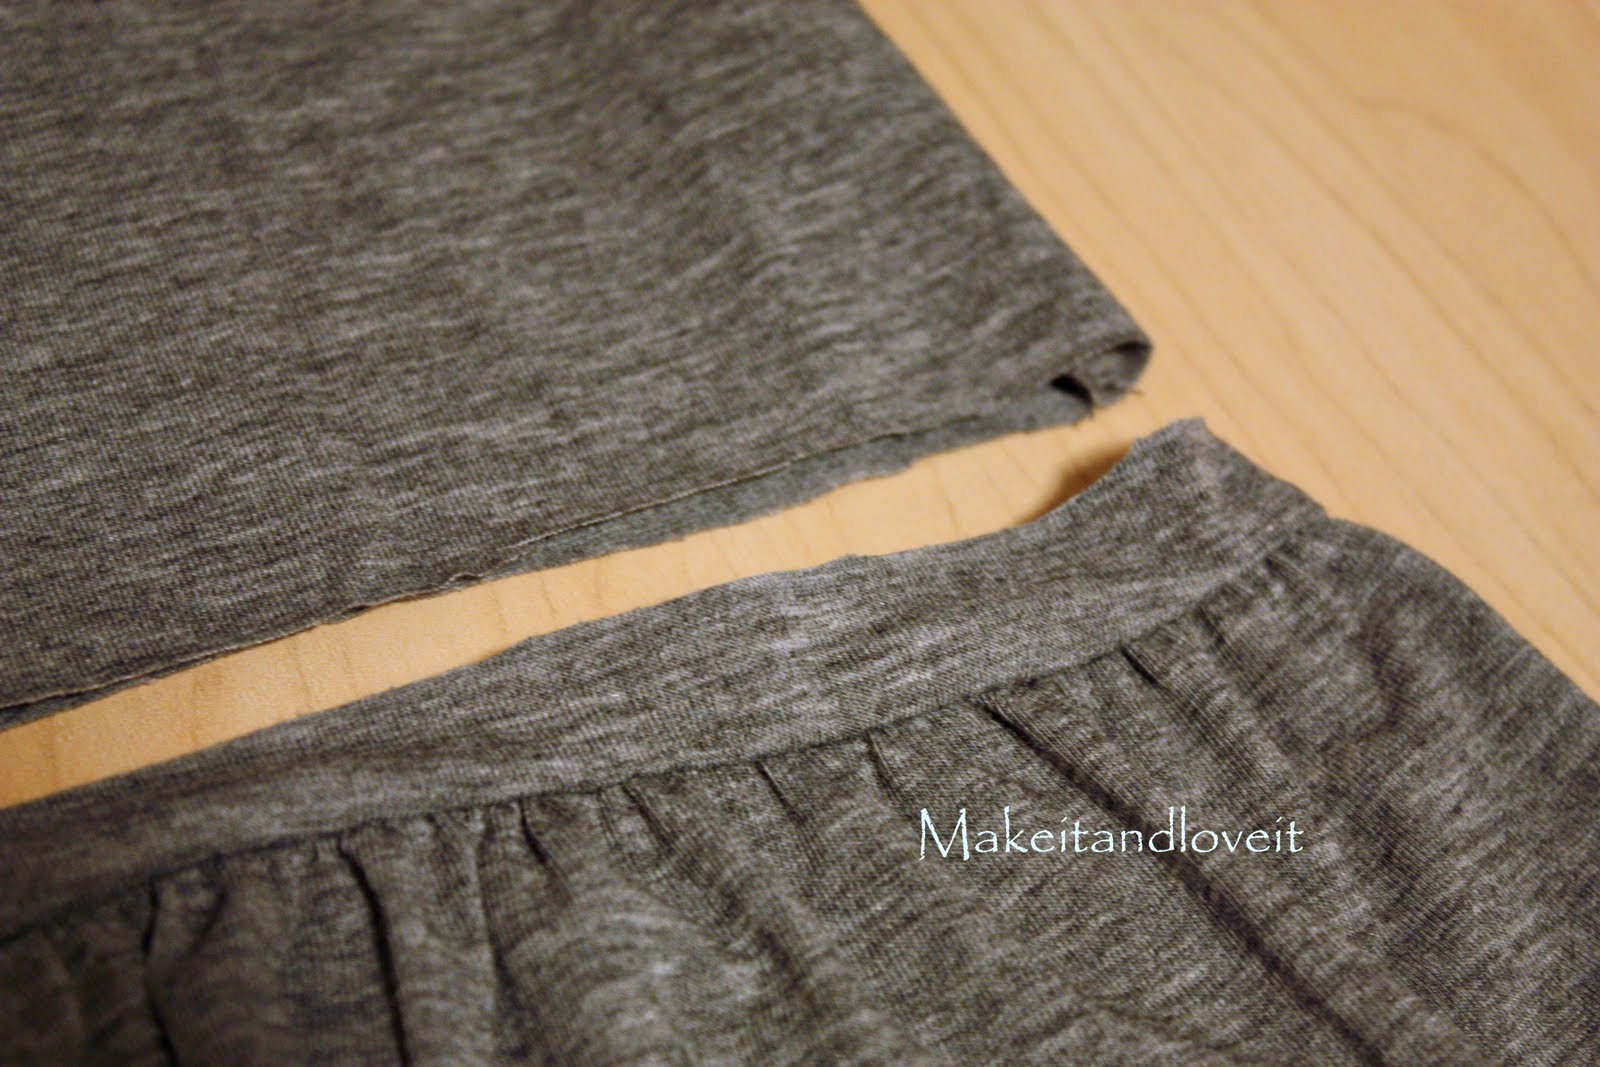
But if yours does have a small ruffle along the bottom, cut about an inch above the seam where the ruffle is attached to the dress.
An up-close of the cut above the ruffle.
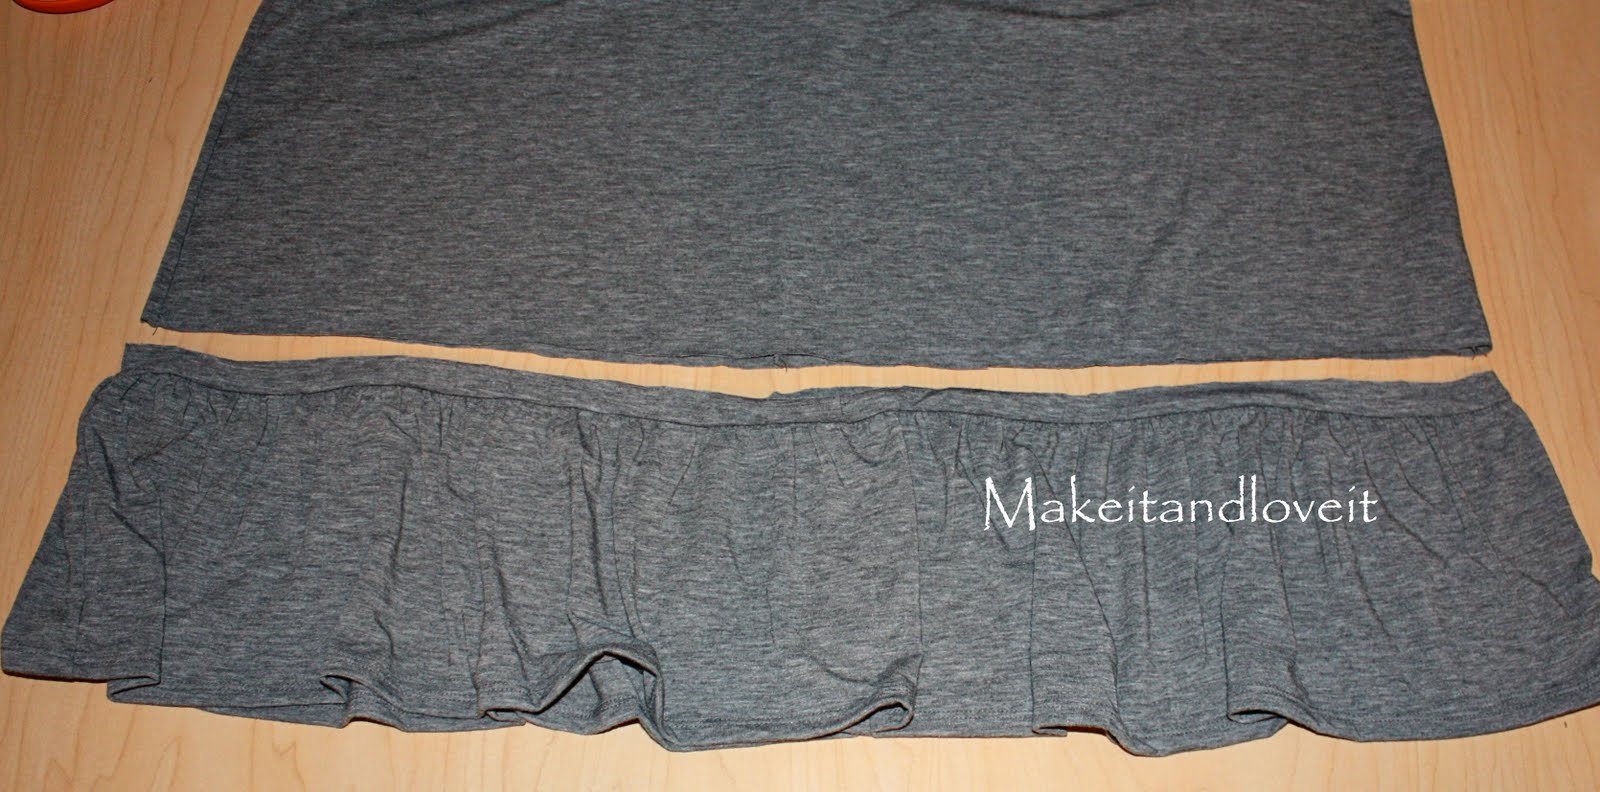
Then cut several inches off the dress, making it however long you’d like it (and keep in mind you’ll be adding your ruffle back…..so factor that into your length.) Then place the raw seam of the ruffle together with the new bottom edge of the dress with right sides together. See how the main section of the dress is still right side out but the ruffle has been turned inside out and upside down, to be placed together with the bottom of the dress?
Then I used
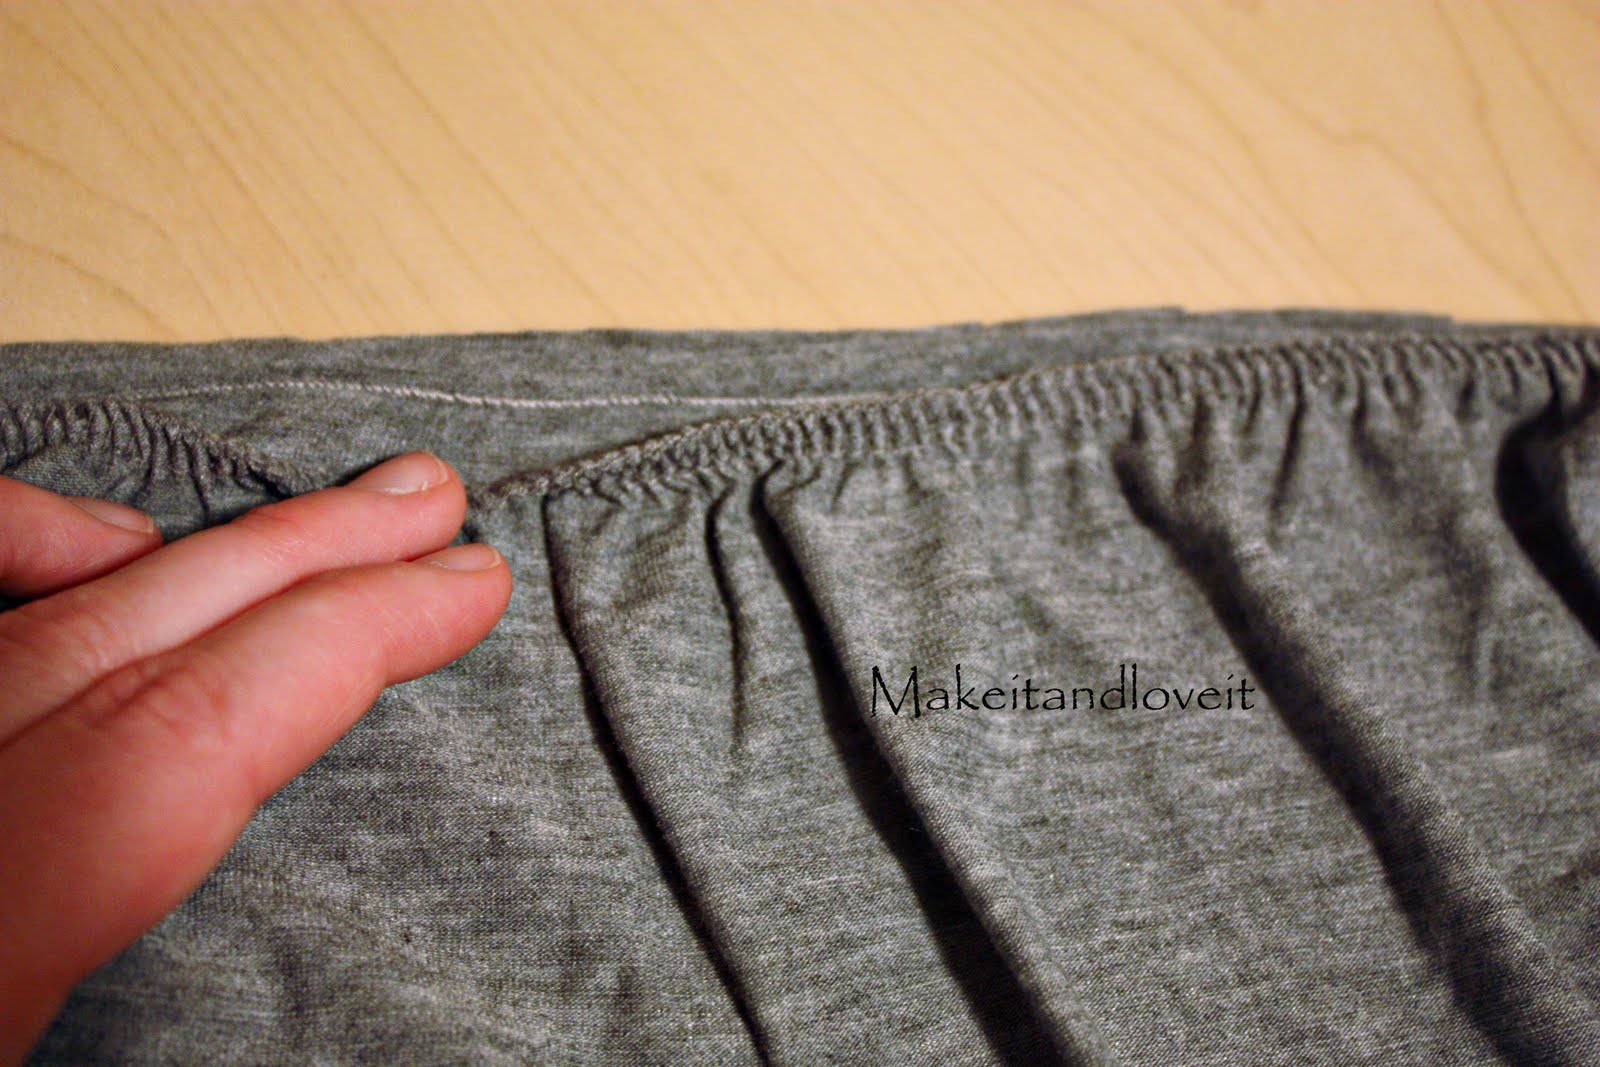
this technique to stitch those sections together, using about a 1/2 seam allowance. You can also use a zig-zag stitch, which works great too. (And make sure to iron and steam that seam flat. See how you can barely see the seam?)
And see the stitch under there?
(That serged seam is from the original dress, where the ruffle was added to the bottom of the dress. The one I made is the line above it.)
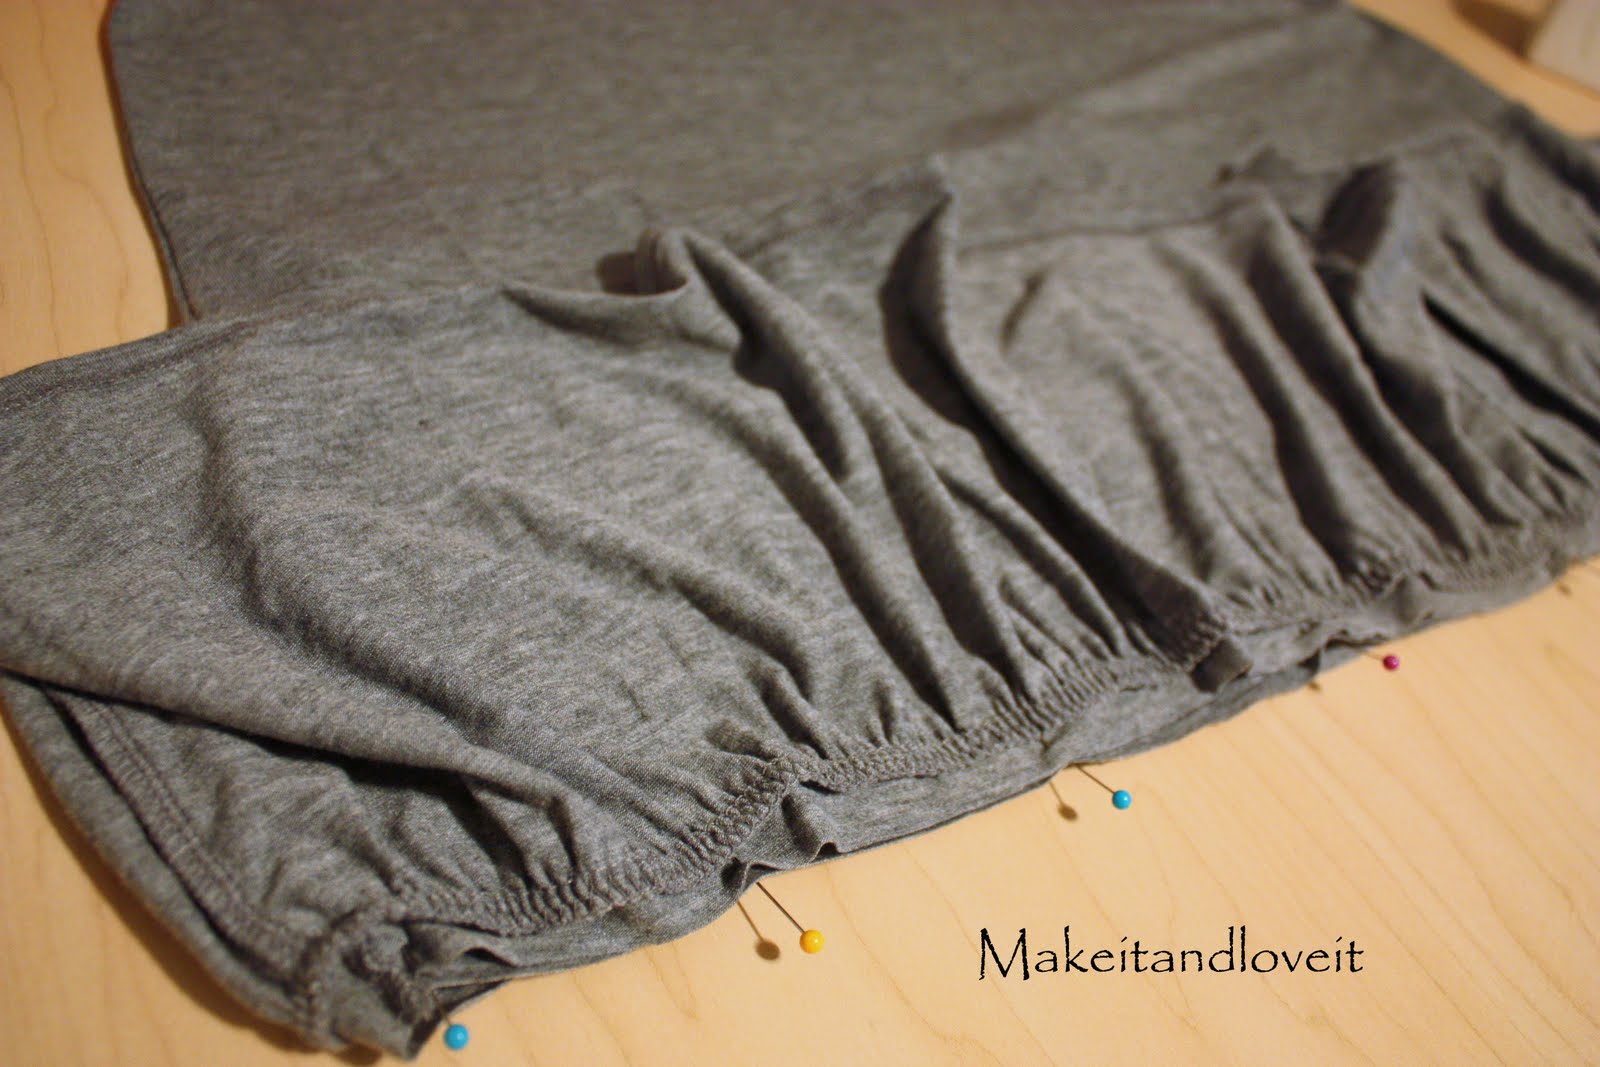
Then, I used the material that I cut off of the dress and sewed 1 inch wide strips together to create a piece that was twice the length of the dress around the bottom. So if the bottom front of your dress is 30 inches across and the back is 30 inches across, that is a total of 60 inches around. So you would need a piece that was 120 inches long, to create a nice ruffle Then I used the the same technique as the one
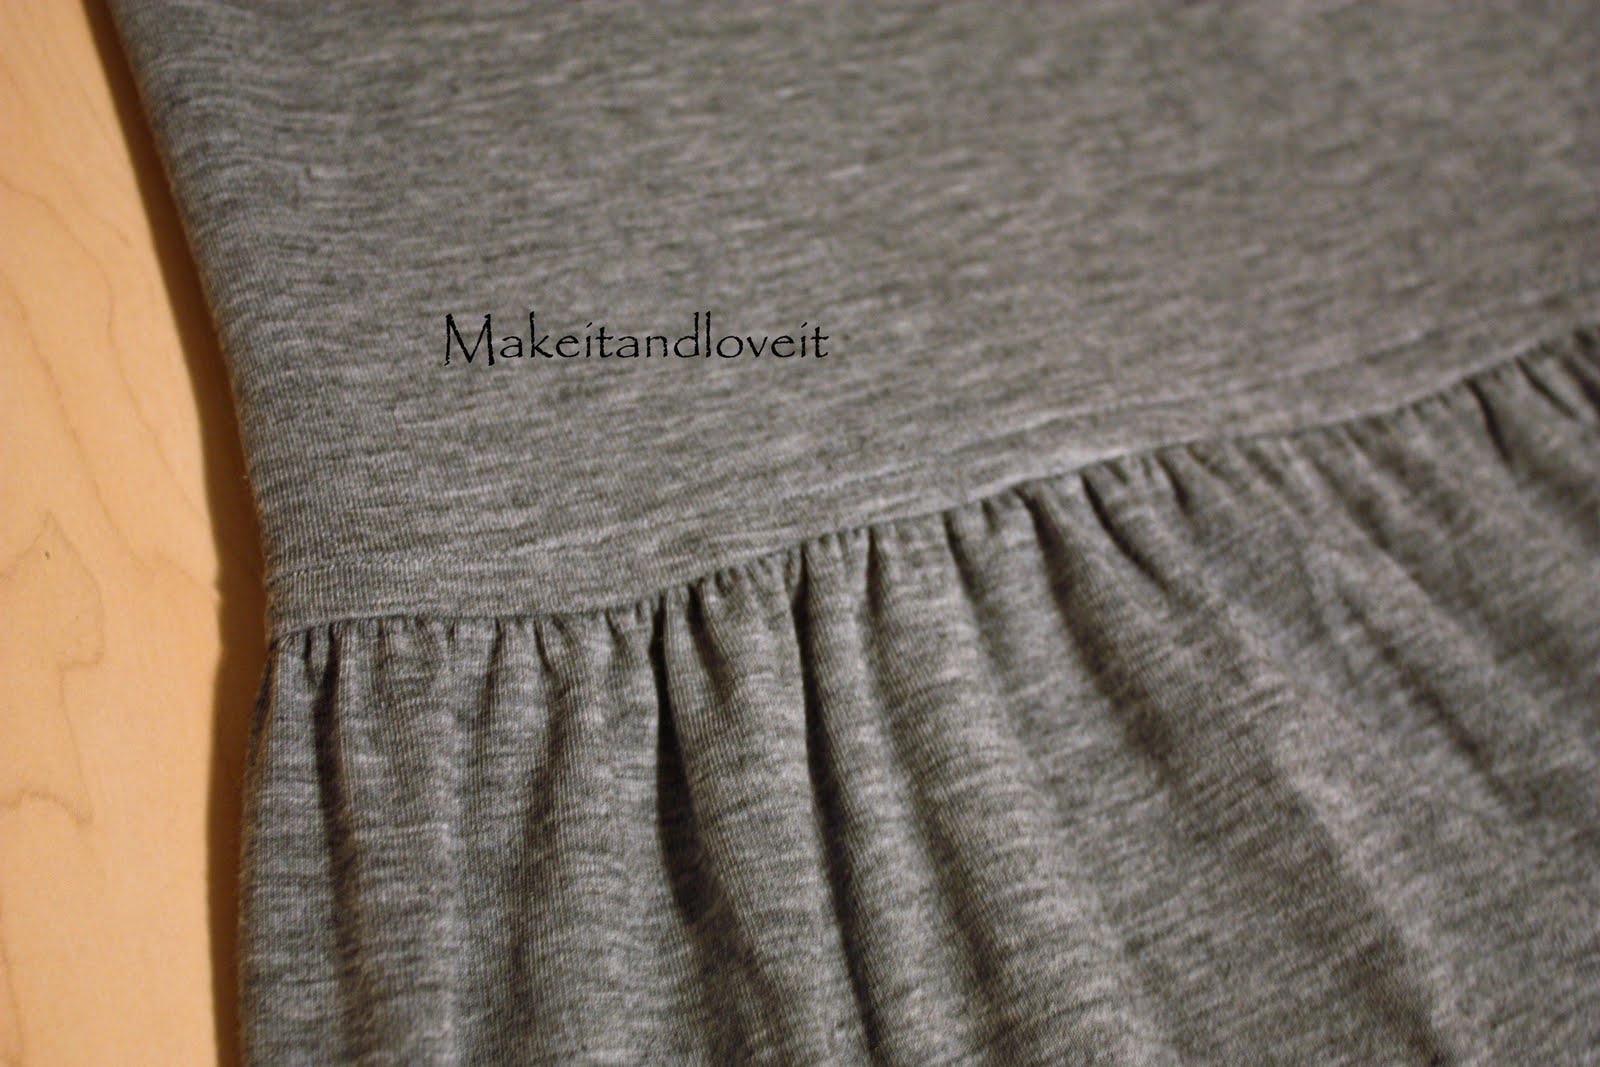
here, but made a basting stitch right down the center of my strip. Then I gathered my strip and pinned it to the bottom of the dress, covering the seam where I attached the dress back together. Then I sewed a seam right over top of that basting seam, attaching the ruffle to the dress.
And then I used more of the extras to create little rosette’s like the tutorial
here. I only used thread though, and not hot glue, to create the rosette. And then attached them to the dress with more hand-stitching.
And that was it.
Pretty simple and perfect for those hot months.
Enjoy.