Home » DIY Tutorials » DIY Sewing » Sewing: Clothing » Accessories » Pleated Knit Scarf
Pleated Knit Scarf
January 3, 2011 - By Ashley Johnston 106 Comments
.
Happy New Year!
I can’t believe we are in 2011. Hope your weekend was lovely and cozy…….with yummy things to eat and no stress.
My husband and I made fresh salsa and fruity milkshakes………….and decided to watch more of the television series, Heroes, on Netflix (Watch Instantly……love that feature!). And good grief, what a waste of space I am. My droopy eyes couldn’t stay open past 10:30. But I woke up to ring in the new year with him at 12:15, sadly realized I wasted a perfectly good milkshake because I fell asleep, but decided to munch on more chips and salsa and finish an episode with my husband until we finally called it quits at about 12:45.
All in all, a nice evening.
How about you? Are you a wimp-o like me at night, when a movie is playing?
Did you enjoy the rest of the holiday weekend?
I sure hope so.
. . . . . . . . . . . . . . . . . . . .
.
Are you freezing?
Like, bundle yourself up with 12 layers and curse some choice words as your nose freezes right off your face, type of freezing?
Or, has the weather turned a little chilly, so you better pull that jacket out of the closet (“ooooh, I hope I can find it”) type of freezing?
I’m experiencing the sort-of-chilly type of winter weather right now in Georgia. Nothing to complain about, really. But I’ll complain later when it’s so hot and humid that I can’t find even a scrap of fabric dry enough to wipe the sweat from my eyes. Remember? We’re even! :)
But either way, freezing or just sort-of chilly……..we can all use a new scarf. Right?
I saw a similar one in Sears as we were walking through the mall one day…….but in a very fine wool. Who can afford fine wool, anyway?? Ha.
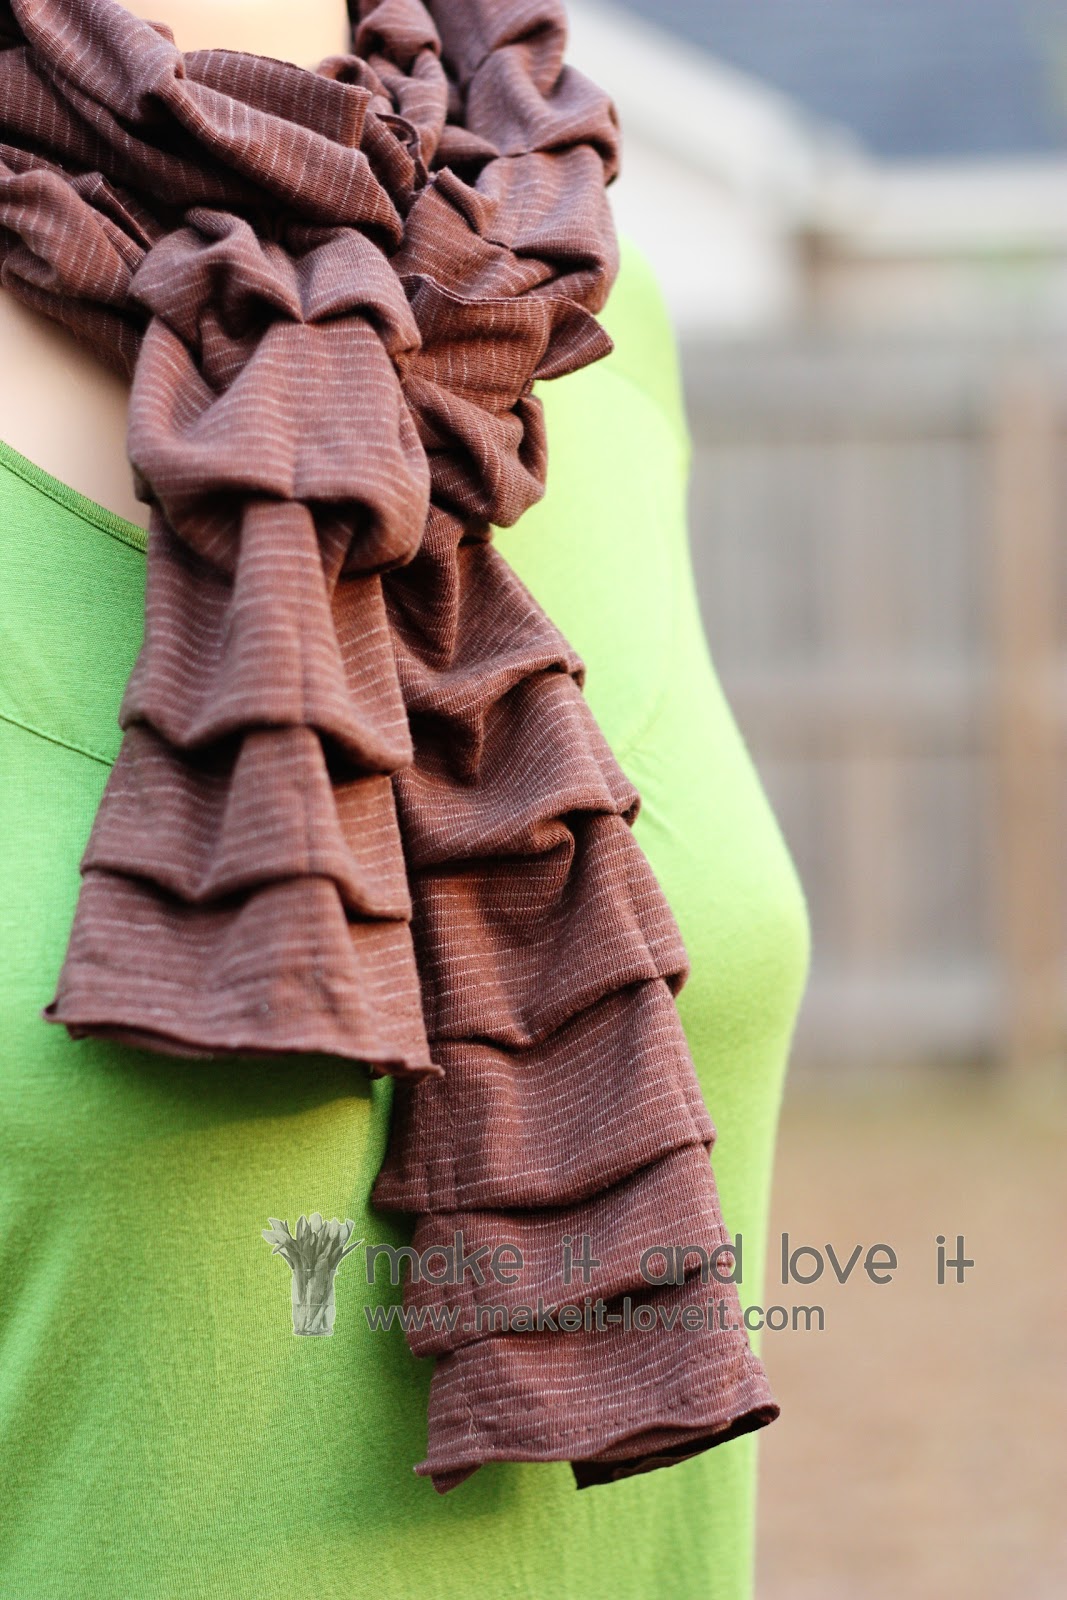
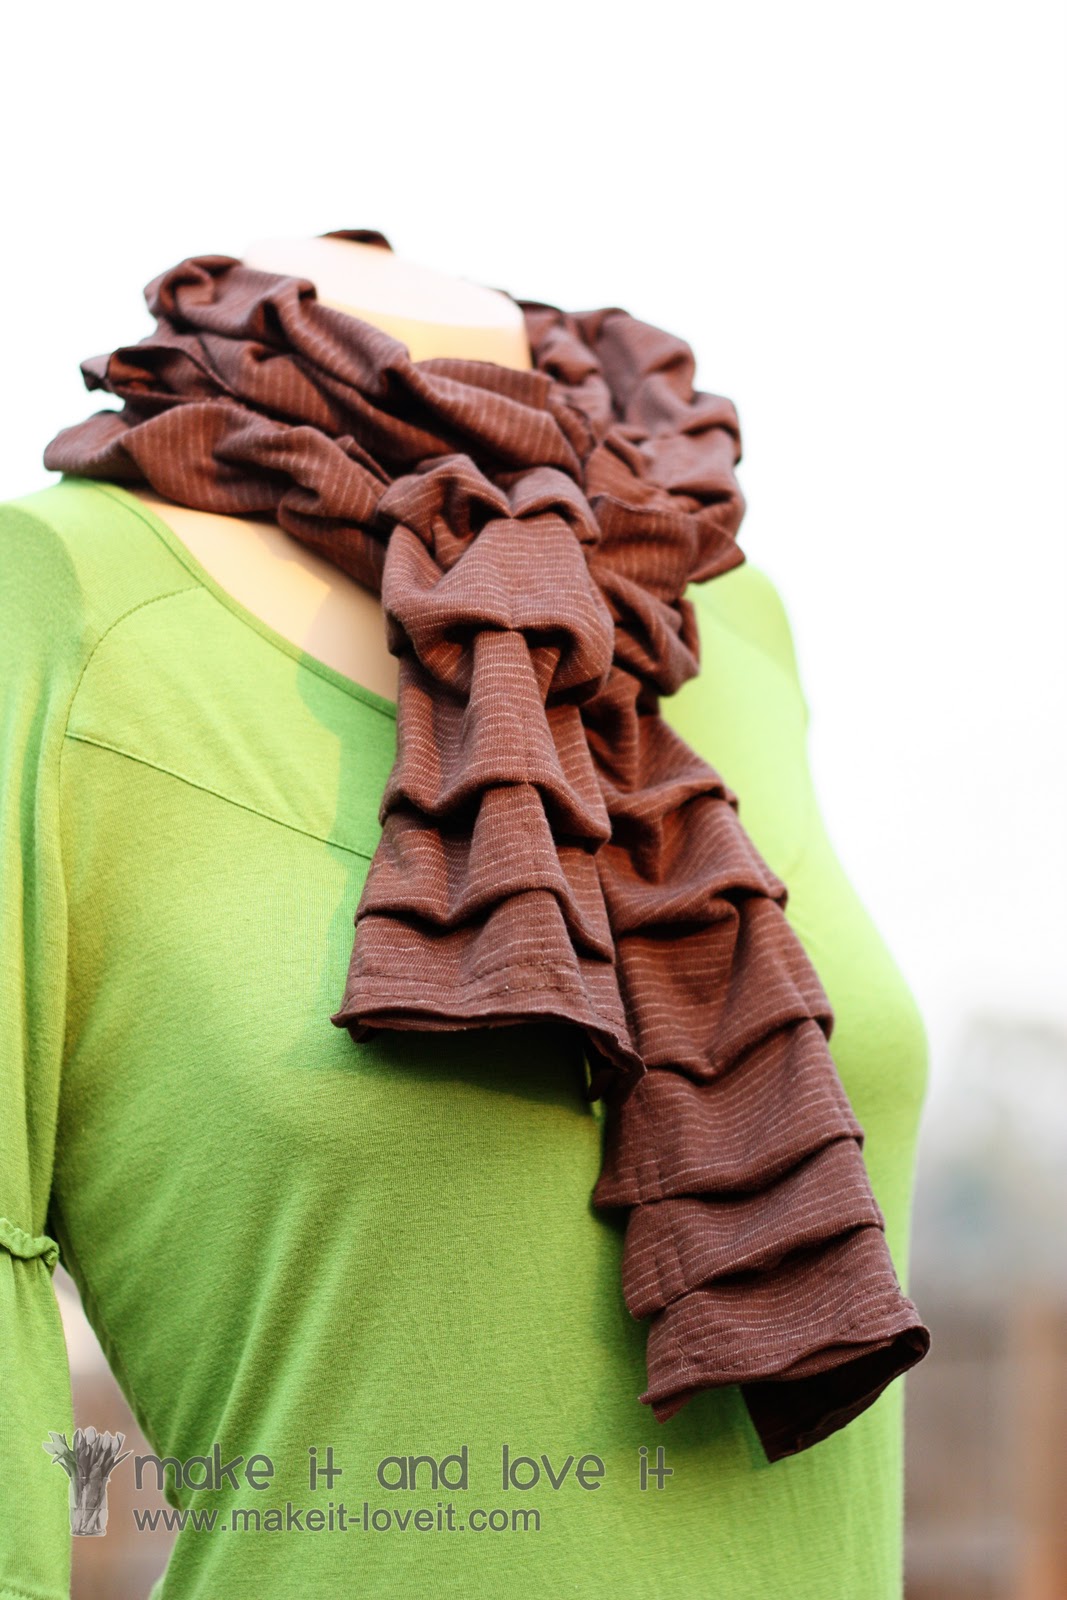
So how about about a cozy and soft little knit one?
Made with big loose pleats that really billow out as they hang.
Good ‘ol knit. If it scares you, I promise you’ll love the stuff after you have given it a chance on a few projects.
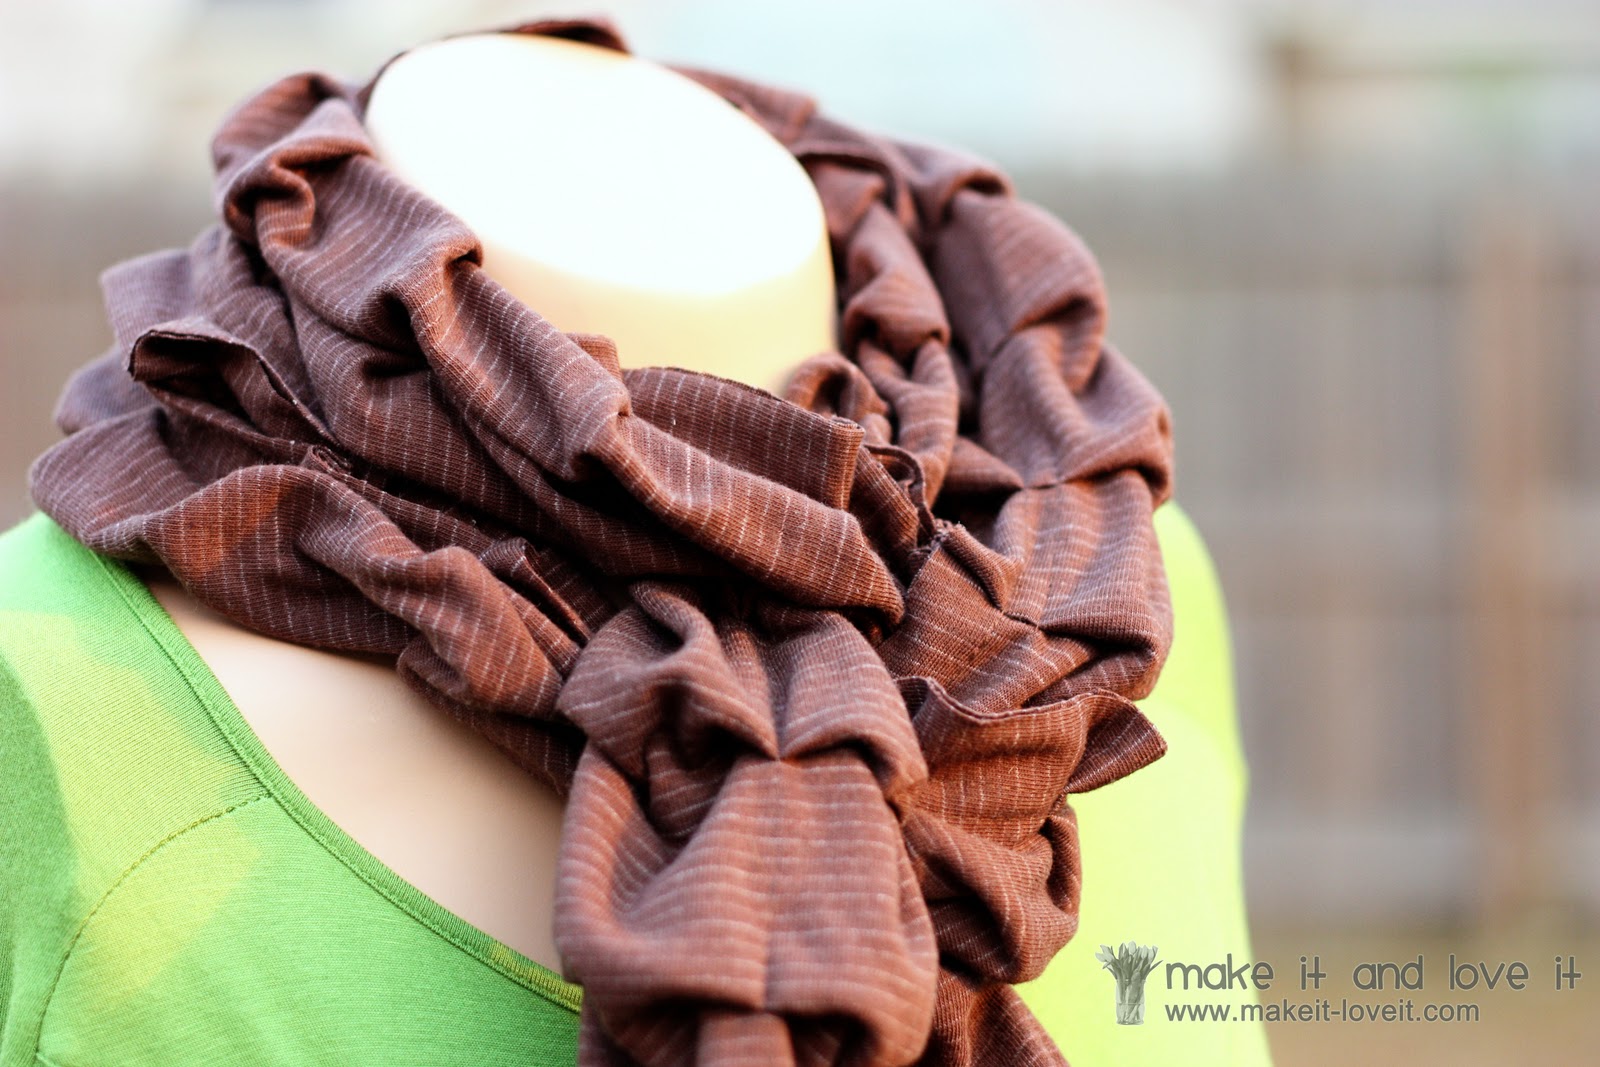
And change up the wrapping technique a bit, to add even more warmth to your neck.
And a lot more fullness.
Just check out those yummy and plump pleats.
Now come on, who doesn’t need a new textured scarf during these chilly months?
Ready to make your own?
I purchased some jersey knit that was a little thin-ish. If it’s too thick and bulky it won’t drape as much but will still work just fine. And check out those sale bins at the fabric store. I got this at Hancock several months ago for a couple of dollars a yard.
**The following measurements produced a scarf that ended up being about 67 inches long and 7 inches wide.
I cut two long pieces of the knit, both at 120 long x 7 inches wide.
To make the pieces one continual piece each, you would need to purchase at least 3.5 yards of knit. But if you don’t need that much, buy half that much and just piece some long strips together, to achieve the 120 inches. (Or make your scarf a little shorter, or make the pleats smaller, etc. There are ways to get around having to buy so much fabric. I just happened to have plenty of this stuff!)
Then lay one strip on top of the other and match up all of the edges. If you have a
right/wrong side to the fabric, the bottom piece should have the right side facing down and the top piece should have the right side facing up. (Trim unevenness if necessary.)
**Keep in mind, you will now be making the pleats with both pieces of fabric together, as if they are one piece. So keep the two pieces lined up and pressed together………..and make the pleats as explained below.
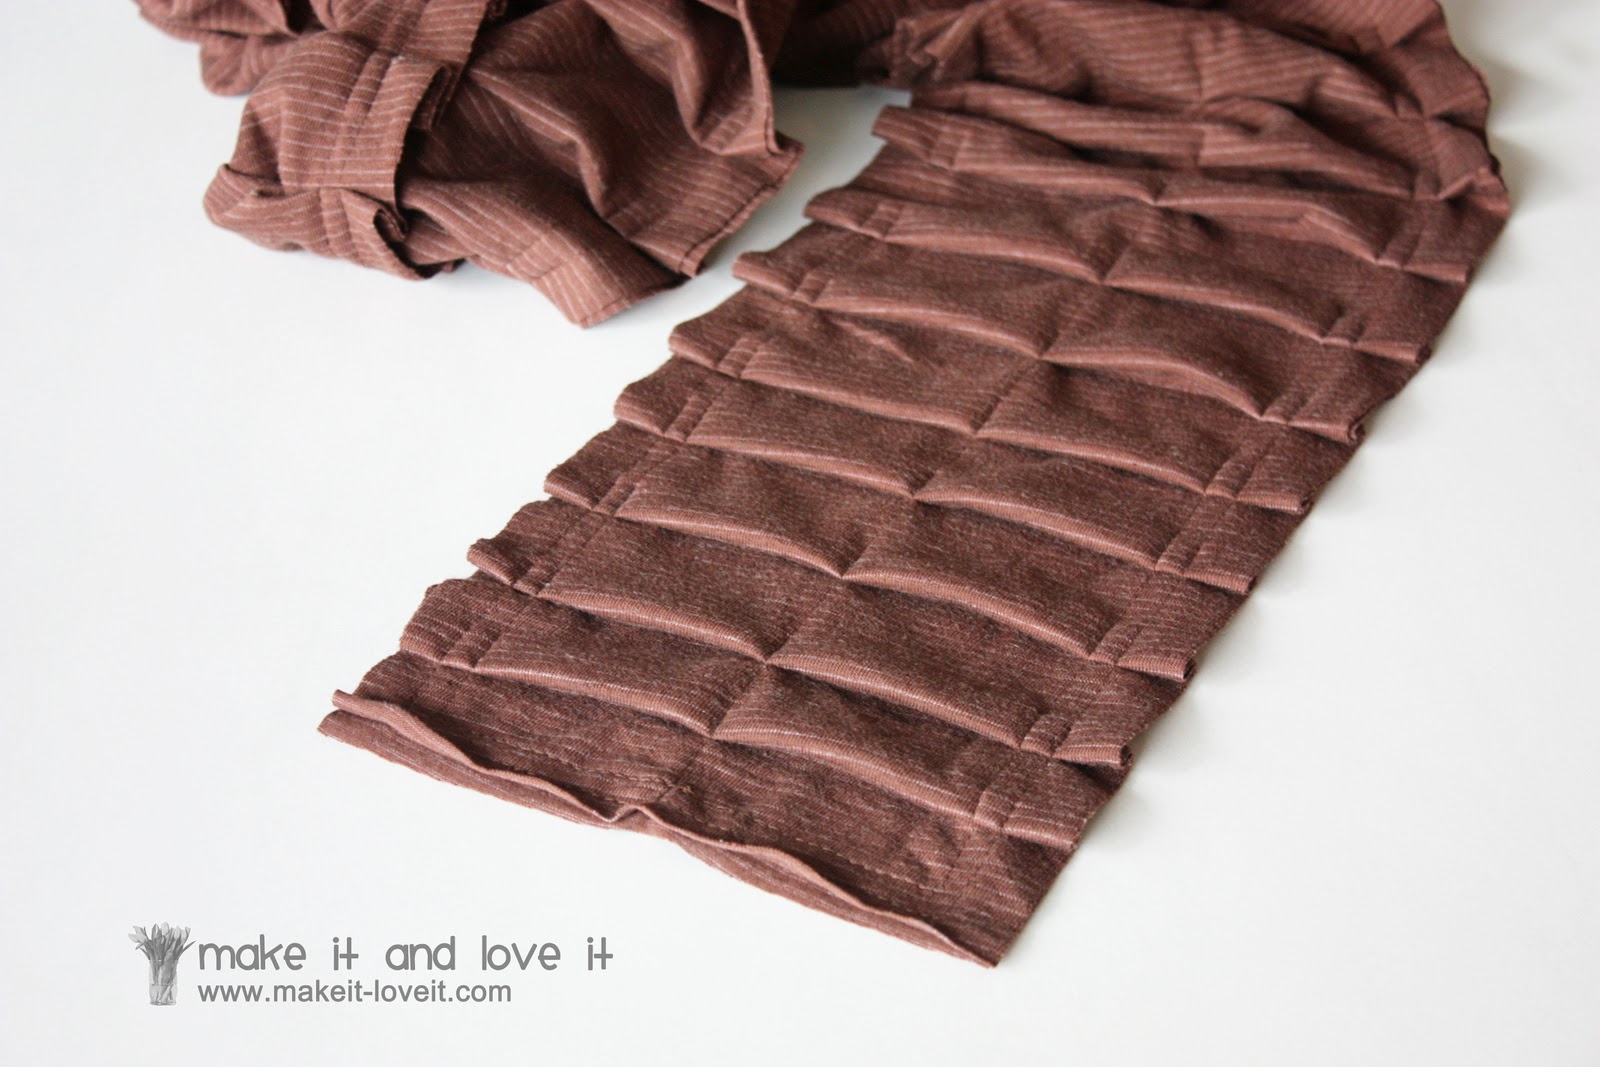
To make my pleats, I started about 2 inches from the top and made a 1/2 inch pleat (which means I folded it over about a 1/2 inch) then skipped down about another 1 1/2 – 2 inches……then made another 1/2 inch pleat. I continued making pleats all the way down the scarf, using a few pins per pleat.
I really didn’t measure or try to make this exact…………I just eyeball-ed what looked even and pinned each pleat in place. Knit gives and stretches so don’t try and make it perfect………you’ll just go crazy!
And if you look closely, you’ll notice that the mini stripes in my fabric aren’t exactly even with each pleat. This was a cheaper fabric and the lines were not even with the edges of the fabric. So I didn’t worry about it because you can’t even notice on the finished scarf……..so no biggee! :)
After the pleats are all pinned, sew around the entire edge of the scarf, about 3/4 of an inch from the edge. Use a bigger stitch length if your fabric is stretching as you sew……as you don’t want it to pull. (But if it does a little bit, it’s okay.) Sew very slowly, keeping the pleats tucked under, and taking out the pins as you go. Then make another seam inside of this first seam, about a 1/4 inch from the first seam……..so about an inch from the edge of the scarf.
Then make one long seam right down the center of the scarf. This will help keep the pleats more in place and give it a great look.
If necessary, trim any uneven edges and steam lightly with your iron if you’d like less poof and more defined pleats. But because it’s knit, the pleats will still droop……even if you steam them.
And that’s it.
All ready for some cozy chilly weather.
Now wear that sweet little accessory with a smile on your face…….because you made it!!