Home » DIY Tutorials » DIY Sewing » Autumn Leaf Garland
Autumn Leaf Garland
October 4, 2010 - By Ashley Johnston 17 Comments
Looking for the Sassy Cookie giveaway? Scroll down or click here.
. . . . . . . . . . . . . . . . . . . . . . . . . .
You got it.
More fall decorations.
I just can’t help myself. It starts down in my toes and bursts out the tippy-top of my head……you know, that excitement for all that this time of year has coming right at us.
So, why not make a few inexpensive items to invite the fall right into the house?
(More ideas to come over the next few weeks.)
But this one came about while walking through the fabric store…..and noticing all of the suiting material that just calls my name for fall. Wools and thick textures, herringbone and plaid, rich and bold colors, etc.
Don’t you love it? And want to wrap yourself in it?
That’s why I decided to use some around the house.
Some nice red herringbone……right there in my
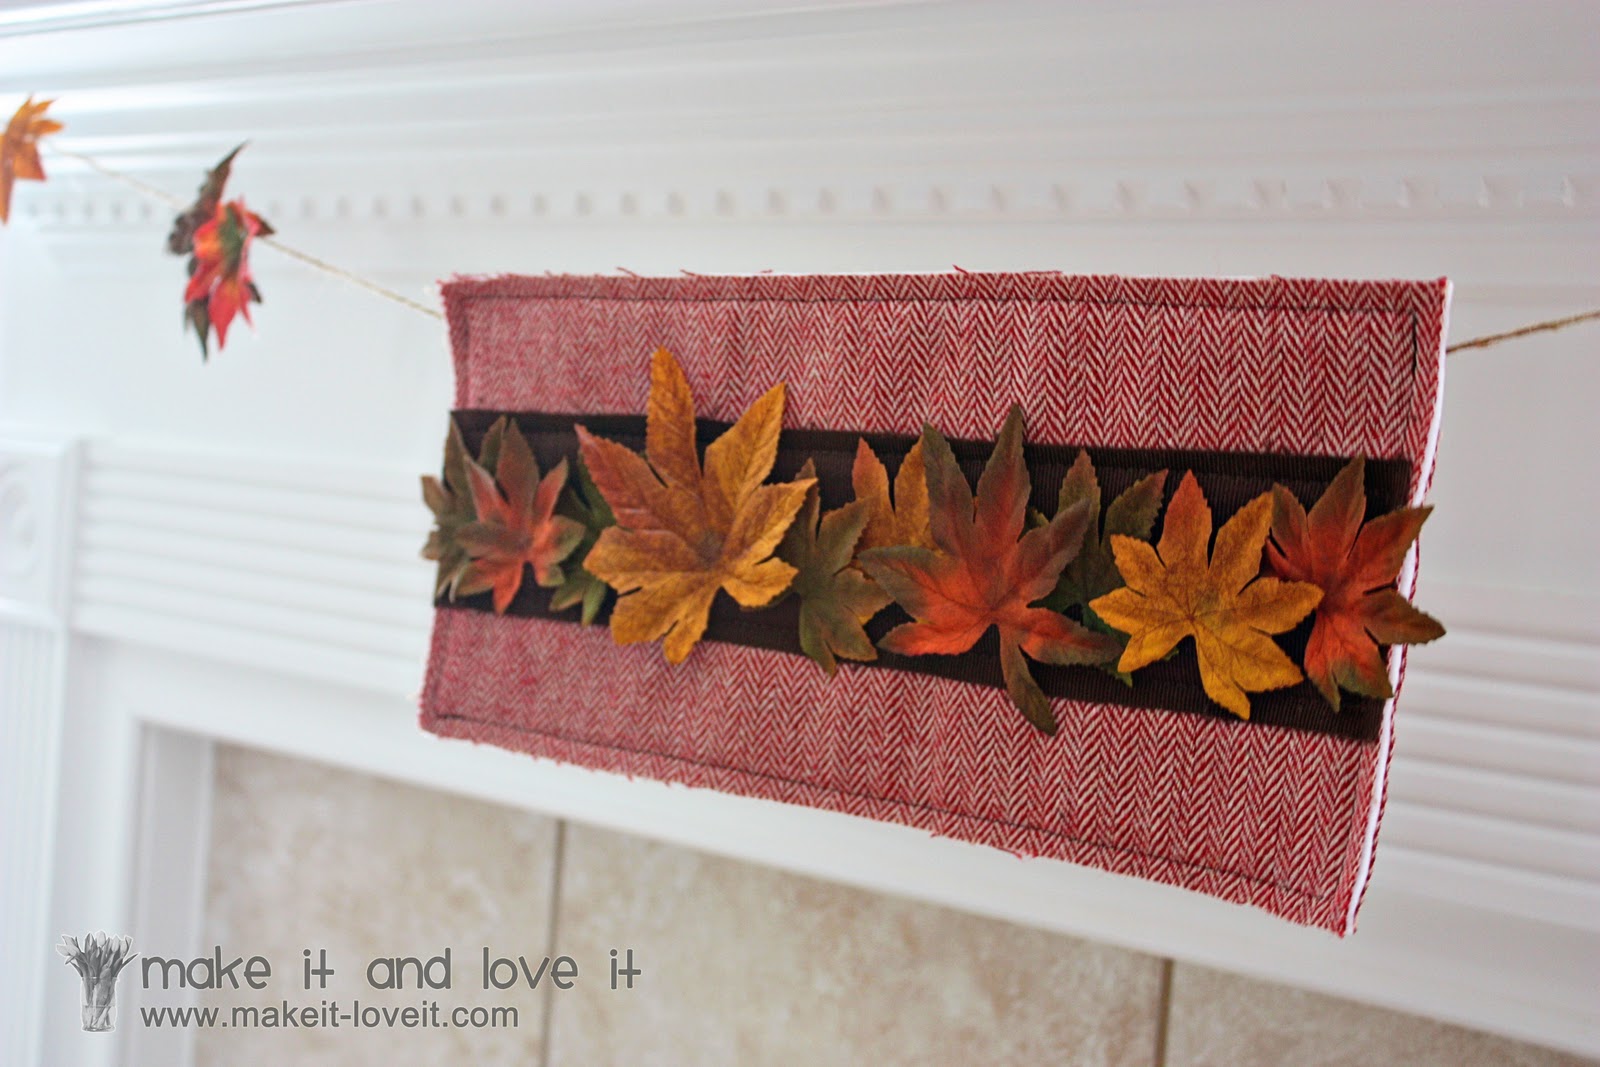
autumn leaf garland.
Strung on some twine…..with a few other fall leaves.
I just so happen to love that red herringbone, right in the center of the garland…..with a nice raw look along the edges.
(And maybe want a nice fall coat out of it now.)
It sure makes me happy to look at a bit more of fall in my home.
Would you like to quickly make one of your own?
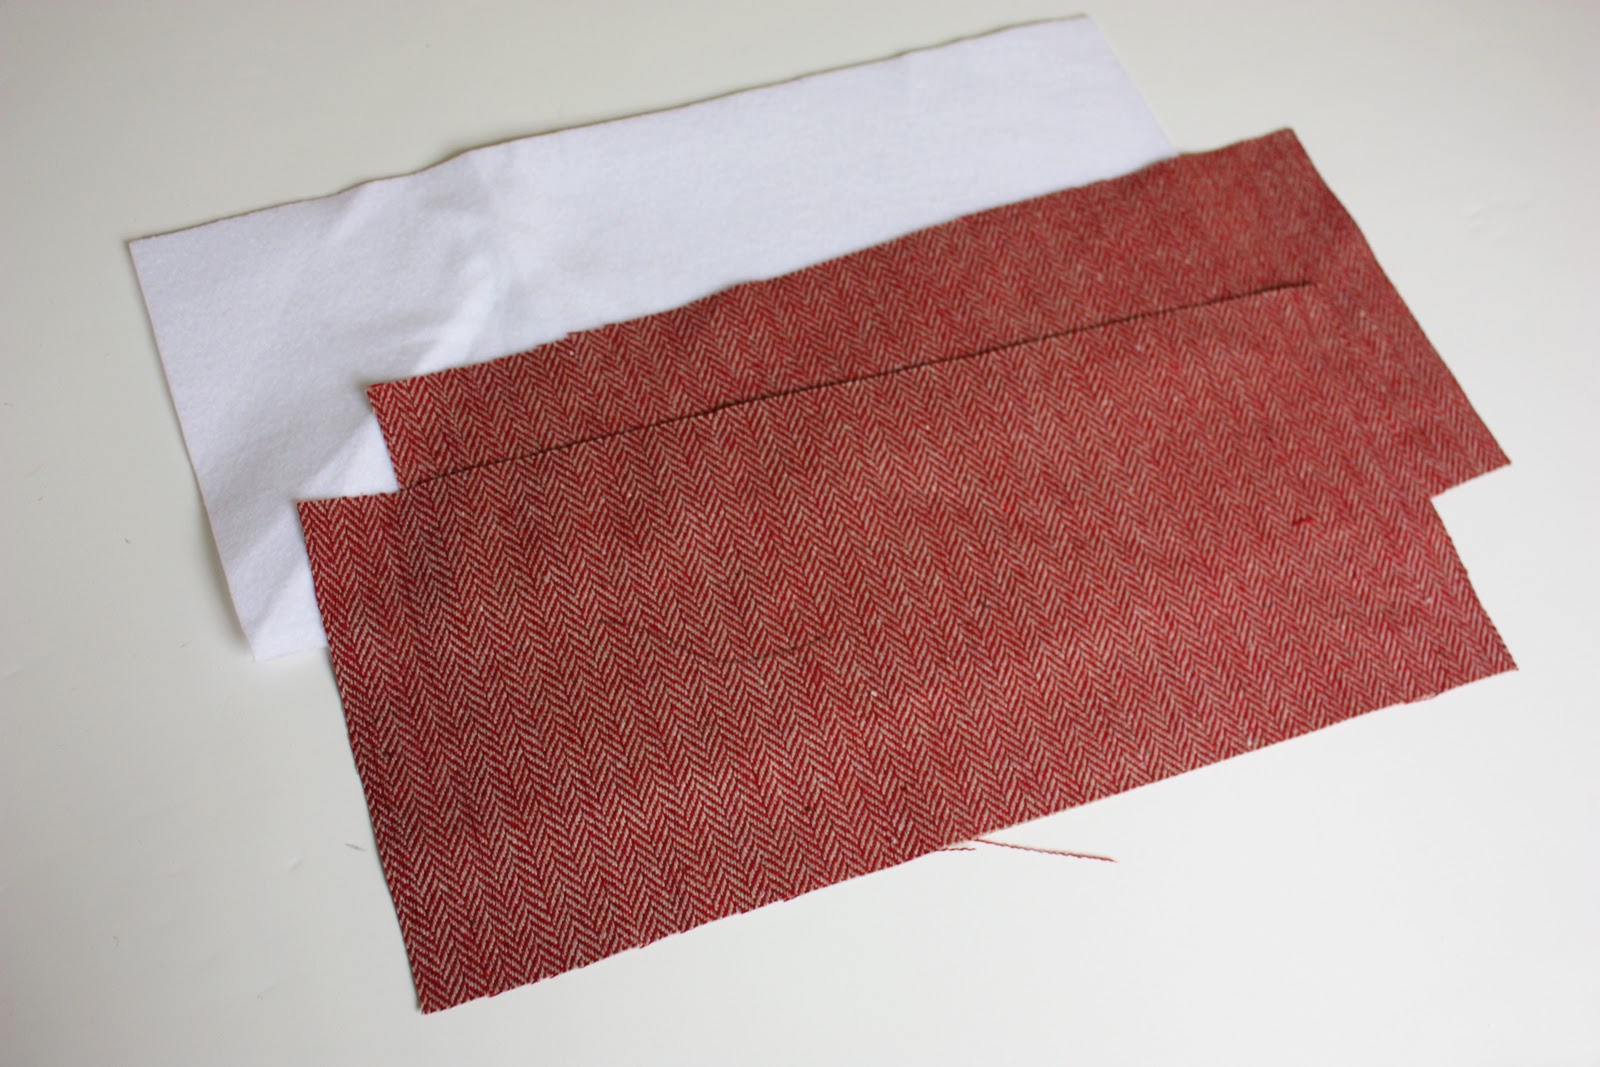
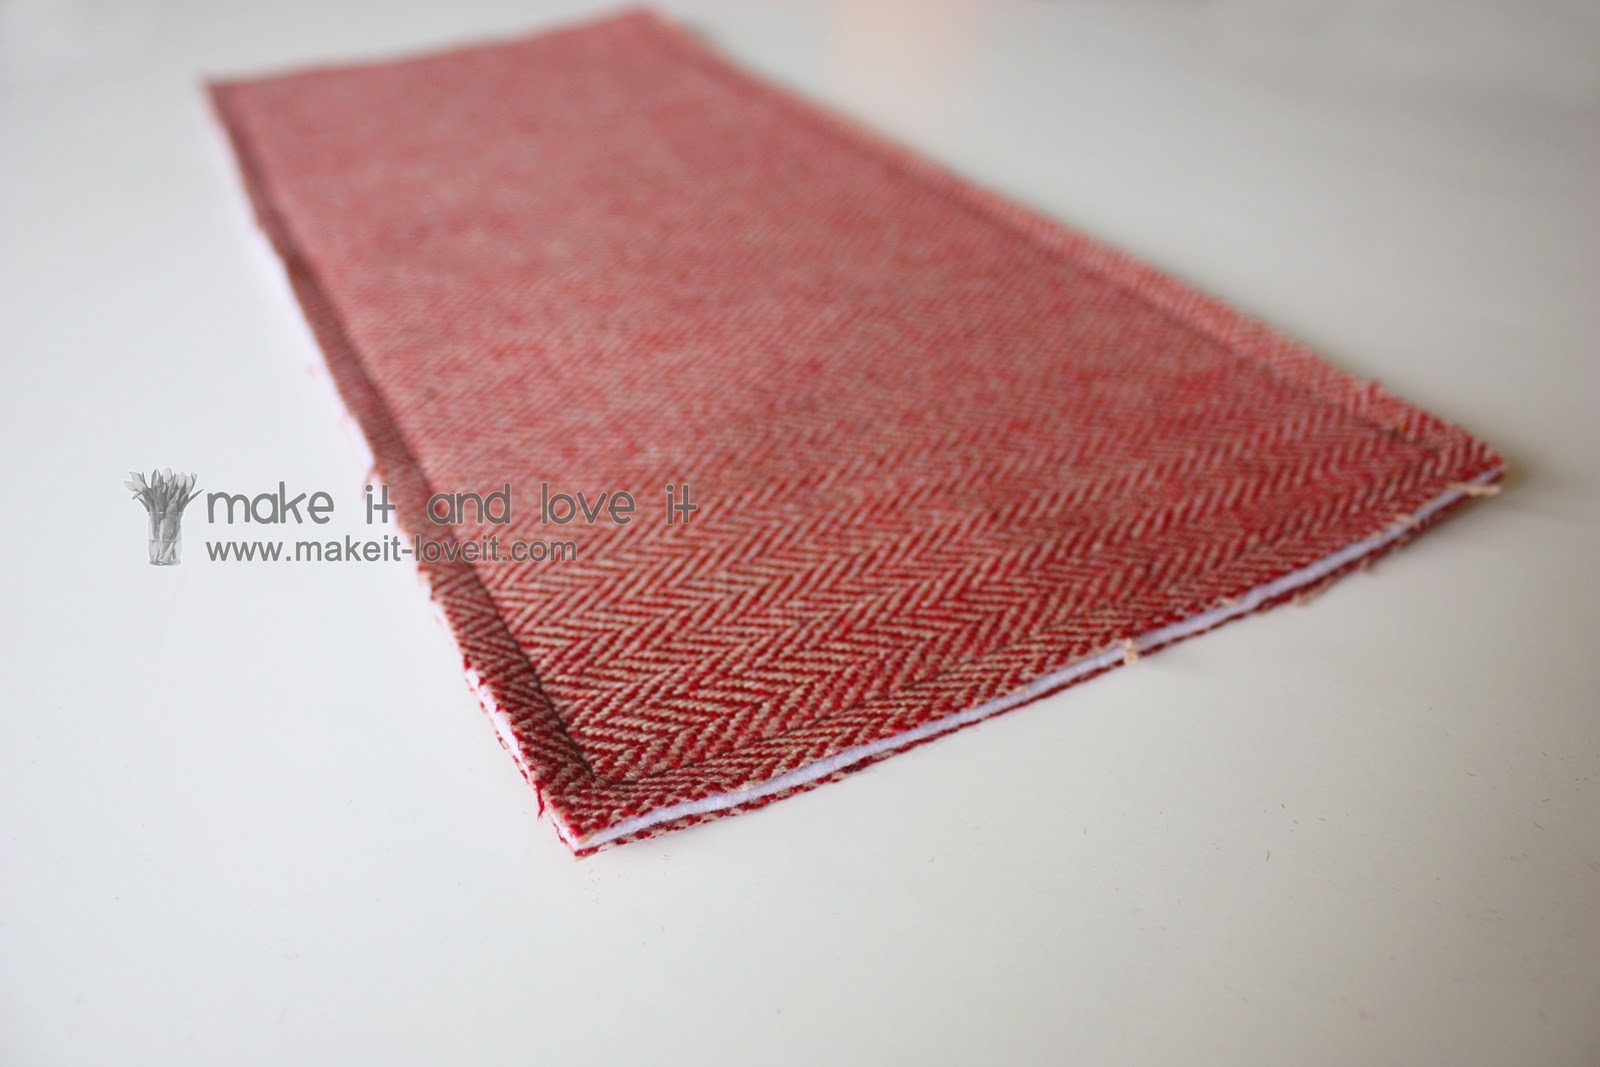
First, cut two pieces of outer material (use whatever makes you happy) and one piece of felt for the inside layer, that are all 6 x 14 inches.
Sew all 3 layers together around the outside edge, with the felt in the middle. Sew about 1/4 inch from the outer edge.
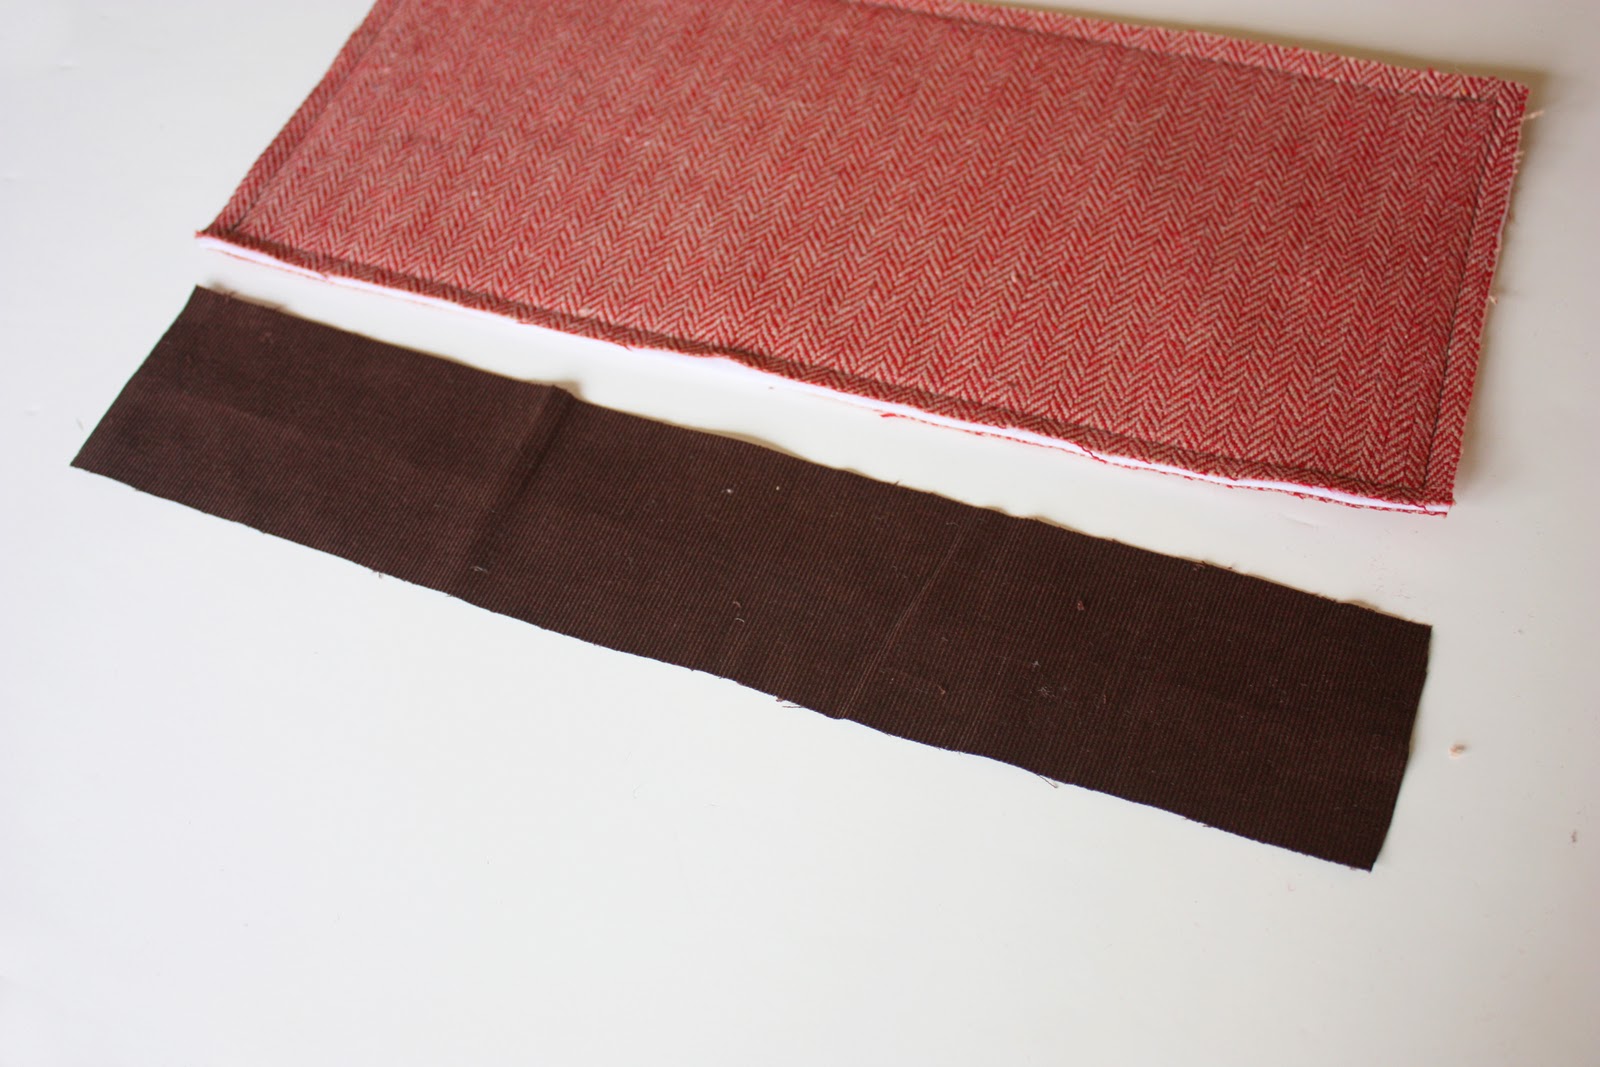
Then cut a piece of corduroy (or other fabric…..corduroy just gives it a nice texture) that is 2.5 x 14 inches.
Then attach the corduroy right down the center of your main piece, making a seam about 1/4 inch from the edge, all the way around.
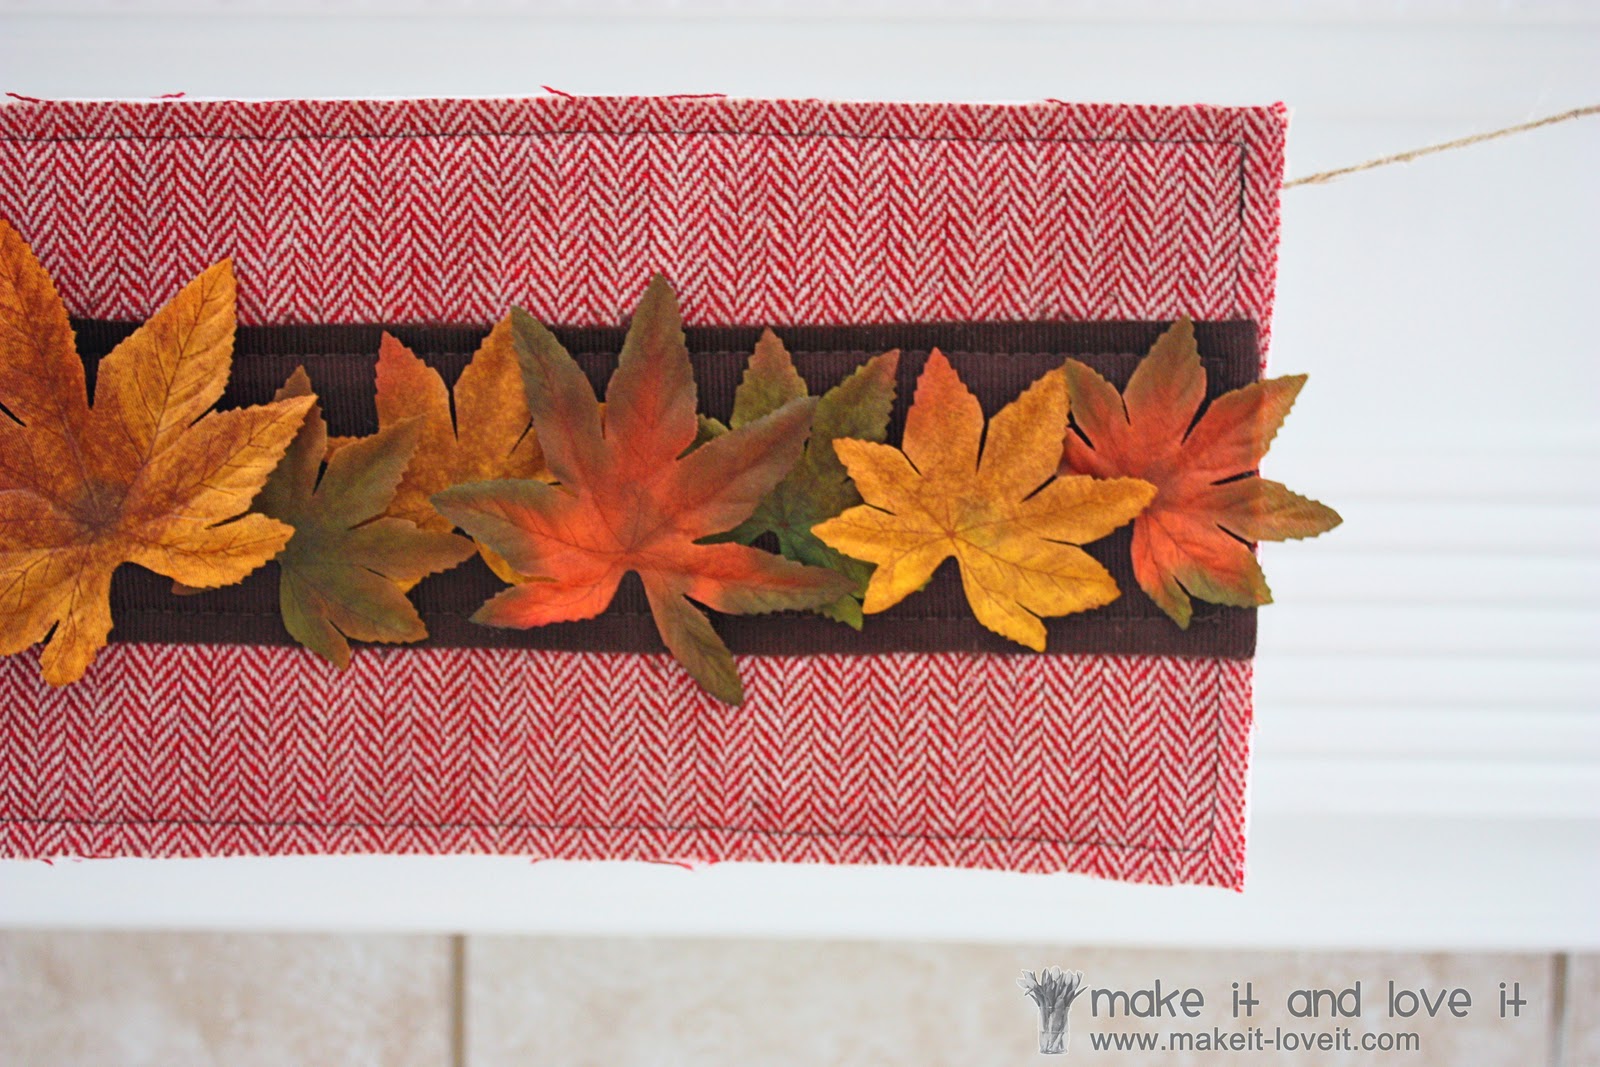
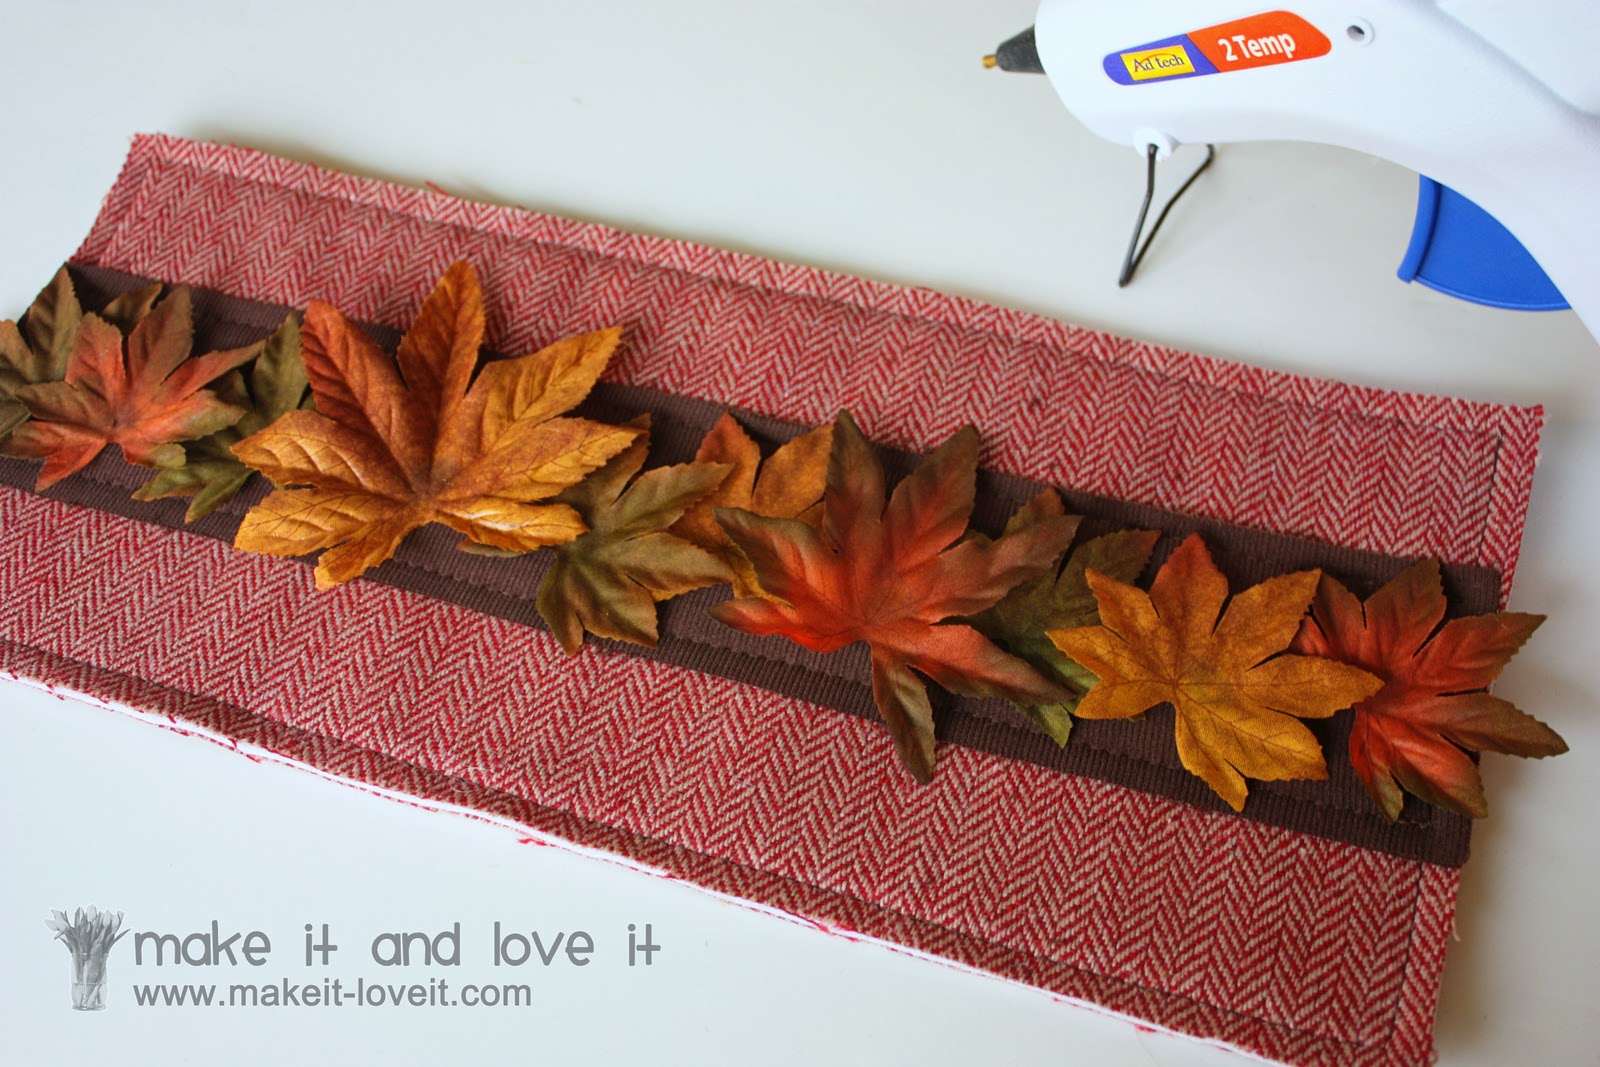
Next, hot glue some fall silk leaves right to the corduroy.
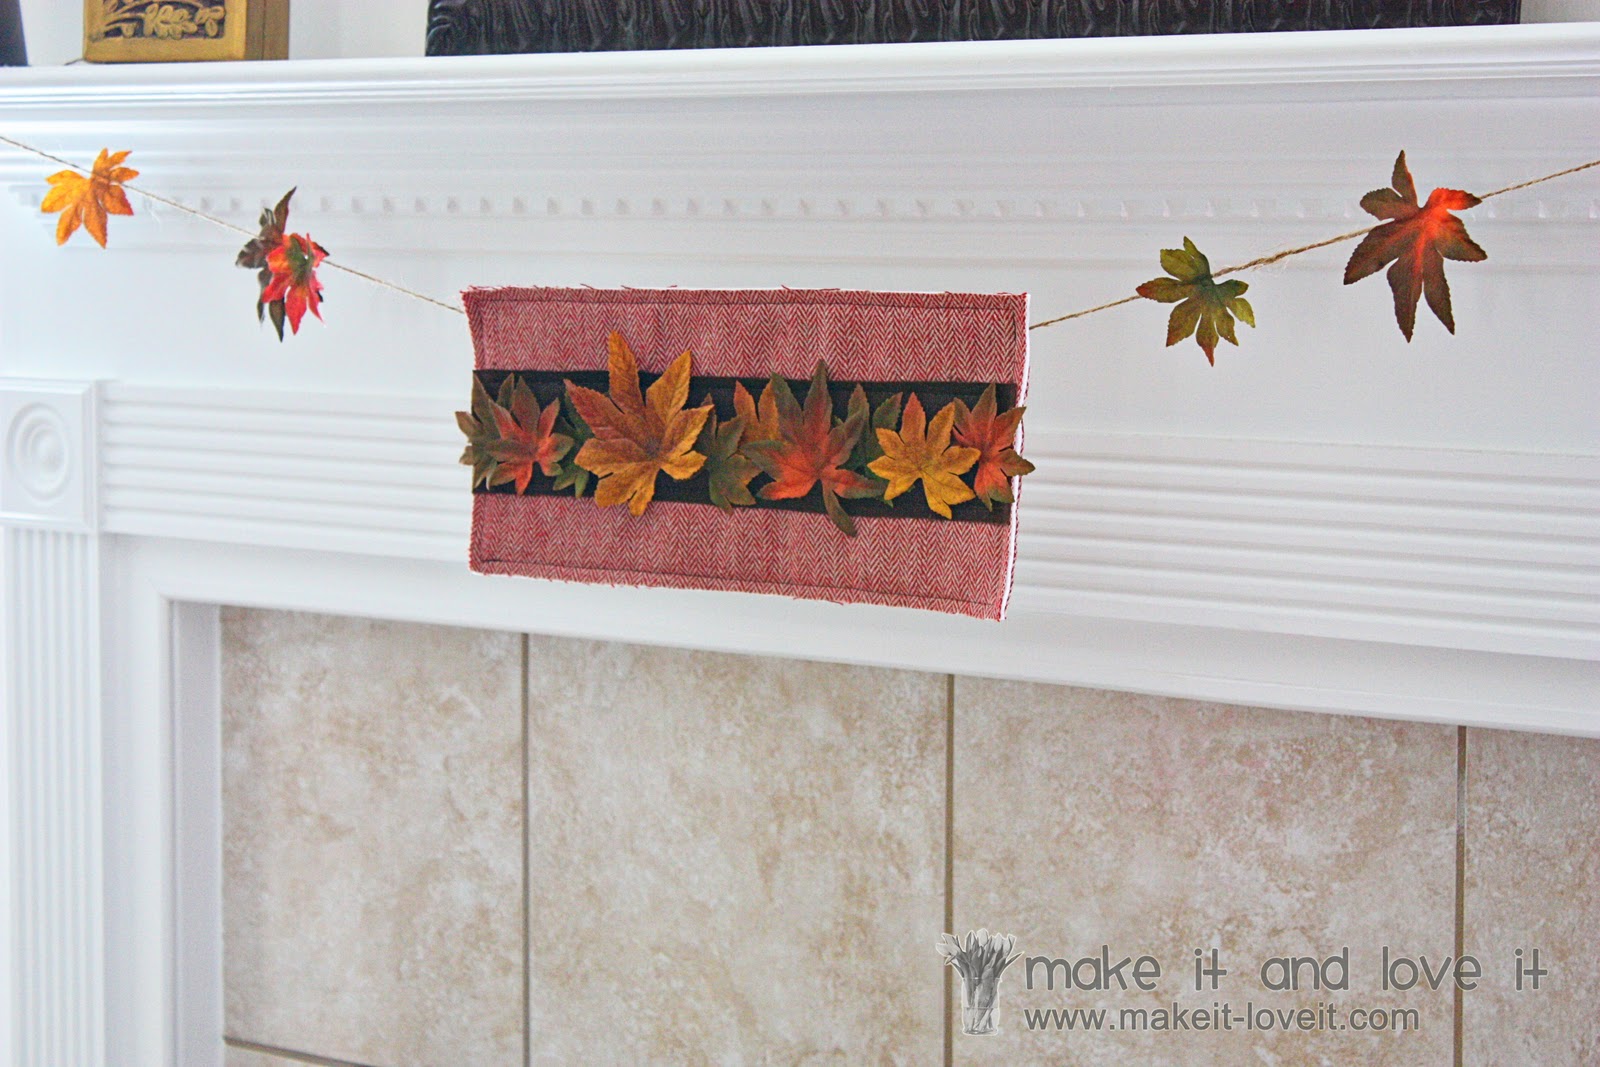
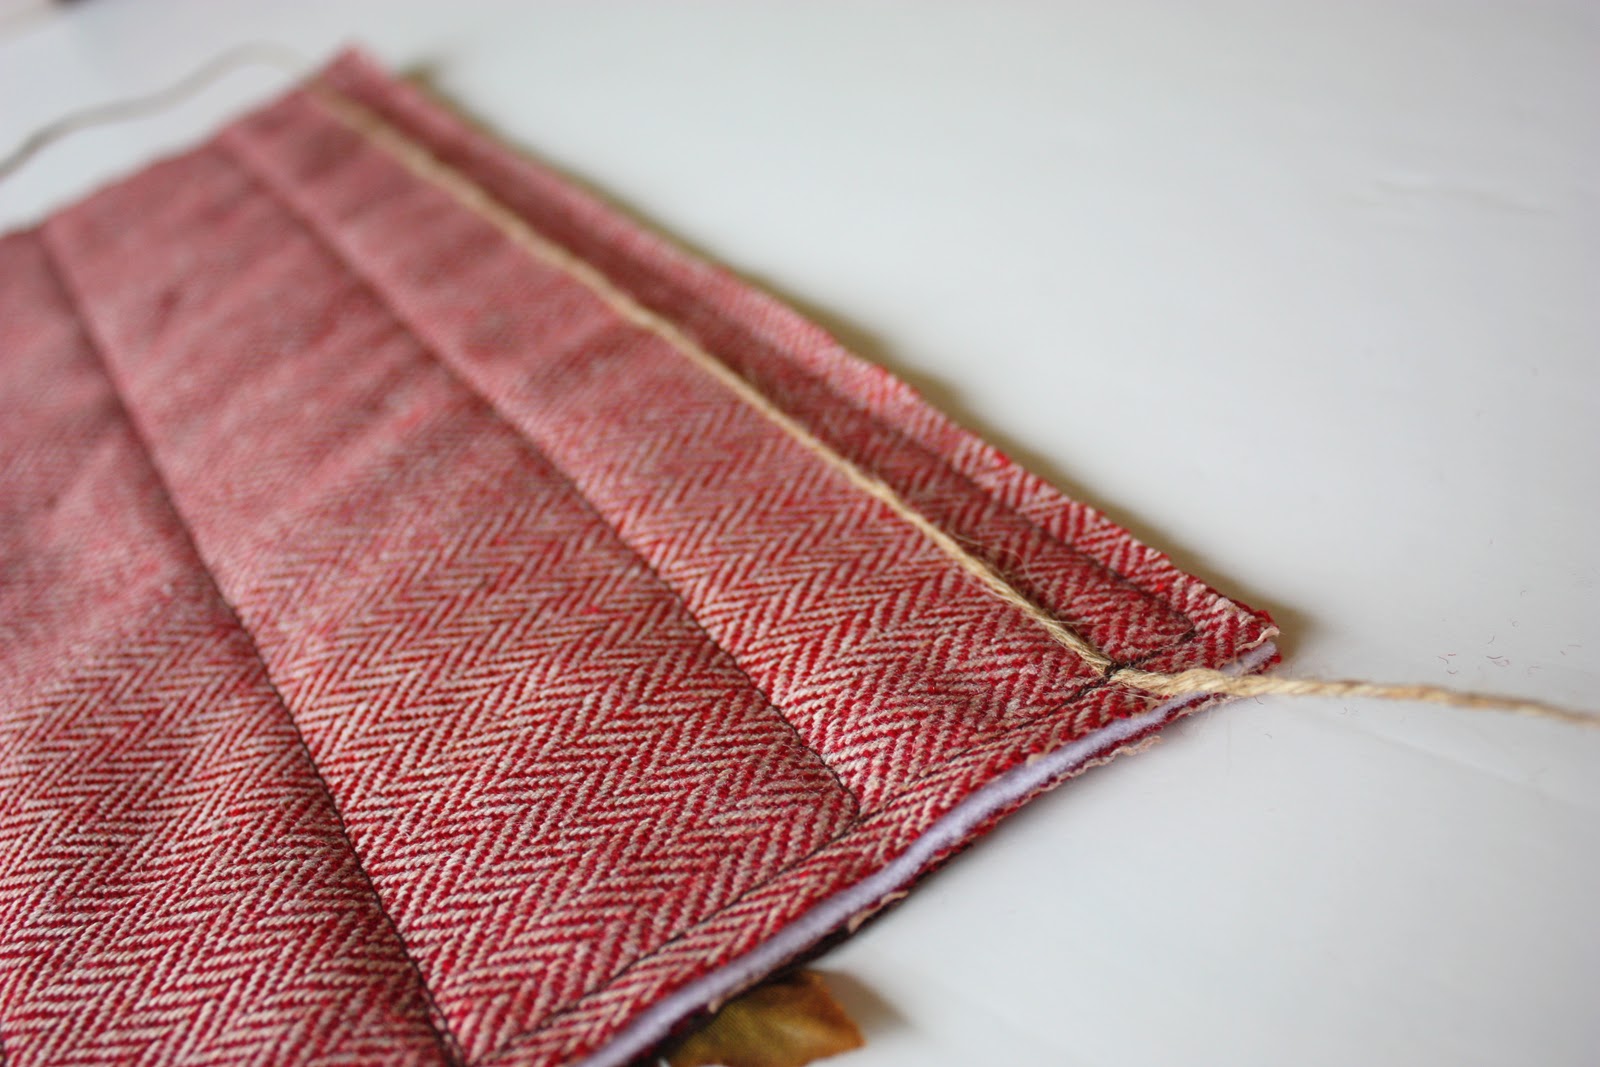
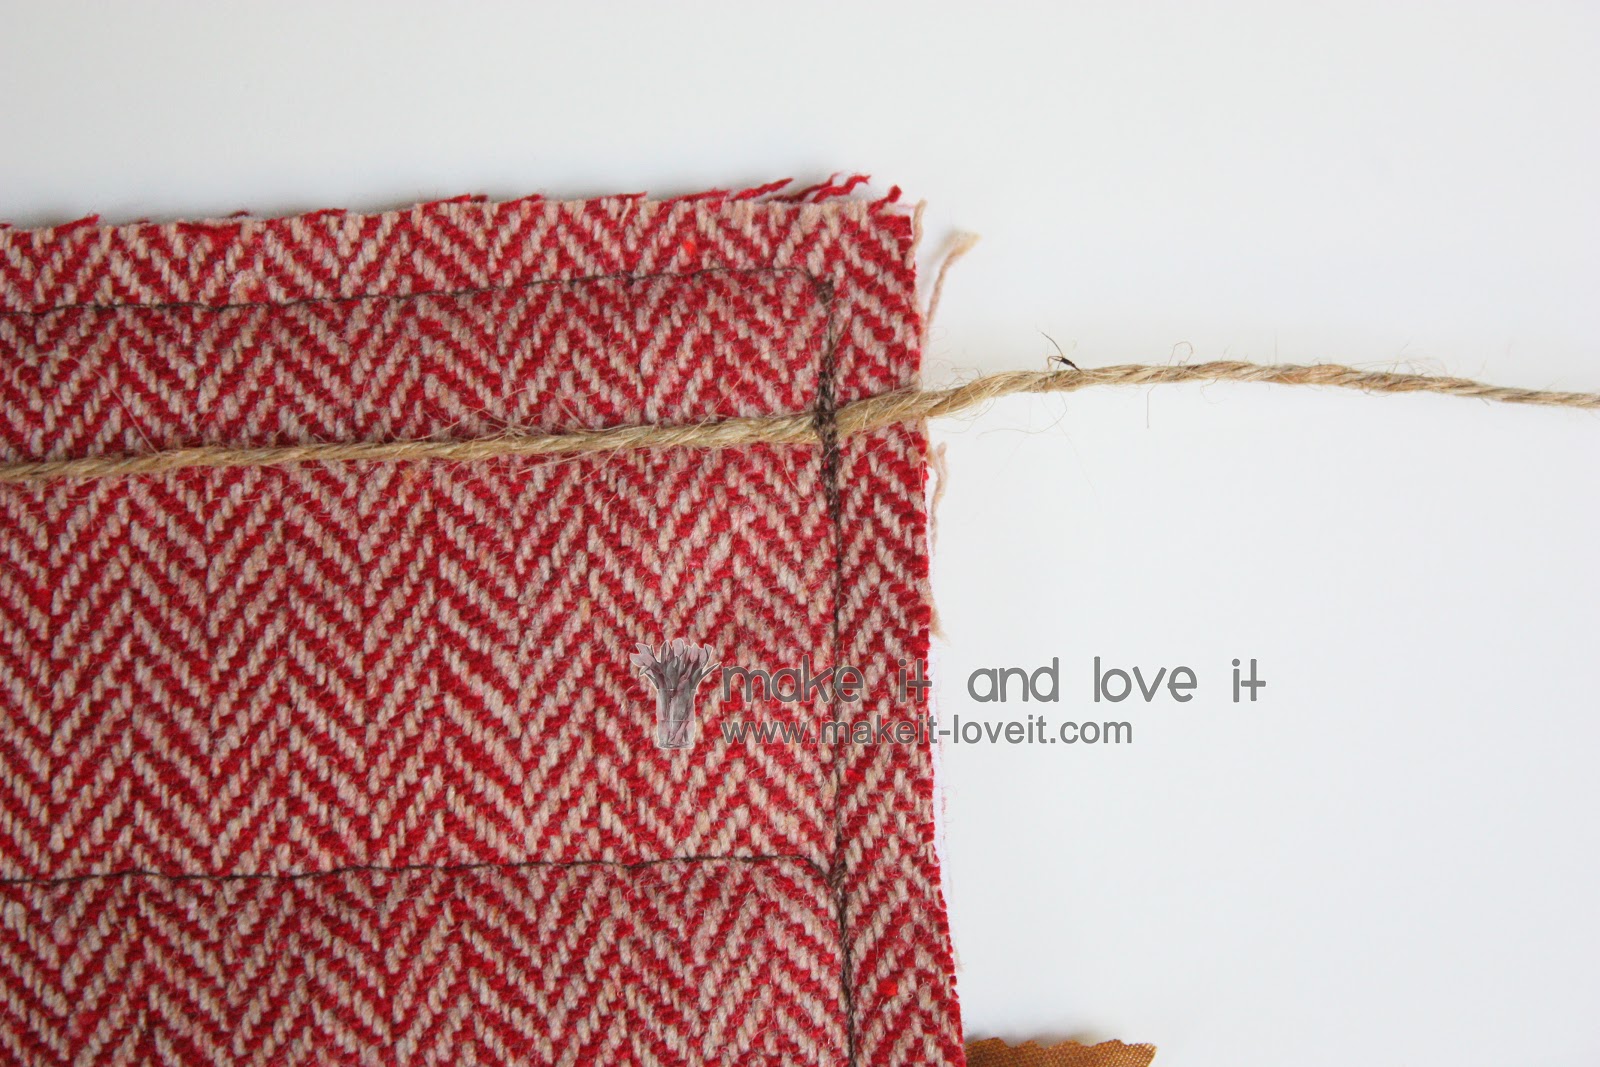
Then cut a piece of twine, whatever length you’d like but long enough to be strung on your mantel/wall/etc. Lay the center of the twine along the top back of the herringbone and sew the twine right to the edge seam of the main piece. I attached my twine about an inch down from the top.
Then glue some leaves right to the twine, adding more charm to the garland. I waiting until the garland was strung and then hot glued the random leaves to the twine…….so that the leaves would be sure to face forward. You can also hand-stitch the leaves to the twine. It’s up to you.
And enjoy the fall, the changing colors, etc.


