Okay, boo to this whole fall weather stuff and the sun not staying out as long these days. I tried 3 different days to take pictures of Connor’s costume last week so I could share it with you guys but I kept having problems with rain and then super dark lighting. Whoops! But I finally had some sun over the weekend and took a few pictures of Connor in his DIY Greek God Costume —POSEIDON!!!
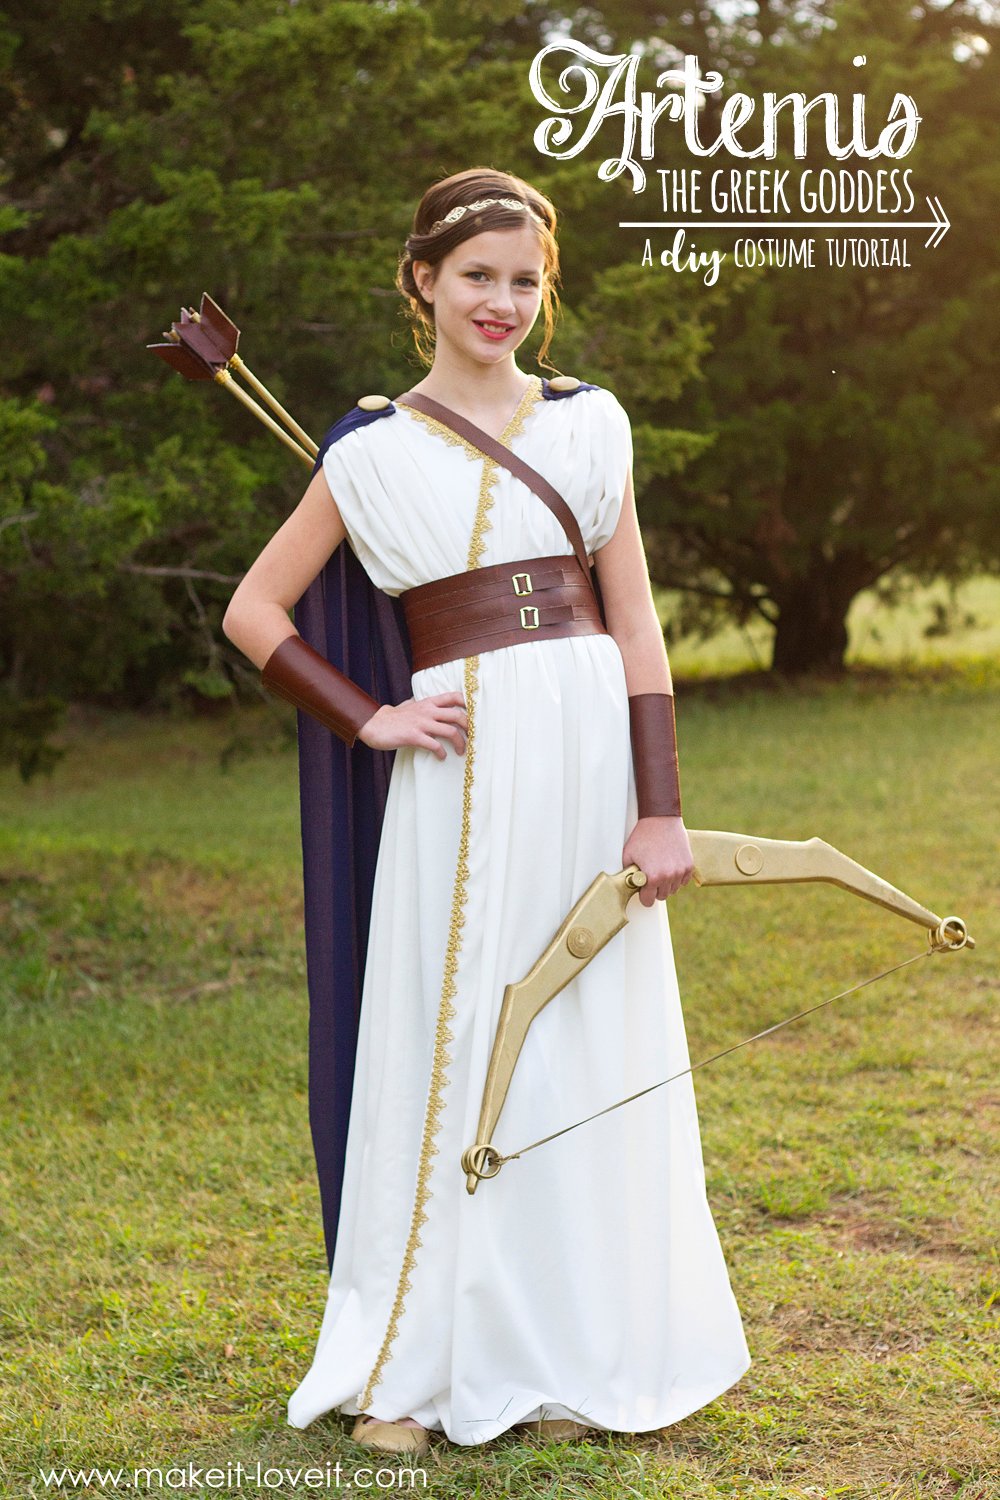
In case you missed it, I shared Ellie’s Artemis Greek Goddess Costume last week (there’s a link down below this first picture of Connor)….and agggh, hers just turned out so fun! And like I explained last week, the reason for the Greek Mythology costume theme this year is because Ellie and Connor are BOTH in love with the Percy Jackson book series! So when Connor (who’s 10) and Ellie (who’s 11) were discussing which characters they wanted to be (and helping/convincing the younger kids, who haven’t read the books, who they should be), Connor quickly jumped all over dressing up as Poseidon, who is the father of the main character, Percy Jackson.
Connor loved the thought of wearing a Poseidon Greek God Costume and started word-vomiting all the ideas and details that he wanted to include. Haha…..I love the passion of this kid so much!!!! (And that he’s not “too cool” to dress up with his siblings yet. I know these days are becoming very limited.)

. . . . .
Max’s Eros Greek God Costume is HERE, Chloe’s Demeter Greek Goddess Costume is HERE, Oliver’s Satyr Greek Mythology Costume is HERE, and Ellie’s Artemis Greek Goddess Costume is HERE.
. . . . . .
Poseidon is the god of the sea, water, earthquakes, and horses. Connor cracks me up though because one of the biggest reasons he wanted to be Poseidon was because of that TRIDENT weapon that he’s holding. I guess Poseidon has a hot temper and can rile up angry waves and tsunamis with that trident of his but can also pound that thing into the ground and create some pretty ugly earthquakes as well.
So, without really prompting him at all, Connor gave me a lot of “intensity” while holding that trident while we took pictures. HA! Cracked me up! :)


Even though Poseidon can be nice (and is technically good), he can have a nasty ol’ temper!

This beloved trident (that 4 year old Oliver is actually SUPER jealous of….haha!) is something that my husband Steve made from some scrap plywood we had out in the garage (yeah, I know, scrap plywood…..I can’t wrap my brain around it either, ha!). But I’m pretty sure he was just as excited to make it, as Connor was to use it!


Poseidon’s costume came together pretty easily….there’s nothing overly complicated about it (other than making a trident out of plywood, haha, but we’ll talk about other ideas below, in case you can’t whip up magic from scrap plywood). In fact, I used quite a bit of craft foam sheets to make this costume, like for the crown….which is so easy (and cheap) and held its shape really well!

Most of the armor was made from faux leather and metal brads that just poke through and bend around in the back. Nice and easy….but gives it a nice “tough” look!
If you’ve seen any drawings or depictions of Poseidon, you’ll see he either has a long fish tail (like a mermaid) or else has human legs and is wearing robes. Connor refused both options. So he wore leggings and a sash instead….which totally works for a Greek character too. But to try and incorporate something more sea-like, I made these shin guards to have more of a fish-scale look to them! (And yeah, not all that pretty but I just covered some of his old sandals with leather strips.)

And do you see that octopus on Poseidon’s belt? Yeah, that thing is actually a pretty hefty drawer pull that we found and just cut the hardware off the back. But that little guy was perfect for the belt of a sea god!

And the detail on the arm guards is supposed to give more of a fish fin kind of look…..you know, because he IS the god of all the sea creatures! :)

The shoulder armor took me the longest to figure out how I was going to put it together (to be sure it had some shape to it), but once I figured out how to make it would work by using the materials I had, putting it together was actually VERY QUICK! And I even included templates down below, to make it easier for you all!

The should armor is fastened by the straps in the back with velcro. Don’t let the metal brads or buckles fool you….none of them are actually functioning. In fact, the belt, arm guards, and belt are all secured with velcro…..which I really love for costumes!

I think sometimes kids like dressing up in costumes that are opposite their personality….maybe just to see how it feels to be someone completely different. This holds true for Connor because this kid has a gentle little soul and is definitely a peace maker. So I think the idea of impersonating Poseidon was kinda thrilling for Connor.

This kid though……love every single bit of him. :)

Want to make your own DIY Greek God Poseidon Costume?
Let’s get started…
***Check out my Sewing Terms 101 post, for additional help.
Okay, as you can see above, I linked several different templates for this costume that you can use. They are the templates I created to make Connor’s costume (he wears a size 10) and I just traced around them in case that would be helpful. However, if you’re making a different size, just use the templates as a guide if you need help with shape and proportion.
First up—-Poseidon’s crown. Print off the Crown Template #1 from above and then trace it onto a bigger piece of paper (or printer paper that’s taped together to create a bigger piece). Just be sure to fold your large piece of paper in half and then line up the straight edge of the template along the fold of your paper, trace around it, and cut out. Then trace your template onto some foam. Before cutting, extend the band portion (that goes around the head) out as far as your foam sheet allows. Cut 2 of these crown shapes.

Now glue your two crown pieces together (to make your crown more sturdy) and glue the band that goes around the head to the size you need. You’ll probably have to piece some foam strips together to create a band big enough to go around the head.

And remember, the entire crown is 2 layers thick!

Now, cut out your Crown Template #2 out of foam (doesn’t matter the color)…

And then hot glue it onto the front of your crown…

Spray paint the entire crown with metallic gold paint. Then add some gold metal brads to the front.

Next up—Poseidon’s Belt. Cut out the Belt Shield Template from some foam (I used a thicker 5mm thickness….but you could always glue several layers of the 1mm foam together to create a more sturdy piece of foam. Spray paint the foam gold. Then, add detail to the belt. I found this metal octopus drawer pull at Hobby Lobby and cut off the back where the screw was mounted with a dremmel tool. Then I added gold brads around the edges.

Cut a long strip of Faux Leather that’s about 5 inches wide and then long enough to fit around your subject’s waist, plus about 4 inches. Then hand stitch the shield to the center of the belt piece.

Then I decided to add gold metallic acrylic craft paint to the edges of my leather pieces, to make all the edges really stand out. Also, add velcro to the belt ends so it can be secured in the back.

Next up—Poseidon’s Arm Guards. Cut out the Arm Guard template and then cut out 2 pieces that are mirror image to each other.

Then place the 2 pieces together with WRONG SIDES together and then sew them together along the straight “seam line” indicated on the template.

Repeat and make a 2nd Arm Guard the same way. Add velcro to both straight ends so that the guards can be wrapped around the arm and secured in place.

Add some gold paint to all of the edges and add a few brads to these arm guards as well!

Next up—the Shoulder Armor. Cut out 2 of both Should Armor Templates….just to make one side of the armour.

Place the 2 bigger pieces together with WRONG sides together and hot glue in place. Repeat with the 2 smaller pieces.

Place the bigger piece on top of the smaller piece and clothe pin them together so that there’s a bubble in the top piece, giving it more room for a contoured shoulder later on.

Here’s another view of the bubble of the fabric.

Hand stitch where your clothes pins were, to keep the bubble of fabric in place.

Now, I missed a few pictures, but all you need now are some strips of faux leather to piece the armor together. Attach the strips to the front inner corner of each of the should pieces at an angle (by hand stitching in place, allowing the strips to criss-cross each other right across the chest.

These strips will come down and under the armpits and then up and around to the back of both shoulder pieces, and will velcro in place.
I also added buckles to the front and added metal brads to the locations where the faux leather attaches to each other, just for decoration. I also brushed on gold paint to the edges on this shoulder armor too.

Next up—Shin Guards. Okay, for the shin guards, I don’t have a template…..but it’s very similar in shape to the smaller piece of the Shoulder Armor. This doesn’t have to exact but try cutting out a similar shape in paper first and tape it together to be sure it works, before cutting it out of the faux leather.
I cut out 6 pieces of faux leather and then glued them onto a piece of 1 mm thick foam, leaving about an inch gap at the top that will be used for gluing the piece together. (Glueing straight onto faux leather doesn’t work very well because it’s slick and the glue will just peel right off.

Next overlap each of these pieces and hot glue them in place. Add a strip to the top and bottom of this shin guard with velcro attached so that you can strap the shin guards onto each leg.

Add gold paint and brads for the same effect as above.

Now, to get each of these layers to pop a little better and to make it a little more 3 dimensional, I hot glued a little pebble under each layer, to help lift it up just a tad.

Now, this part looks like a mess on the back, but let me explain. I originally hot glued each of the layers of the shin guard onto a thick piece of 5mm foam that was cut into a shin guard shape, to be sure the whole thing would be sturdy. Turns out, that thick foam made it so that the shin guard was too stiff and flat and it wouldn’t wrap around the leg. It just stayed flat and wasn’t the look I wanted. So, I ended peeling of that thick layer of foam off to see if that would help (which made it really ugly on the back, but it doesn’t ever show). Well, peeling off the thick foam helped a little bit….but it still didn’t contour to the leg like I wanted with only the 2 straps. So, I figured out that if I added horizontal lines of hot glue and placed a strip of the leather down on top and contoured the shin guard into the shape I wanted while the hot glue was drying, it kept its shape really well.

Next up—the clothing. For the pants, I just had Connor wear a pair of his sister’s grey leggings. For the shirt, I made it similar to the Artemis Greek Goddess costume that I made for Ellie…..but here’s the difference.
I cut a rectangle piece of white flowy polyester fabric and cut a circle in the center for the head the same way, but instead of cutting a long line down the front of the rectangle, I just cut a V into the neckline, so his head could fit through.

Then, I zig-zagged around the inner raw edge of the neck line, and then sewed some gold trim right on top. At the bottom edge, I just brought the trim ends down in front and sewed them next to each other.


Then, I gathered in the shoulders just like the Artemis Greek Goddess costume.

As for the sash, I just cut a piece of teal flowy fabric into a rectangle, hemmed all the edges, then draped over the shoulder. I also added some fish netting to the shoulder as well, just for effect. (I found the netting at Hobby Lobby near some sea shells in the crafting section.)
My husband made the Trident weapon from scrap wood but you could always buy one of those plastic devil forks and spray paint it gold. Or you could even cut a trident shape out of cardboard, wrap it in duct tape and then spray paint that gold.
Oh, and the shoes. These are just a pair of Connor’s old sandals that won’t fit anymore by the time summer comes around again next year. So we hot glued faux leather strips on top of the sandal straps and then added gold paint to the edges, to give it the same effect all all the other faux leather.
And that’s it……Poseidon is ready for action!
I hope that was helpful! And that you are able to make your own Poseidon costume…..or use parts of this to create someone similar!
Enjoy!
-Ashley
. . . . .
And you can always browse all of our DIY Halloween Costumes and even specific categories —> HERE!!

Hi, I’m Ashley—the DIY-enthusiast behind this crazy blog!