Home » DIY Tutorials » DIY Sewing » Sewing: Clothing » Accessories » Crushed Fabric Flower……..as an Accessory
Crushed Fabric Flower……..as an Accessory
April 11, 2011 - By Ashley Johnston 34 Comments
.
.
I love a good flower accessory. You all know that by now.
And a few days ago, I made a
certain little white dress for a
certain occassion for our newest baby girl (more on that tomorrow……the tutorial isn’t quite done yet). And of course, I needed to stay up late to make her some matching shoes and headband the night before. Because that’s what sleep-deprived-mother’s-to-newborns do…….stay up late to make shoes and headbands. Right? (
I told my husband this was true…..so vouch for me. Okay?)
{Update: Blessing/Confirmation Dress tutorial here.}
So I needed a little something extra to put on those shoes and headband.
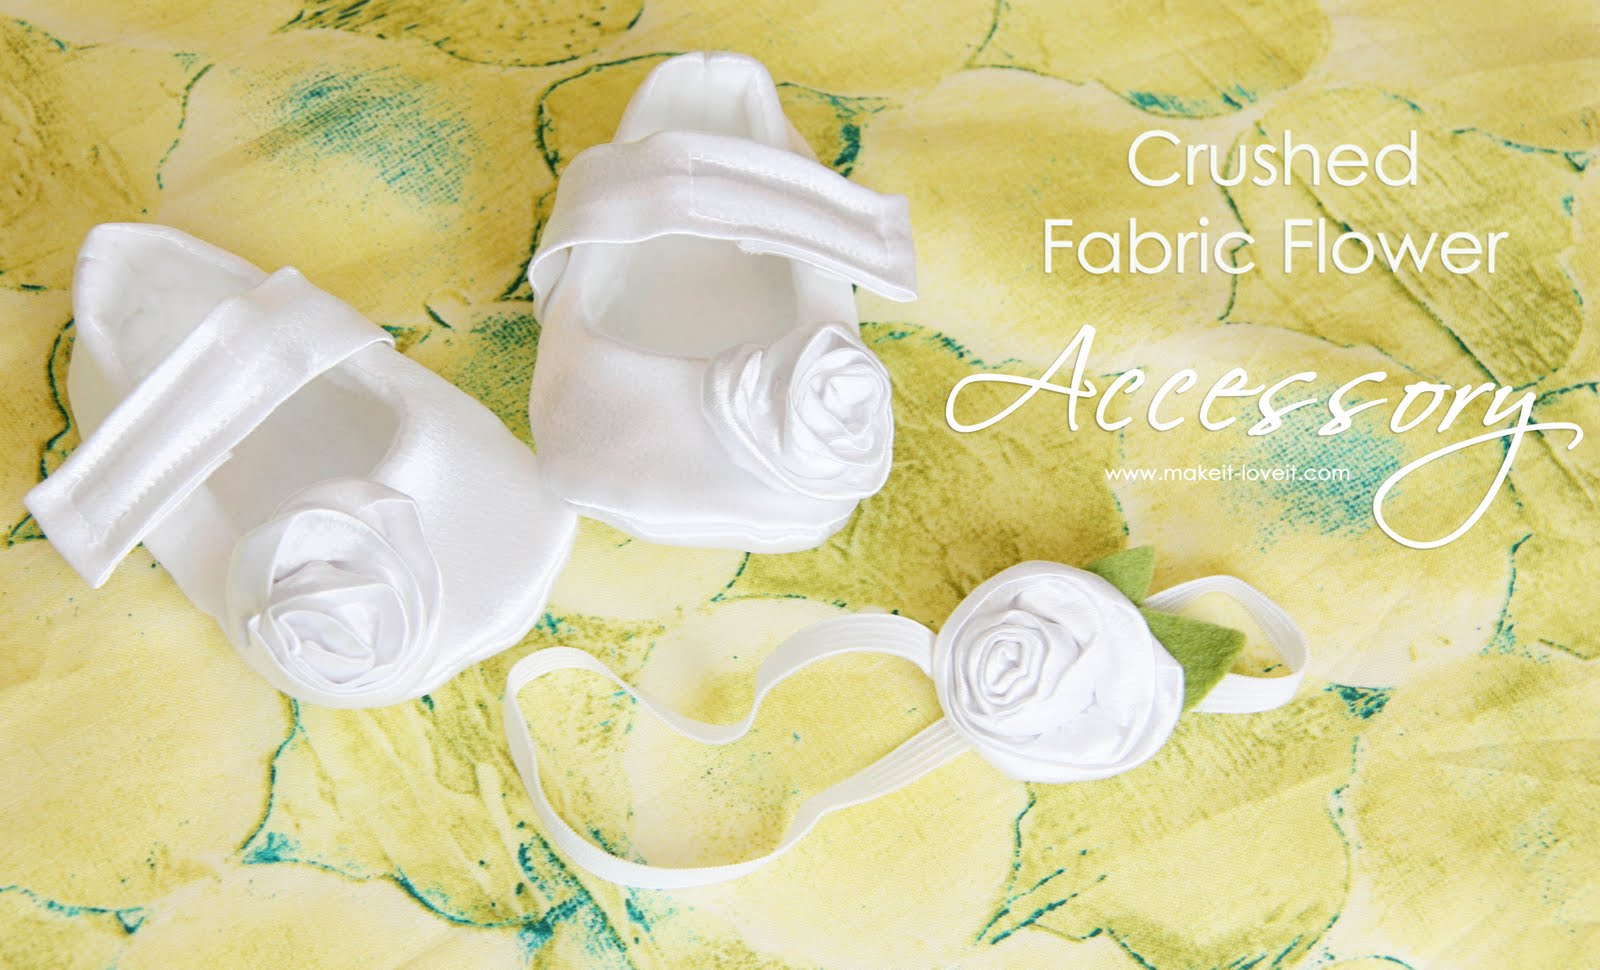
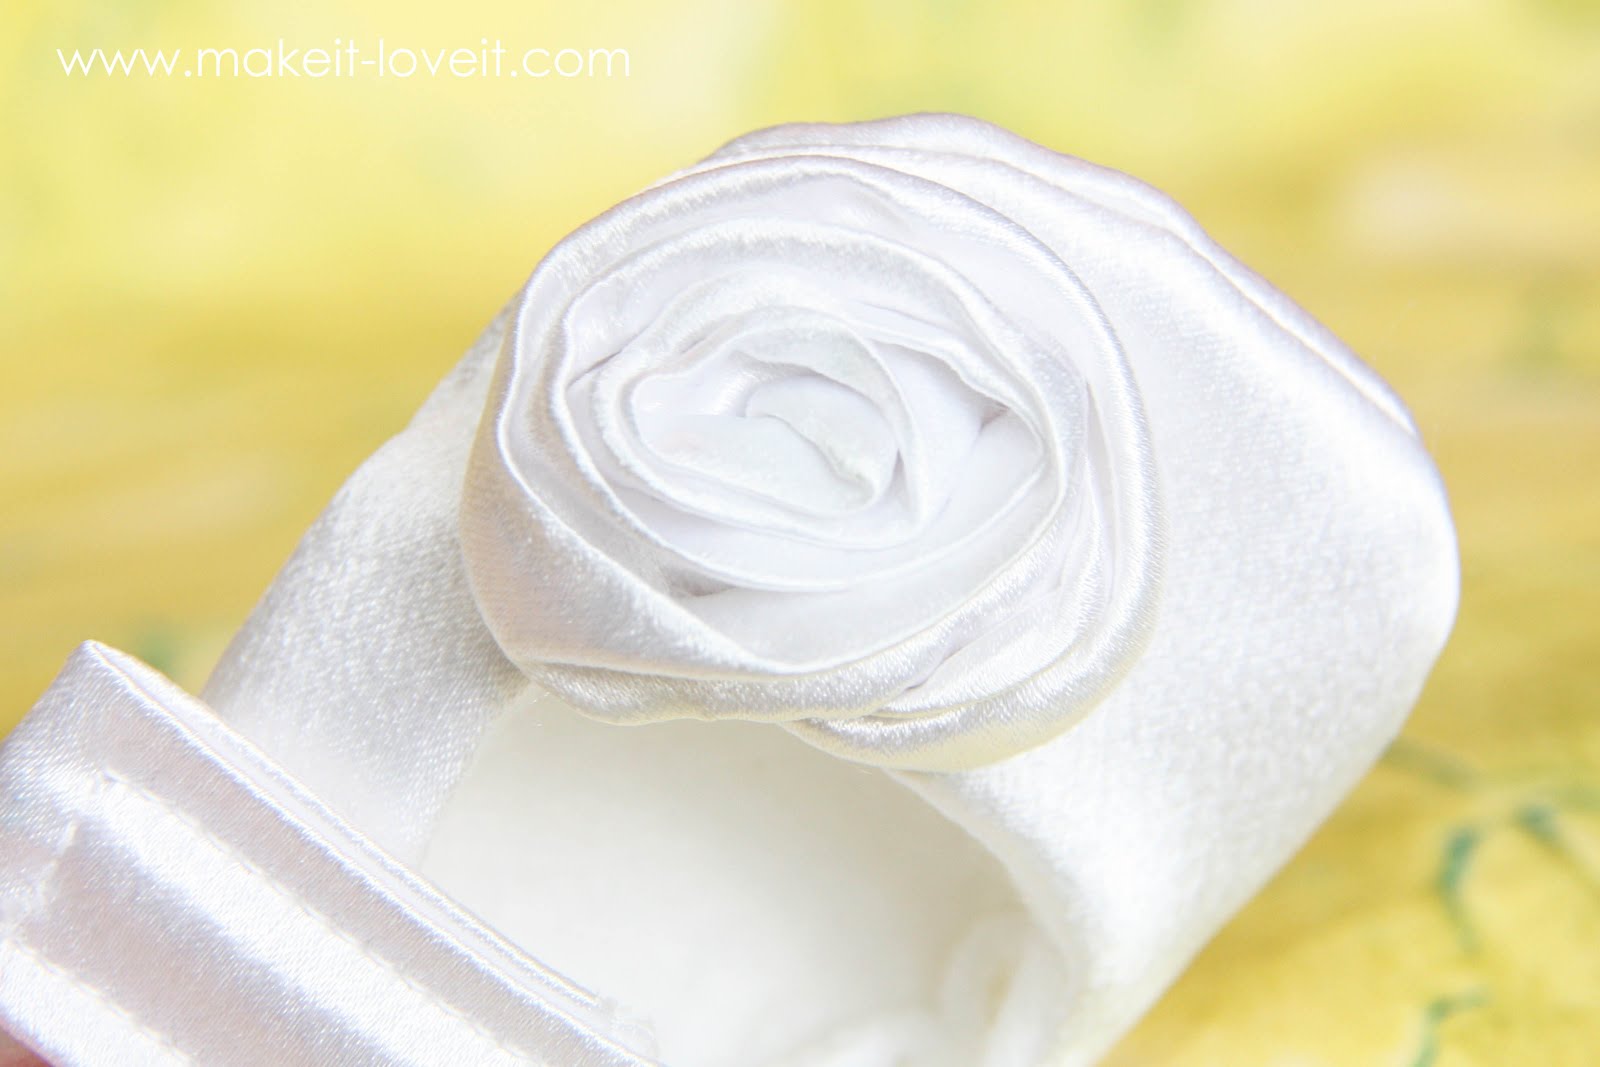
These little crushed flowers have great dimension. And really add great charm to anything. So I just had to give them their own little tutorial.
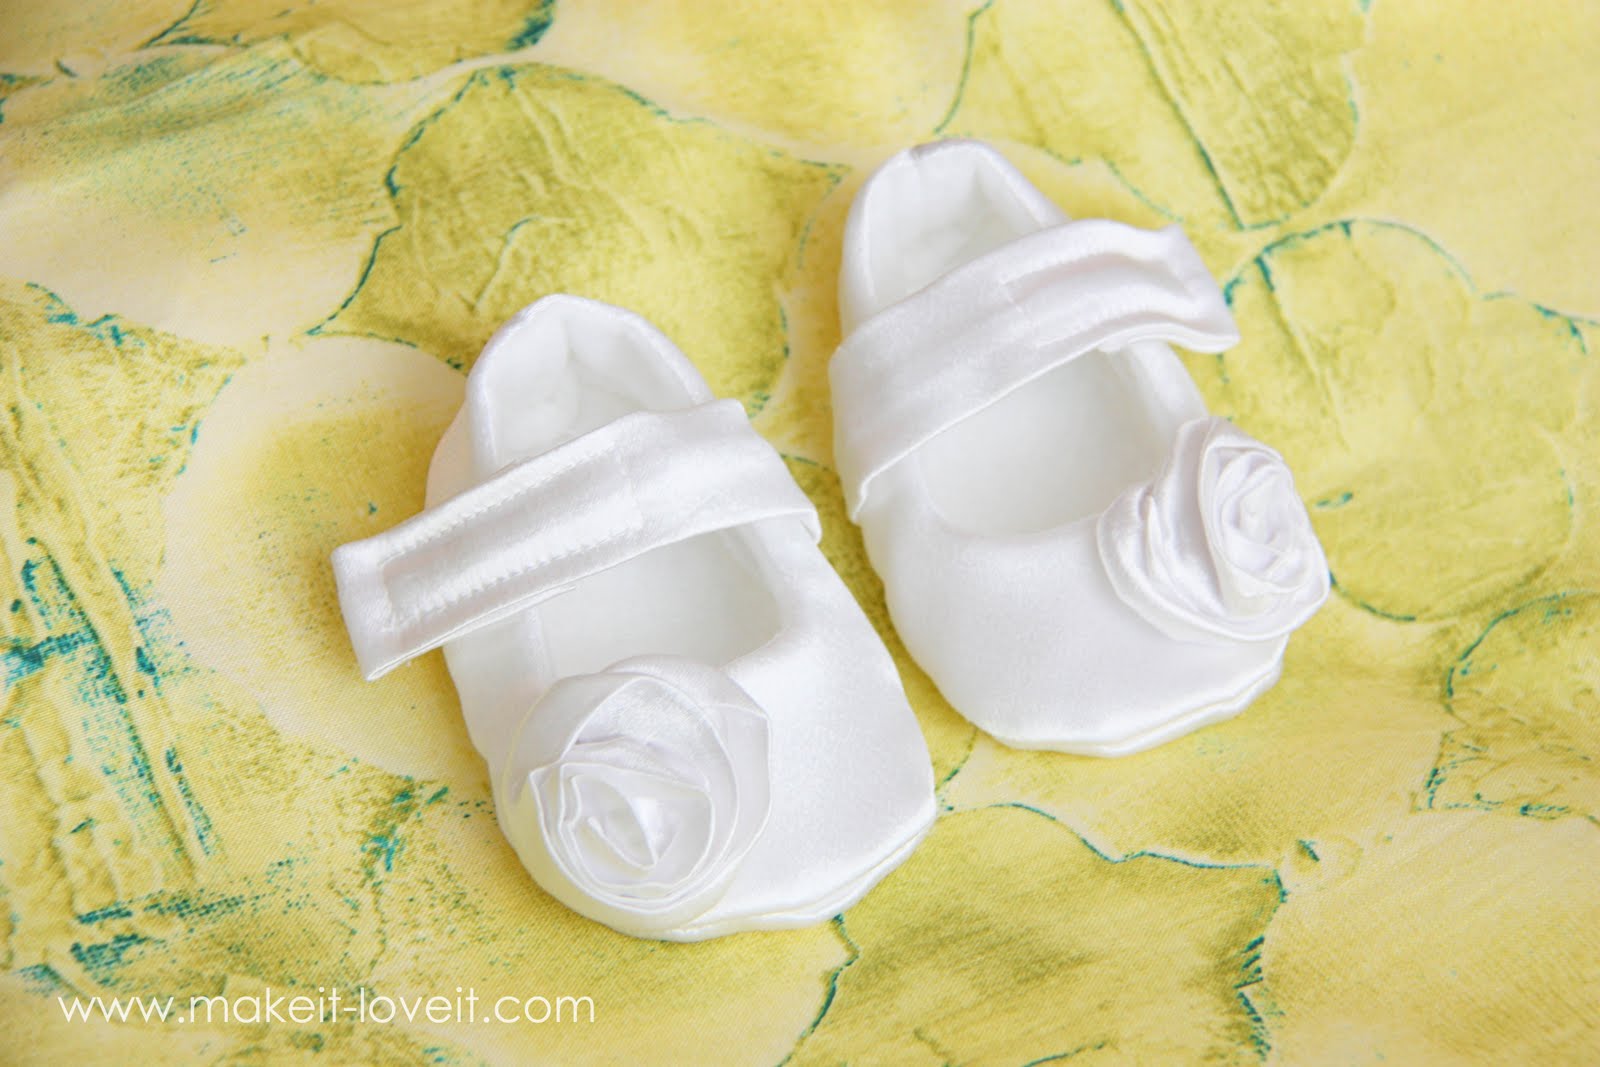
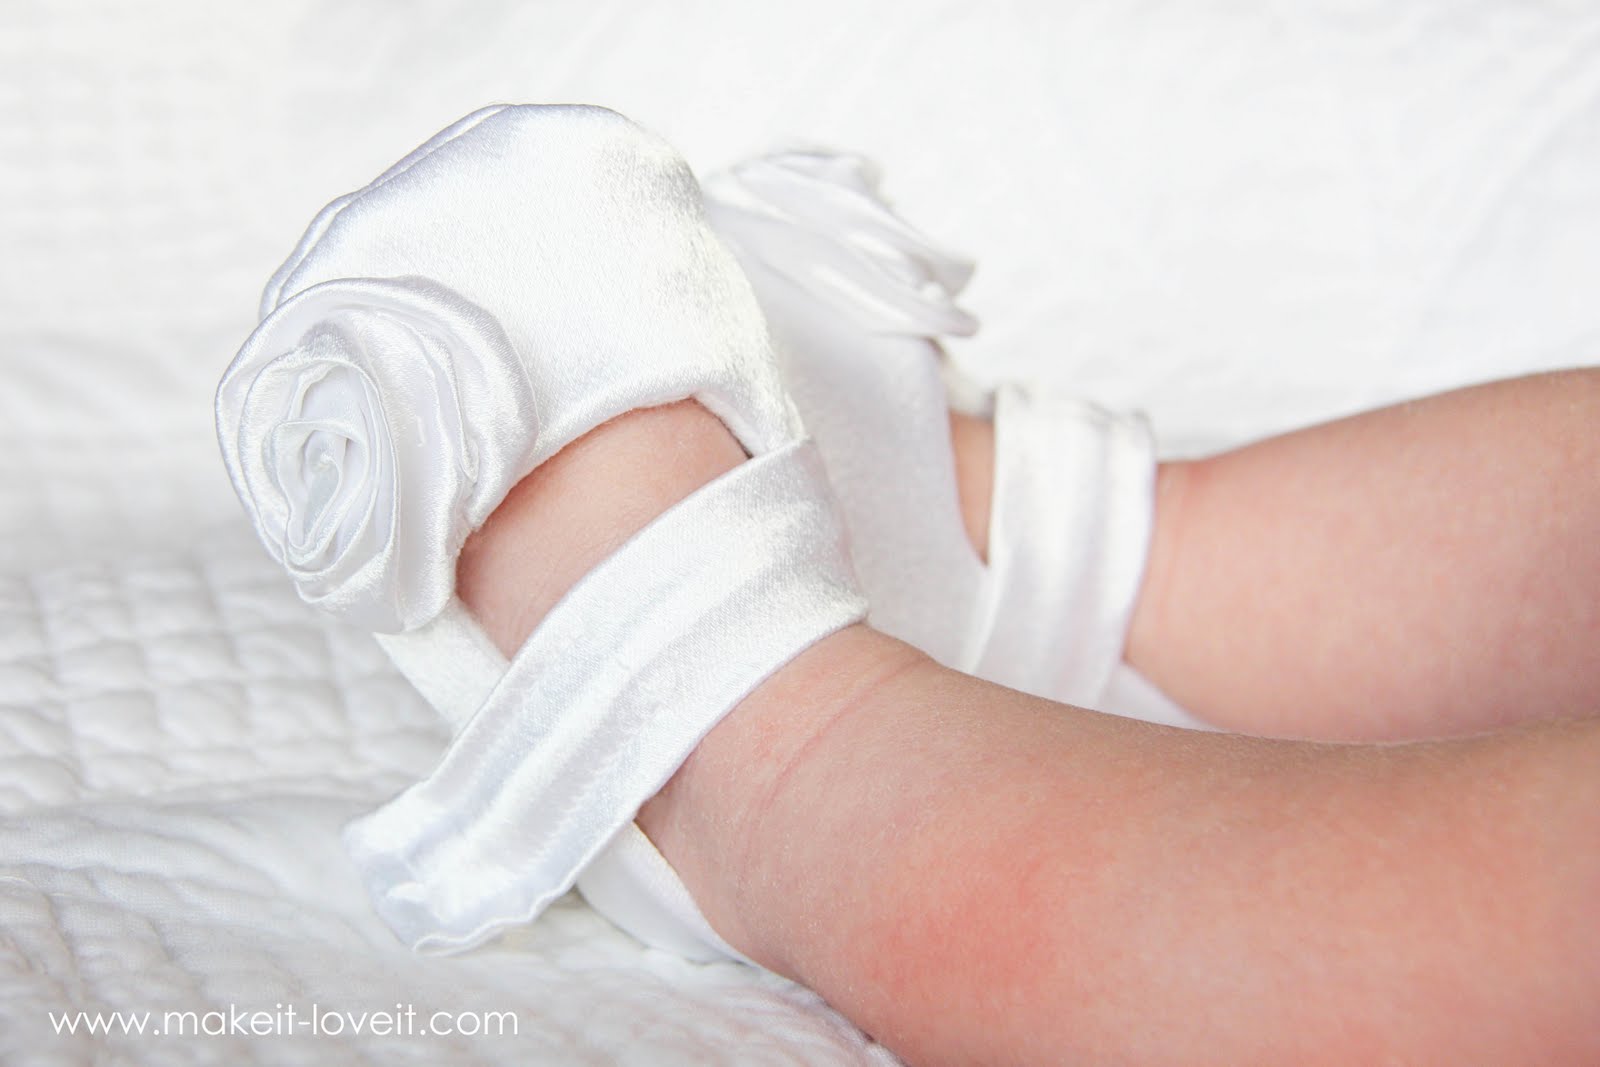
The flowers worked perfectly on these little white shoes.
Have you made your own pair of
Abigail Booties? The pattern is in my shop
here, if you’d like to give them a try.
.
.
And even more precious on those little tootsies.
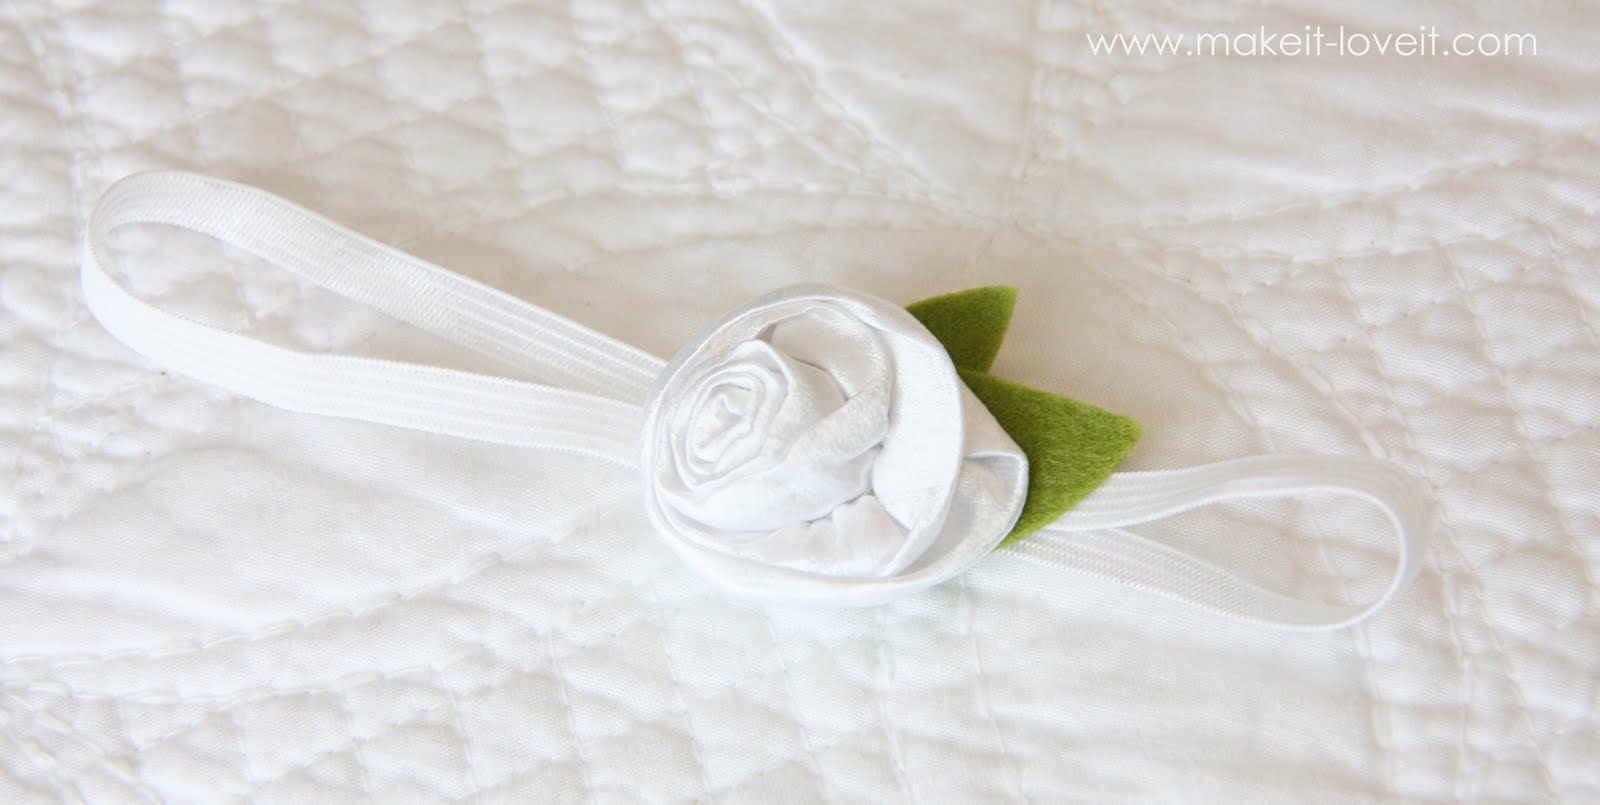
And a little girl in a dress, isn’t quite complete without a little something in her hair.
So I made a little crushed flower and put in on a headband. [I used the fold over elastic that I talked about in
this post. It’s super soft. But I just cut it right down the middle to make it more narrow. I like it better. No, it didn’t unravel. :) ]
Nice and lovely on those soft little newborn heads.
Would you like to create your own crushed fabric flowers?
Now remember, these can be made with any type of fabric. I used satin but have made them with woven cotton too. Just as adorable.
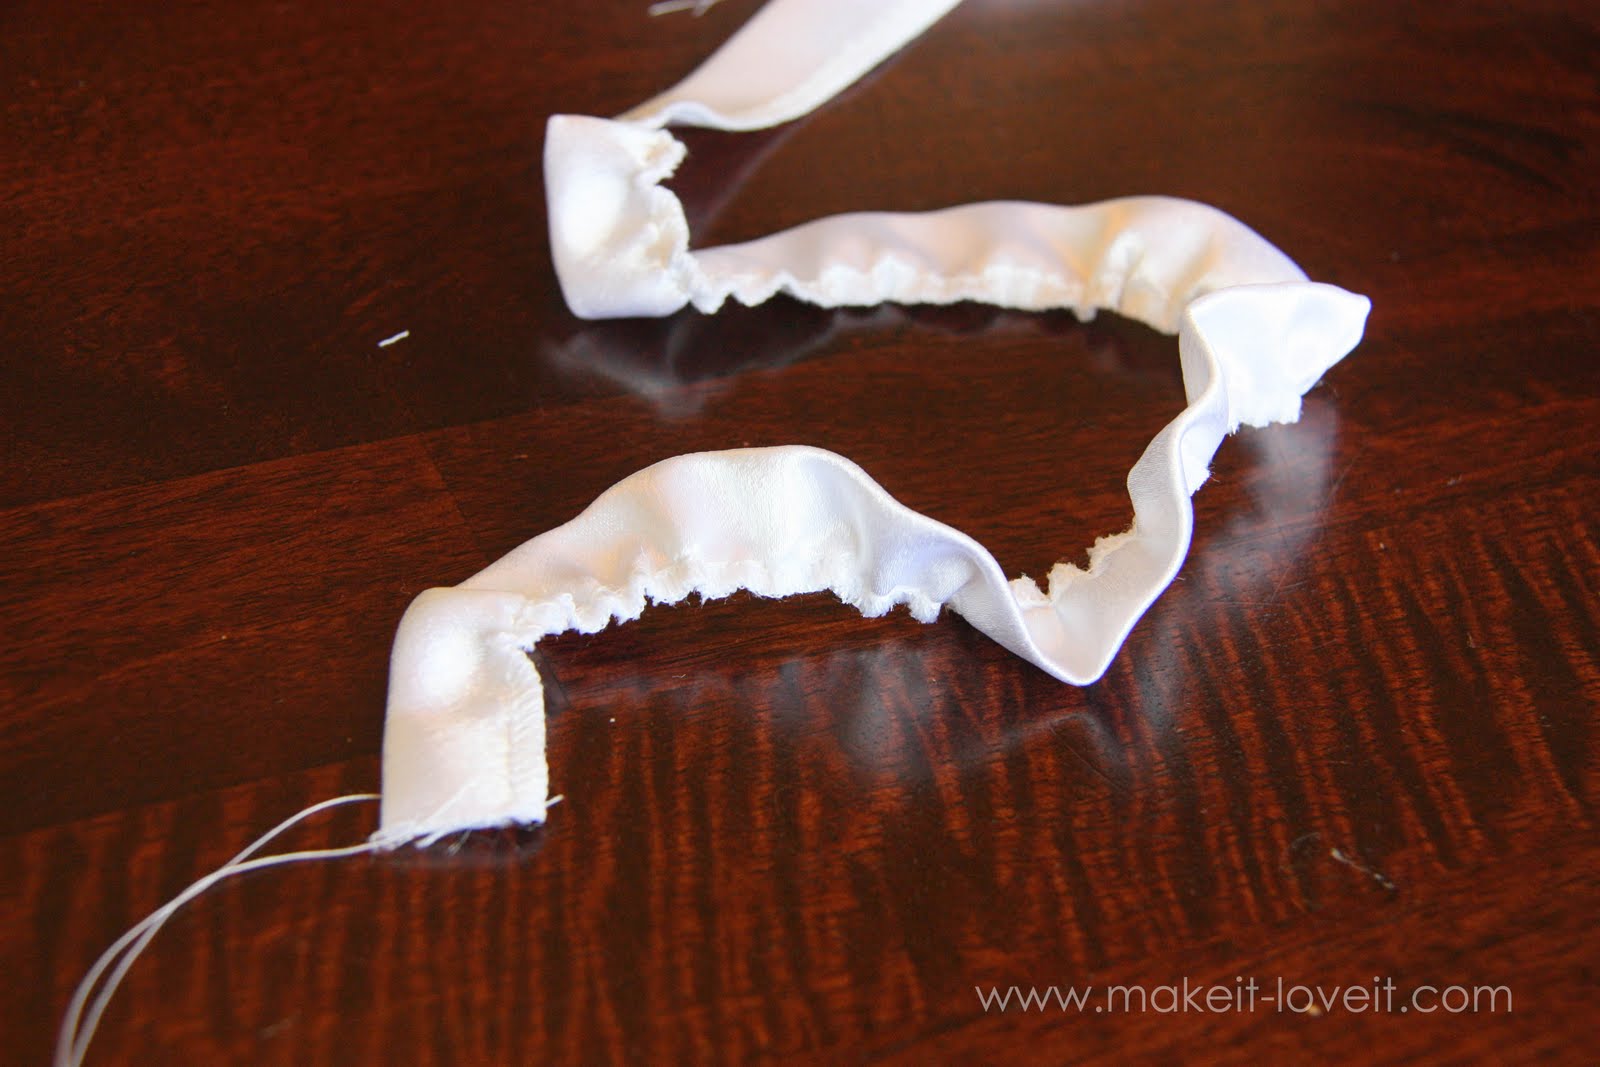
First, start with a narrow strip of fabric. I started with a strip that was 1 1/4 inch wide and about 15 inches long. (How wide or narrow you make the strip will change the look of your flower. Change it up and experiment with it. You make like it better a little different.)
Fold the strip in half lengthwise and sew it into a tube, with the right side of the fabric facing out. Use a zig-zag stitch or serge it.
Then sew a basting stitch right next to your zig-zag or serged edge and then slightly gather your strip. (Need help with gathering? Click
here.)
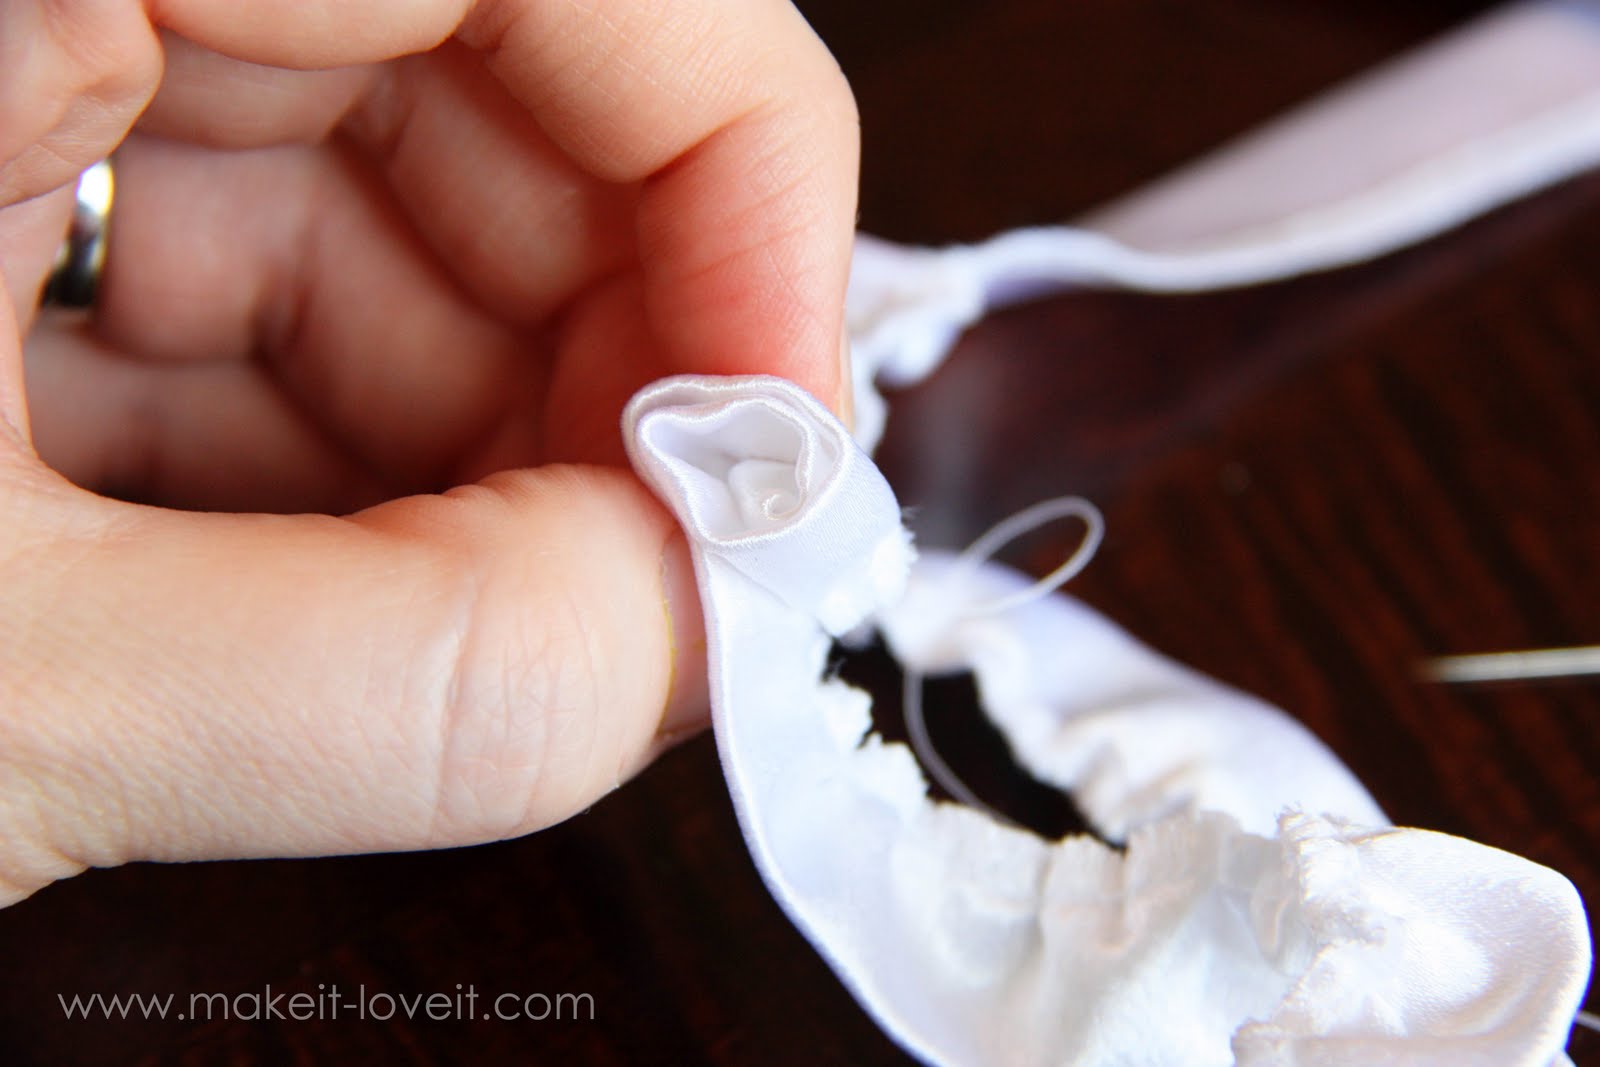
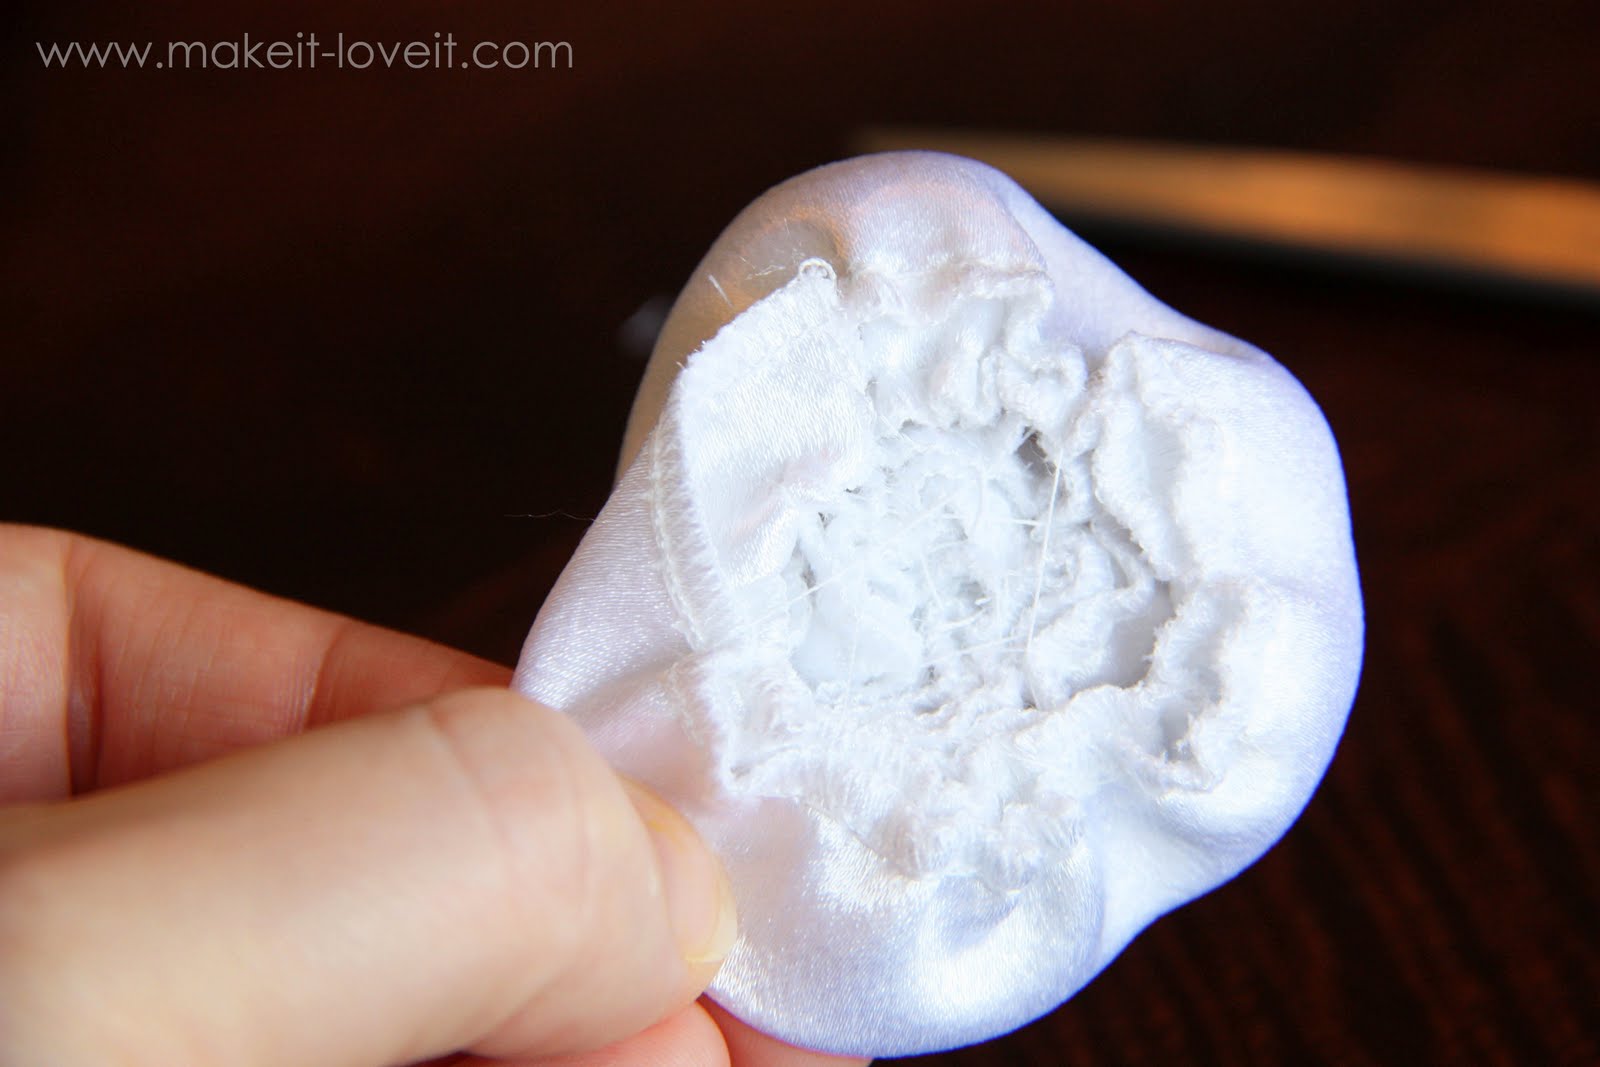
Then, grab one end of the tube and fold the very end over (towards the serged edge) and stitch in place. (This will just help hide the very end of the your fabric so that it doesn’t show from the front of the flower.)
Then, start loosely rolling up the strip of fabric……..and make a few stitches on the bottom of the flower to hold the rolled flower in place. Then roll another time or two and then make a few more stitches.
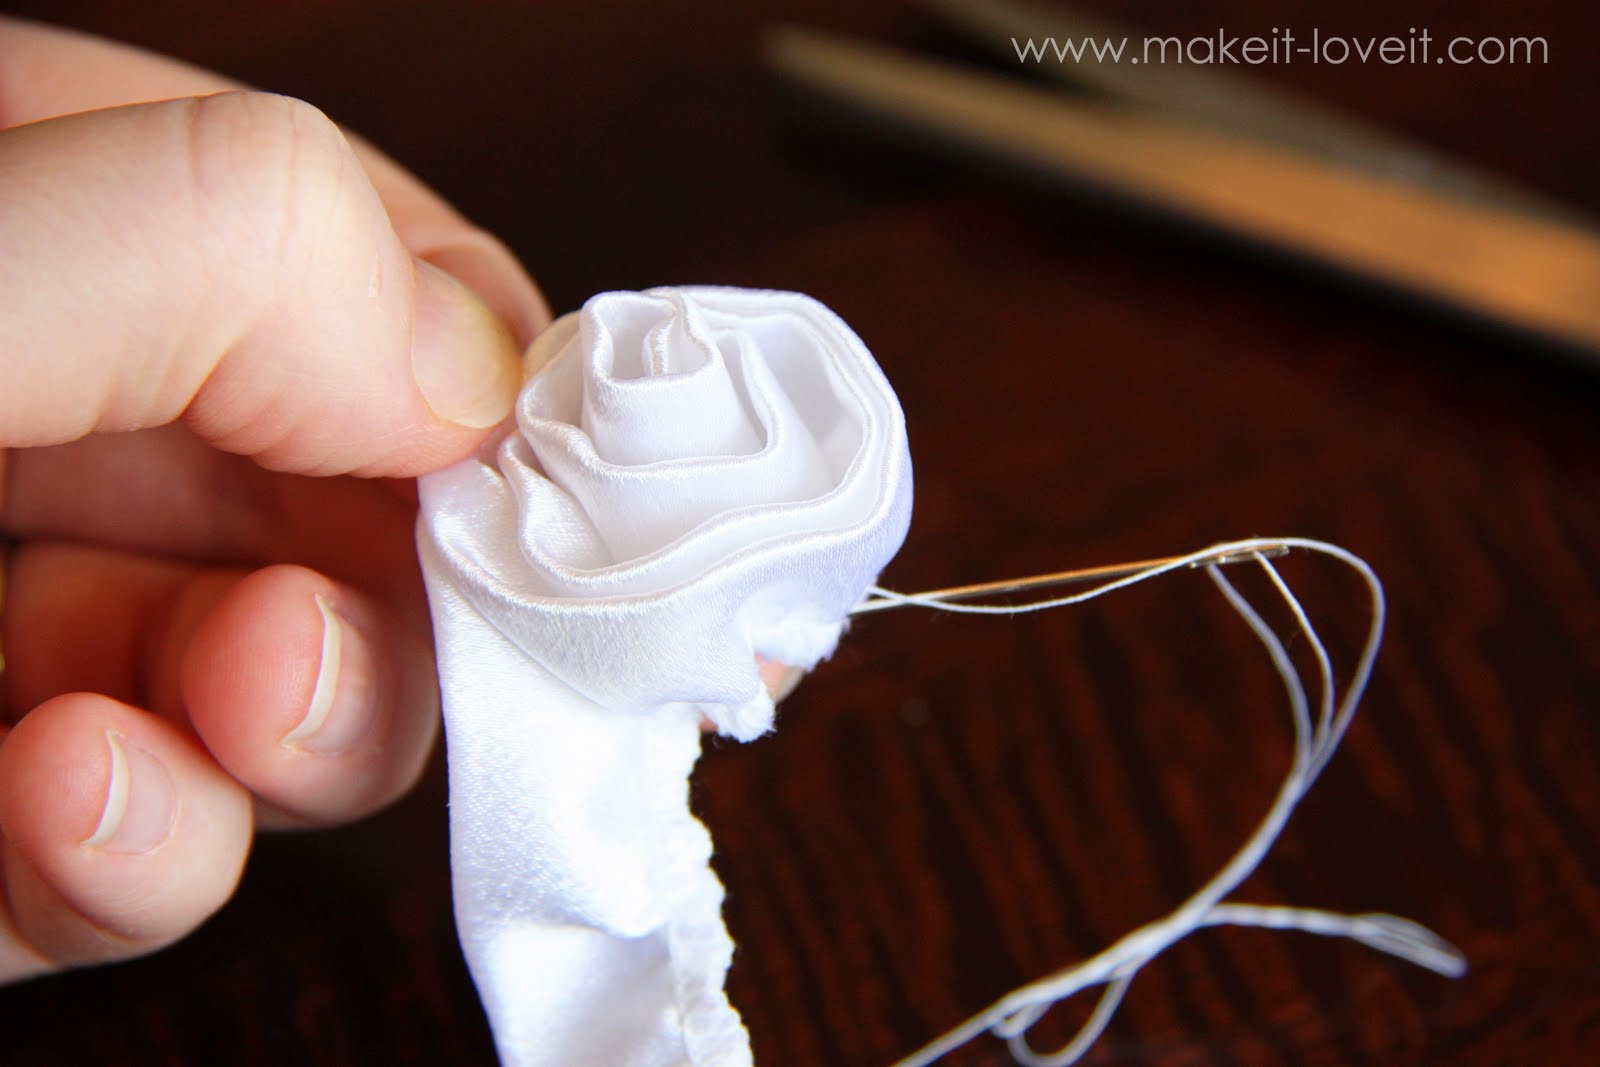
Keep rolling and stitching……and you’ll see a flower taking shape.
Once you reach the end of your strip of fabric, tuck the very end under, towards the bottom of the flower. Stitch in place.
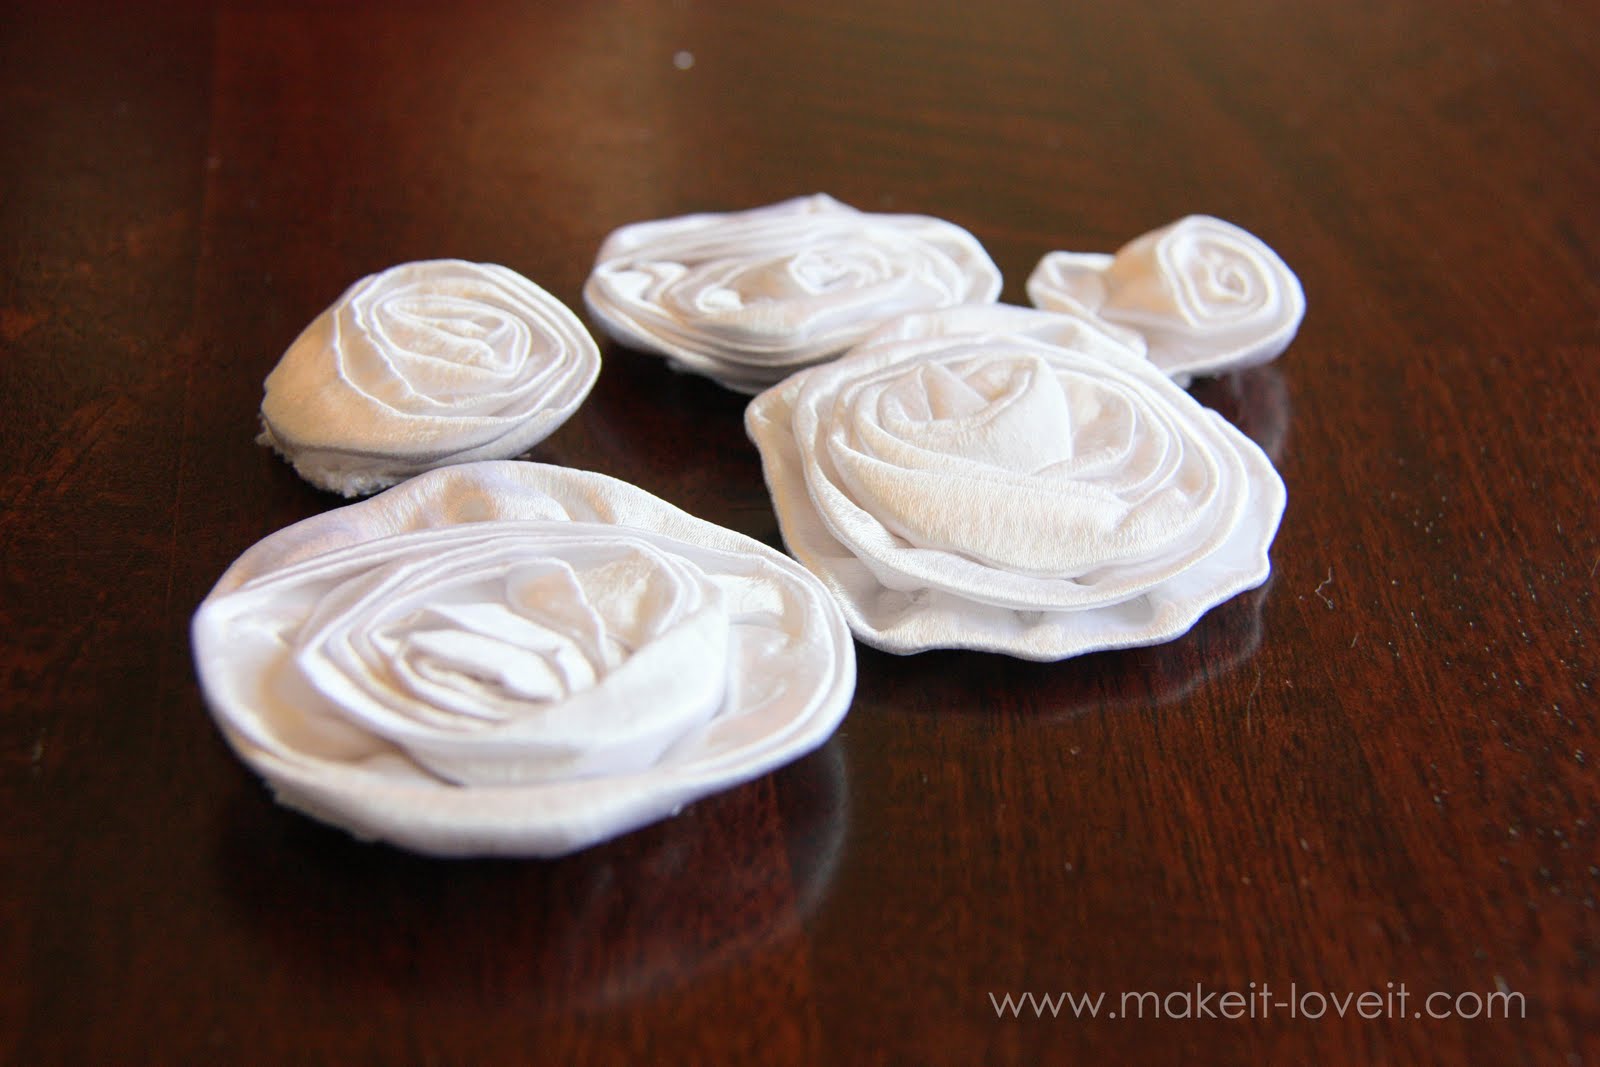
Then flip over your flower and place a hot iron over the top and crush the flower flat. Use steam (depending on fabric) and press down firmly. Depending on you you squash it, you can create all sorts of different looks. Try mashing all of the petals down to one side…….or squash the petals straight down……….or half and half.
And then make several more.
And now you have a fun new fabric flower, with a fun quirky look to it………that you can use on all sorts of projects.
Make them big and make them small.
And have fun with it.
. . . . . . . . . . .
This post is sponsored by: