Home » DIY Tutorials » DIY Sewing » Sewing: Clothing » Baby Clothing » Maternity Band
Maternity Band
October 25, 2010 - By Ashley Johnston 129 Comments
Yes, the secret is out.
(This secret, here.)
And let me just say……..wow. And thank you. Thanks for all of the well wishes and congratulations. And in a cyber-kind-of-way……making me feel through your comments like you just dropped off a plate of warm cookies. Or a bag of candy corn. Haha. But really, thanks.
And yes, I’m thrilled to create many more little eensy-weensy outfits…..so stay tuned. :)
(And that little dress I made is a pattern in the works. I was thinking next spring but maybe there are enough people who’d like a head start? I’ll see what I can do.)
And in case you were wondering, yes, my belly is expanding.
And with an expanding belly, clothes are sometimes tricky.
Have you seen all of those belly bands that allow you to wear your non-maternity pants…..but unbuttoned? (Not that all of my non-maternity pants fit. But sometimes I buy larger pants and wear them unbuttoned while pregnant. I don’t always care for those huge maternity pant, up-to-my-chest, waist bands. Frustrating.)
There are many, many belly band brands out there but they are all basically the same thing. A band of stretchy knit that hides your waist band and opened button…..to give you a bit of extra room around the waist……while also keeping your pants up. No more rubber bands holding your pants closed.
I had never used one before today and have always just used a long cami under my shirts.
But you know the problem with those?
-When you bend over, they pull up.
-When your belly grows out, they shrink up.
And there’s nothing I hate worse then my belly peeking out at the bottom of my shirt.
Know what I mean?
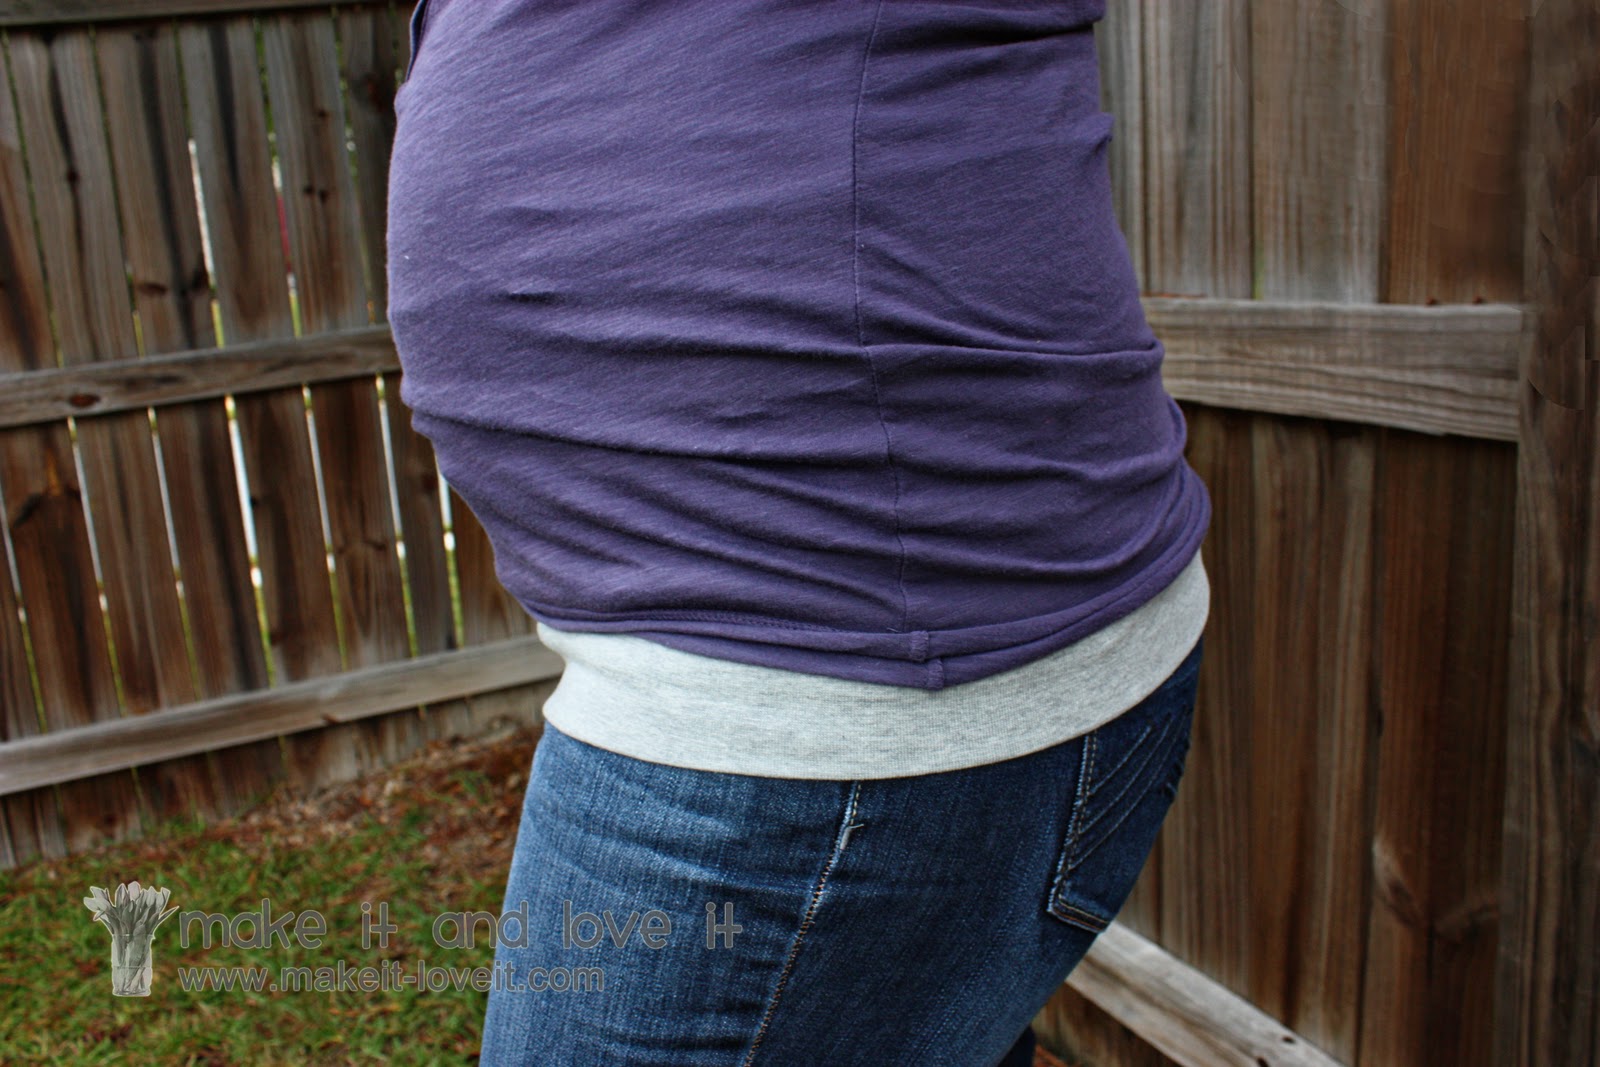
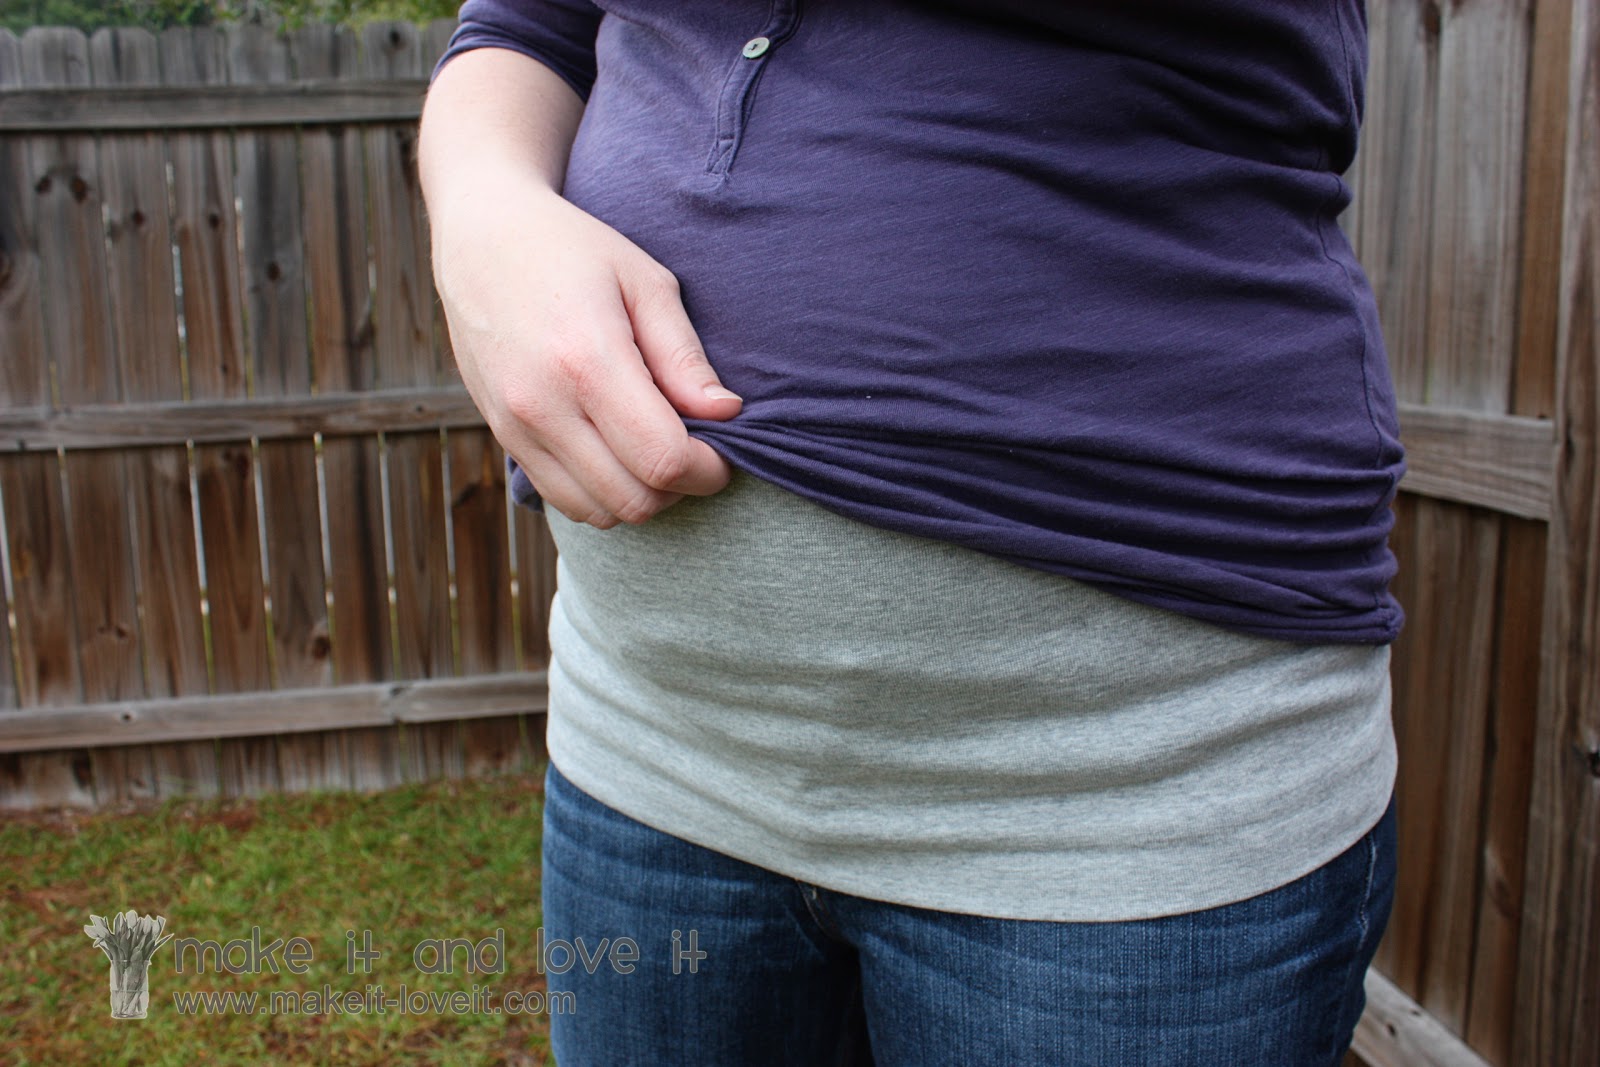
But these maternity bands actually stay in place…….right around the waist.
Full coverage.
And ahhhhhh, can I tell you how comfortable they are? No elastic at the top, no tightness, nothing.
It feels like yoga pants around your waist.
And lets hear a 3 cheers for wanting to wear yoga pants everywhere for the entire 9 months of pregnancy. How I wish.
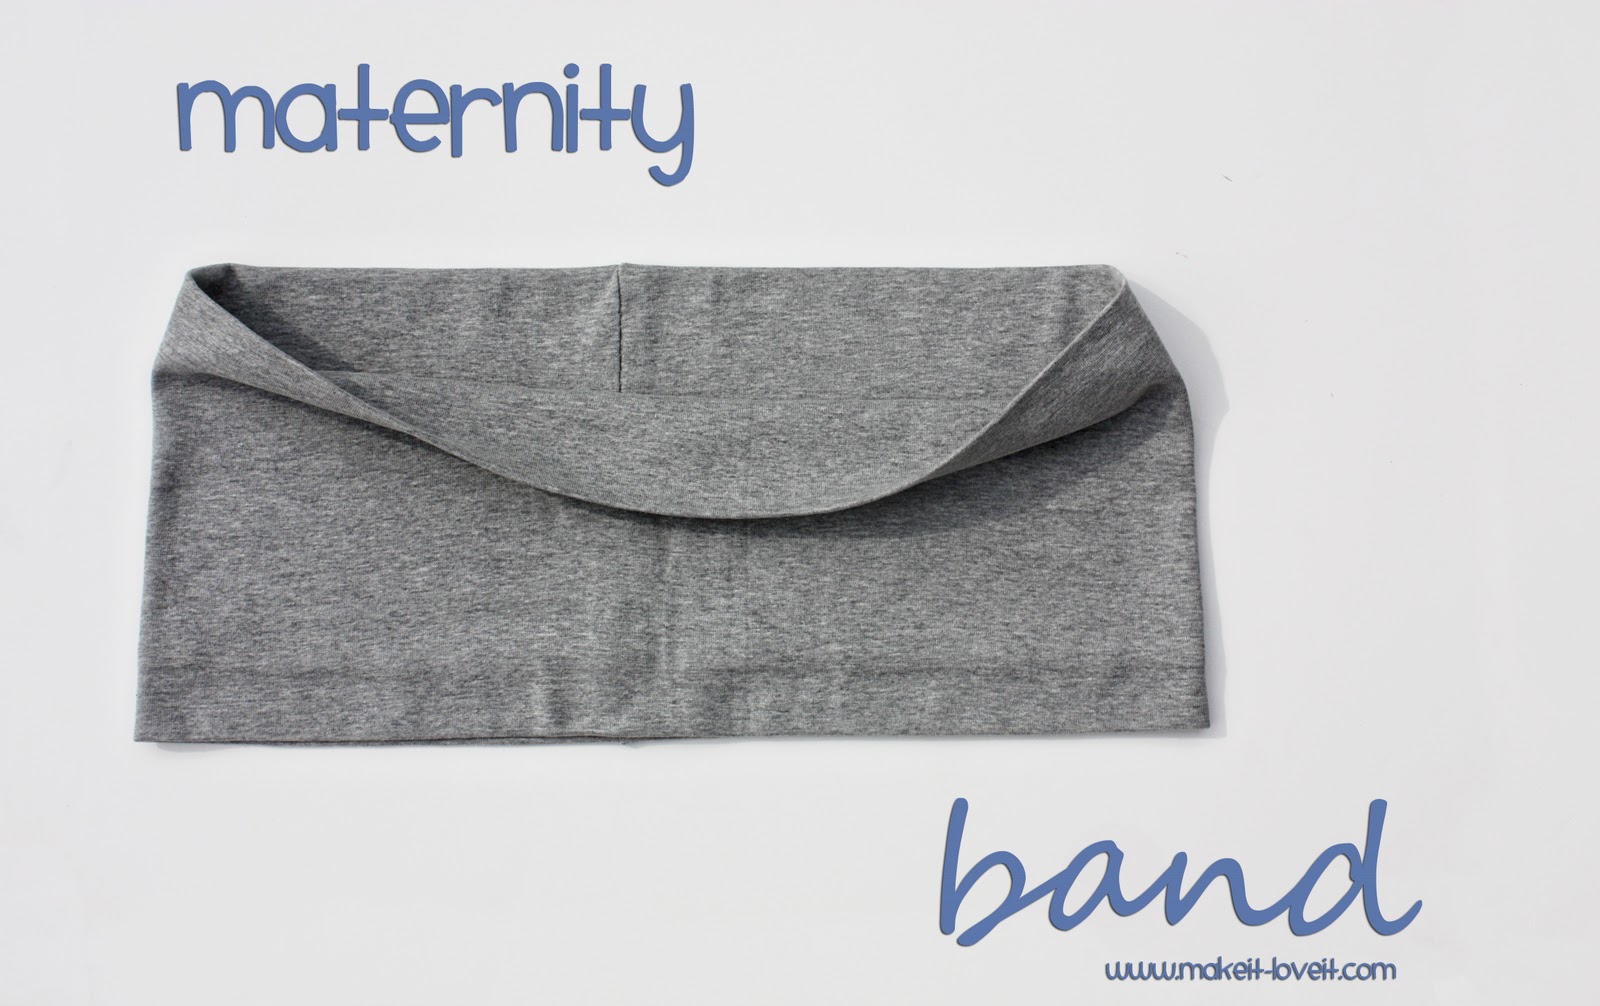
So, from the outside, the maternity band looks like a little layered cami look…
But it only goes up part way.
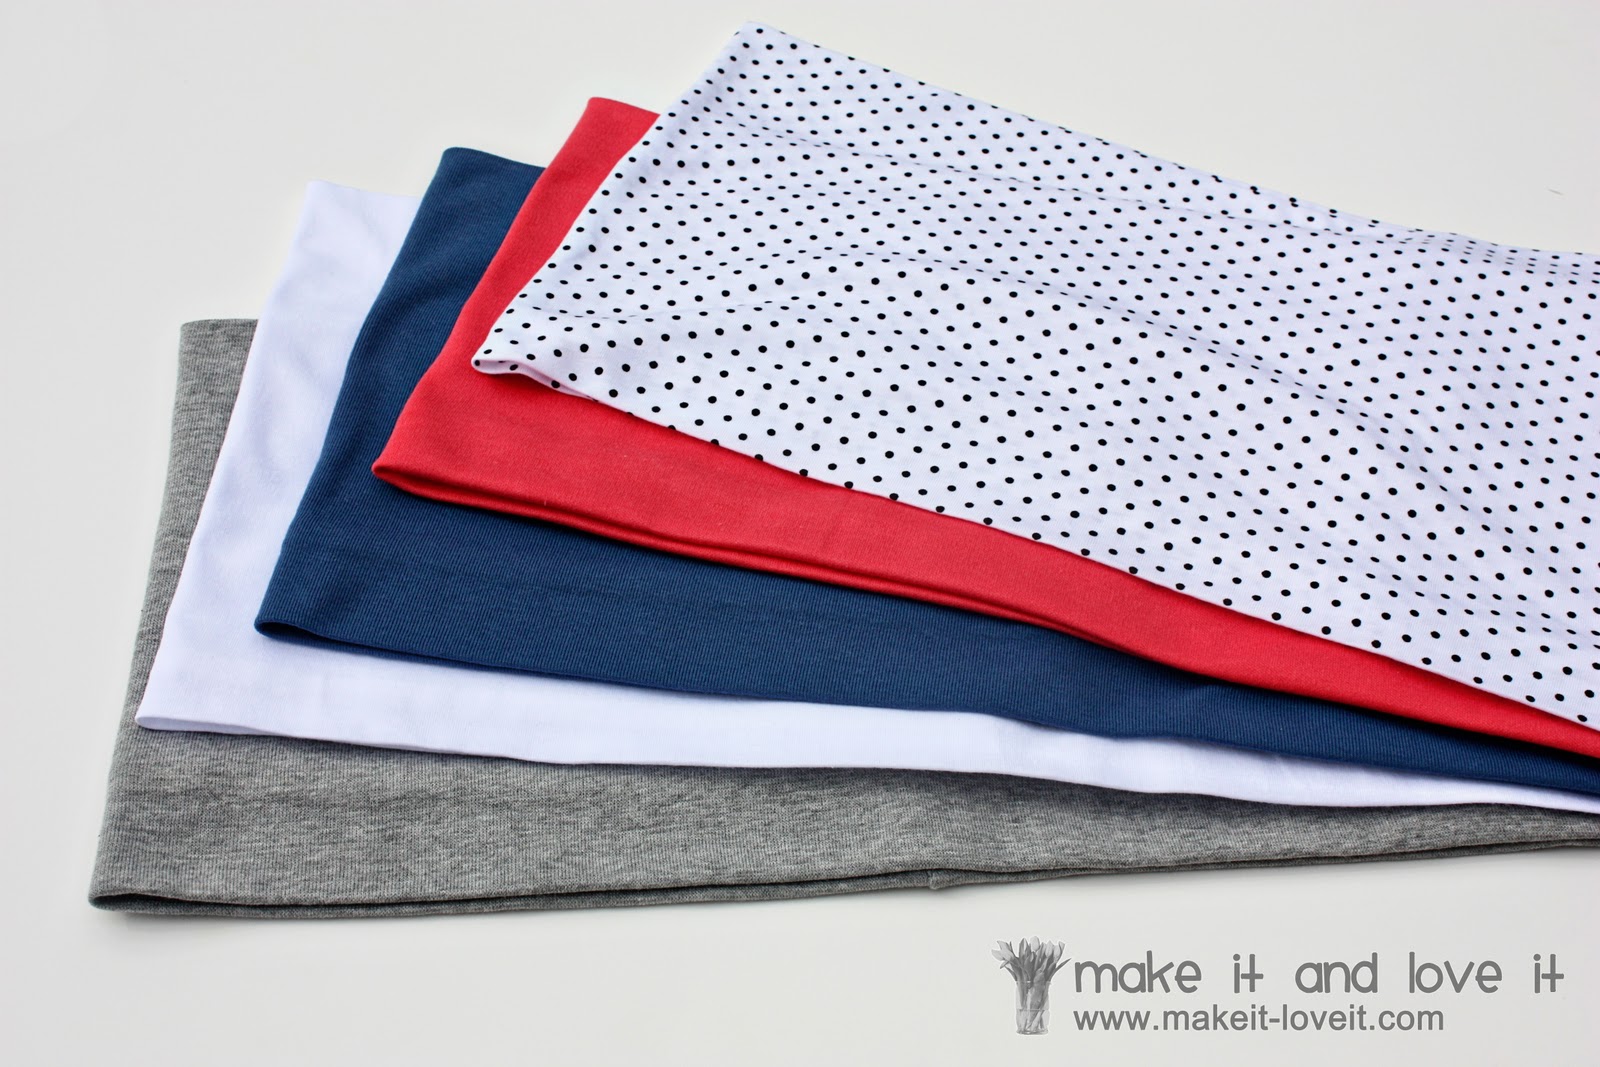
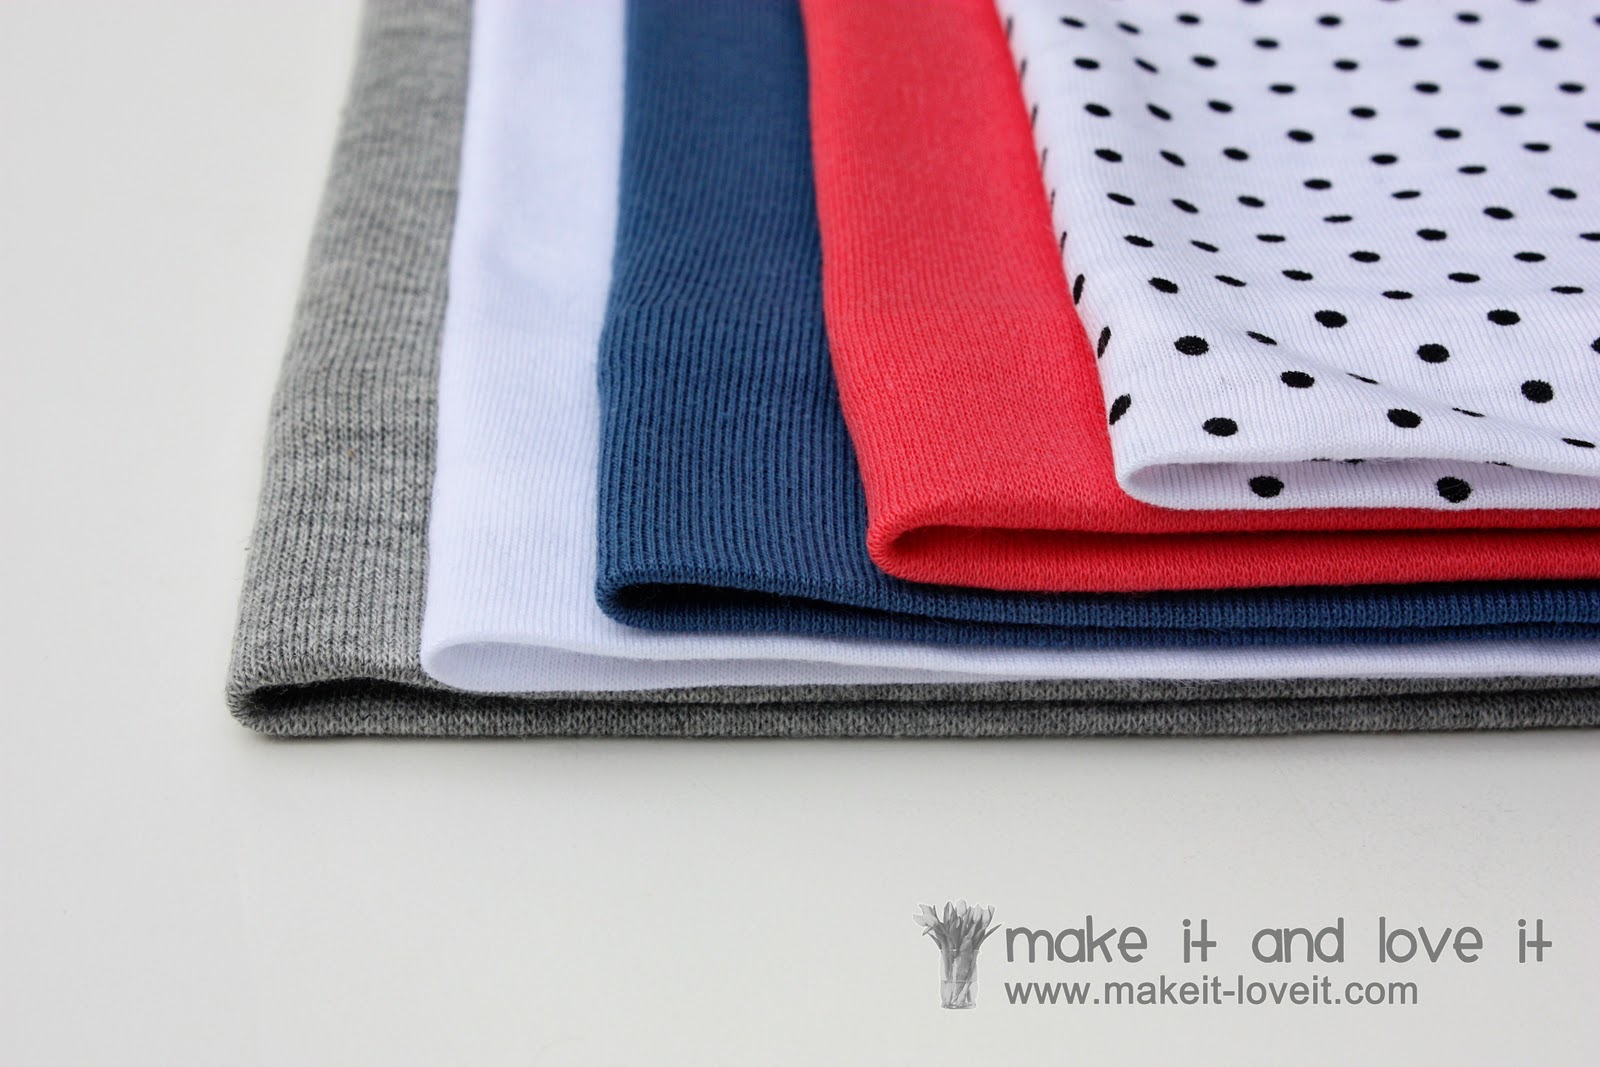
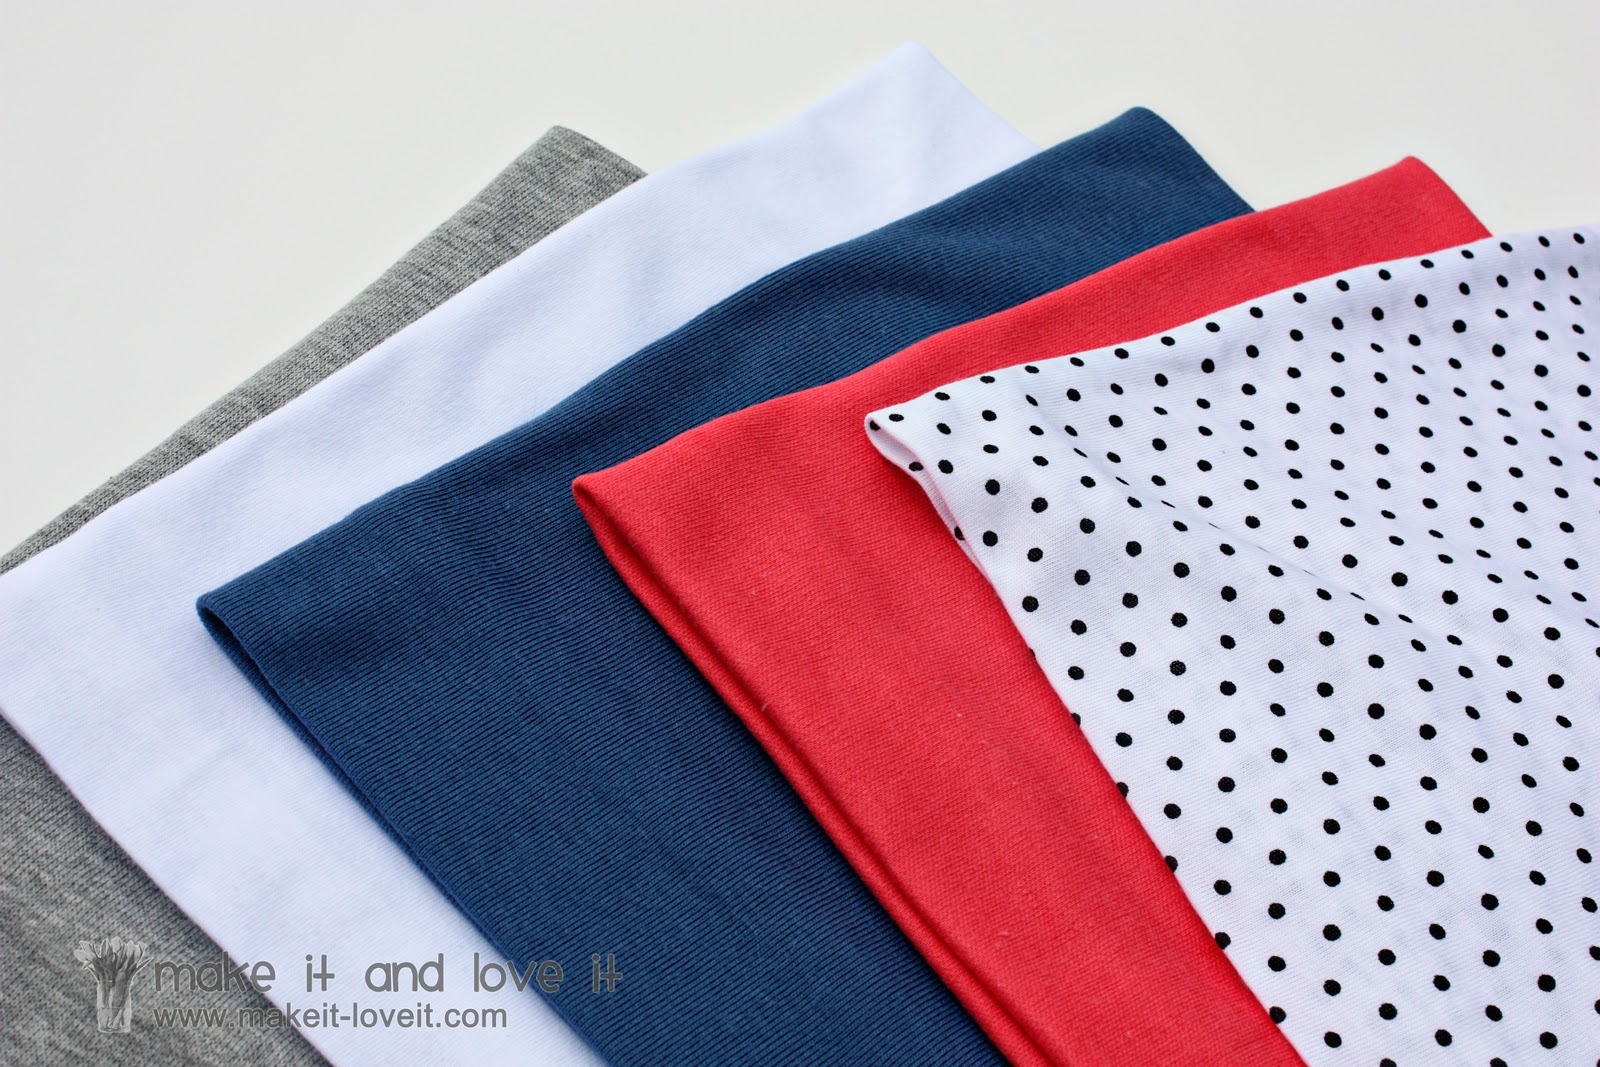
And after making this gray one, and loving it, I made 4 more.
And why not?
It only took about an hour to make all 5.
And barely cost me a thing.
Perfect.
I sure loved paying maybe $1 for each one, rather than $15-$20.
And you know, I plan on using these for that squishy post-delivery belly when nothing fits for a while.
And also as a way to keep a bit more covered while nursing. I can just keep the band around my waist while the shirt goes up. Even though I also use a nursing cover or blanket to cover up….I like to keep my sides and back covered up too. So I like this idea.
So thank you to that first person who ever thought up the idea.
I love it.
Would you like to make your own?
I used up knits that I already had and actually paid nothing for this project but if you are going out to buy some knit, you don’t need more than 3/4 of a yard. Make sure to check the sale bin first……I can often times find knits for $2-$3 a yard. (I used jersey knits and some blended knits with some lycra in it for all of my maternity bands.)
Now, everyone is a different size and may end up needing a different amount of fabric. Also, you may like the band to go higher/lower on your belly or a bit tighter around your middle…but here are the measurements I used.
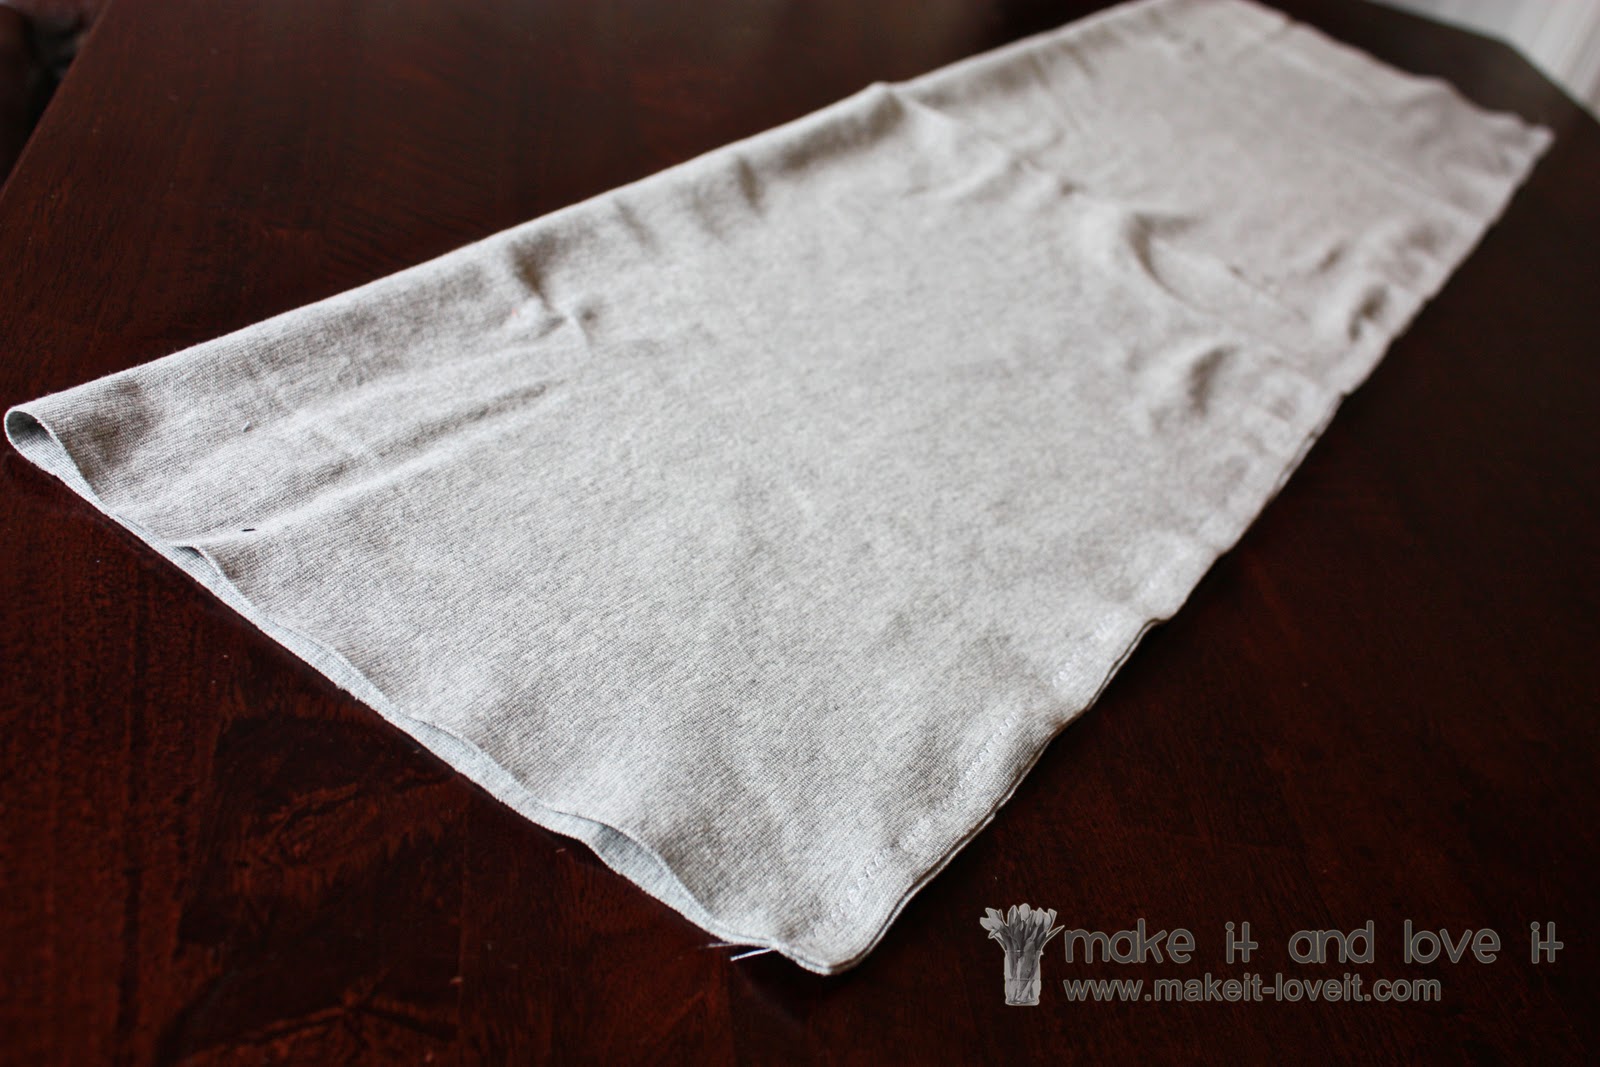
I cut a piece of knit that was about 35 inches wide and 20 inches tall. Some of the knits weren’t as stretchy so I experimented with making the piece more or less than the 35 inches wide. Just start bigger and then you can always cut it down.
**And make sure that the stretch is going width-wise, so it stretches across your belly.
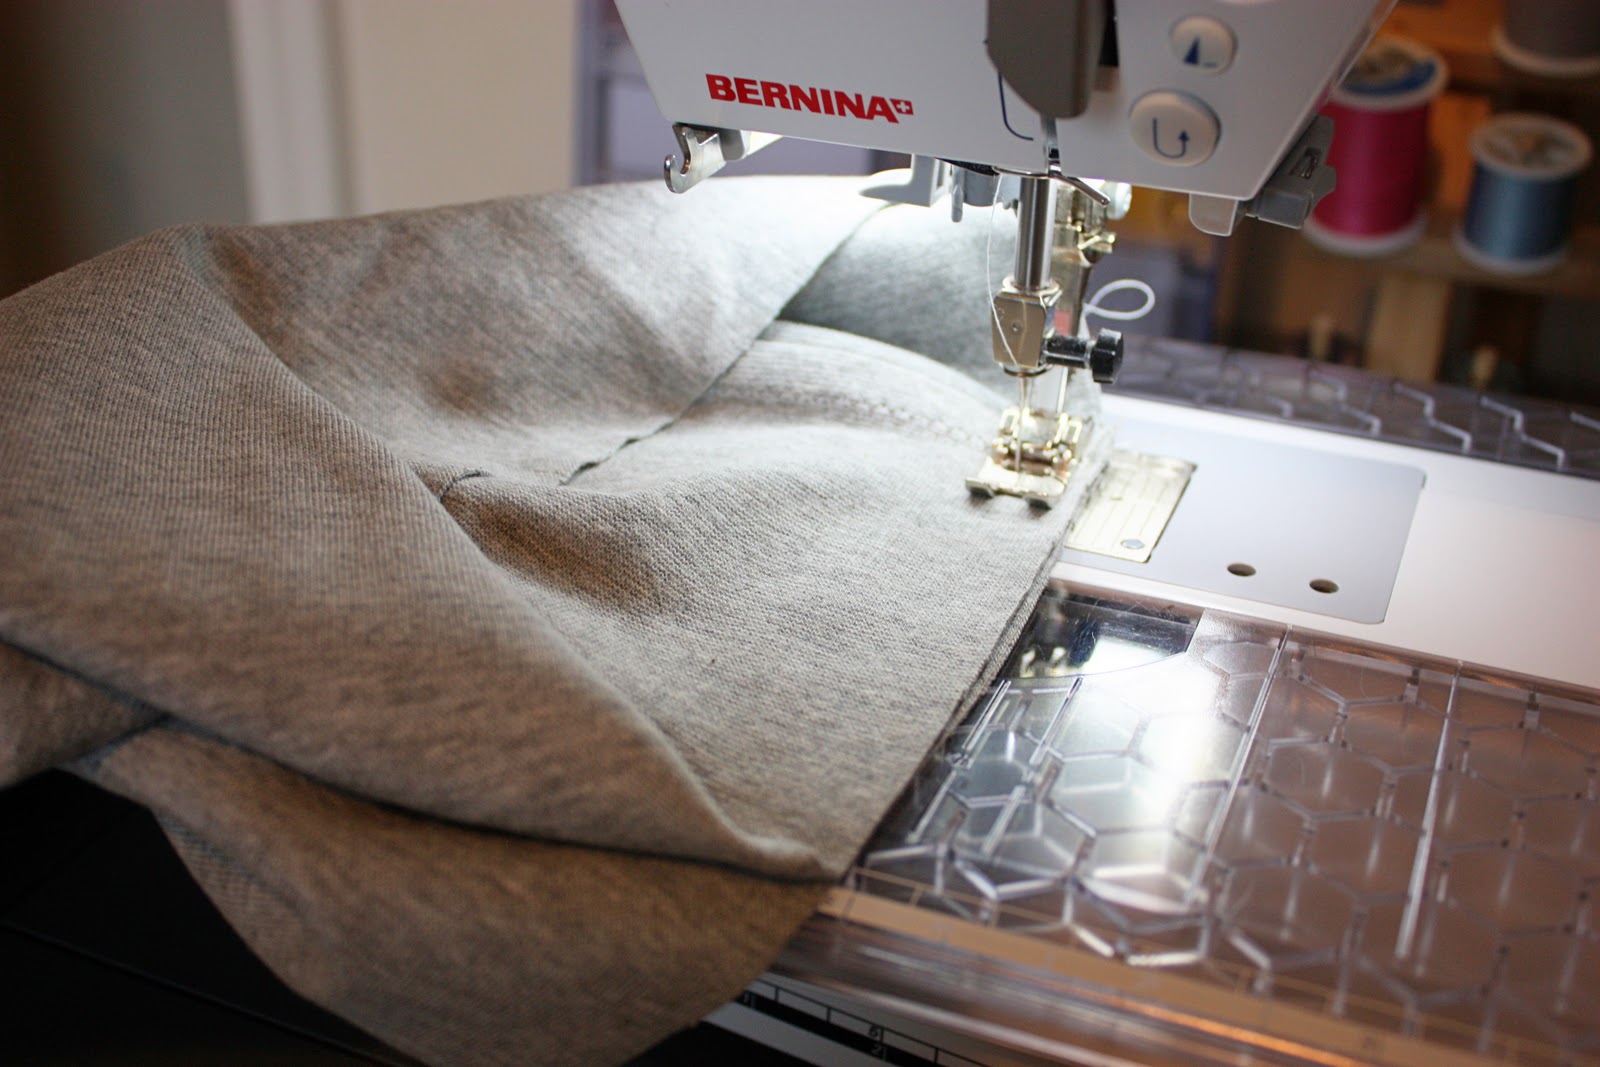
First, I folded the knit in half longways and used a zig-zag stitch (so it would still stretch) along the long side, using a 1/2 inch seam allowance.
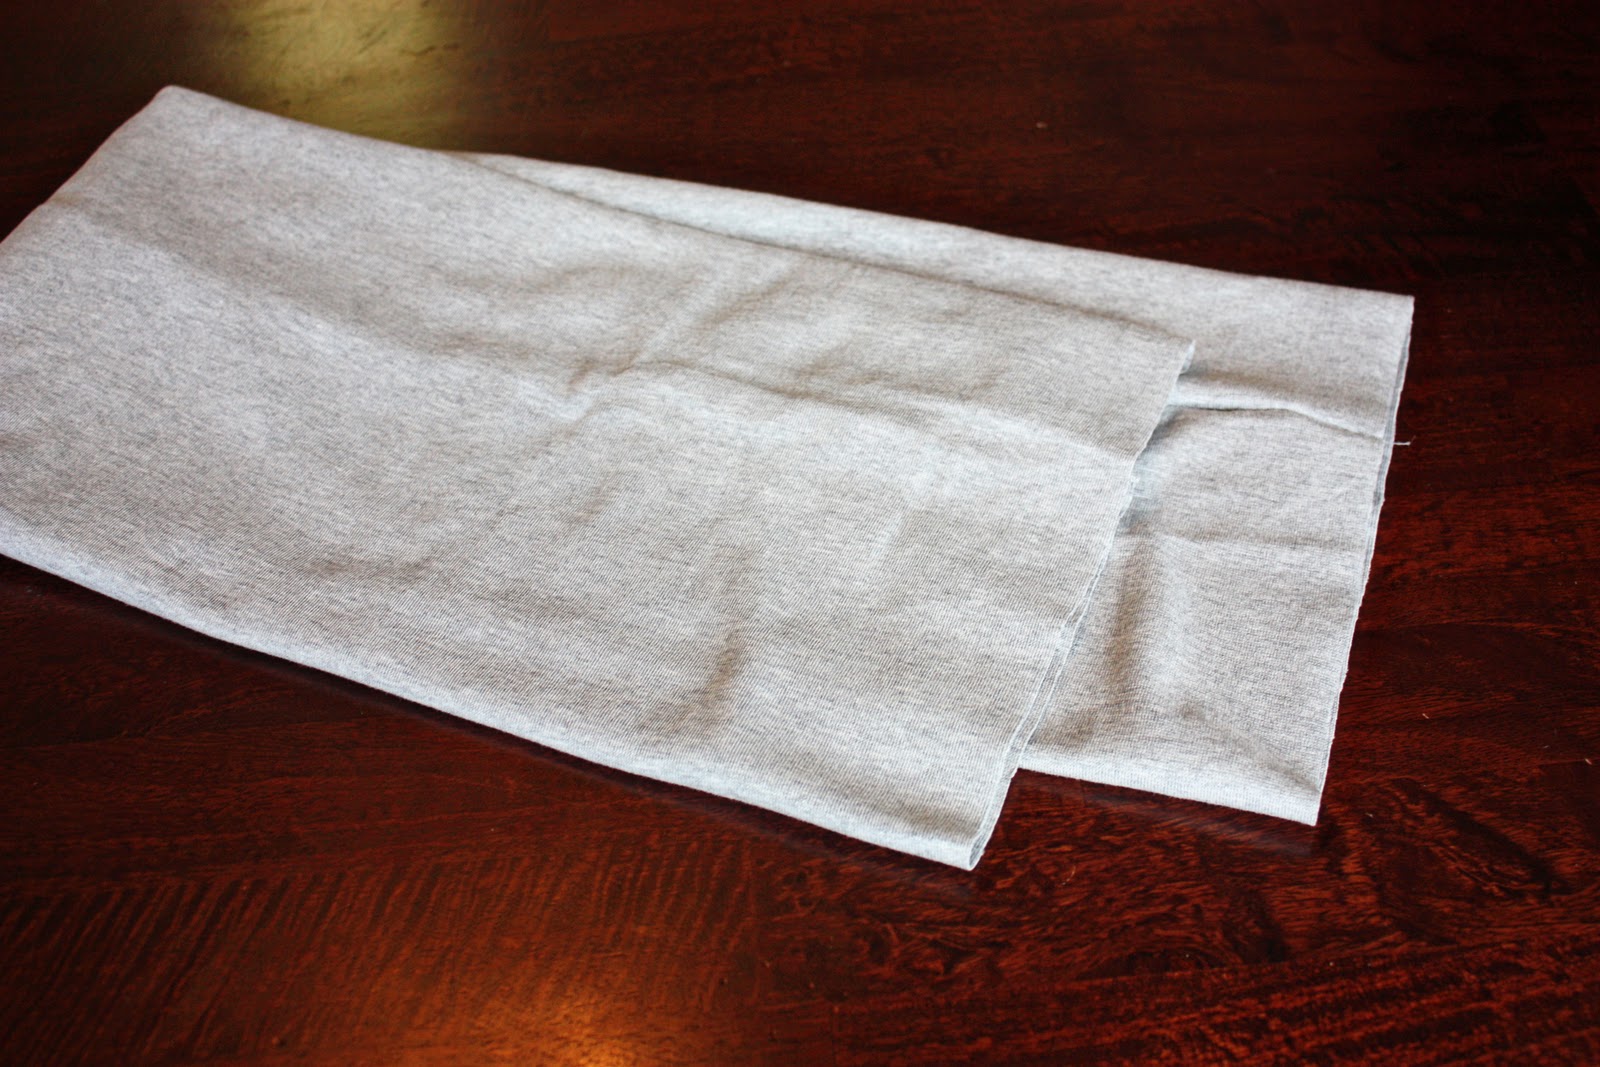
Then I turned the long tube right side out and folded it in half with the seam along the inside.
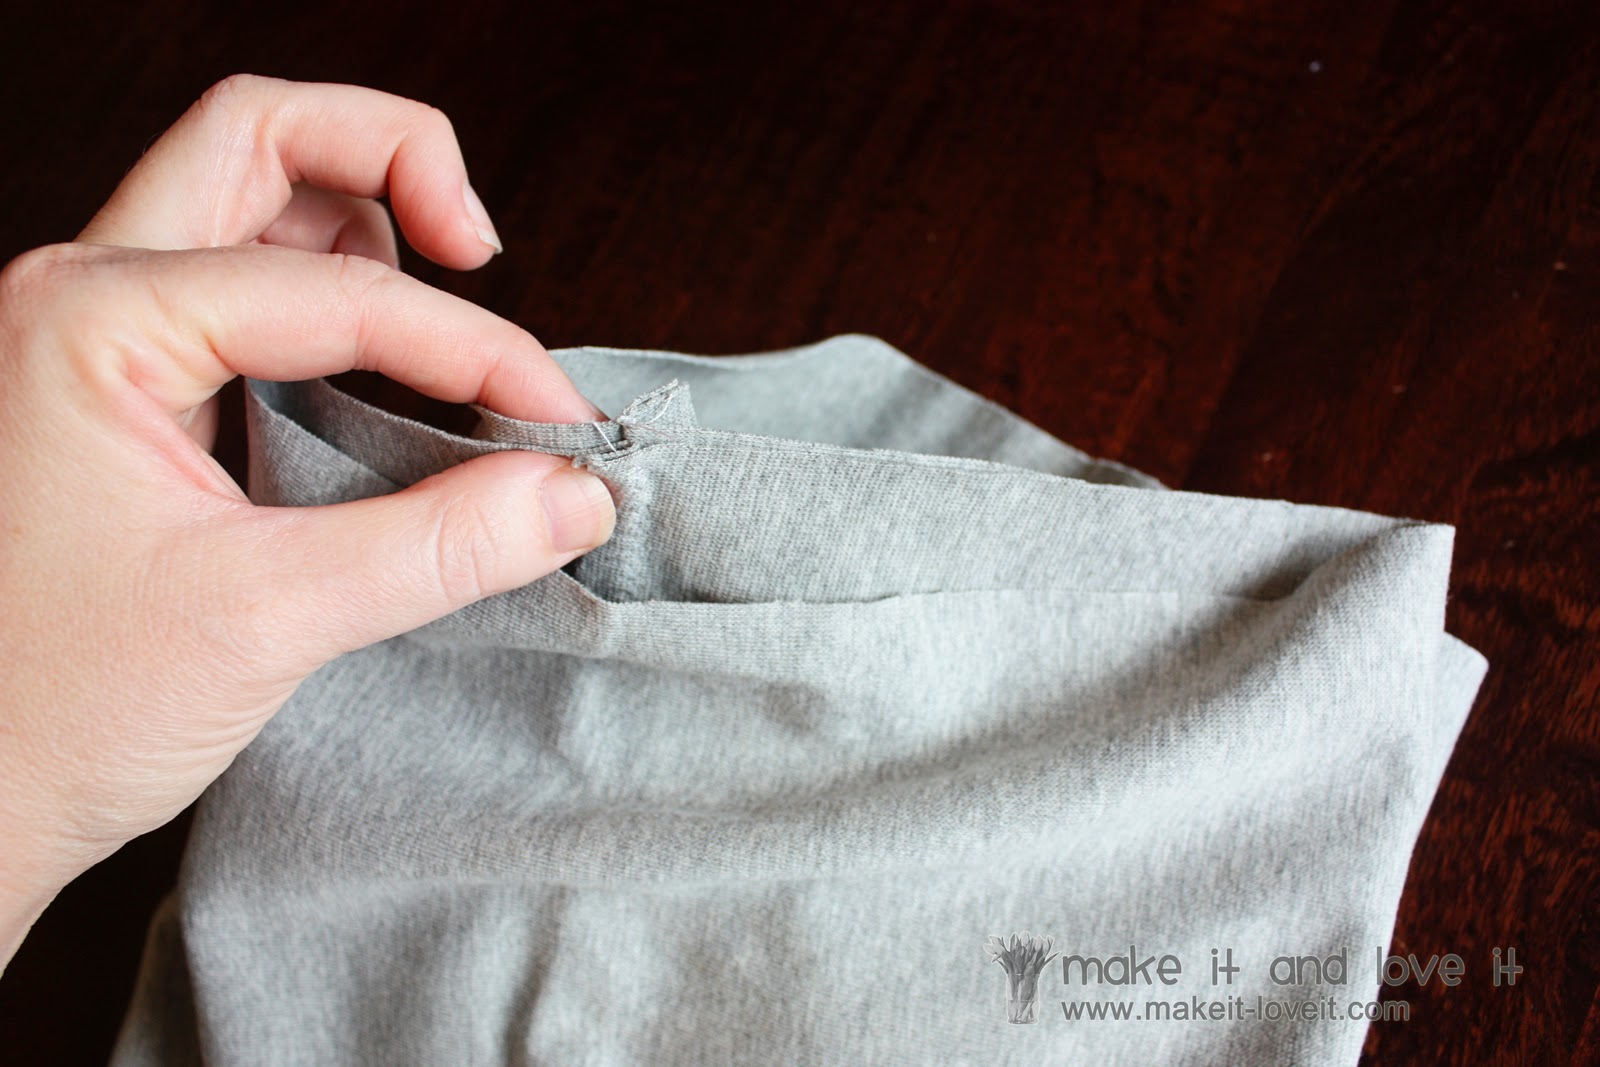
Then I matched up to 2 inner seams along both raw ends and pinched them together.
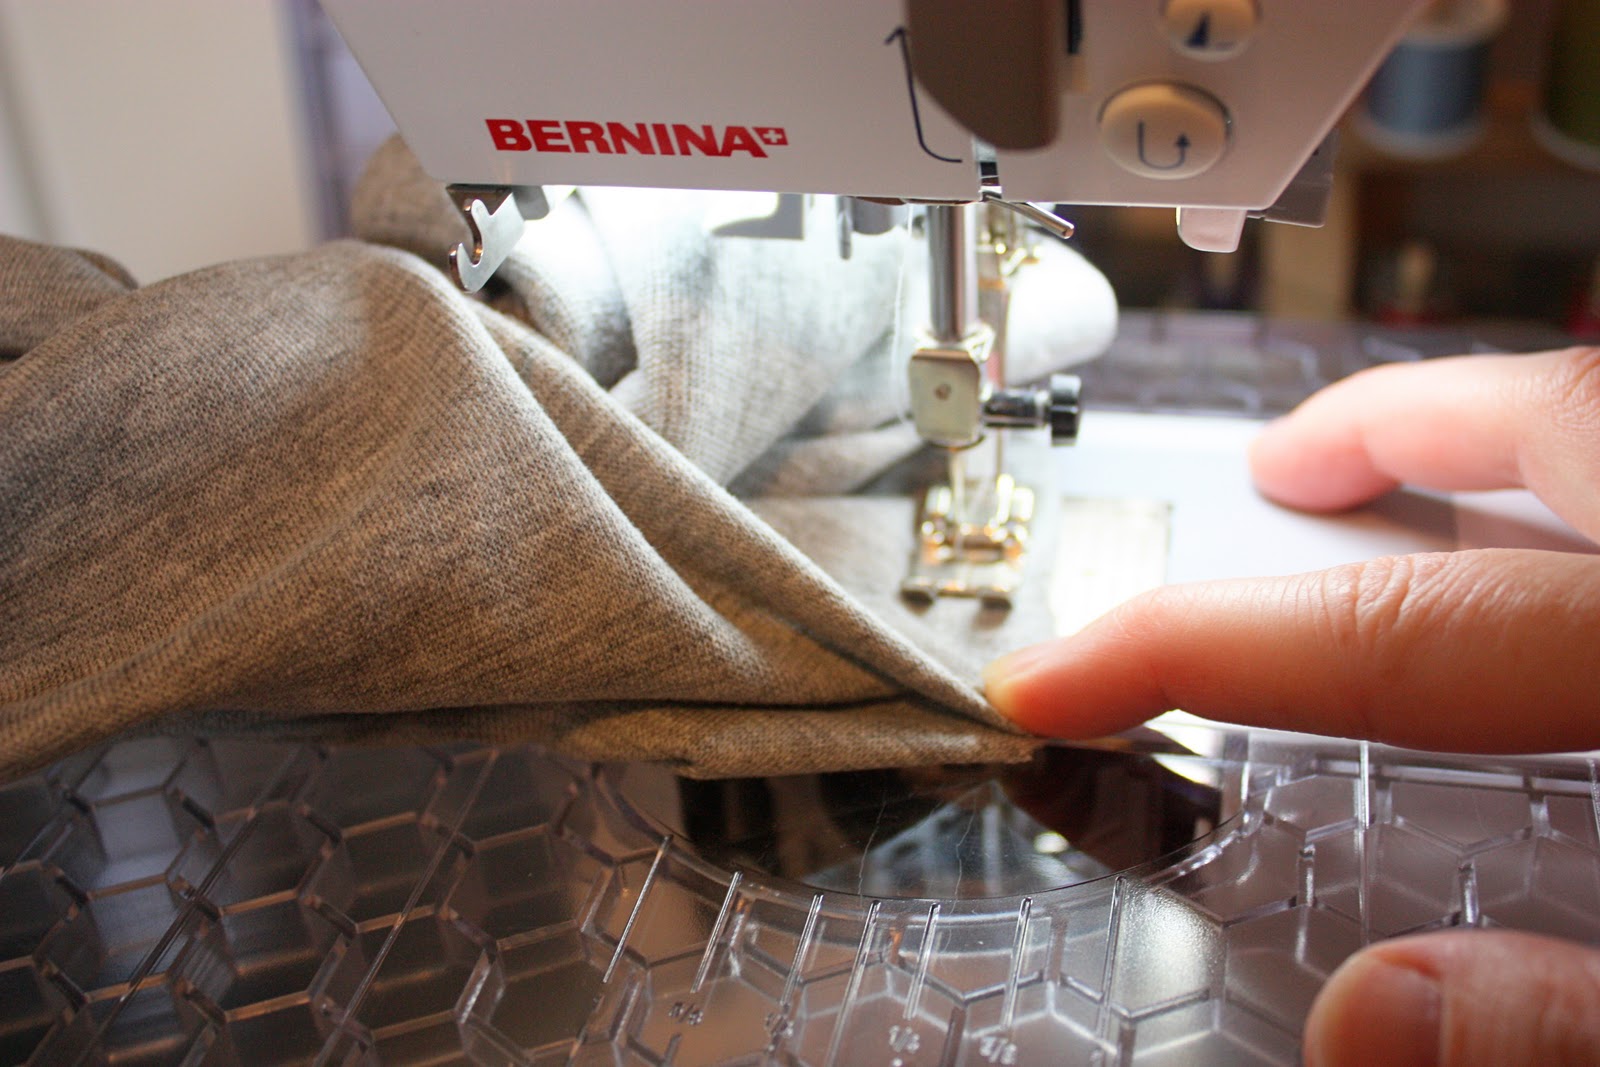
Then I began sewing the 2 ends together, with the right sides together. I continued with the zig-zag stitch and 1/2 inch seam allowance.
I sewed as far as a could go…..because your fabric is twisted and you can’t sew all the way around the circle opening with the right sides together.
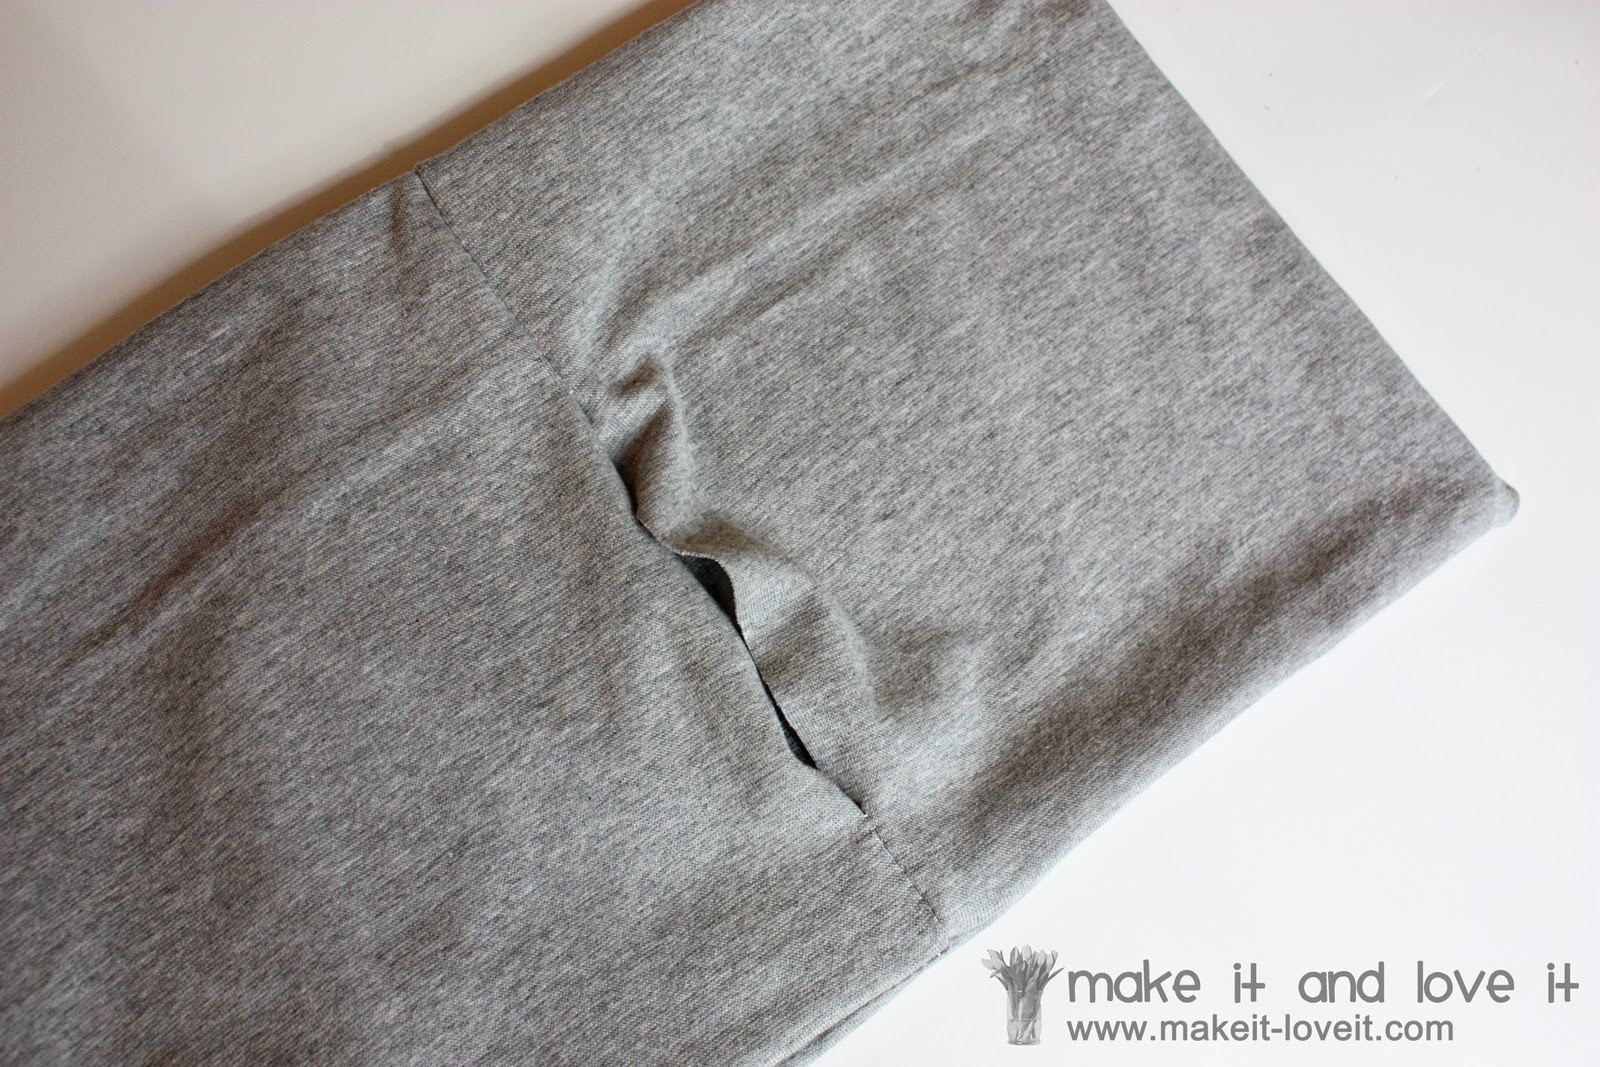
Then, I shoved the insides towards the inside and was left with an opening.
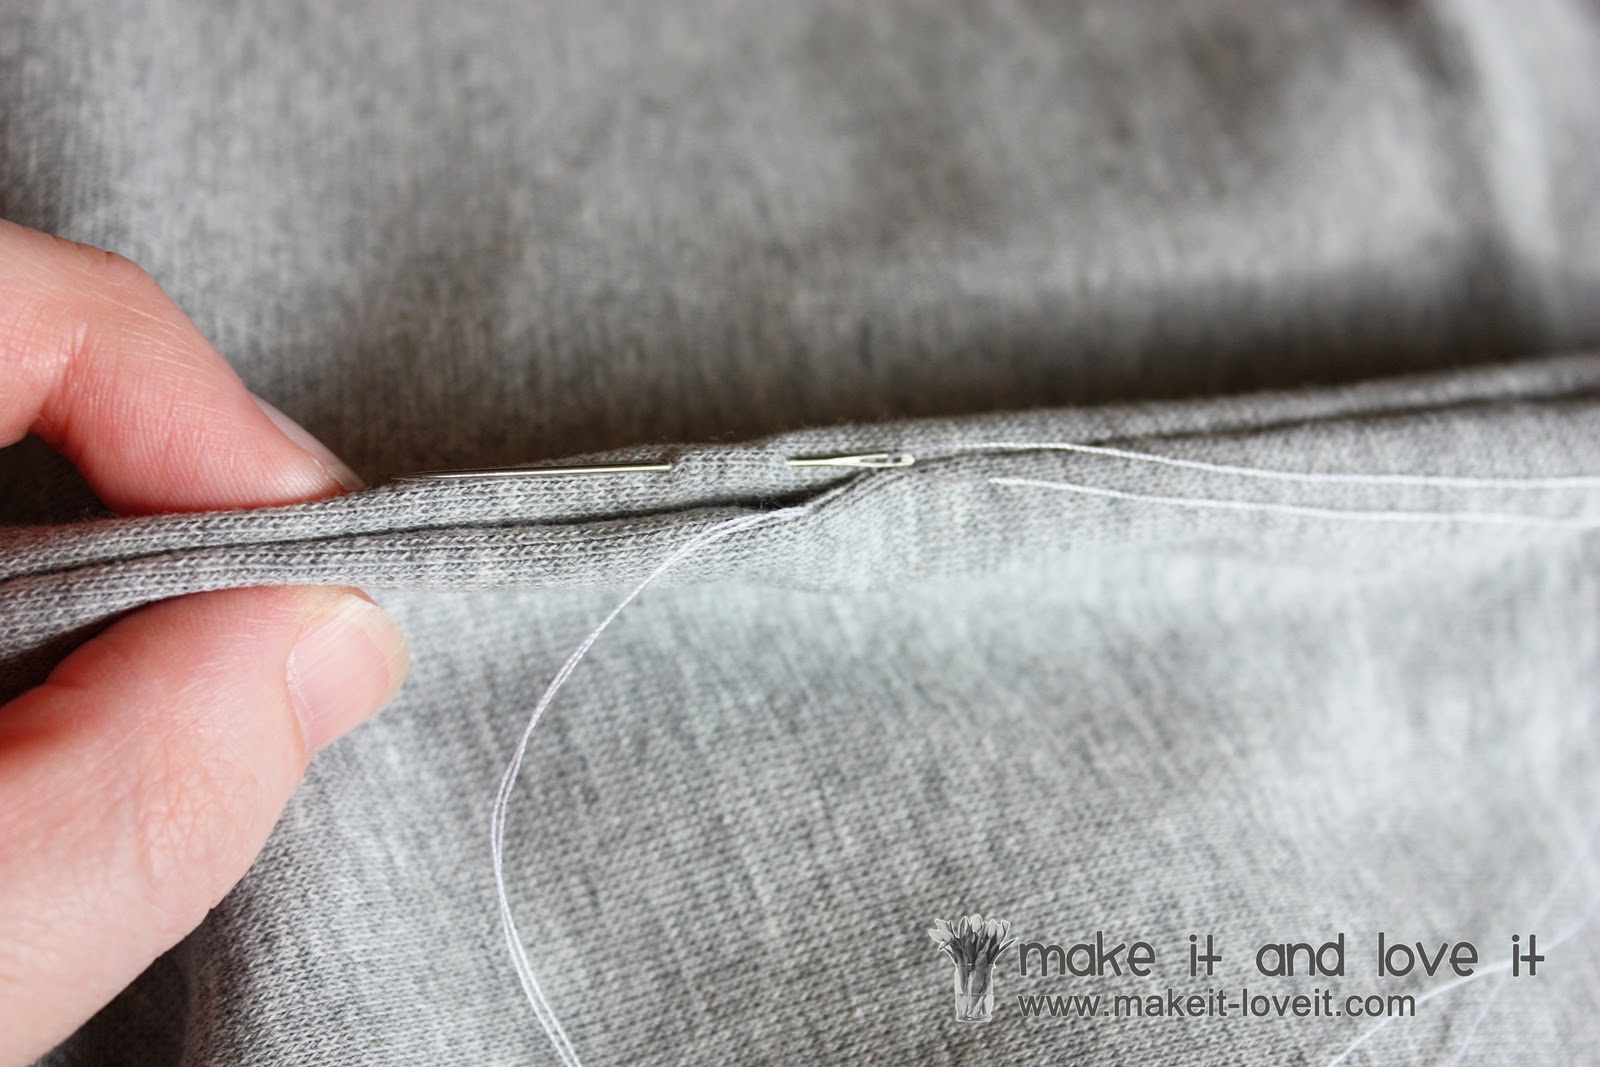
So i hand-stitched the opening closed. (Need help with hand-stitching? Click
here.)
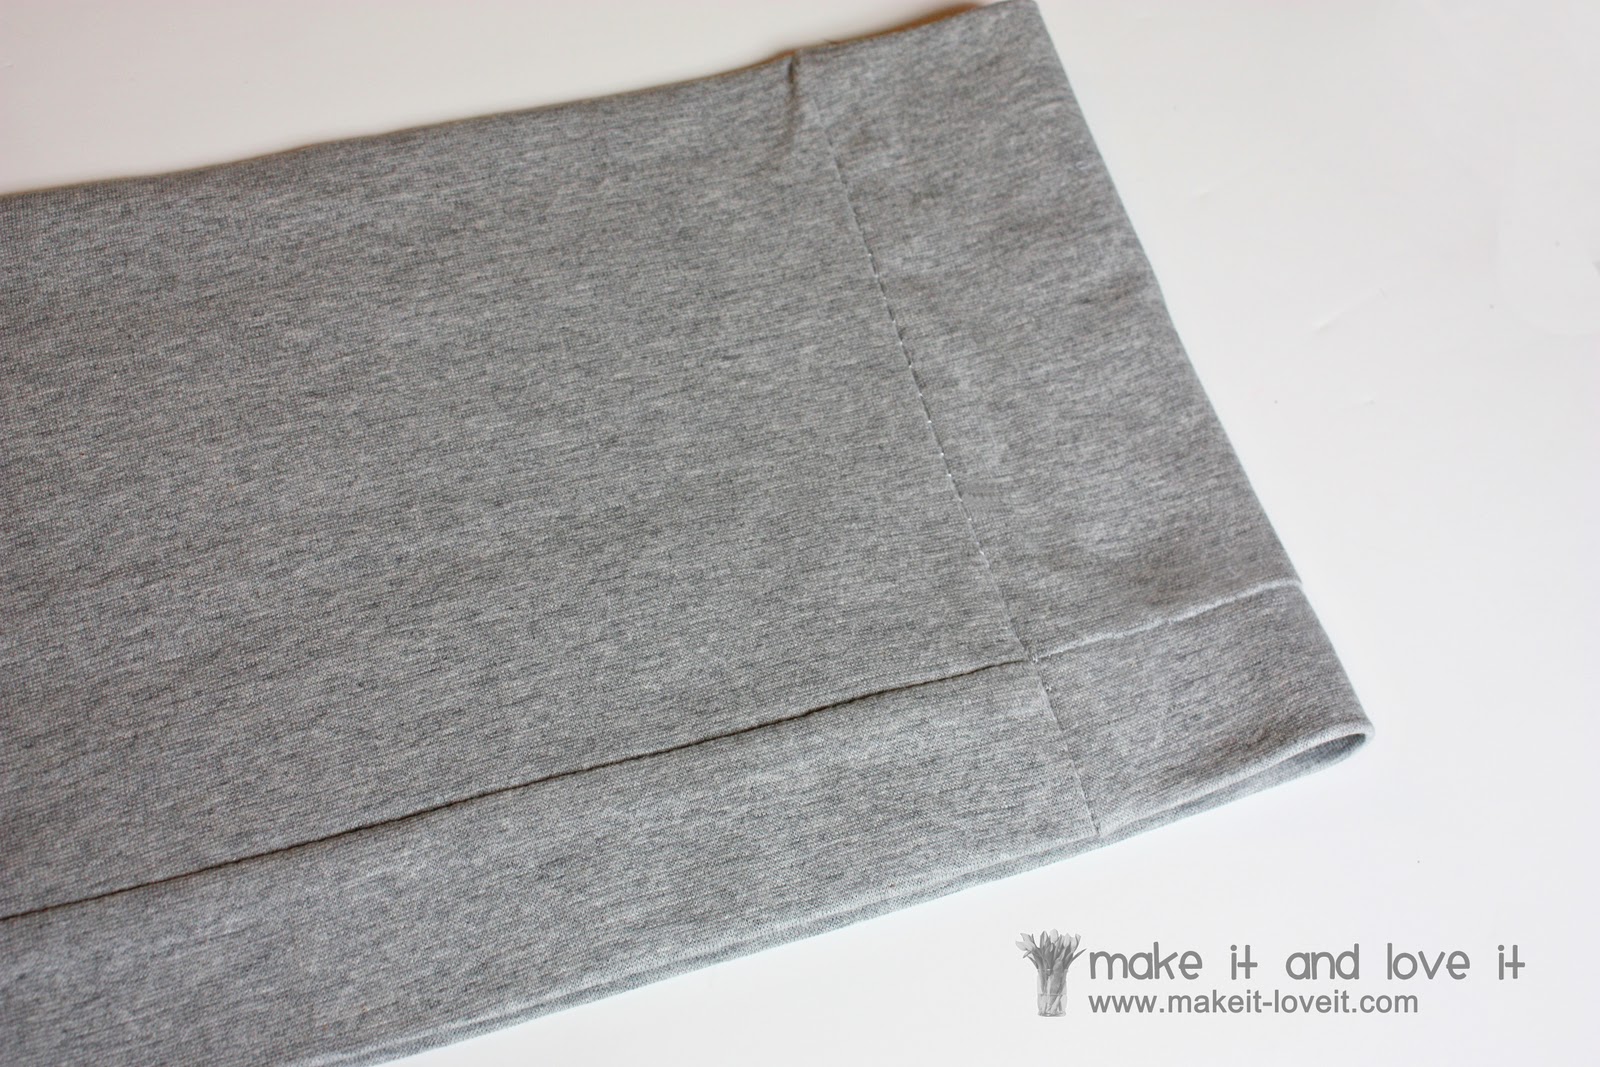
Once you have hand-stitched the opening closed, maneuver the fabric around until the long horizontal seam is laying along the inside of the band. Then iron/steam the whole thing flat.
Now make several more.
It sure makes the big belly life easier.
Ahhhhh……..