I know many of you will be doing the last minute scramble, to find a simple costume idea to attend that Halloween party at work, school, church, your neighborhood, etc. Yes, it’s only October 7th today but between now and the 31st, you’ll probably have a trillion things to do……and will need something really simple to wear on Halloween. This idea will take you less than an hour to make. (AKA: right before the party! ;) )
Grab a white Tshirt, a little bit of red/white fleece and felt, some round glasses (the plastic Harry Potter ones at party stores work great)……and you’ve got yourself a costume!
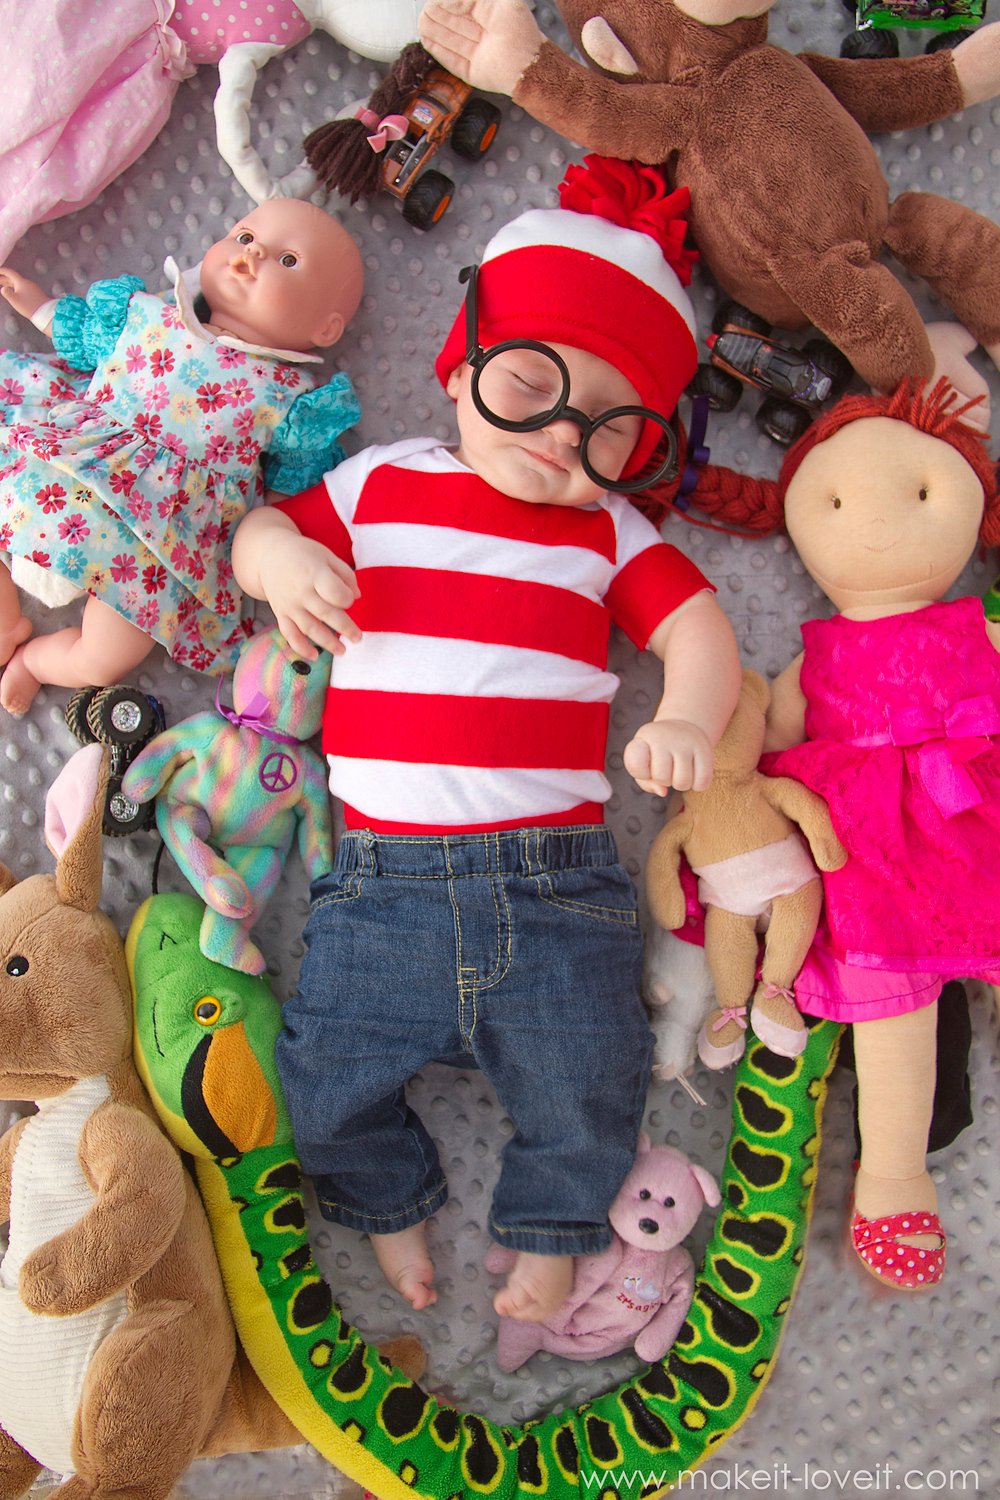
A timeless character in those beloved children’s story books……Where’s Waldo!
Okay, and just like the book…….go on, see if you can find Oliver among all of the other characters in the image below.
You can’t even see him huh? Keep looking, I promise he’s there.
Hint: he’s wearing red stripes.
Give up?
Okay, I’ll help you!
(Haha…..I know, I know, the REAL Waldo is harder to find! Thanks for humoring me though!)
Such a sweet kid, this Oliver. And a patient one too. In case you’re wondering, he hated those glasses. We distracted him long enough to take a few pictures and then took them off the poor guy. But if this was Oliver’s actual costume (and we were going somewhere), I would attach the glasses to the brim of the hat so the “look” of the glasses was still part of the costume but they were off his face.
Such a simple costume to make a teeny tiny baby costume……all the way up to grown-up sizes. (And to make it even easier/faster…..find a white beanie at the store and attach a strip of red to the bottom and a pom-pom on top.)
Sweet boy. Even though Chloe (who’s 3) thought you were Mr Peabody (you know, that dog who talks with the big round glasses)……I think you pull off “Waldo” really well! Let’s hide you again and see if the bigger kiddos can find you!
But take that cute smile off your face……you’re totally giving yourself away! ;)
Okay, before we get started, a few sizing ideas…
Size Variations:
Okay, now gather what you need…
Supplies:
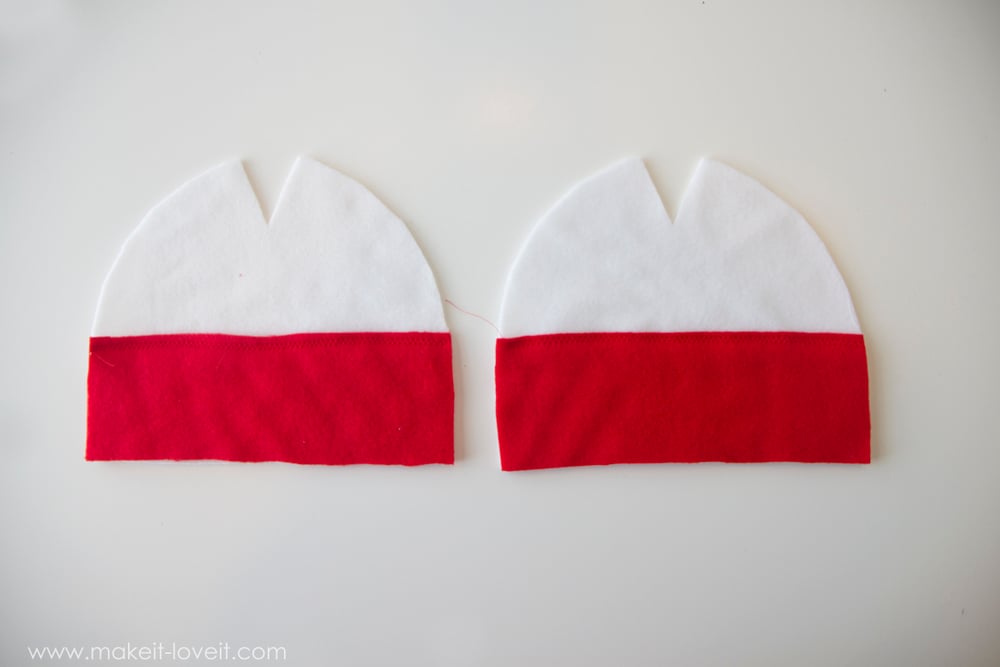
Begin by cutting out your two hat pieces. Then add a strip of red fleece to the bottom of both hat pieces and sew to the hat with a zig-zag stitch (so that it will still stretch).
Then assemble your hat, just like the Cow Costume Tutorial.
Next cut thin strips from your red fleece (about 1/4-1/3 inch wide).
Then, group all of your strips together and tie some thread around the middle and wrap several times, pulling tight as you go. Tie the ends in a knot. Cut off the extra ends of the strips, until you have a fluffy little pom-pom for the top of the hat.
Attach the pom-pom to the top of the hat with some hot glue (or you could hand-stitch it in place).
Then cut strips from your red felt and attach them to your shirt. You can either sew each strip in place or hot glue them. Just be sure that if you hot glue them in place, that your shirt is large enough to fit over your subject’s head and around their body after the strips are glued in place. Gluing them will restrict the shirt from stretching at all. In fact, this onesie used to be long sleeved but I glued the strips around the sleeves too tight and they wouldn’t fit over my baby’s fists. So I cut them off. So if the shirt is more snug, you want to stretch the fabric a bit before gluing. Or have your subject try on the shirt and then carefully attach each strip. (Another option for a tighter fitting shirt is to sew fleece strips to the shirt. They won’t stay as straight and crisp as felt……but they would stretch more for ease of putting the shirt on/off. However, a roomy Tshirt would be fine to glue the strips onto.)
Add some jeans and some glasses to the outfit…..and that’s it!
Enjoy!
-Ashley

Hi, I’m Ashley—the DIY-enthusiast behind this crazy blog!