Home » DIY Tutorials » DIY Crafting » Crafting: Miscellaneous » Pail Liner
My baby eats thread. Let me explain.
My little guy is always slithering around the house while doing his army crawl and snatches up debris wherever he can. And sadly, he swallows thread. Yup, thread from all of my projects. I am constantly checking his mouth but sometimes the little stinker sneaks little treasures in his fists and eats it later. Or just finds stuff in the most random places. (sigh)
Bad mom…….because someone told me how dangerous it is for babies to swallow thread. (Thanks for the info Christy!!) Supposedly it can get caught in their intestines and such and cut or tear all of that sensitive tissue they have inside of there. So after pulling thread out of his bum during a diaper change (I know, gross)……I committed to be more careful.
My solution?
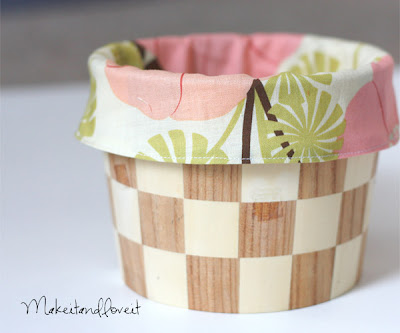
A little pail…….that I decided to put a liner in.
Save
After I clip anything off, it goes right into the pail.
And really, you could use this technique to line anything. A laundry basket, a fruit basket, etc.
How I did it??
I taped two pieces of paper together so that it would wrap all the way around my little pail. (If you’re making something bigger, tape newspapers together.)
Save
Then I folded it around my pail and creased it over the top and the bottom, making a guide.
Save
Now, you have a pattern to use to cut out some fabric.
Save
However, you’ll need to add another 1/4 inch to all sides and another 2 inches to the top (or more, depending on how big your pail/basket is and how much you want it to fold over the top).
Save
Sew the main section together at the sides (1/4 inch seam) and then pin the bottom on, with right sides together. It’s okay if it doesn’t line up exactly right. If your main section is bigger at the bottom than your circle, just gather it a bit and sew the bottom on (1/4 inch seam). (Well, it can’t be that much bigger……it just doesn’t have to be perfect.) It’ll turn out just fine. Remember, it’s just a pail.
Save
Save
Then hem the top. Just fold over a 1/4 inch and then another 1/4 inch and sew close to the fold.
Save
Place into your pail, fold over the top………
Save
………………….and toss in your thread.
Save
Safe from my buddy’s mouth……… (sigh)

Share via: