.
But I began to worry about these things getting banged around when not in use and not attached to the head rests. So, here’s my solution. (And you could use this tutorial to create any sort of tote/case, including a laptop bag. Start thinking of what you’d need…..)
Complete with a shoulder strap.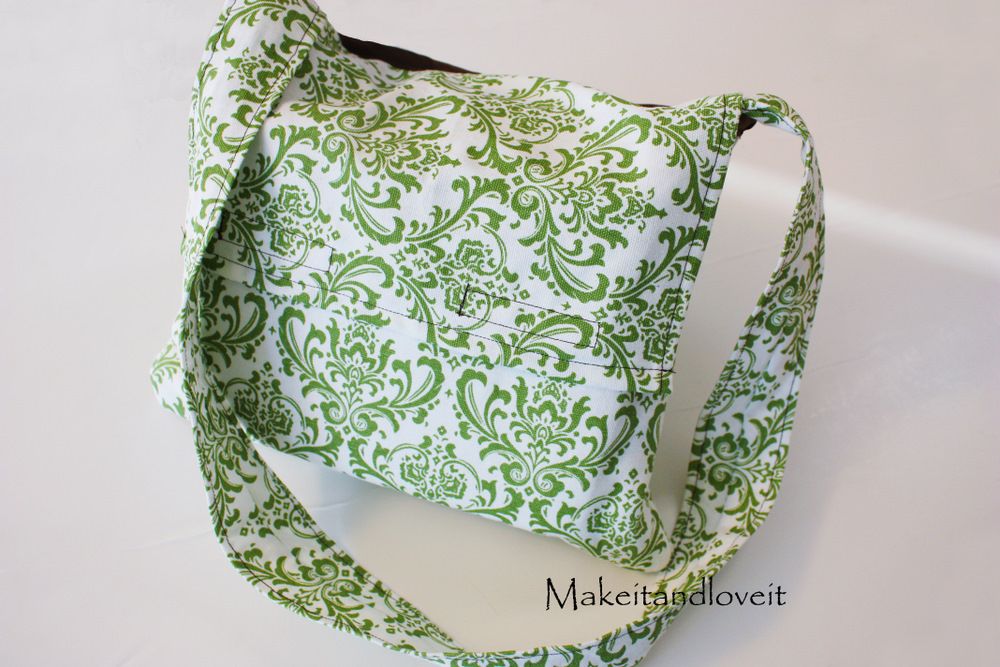
And a divider for the two different screens.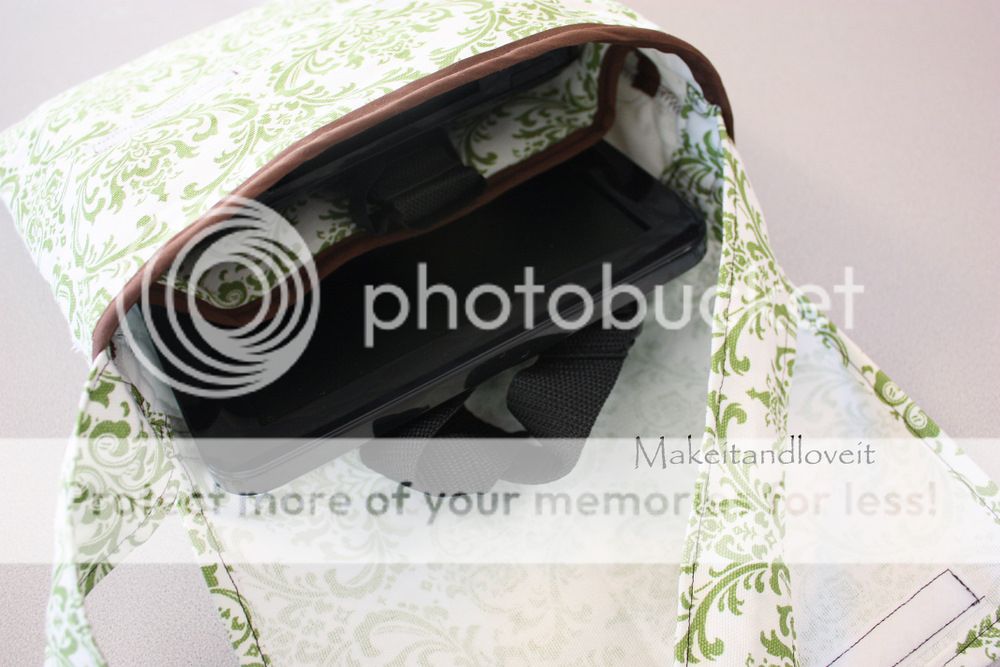
With a pouch on the back to store cords, headphones, etc.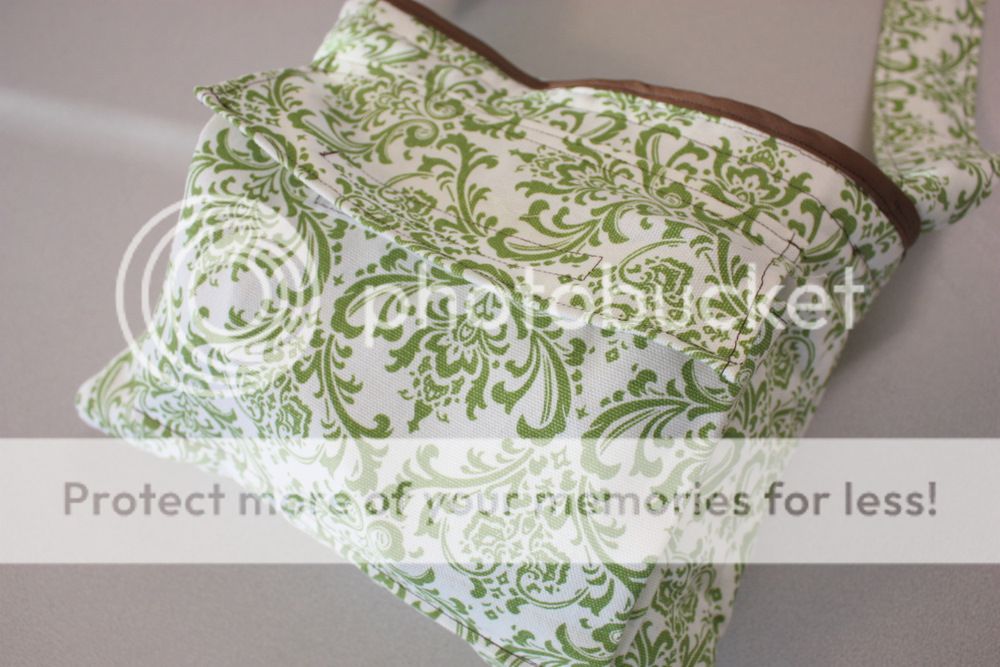
Would you like your own?
First, I grabbed some of my upholstery fabric and some quilted batting from my stash. Then I decided how large I wanted to make my bag, including enough room for expansion and seam allowances. Then I cut 2 of each of the materials in that size. Then I cut 1 of each of the materials with the same width dimension, just shorter. (this smaller piece will be the inside divider…..so if you’re not making a bag for a dual screen, you can skip this step.)
Then I set the 4 large rectangles aside, and I sewed a piece of double folded bias tape along the top of the 2 smaller rectangles, attaching them together…..only along the long top edge.
Then I cut out a rectangle big enough to make a pocket on the back, including enough width to make a pleat. Then I hemmed under all of the edges. (As a size reference, I made the width a little wider than the rectangles I used for the tote.)
Then I made a pleat along both ends and pinned them into place.
Then I sewed it to the front of one of the large rectangle pieces, only sewing along the one layer of the pleat. The fold of the pleat needs to be left free, so that it will be expandable later on.
Then sew along the bottom of the pocket…
From the top of the pocket, you can see that the folds were left free and now the pocket opens up nice and big.
Then cut out a top flap, that is just as wide as your pocket, making sure to include enough for a seam allowance before cutting.
Then attach some velcro to the pocket and the flap.
And then sew the flap right above the top of the pocket.
Next, you’re going to place the batting along the back of your large rectangle pieces and then place these large rectangle pieces together, with right sides together.
Then place the divider on top of that. So now you have 3 sections placed together. (or 6 layers if you count the batting and upholstery fabrics.)
Now, sew around the bottom and sides, leaving the top open. Then make a zig-zag stitch next to that.
Trim the corners and turn right side out.
See how you now have the beginnings of a tote with the divider in the middle?
Now sew some more of your double fold bias tape along the top of the tote.
Now, cut out a top flap that is as wide as your tote, making sure to include enough for seam allowances before you cut. Then hem the sides and top of the flap (upside down in my picture).
And then tuck under the bottom of the flap (once again, it’s shown upside down) and attach it to the tote with pins.
Next, decide on how long you’d like your shoulder strap and how wide. Make a tube of fabric, turn it right side out, press flat and then sew along the edges to keep it nice and flat.
…..and place it along the side seam of the tote. (Making sure that the ends you just turned under are facing towards you so that you won’t be able to see them after you attach the strap.)

Hi, I’m Ashley—the DIY-enthusiast behind this crazy blog!


