And this one will not take you any time at all. Do you have an old skirt? And how about an old shirt of your daughter’s that she has outgrown? Merge them together……
Come on…..can life be any sweeter? Your very own masterpiece in a half hour. Really.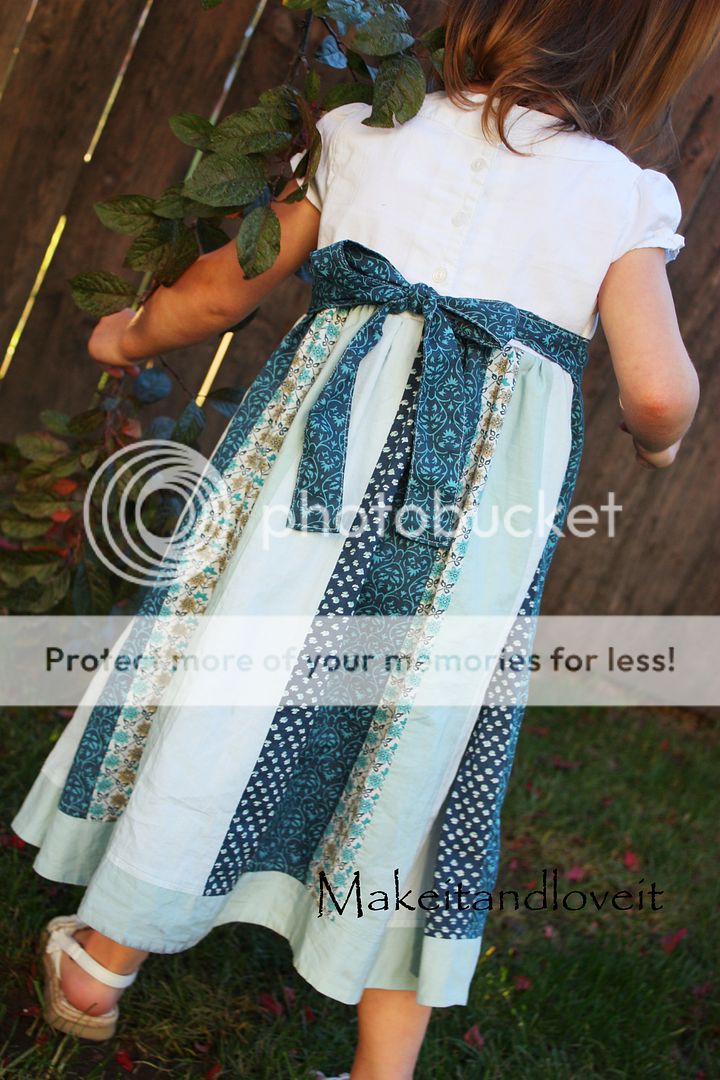
To begin, find an old skirt of yours (too small, too big, or just tired of it…) and then find a matching shirt of your daughter’s/granddaughter’s/friend’s or even at the thrift store. (Cotton material for both will work best. But be creative and use whatever you’d like. If you’re using knits, just be very cautious while sewing, to keep if from stretching and becoming all bubbly along the seams.)
Try the shirt on your little girl (or just guess) to see where you’d like the empire waist to hit her and then add another 1/2 inch for a seam allowance. Mark that length. Then decide how long you’d like the dress to be and cut off enough of the skirt to make the dress long enough and another 1/2 inch for a seam allowance. Cut both accordingly.
Then, sew a large gathering stitch a 1/4 inch from the top of the skirt along the front and along the back…leaving long tails of thread to be able to pull. For more detailed instructions, visit one of my old posts here. Place the skirt and the shirt together, with right sides together. Sew along the raw edge, using a 1/2 inch seam allowance.
Then zig-zag all along that raw edge. Trim if needed.
Now, you can either turn right sideout and press…..and be done. Or you can continue if you have leftover scraps.
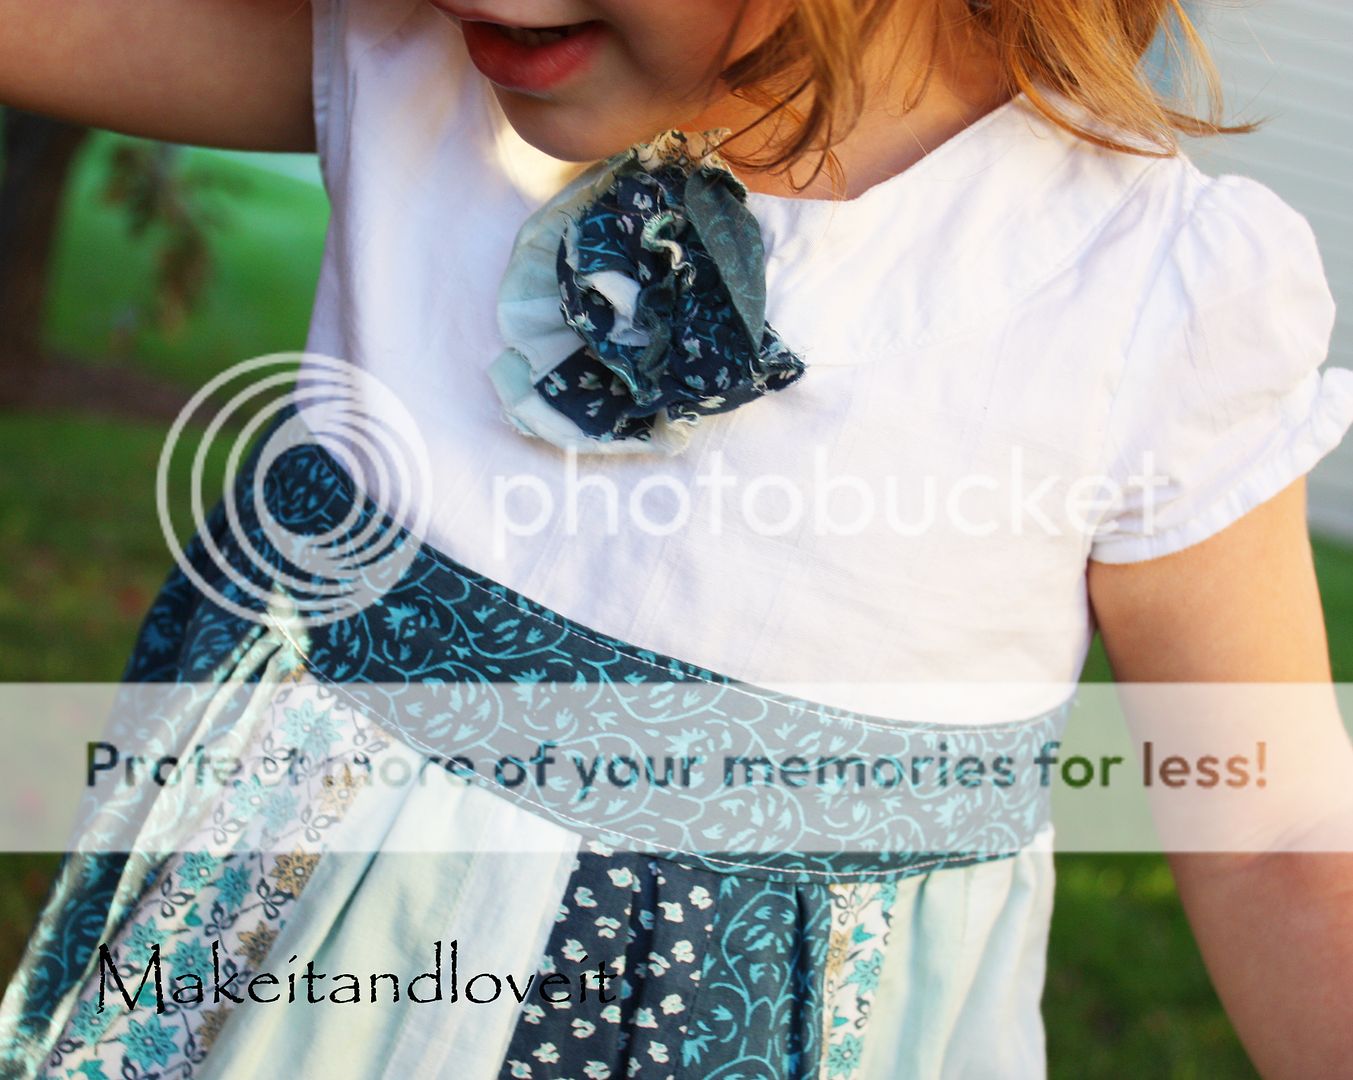
I used the waistband of the skirt to create a belt/tie for the dress. I had enough fabric to make a 1.5 inch wide by 3 foot long tie (so, about 3.5 inch wide by 3 foot long…..then folded in half lengthwise with a 1/4 inch seam allowance, turned right side out and pressed flat.) Then I tucked the ends inside itself to the center about a 1/4 inch and then top stitched around the entire thing. Then I pinned the belt/tie to the dress to the front of the dress, hiding the empire waist seam. And then I sewed along the top and the bottom of the belt/tie, backstitching several times along the sides of the dress…….
Then I added a fabric flower, just like the one I made here. I know, I use them all of the time. They just add such a cute touch to everything. Love them.
Then press anything else that may need it and then put your little creation on your little lady.
She’ll love it…..because it’s made especially for her.
**Keep in mind, you don’t have to have an old skirt to transform. You can just use fabric from your fabric stash and create the bottom of the dress with it. But using an old shirt for the top keeps this project simple, because you don’t have to make a kneckline, sleeves, etc.**

Hi, I’m Ashley—the DIY-enthusiast behind this crazy blog!