Home » DIY Tutorials » DIY Sewing » Sewing: Clothing » Accessories » Scarf Re-purpose: Winter Hat
I have a Scarf Re-purpose series for you all to see………….re-purposing scarves into something else.
Part I?
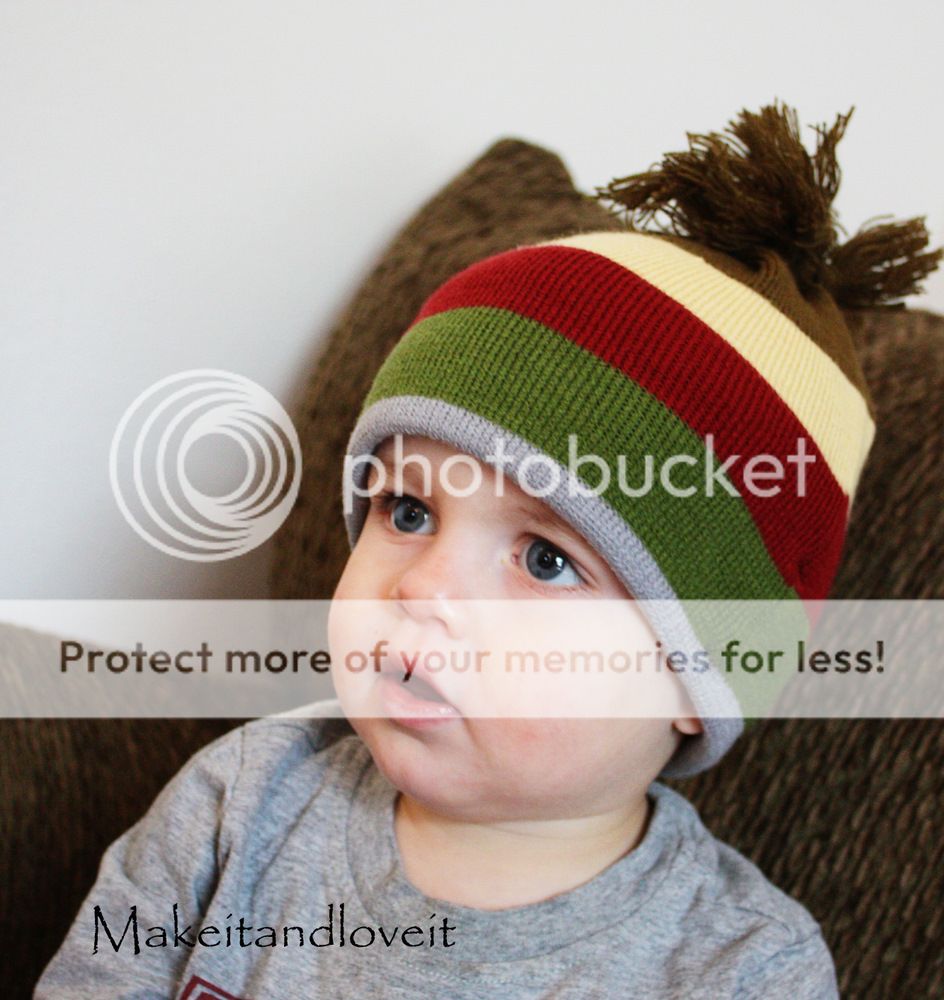
A sweet little hat for any little guy or girl, no matter the age.
Perfect for adults too.
**Suggestion: Try to cut into a scarf (or sweater) as little as possible. For any project. It’s hard to cut the scarf and then sew it back together because of the woven pattern in each scarf. It’s hard to get a strong seam…..with all of those loose ends of the woven scarf. So with each of these projects, I try to use the original sides or ends of each scarf as much as possible. It makes your project a lot easier. Just though I’d mention that.
Start with a wide scarf that has fringe at each end. (Test it out to make sure the the width of the scarf will stretch wide enough for the front half of the head.)
Save
Then take enough off each end of the scarf to give the hat enough length plus several more inches to be folded under. (I added a good 3-4 inches…..because as it stretches it shortens.)
Save
Then the two pieces together along each side……leaving the bottom and top open.
Save
Turn right side out and then gather the scarf fringe in one hand…….
Save
And then use thick thread (quilting thread), yarn, string, or anything strong enough to wrap tightly without breaking. Wrap your string right below the fringe, winding very tightly to seal off the top.
Save
Then turn under the bottom edge of the hat and sew into place. And if you need to sew it several times to keep the threads of the scarf from unraveling, go ahead do so. Make your stitches big so that you don’t stretch out the scarf as you’re sewing. Otherwise after you tuck it under, it won’t lay flat.
Save
Try it on yourself, your little one, or whoever it’s for and measure the length of hat you’d like. Fold under the rest and pin in place.
Save
Then, along the side seams, tack the inside flap in place by sewing and back-stitching over and over again.
Save
(And if necessary, trim the ends of your fringe, so that it looks more like a pom-pom rather than a pony tail… Haha!)
That’s it.
Easy, quick, and cozy.
Save

Share via:

