Home » DIY Tutorials » DIY Sewing » Sewing: Clothing » Accessories » His and Her Aprons…….Last Minute Gift Idea??
His and Her Aprons…….Last Minute Gift Idea??
December 21, 2010 - By Ashley Johnston 42 Comments
.
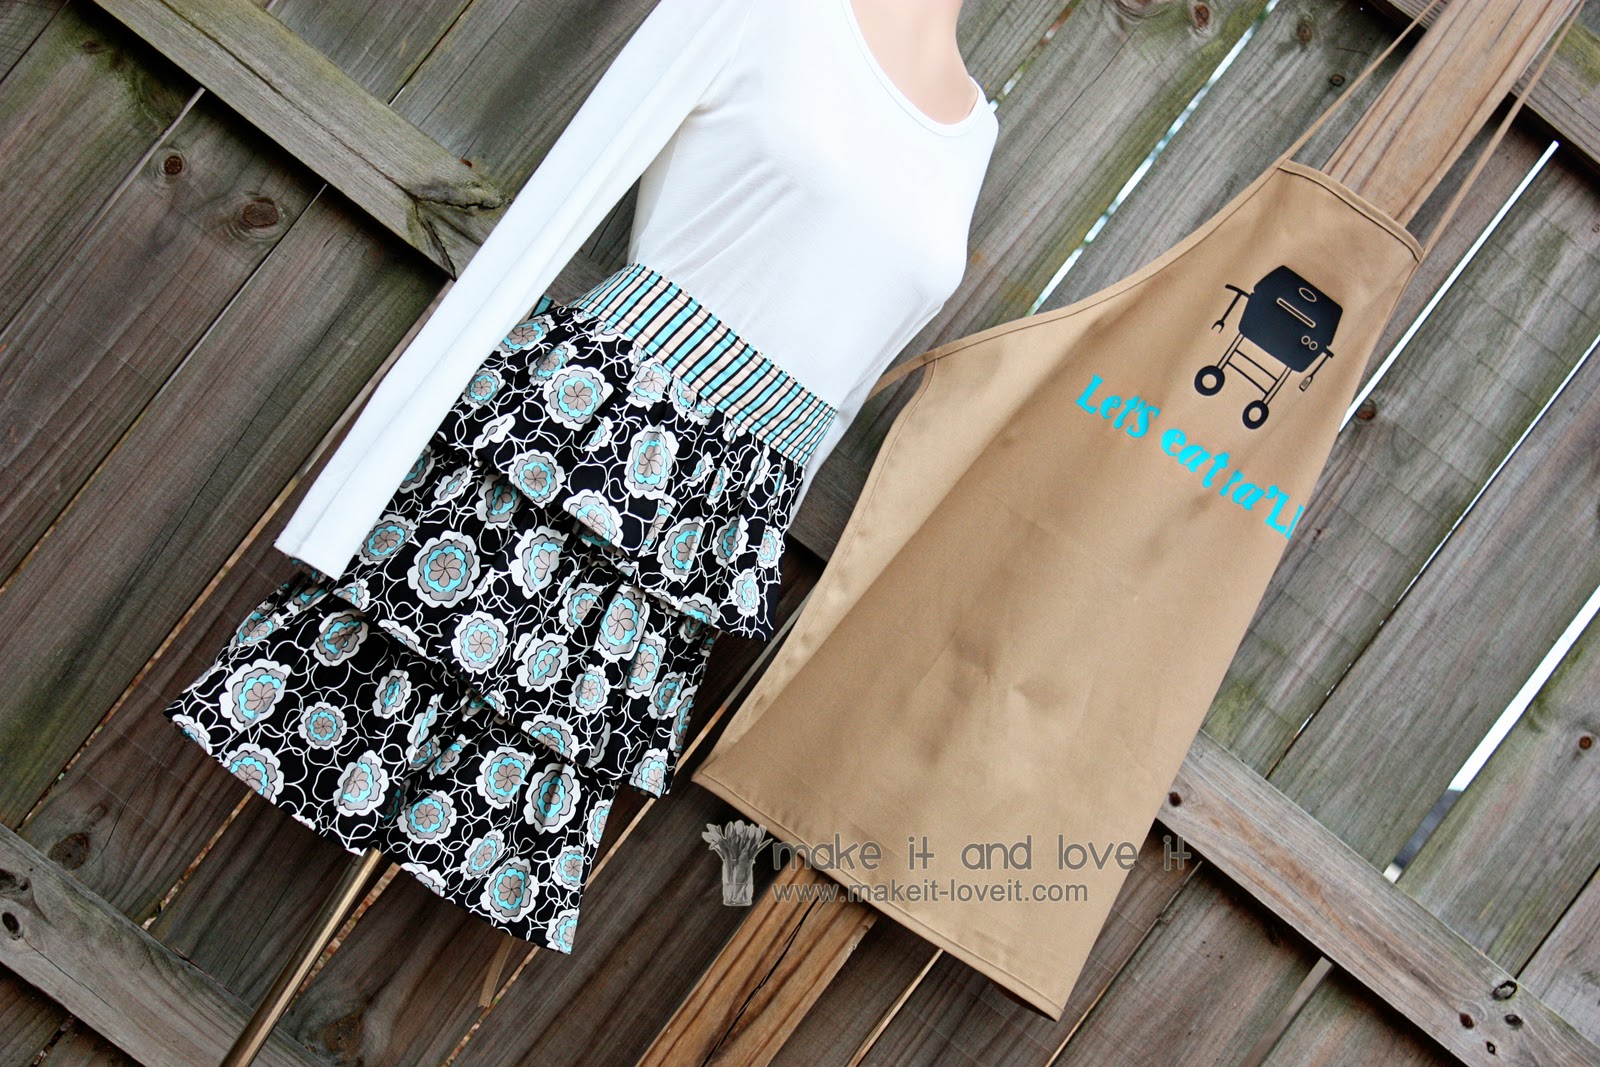
Just a very last minute gift idea.
Or idea to store away for later use.
. . .
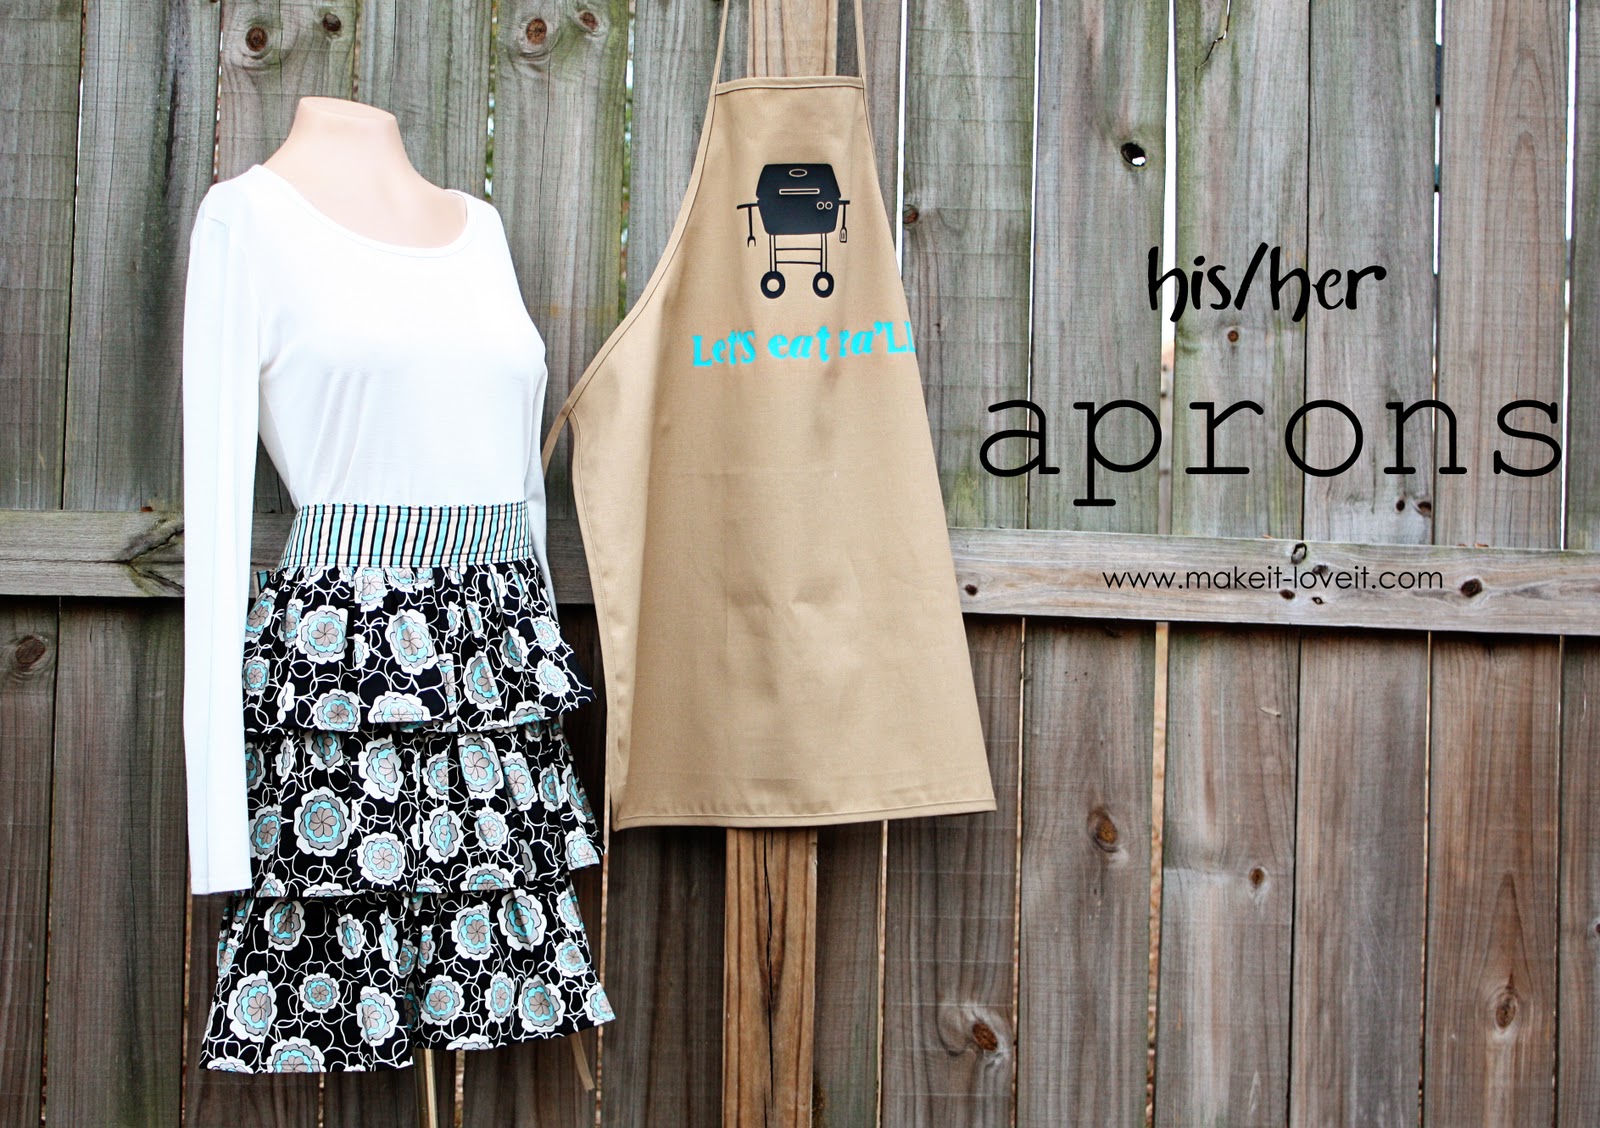
We have some great friends who are both kitchen savvy.
One likes to cook (and bbq) and the other likes to bake.
Perfect combo in that household.
But we sure appreciate what these friends of ours have done for us since moving here to Georgia, so I wanted to give them a little kitchen love.
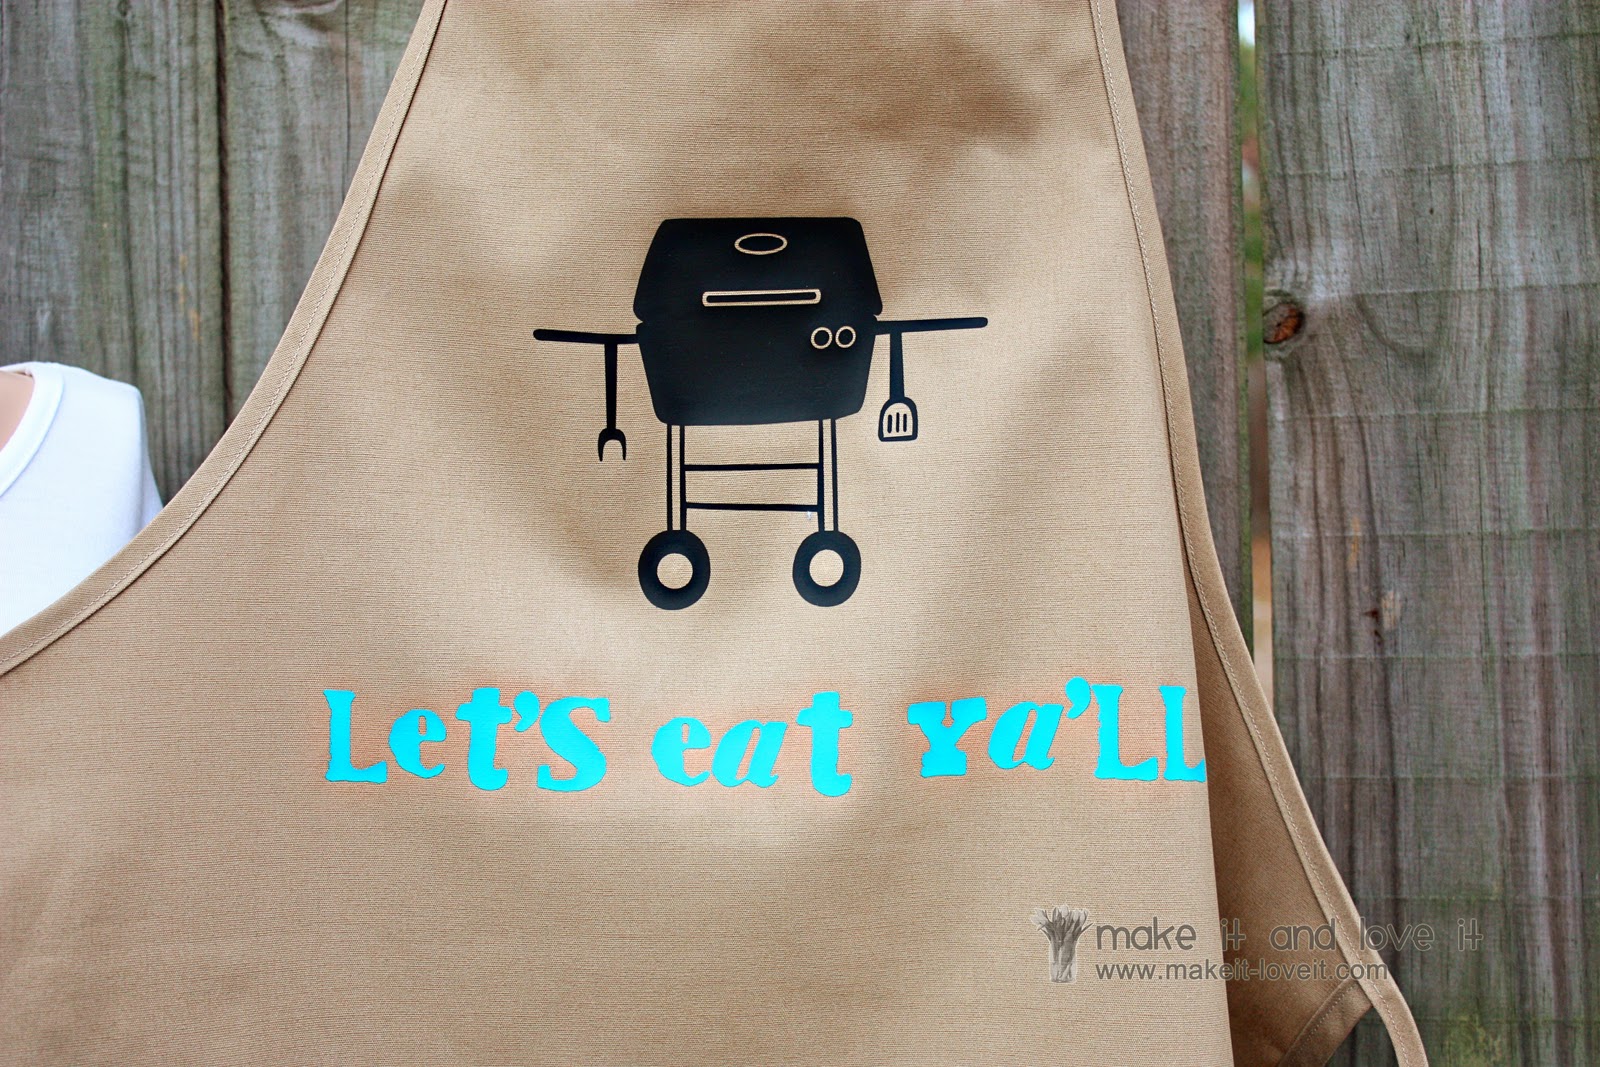
And because they’re from the south, a little “Let’s Eat Y’all” on the front of his apron………
………….because you’re not really a southerner unless you say “y’all”, right?
**Edited: Okay, I now know that we won’t fit into the south until we learn to spell y’all correctly. Thanks for the tips on how to spell it in the comment section. Grrrrr……..now the gift has a spelling error. Take us or leave us, right???? Haha!
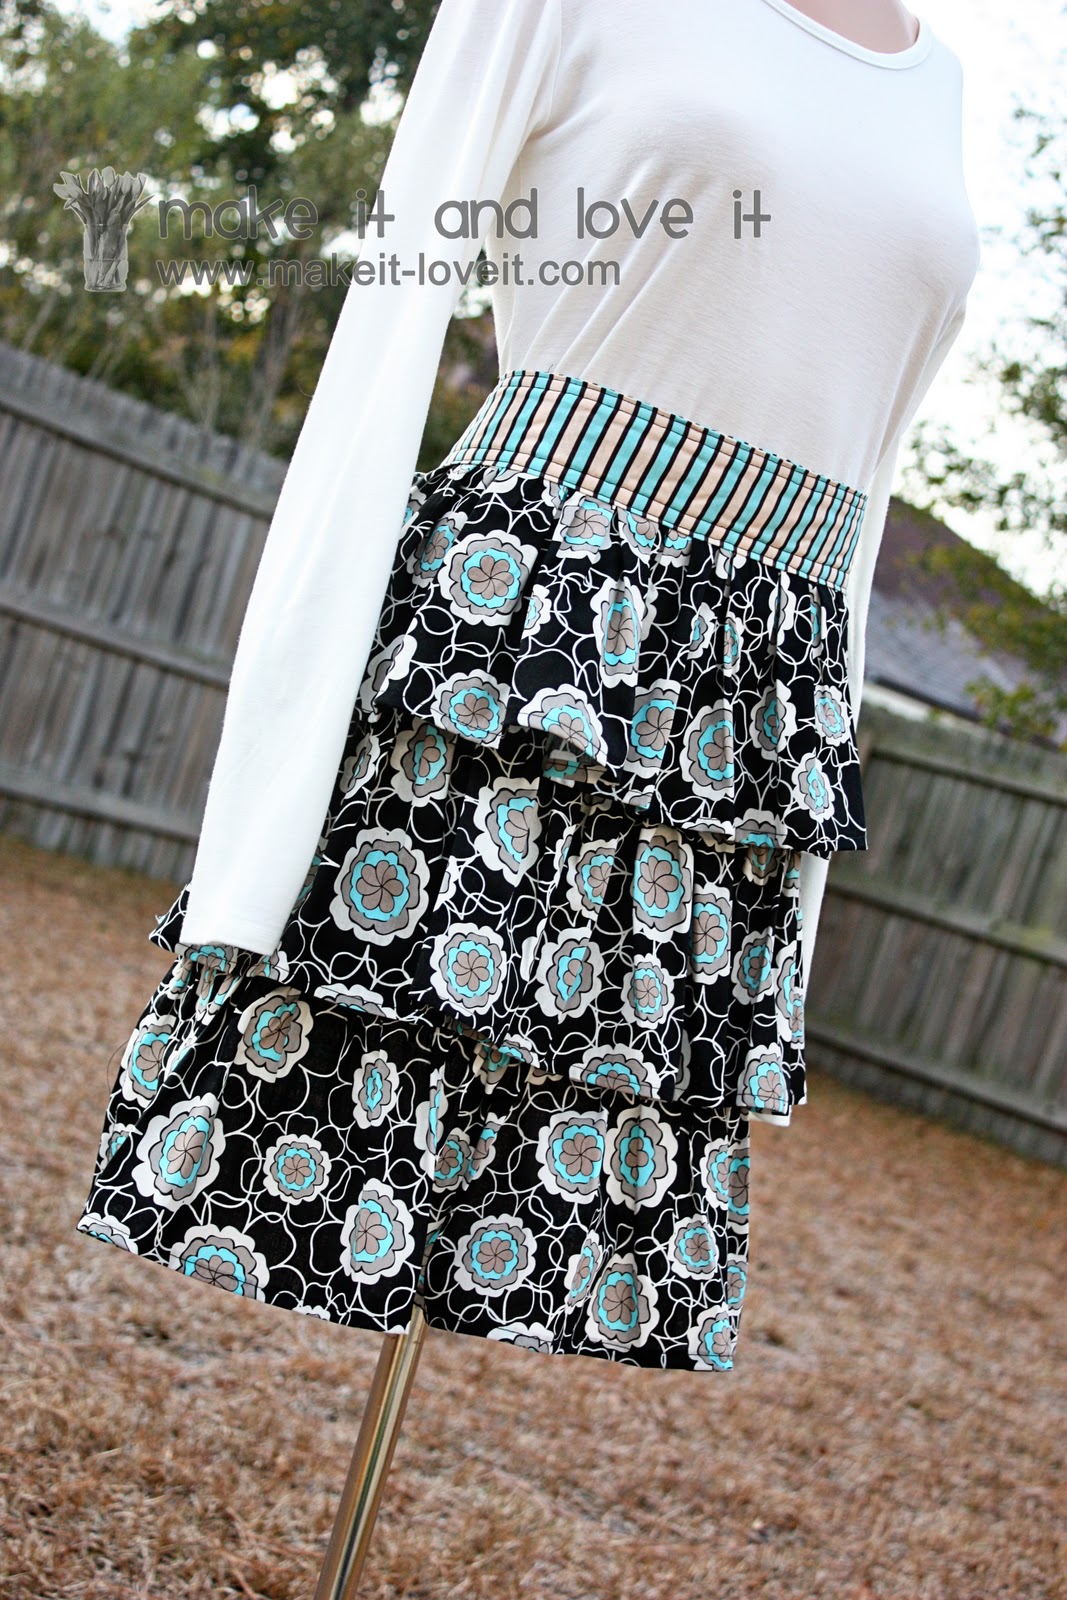
The half apron is plumped up with some yummy ruffles………
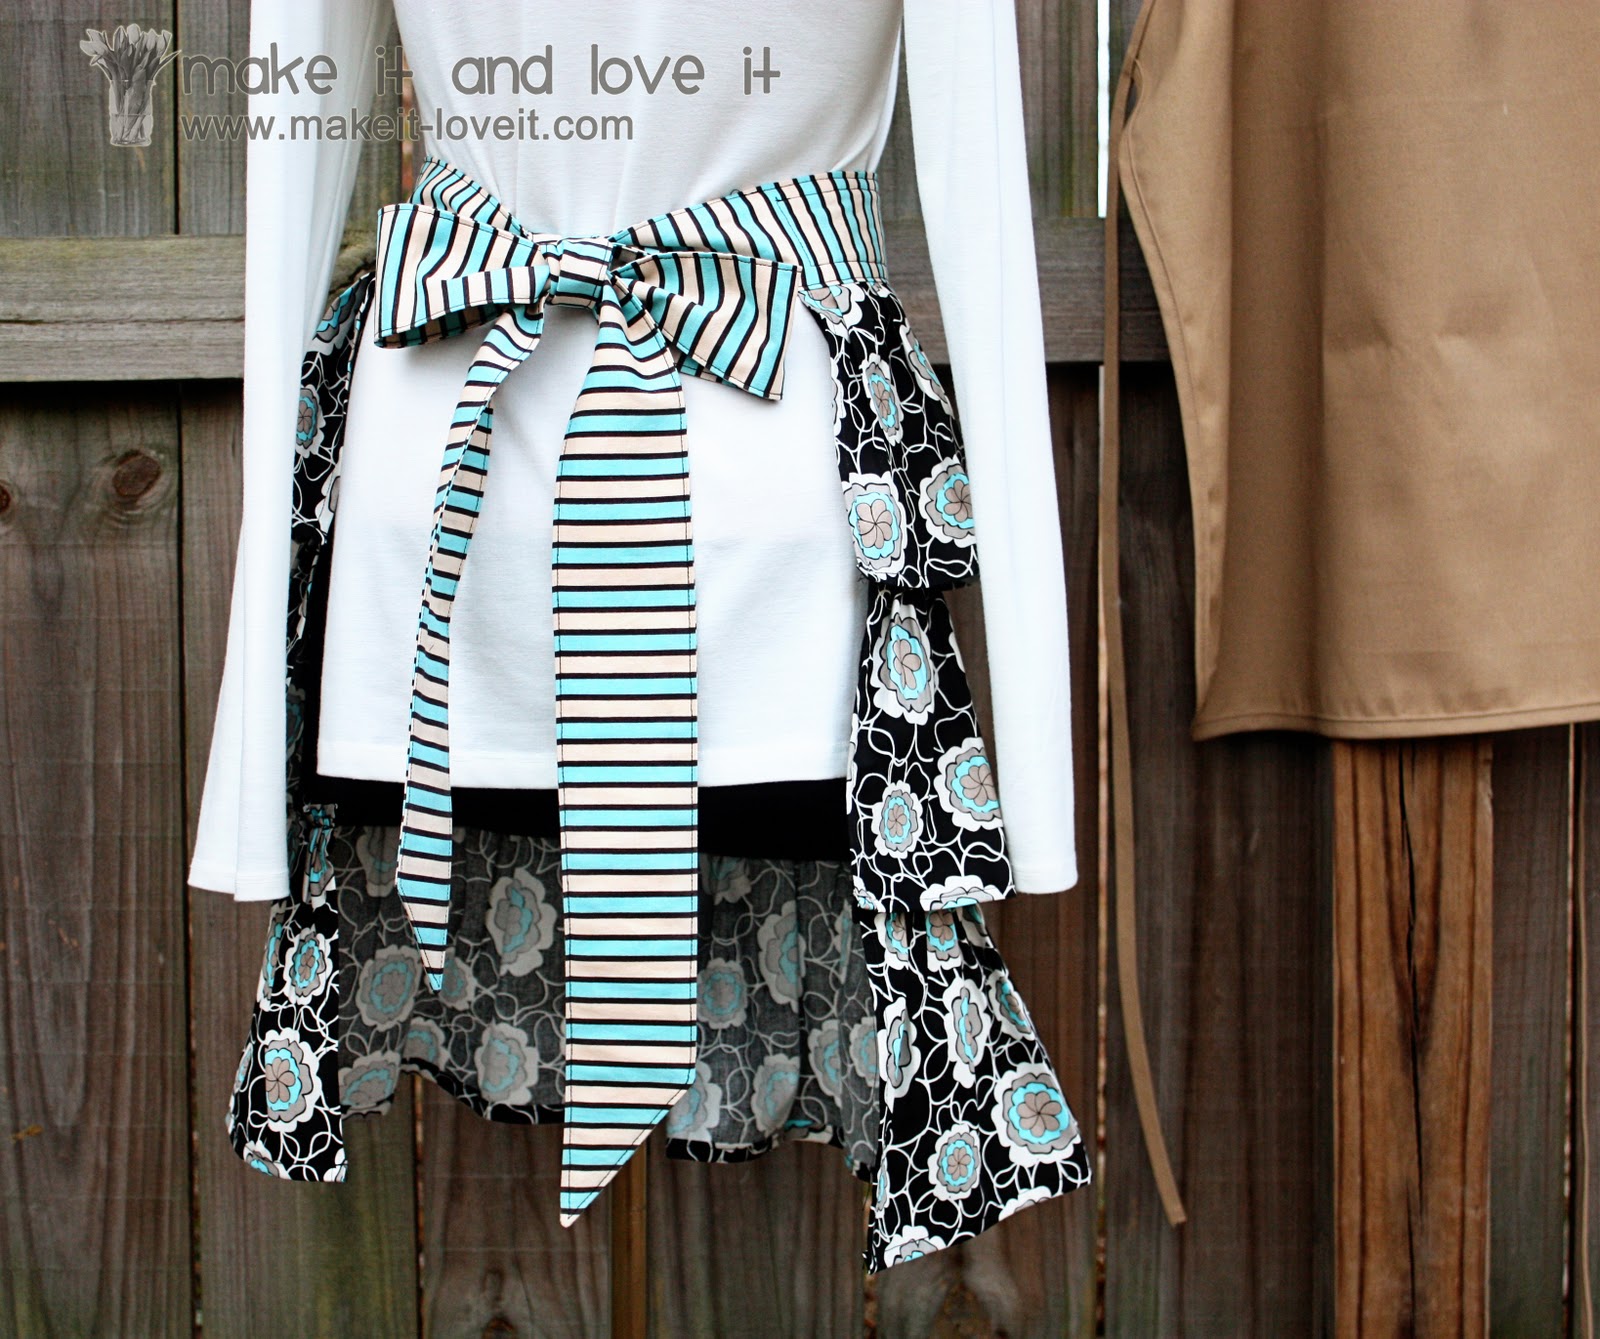
………and a nice full bow in the back.
A fun little set to gift away.
**Now get in the kitchen, you two!
Would you like to make one of them? Or the other?
…….or maybe both??
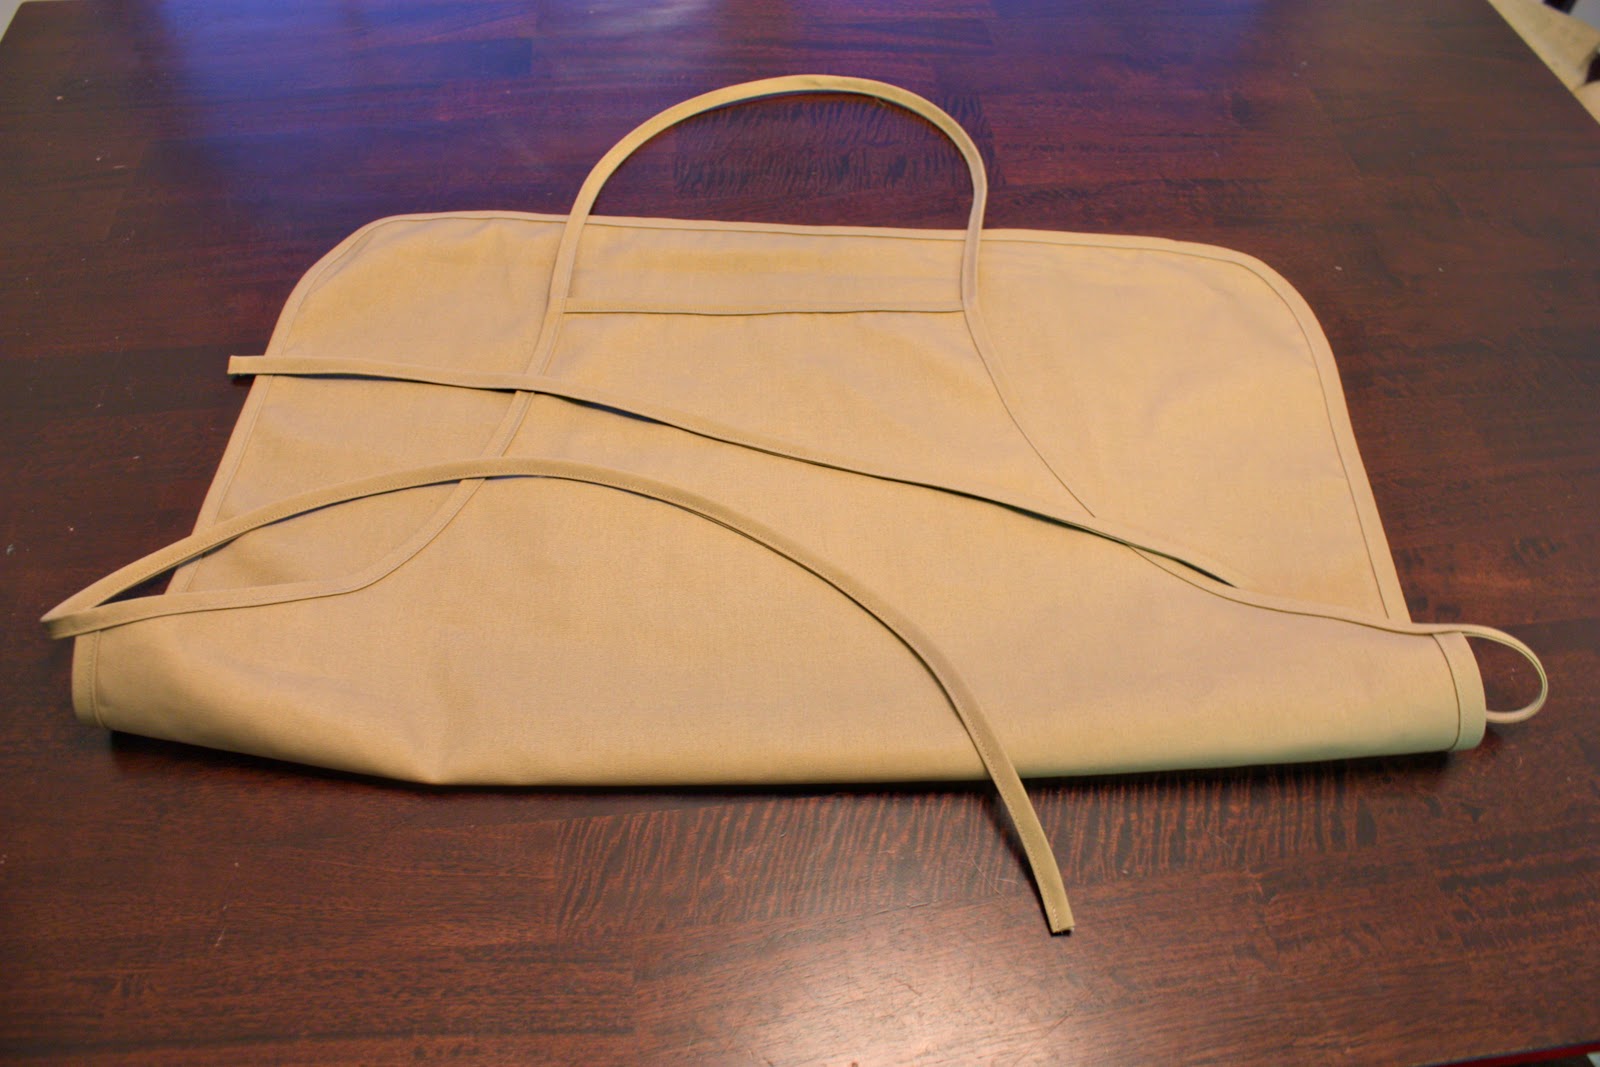
I started with the full length apron.
I used an apron we already had, to use as the shape. I folded it in half and then cut out the same exact shape on a folded piece of sturdy polyester/cotton blend. (The finished apron is about 29 inches tall, 10 inches along the top, and 26 inches at its widest point…..in case you don’t have one to trace around.)
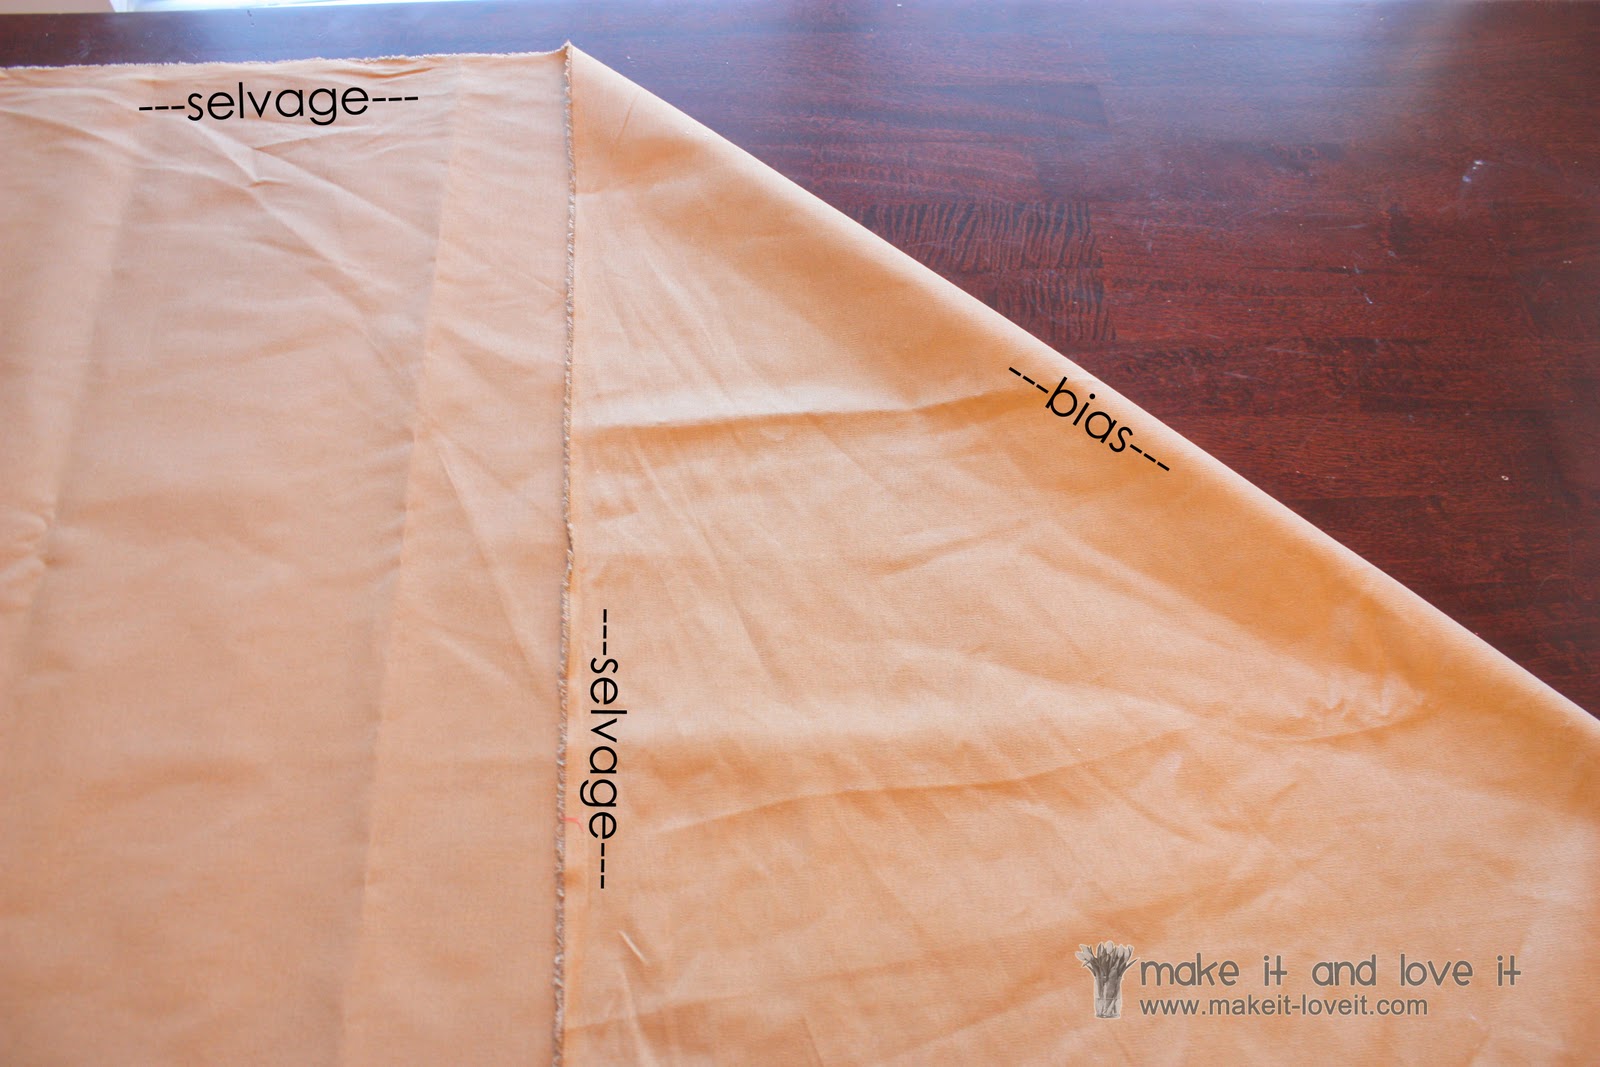
I set that aside and began cutting my own
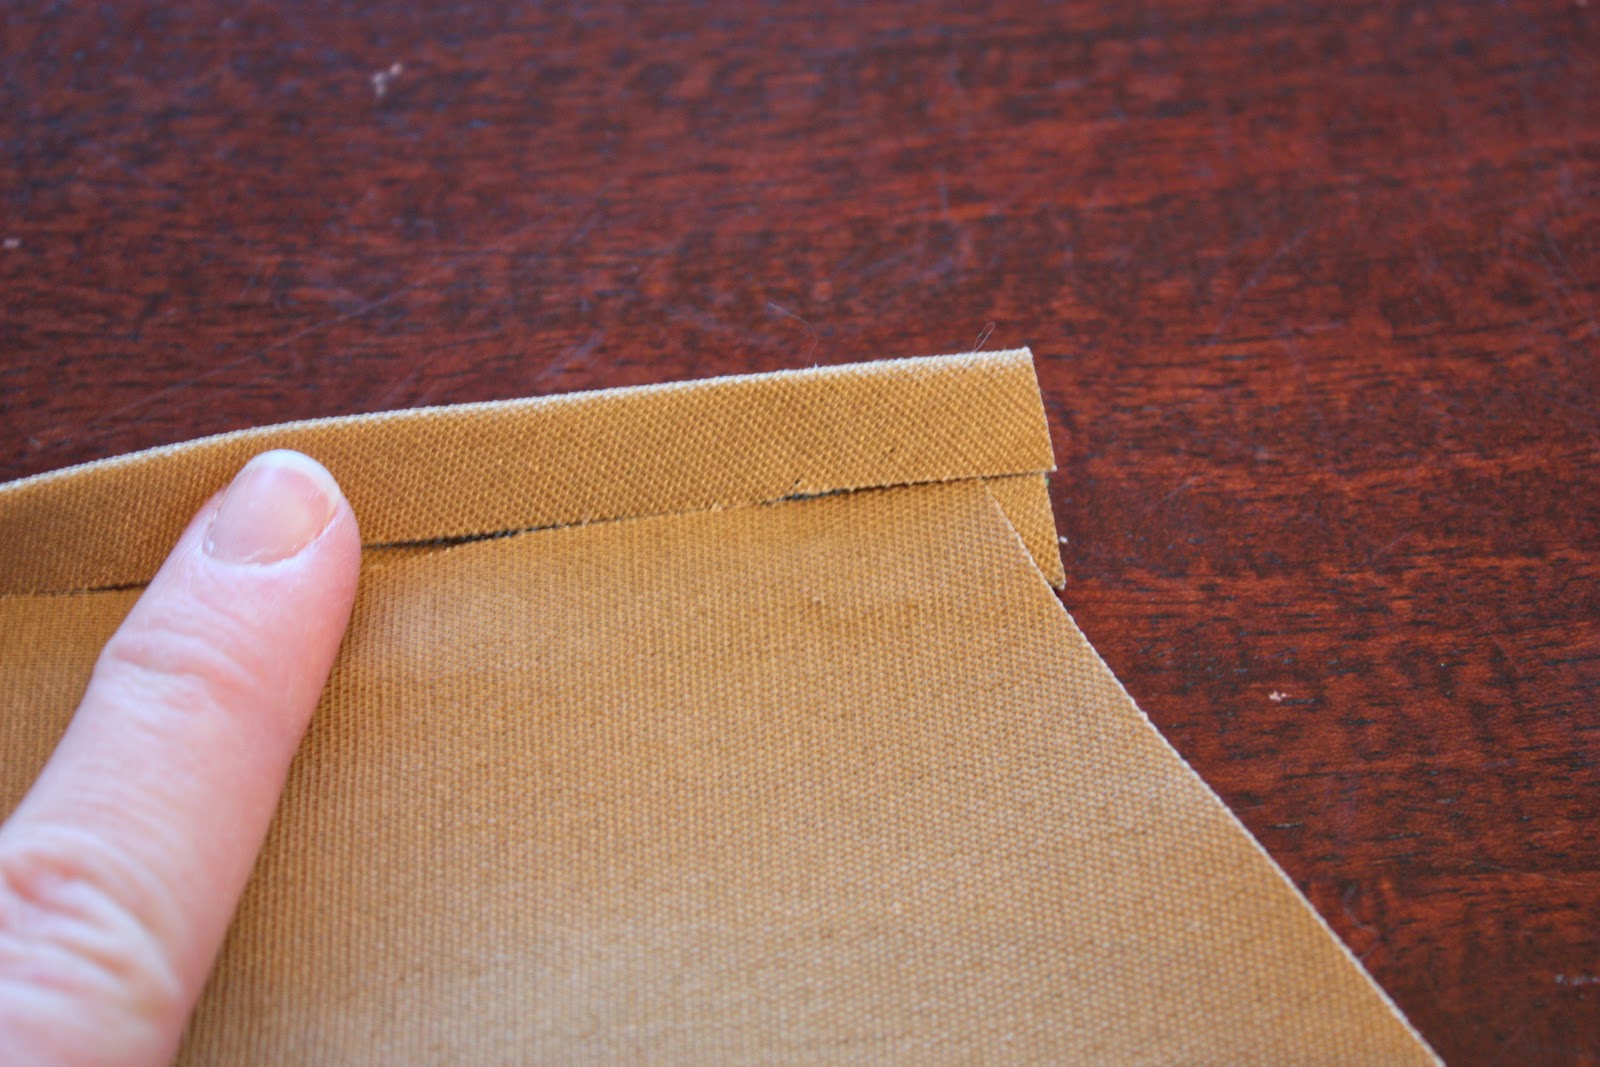
bias tape to go around the entire apron. You can just buy some bias tape at the store but I wanted mine to match exactly, so I cut my own. To do so, you need to cut thin strips of fabric, cut on the bias. The bias is the diagonal of the fabric. There is a selvage on each side edge of the fabric (
it’s usually manufactured and sealed looking) and the your cut ends on the opposite ends. Grab your corner where your cut end and your selvage meet and fold it over at an angle, creating a diagonal fold along your fabric………and that’s your bias line. Make sense?
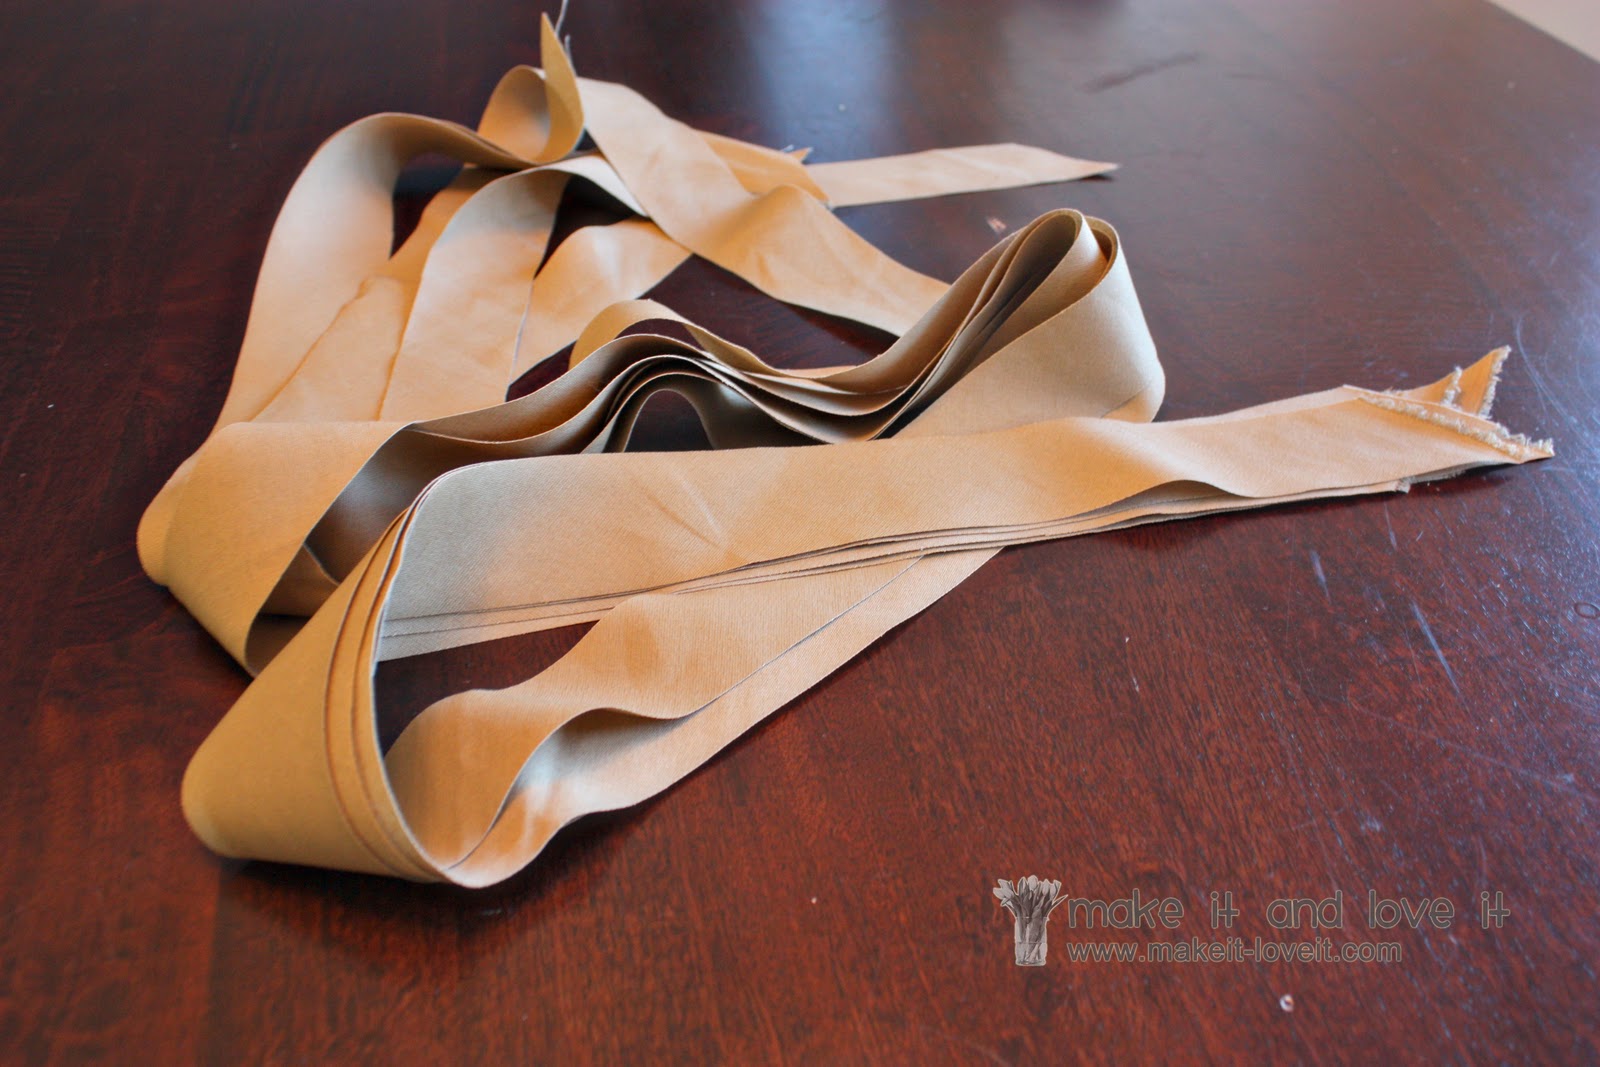
Cut right along that diagonal line, giving you an edge to start with……and then start cutting out strips.
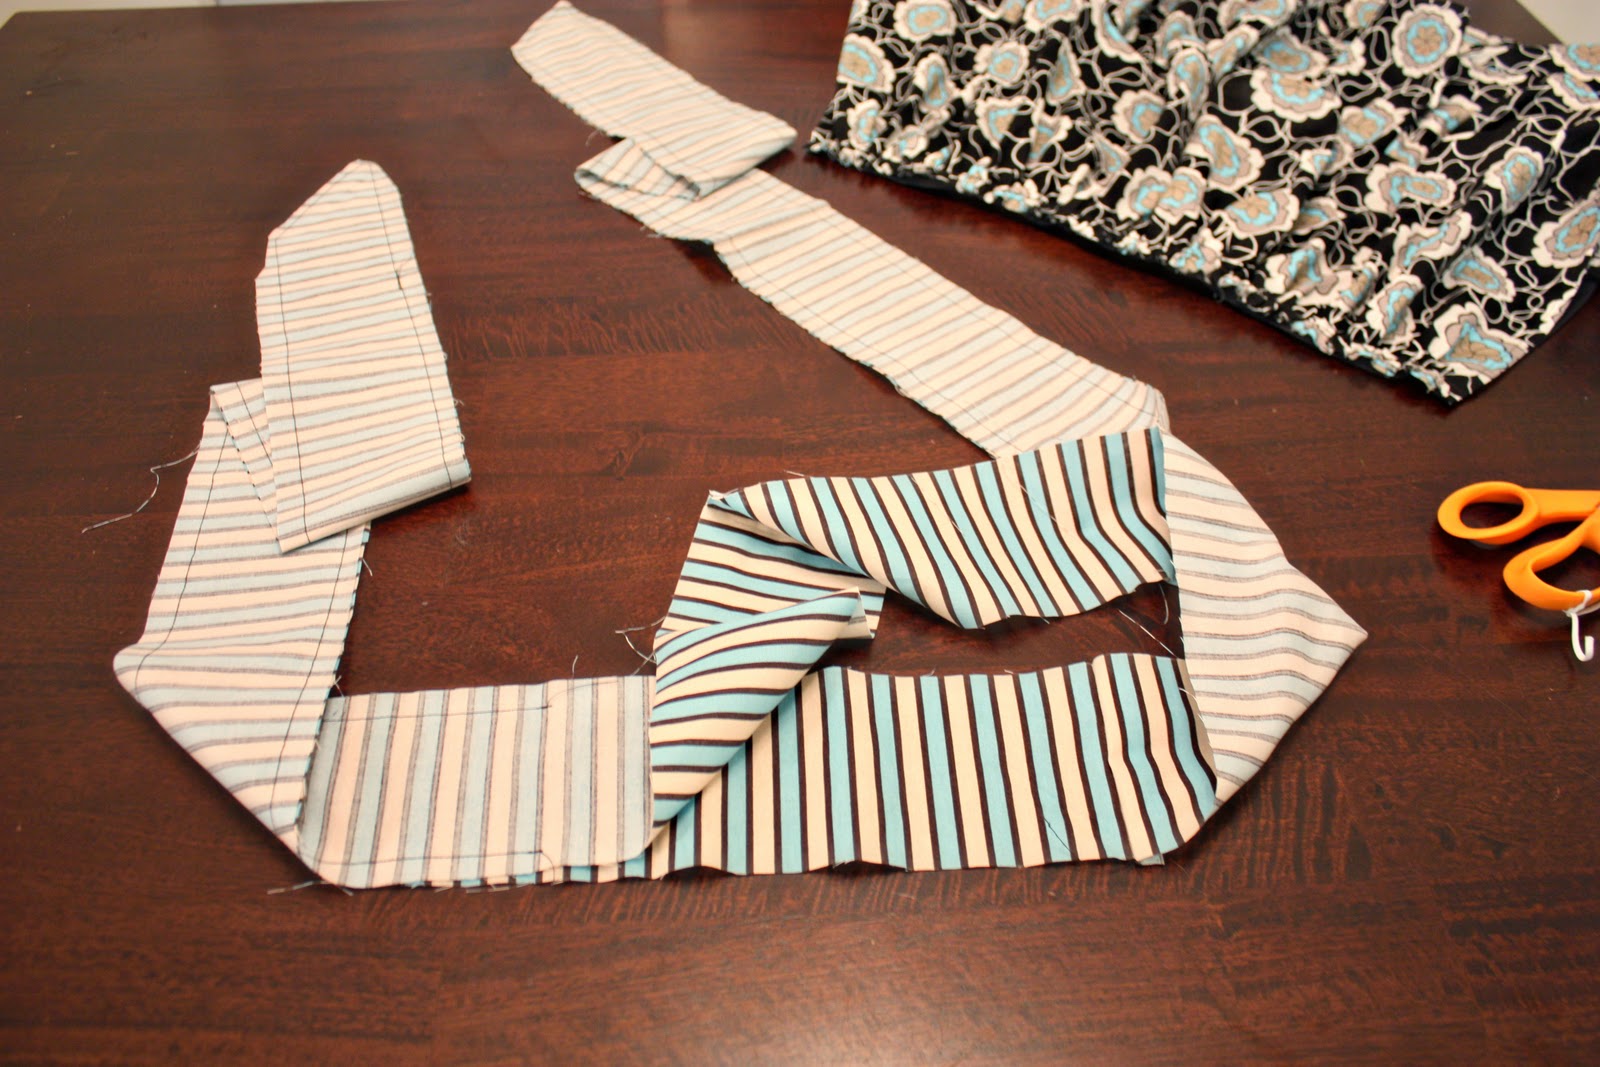
I cut my strips out 1.5 inches wide and as long as my fabric would allow. (You can sew strips together to make them long enough too.) You’ll need enough to go along all edges of the apron, for the neck loop, and the ties for the back.
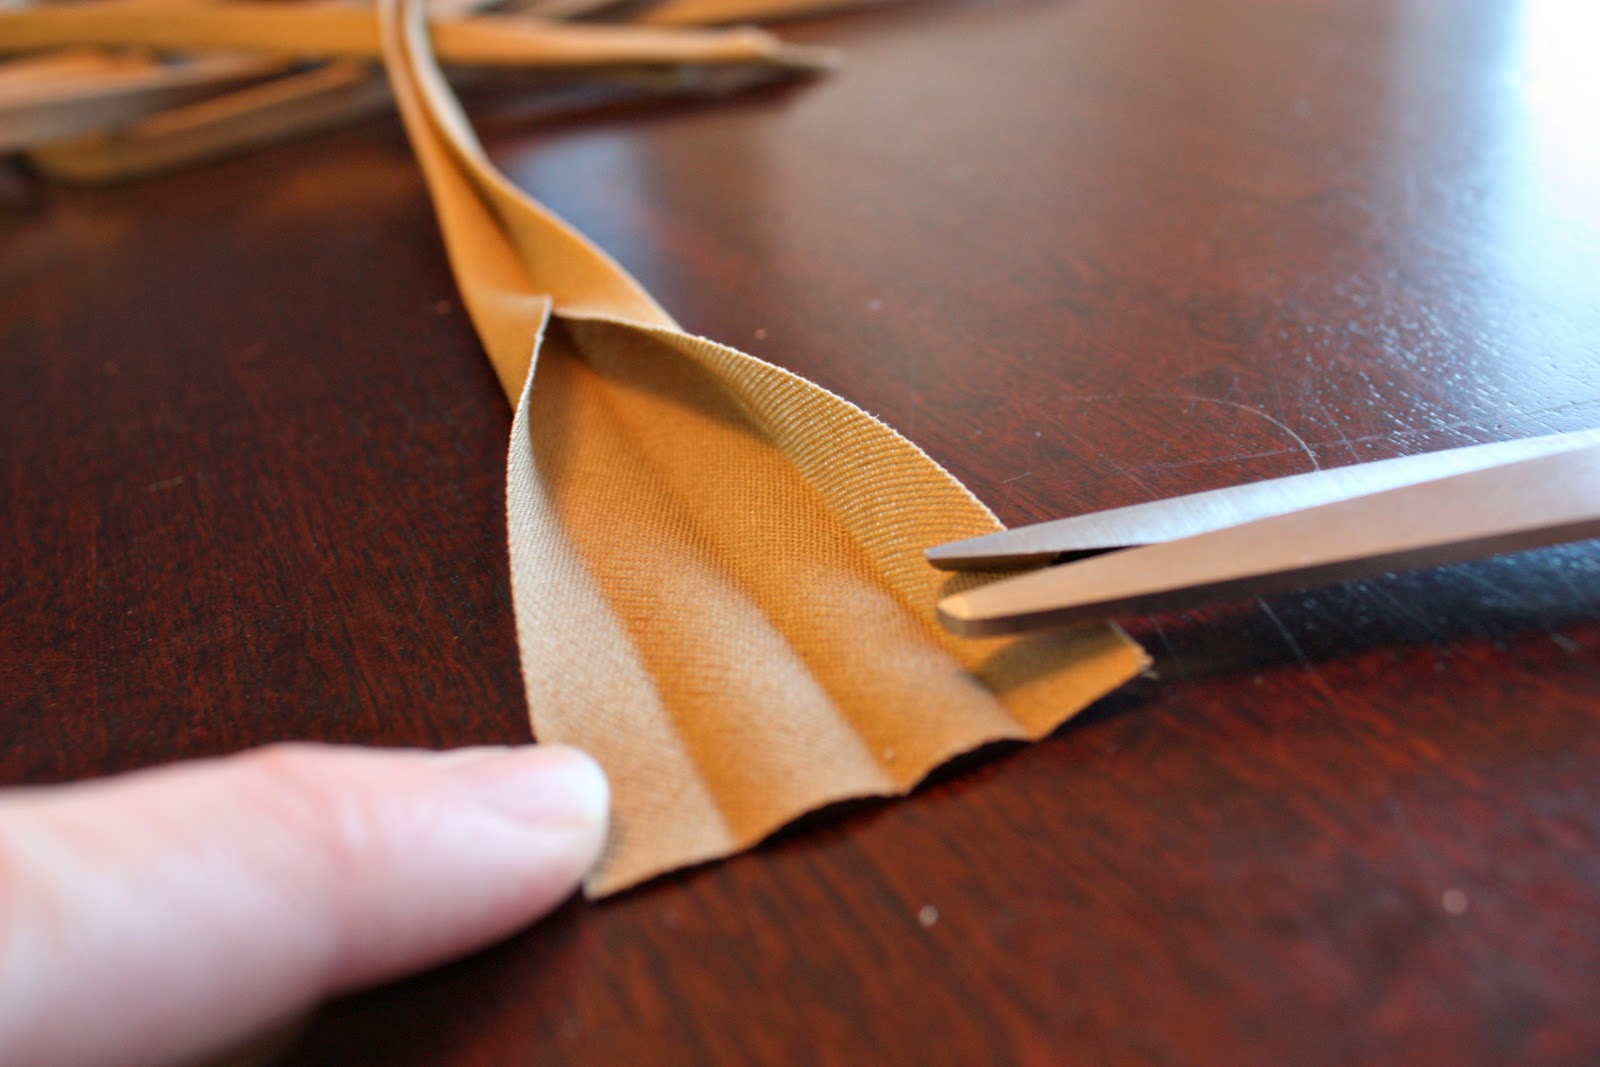
Then, fold each strip in half lengthwise and iron flat. Then open it up and fold both raw edges into that center fold and iron again.
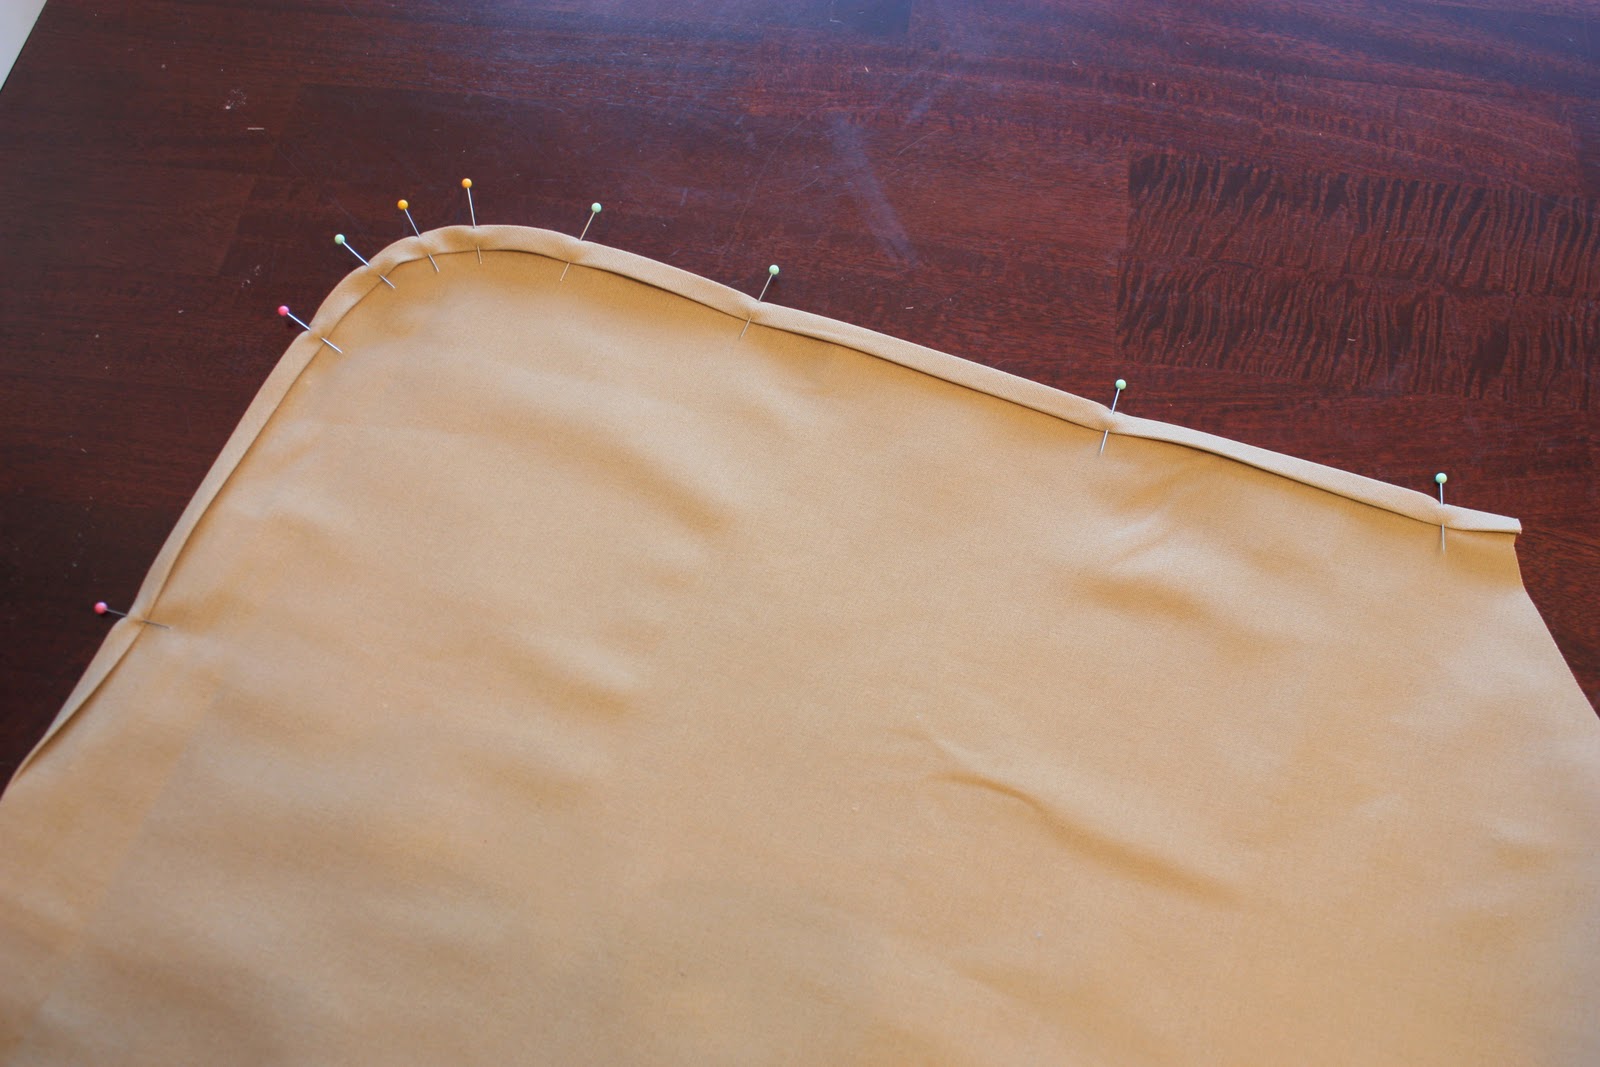
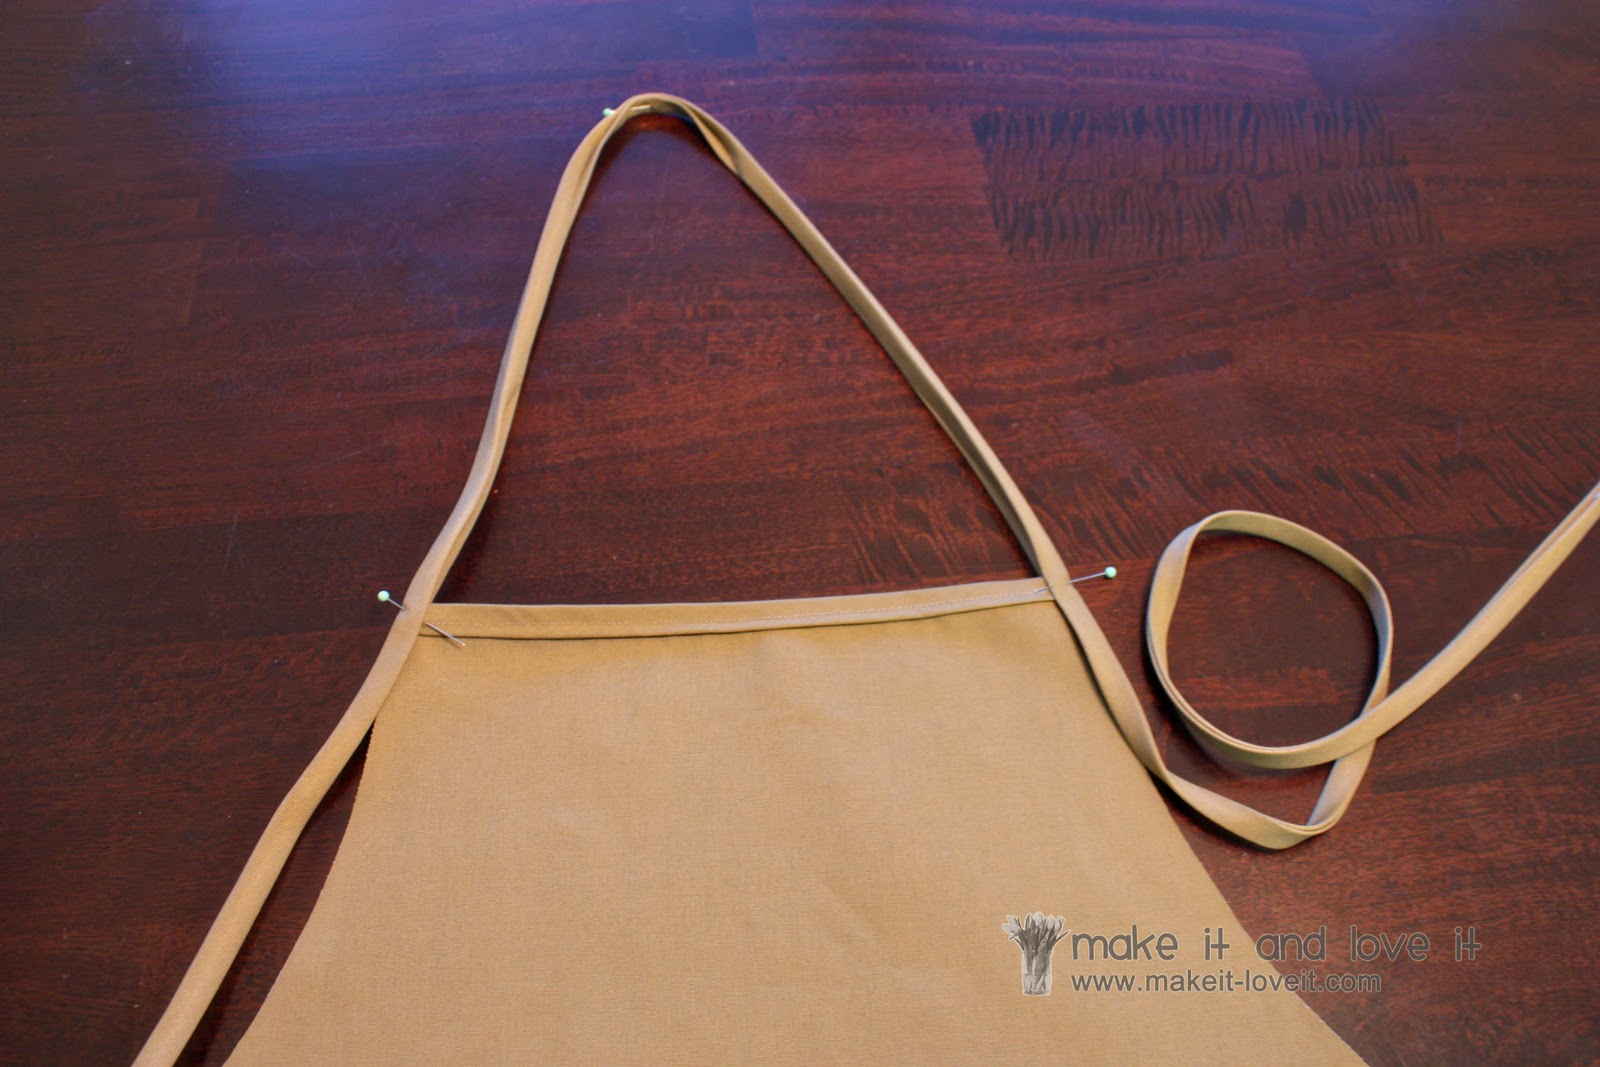
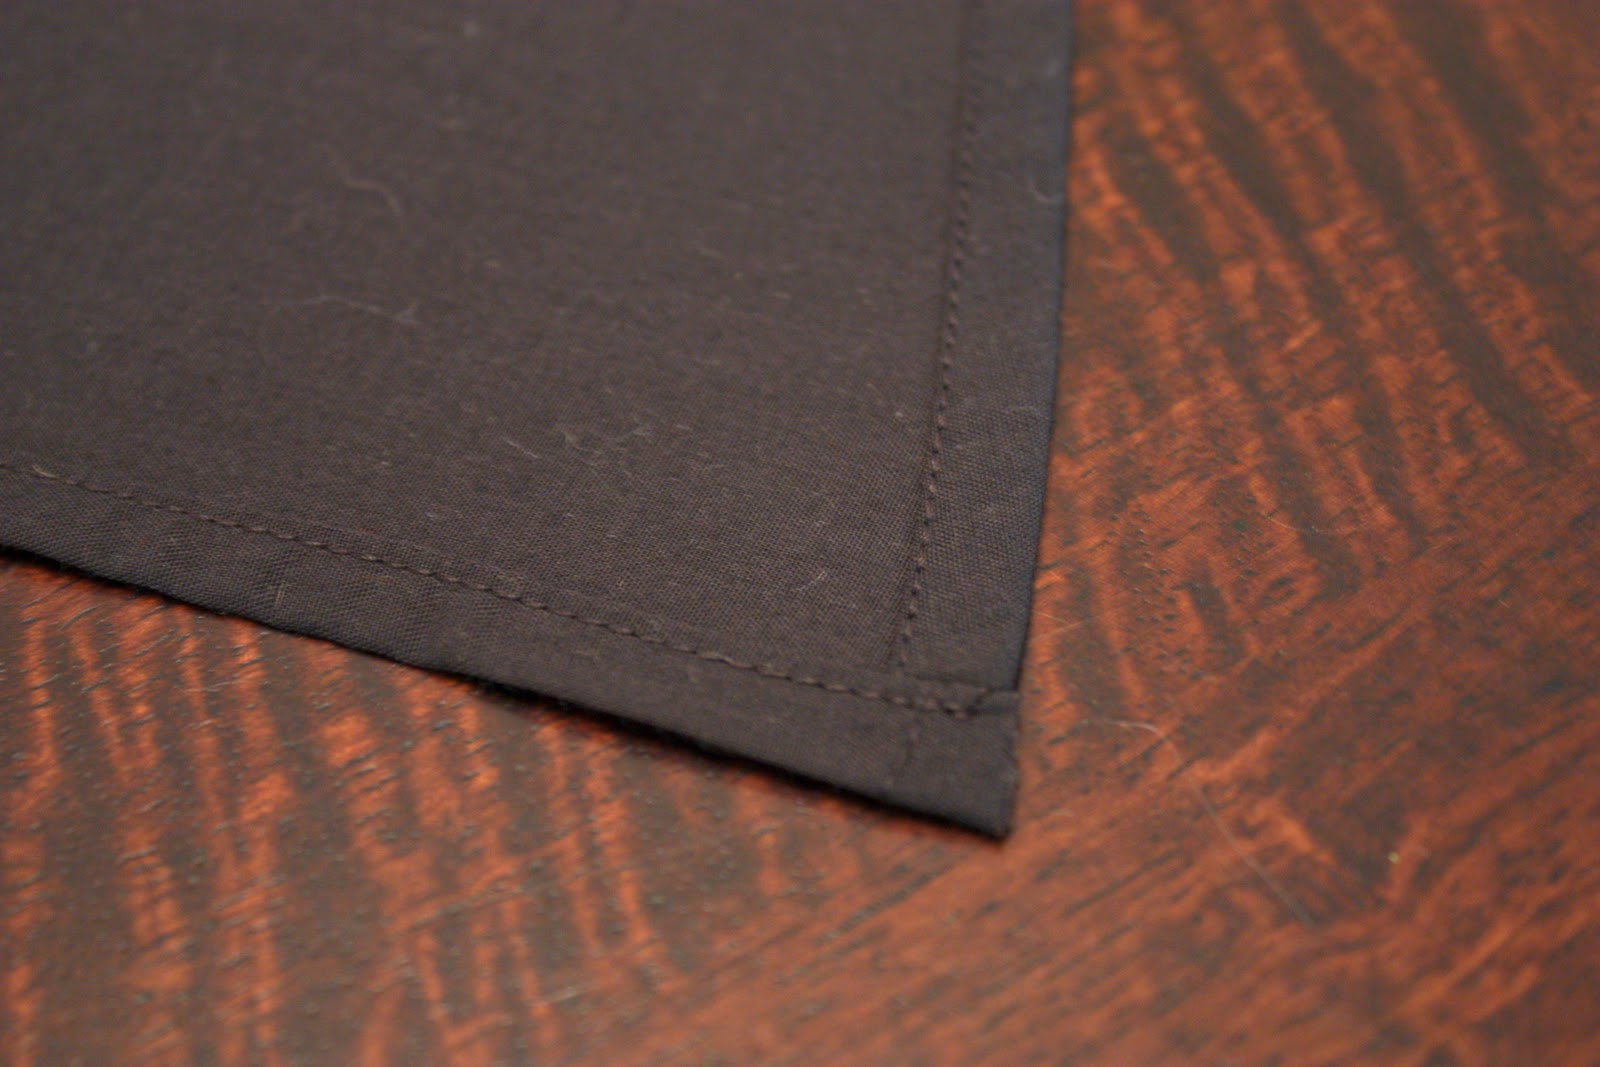
Then use your long strips of bias tape to finish off the edges of the apron.
Start with a long strip going from one side, down along the bottom, and up the other side. Then stop. To do this, open up the bias tape, and slide the edge of your apron right inside of the bias tape.
Pin in place.
And use enough pins along the curved edges (if you made yours with curves) to keep the bias tape in place.
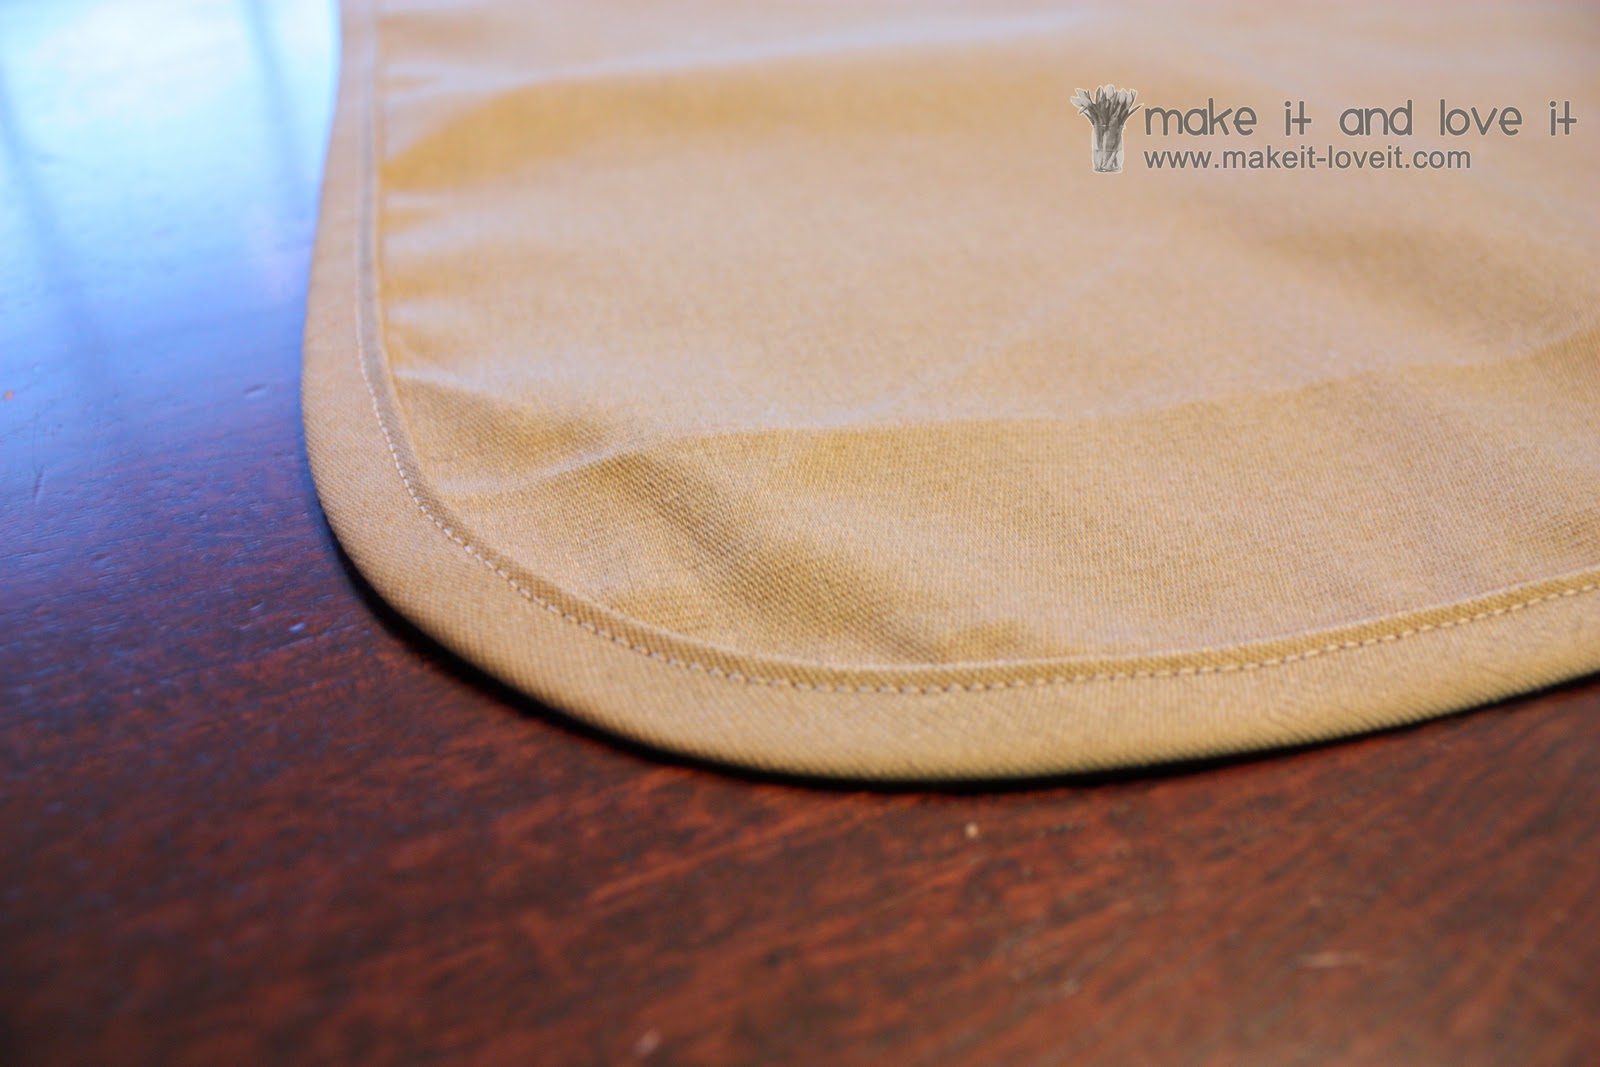
Sew along the inner edge of the bias tape, securing it right to the apron.
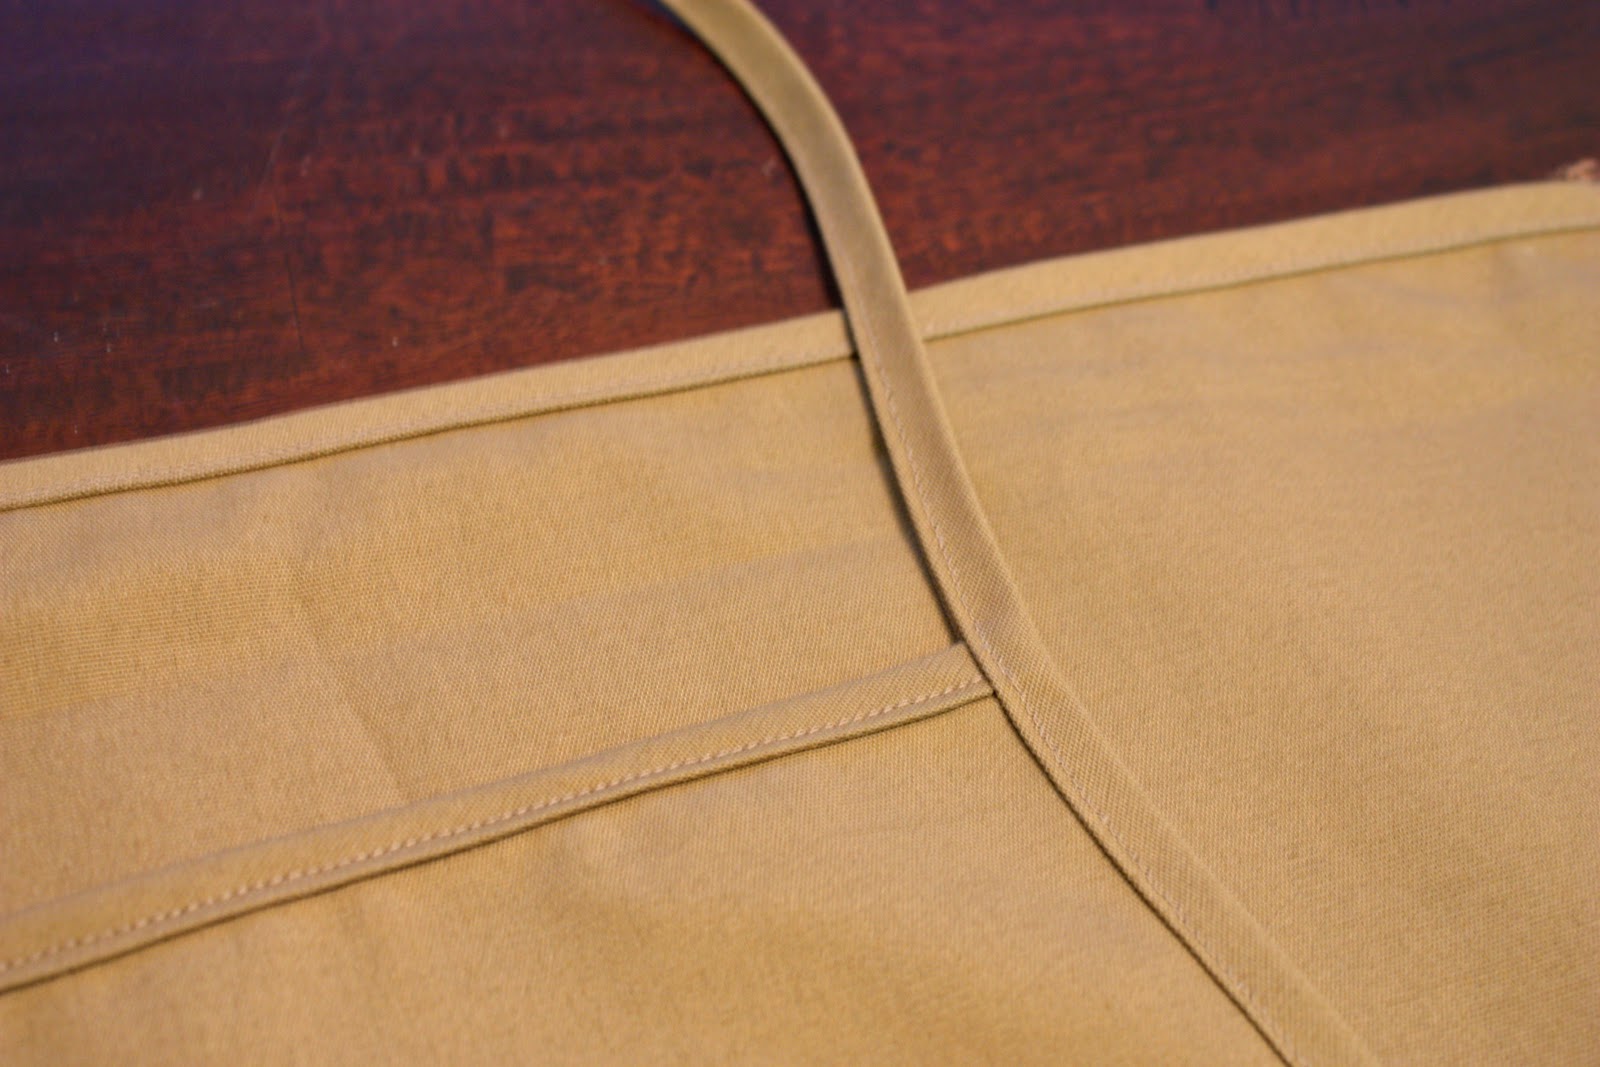
Then add bias tape along the very top of the apron too.
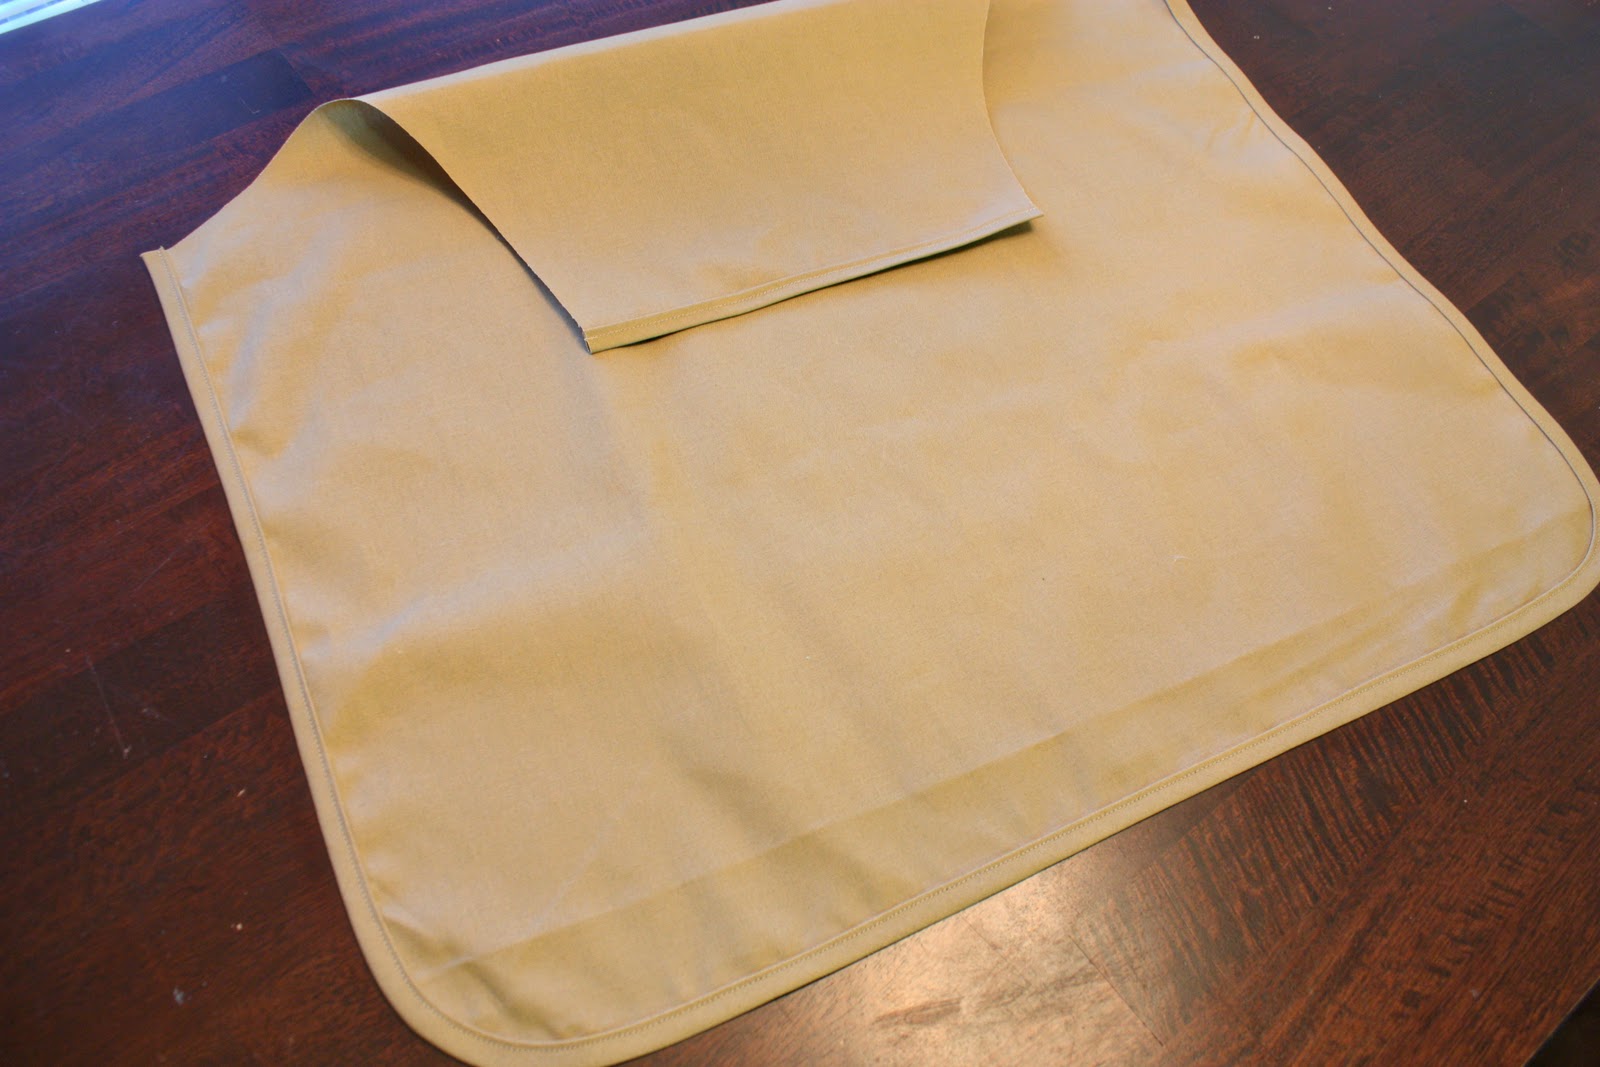
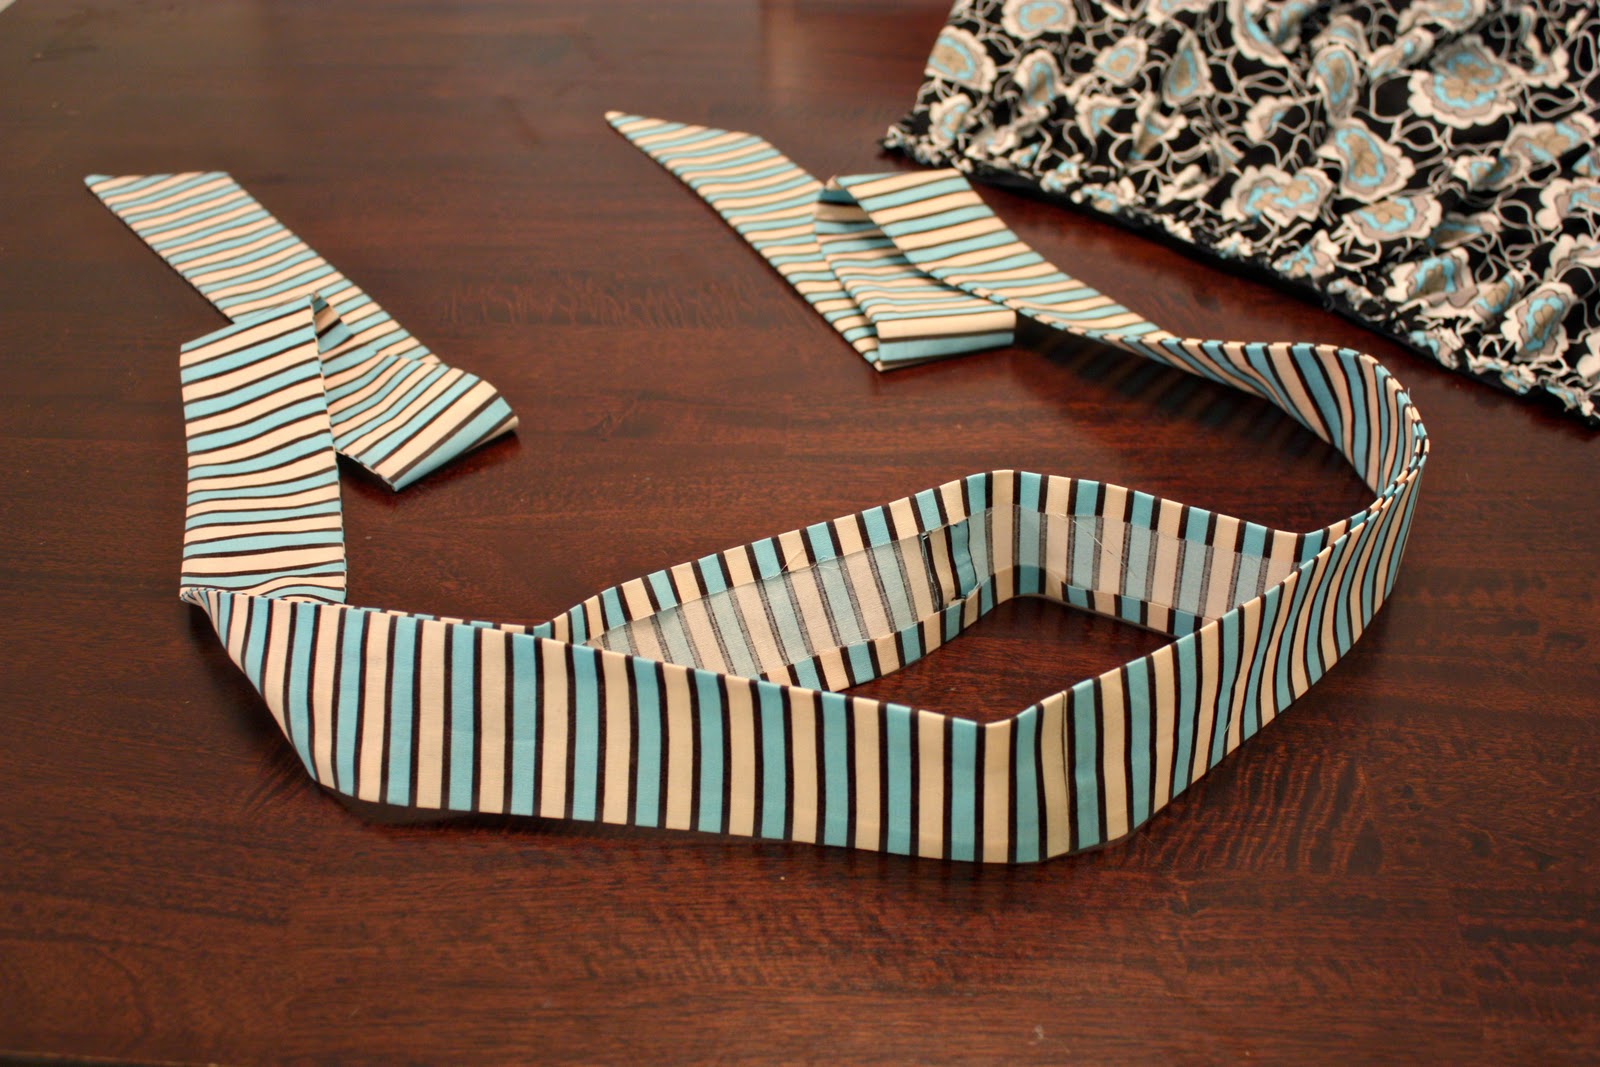
Next, create a piece of bias tape that is long enough to create a loop for the neck, to go along both upper sides of the apron and then have the ends extend out long enough to tie around the back. (You may have to sew several pieces of your bias tape together to create a piece long enough.)
Then sew all the way along the bias tape, attaching it to the fabric as well as sewing the bias tape closed for the neck loop and the ties. Just start at one end of the bias tape, and keep sewing in one continuous line.
Then, I used my Silhouette machine (found
here) to cut out some heat transfer material and ironed it right to the front of the apron. Nice and personalized.
(Click
here to see how else I have used the heat transfer material.)
That was it.
For the Ruffly Apron…
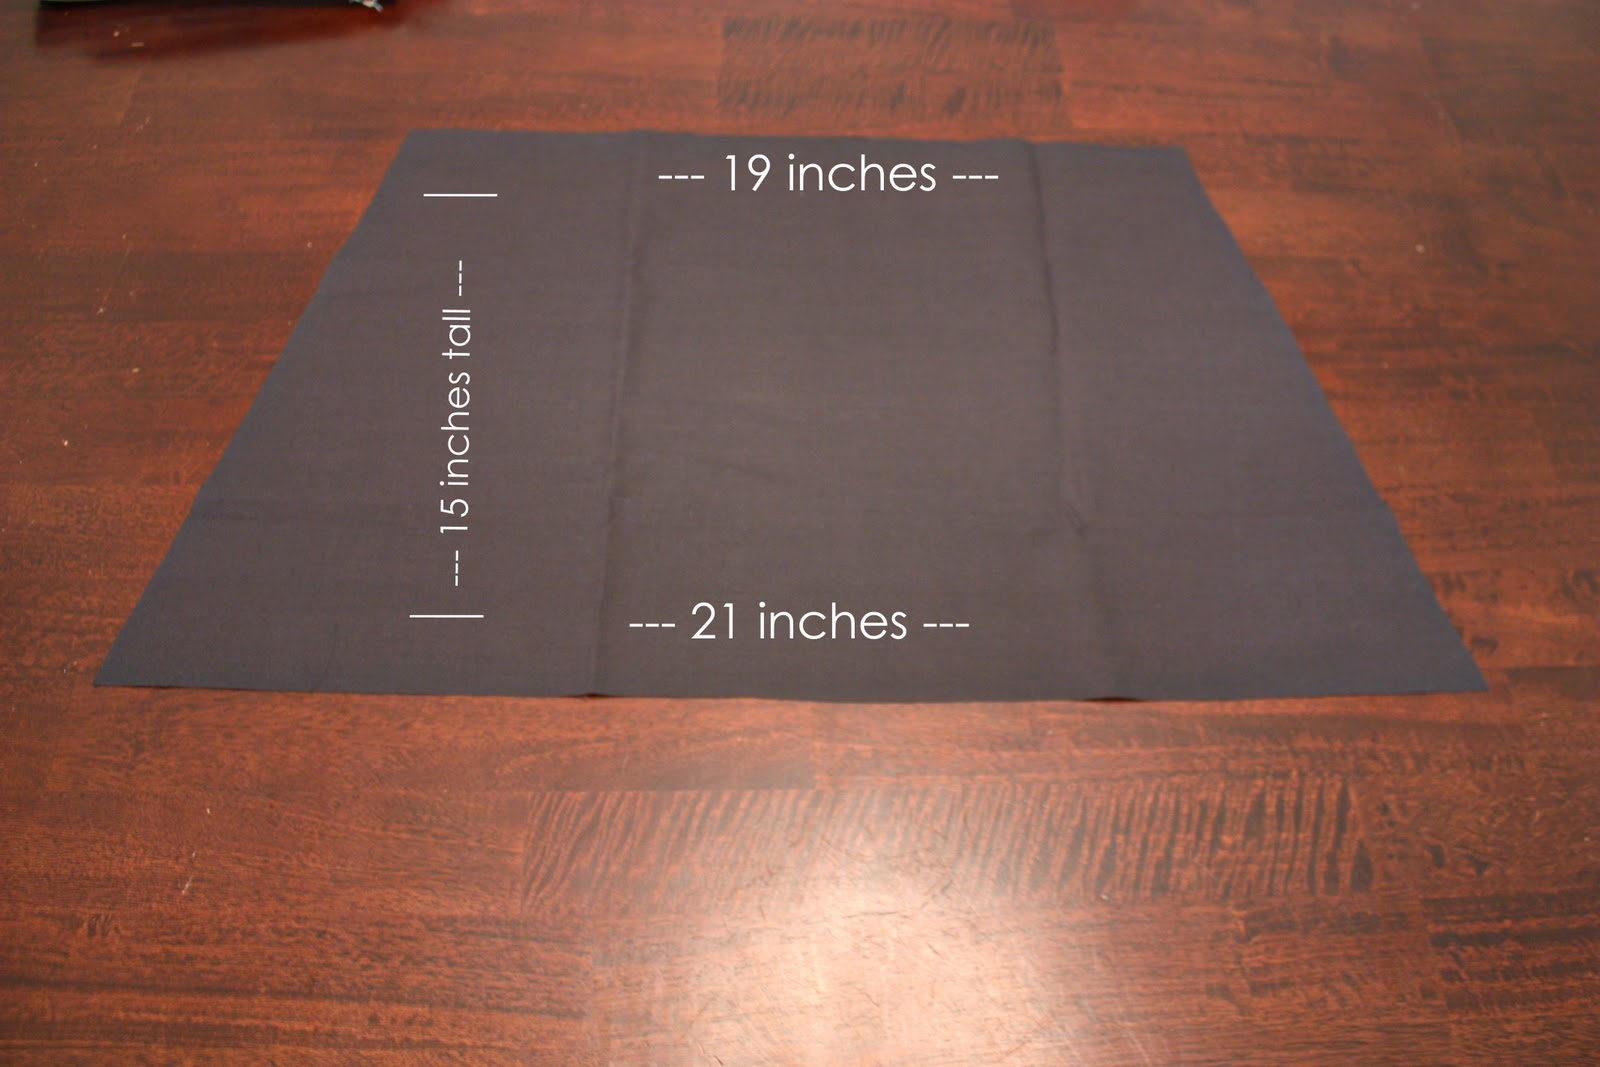
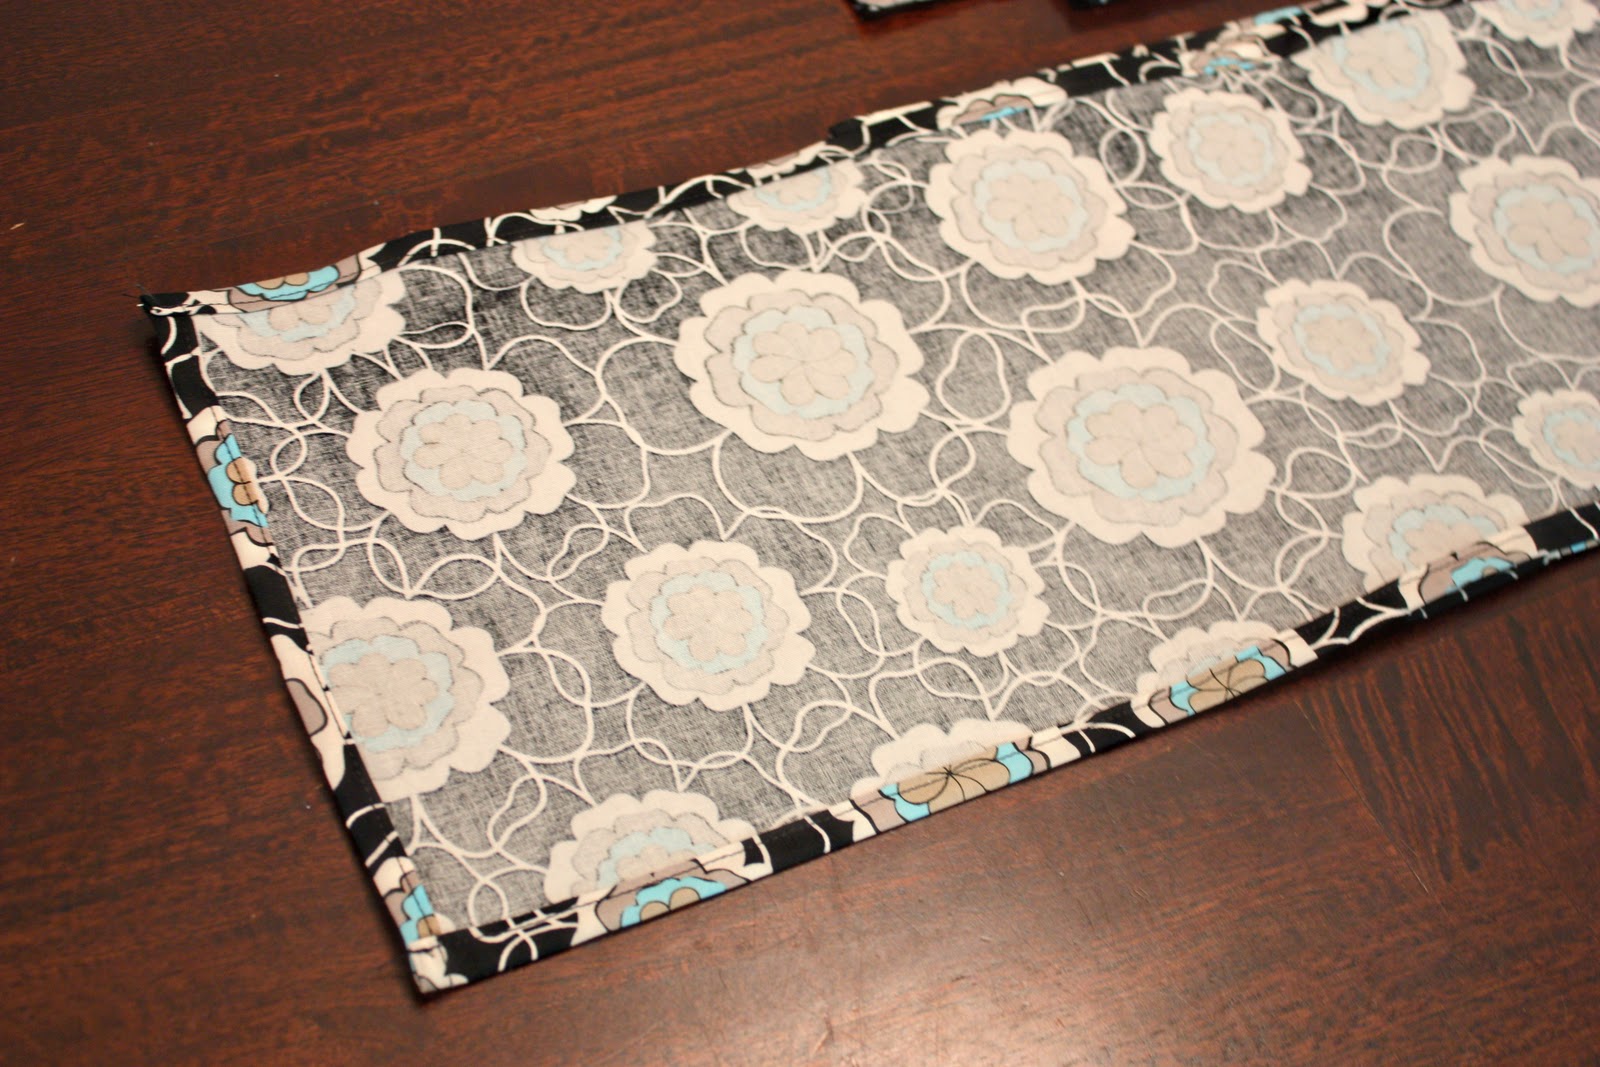
I cut out a base piece of fabric that was a slight “A” line. (Dimensions are listed below….but keep in mind that you can adjust the size of your apron to whatever size you’d like.)
Then I folded under the bottom (21 inch long) and side edges a 1/4 inch, then another 1/4 inch, then sewed in place.
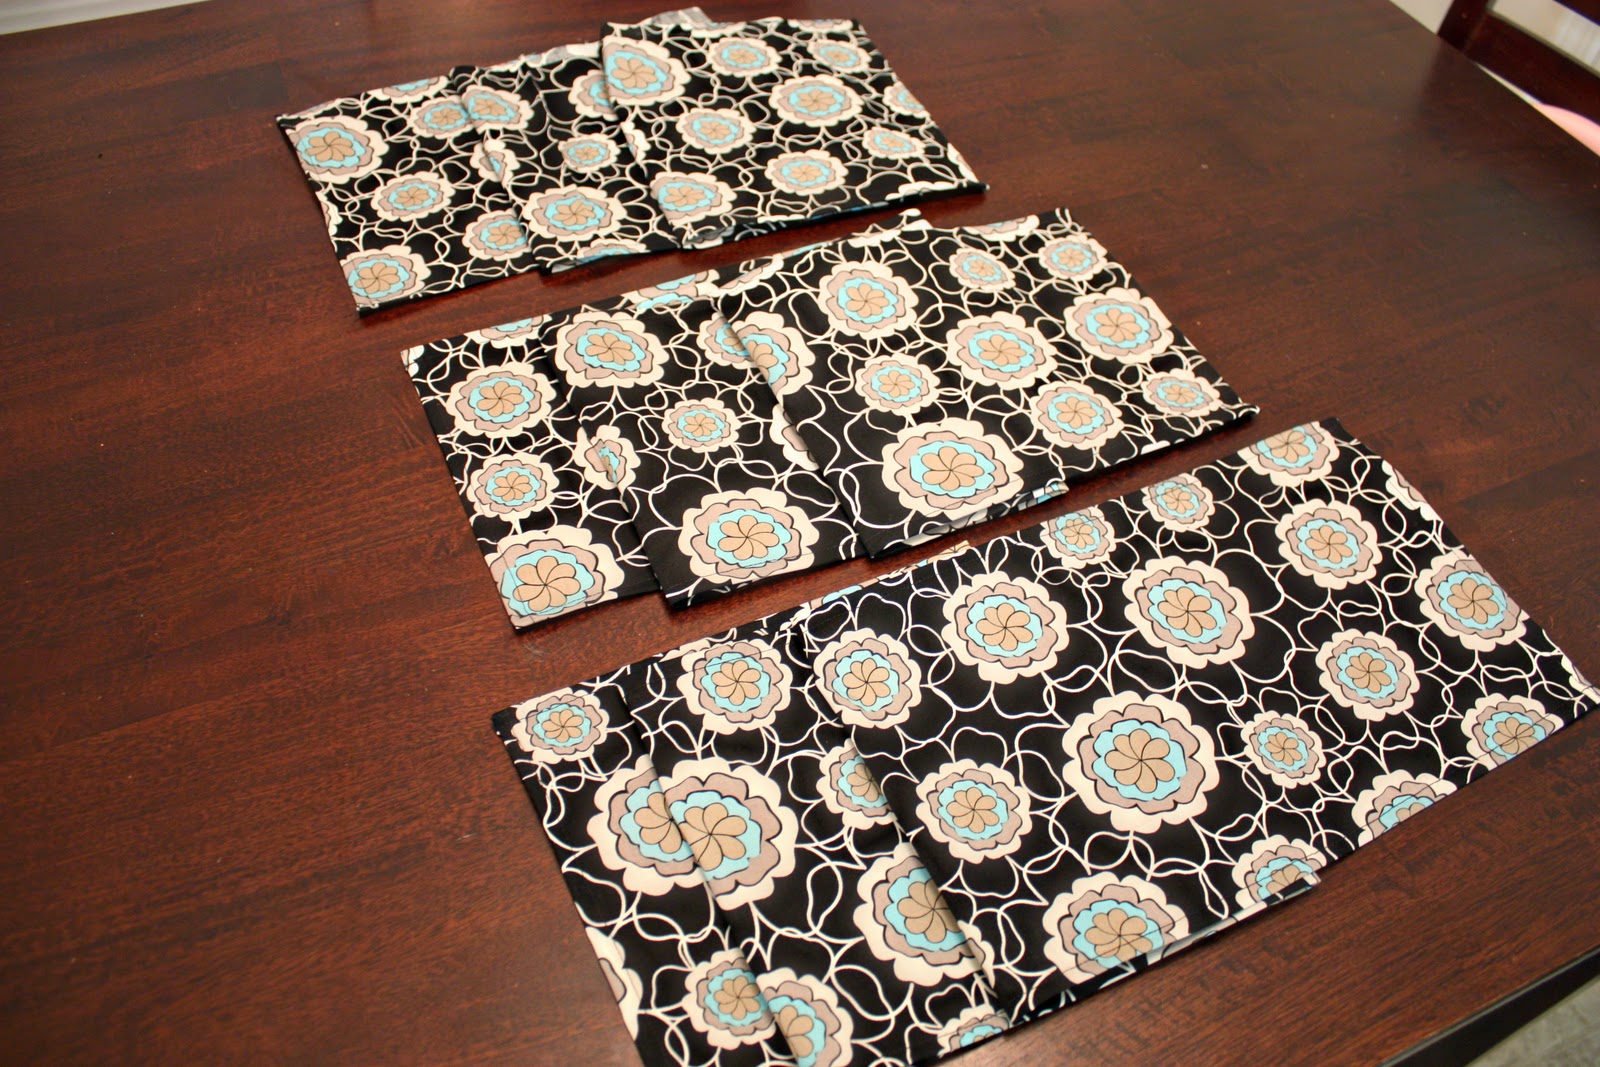
Then I cut out my ruffles. I cut all 3 pieces of fabric 9 inches tall by 40 inches long.
Then I folded over each edge a 1/4 inch, another 1/4 inch, then sewed them into place.
Except for the top ruffle…….I didn’t fold over or sew the top edge of the top ruffle because it will be included in the waistband at the top of the apron. (You don’t want added bulk in there.)
Then I made a basting stitch along the top of each ruffle, 1/2 inch from the top. (If you look closely, you can see that the basting stitch on the right, is for the top ruffle and there is no folded edge on that one. It’s just a raw edge.)
Need help with basting stitches and gathering? Click
here for more info.
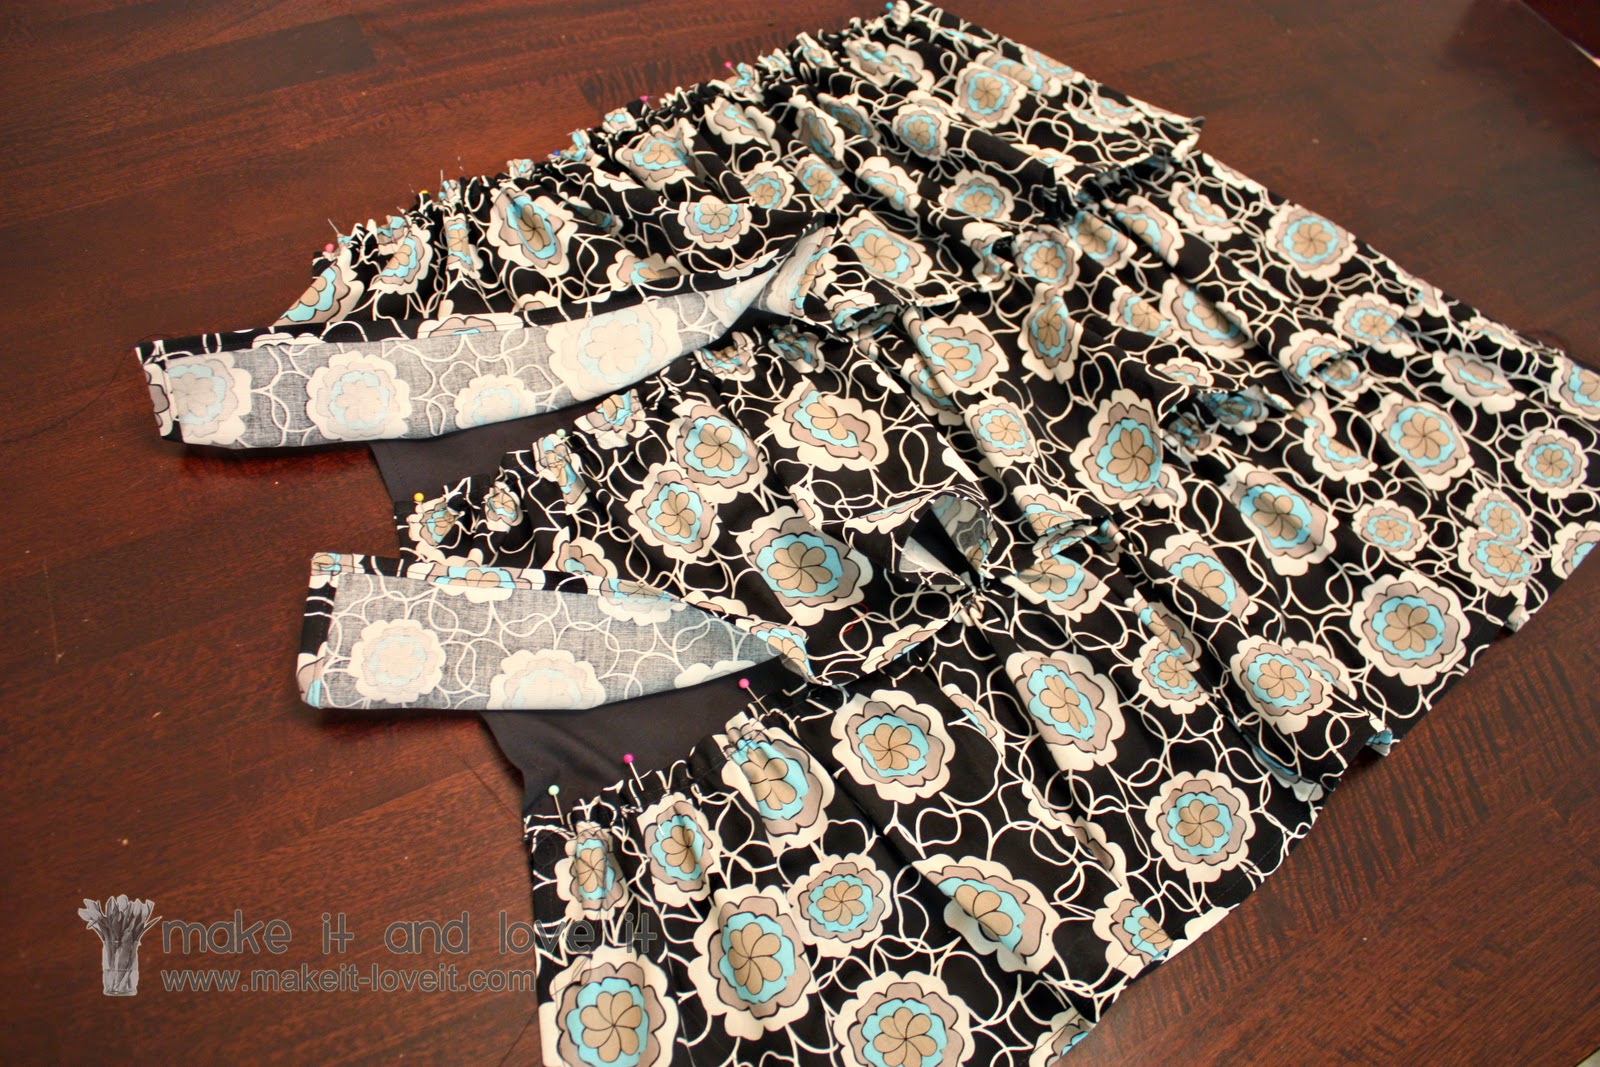
Then I gathered in the bottom ruffle and pinned it to the bottom of the base piece, about 2 inches from the bottom.
Then I did the same with the next two rows of ruffles, making sure that the top ruffle (with the unfinished upper edge) was at the top. Line up the top ruffle with the top of the base piece and then center the middle ruffle between the two other ruffles. Once all ruffles are pinned in place and look even, sew along that original basting stitch, attaching the ruffles to the base piece.
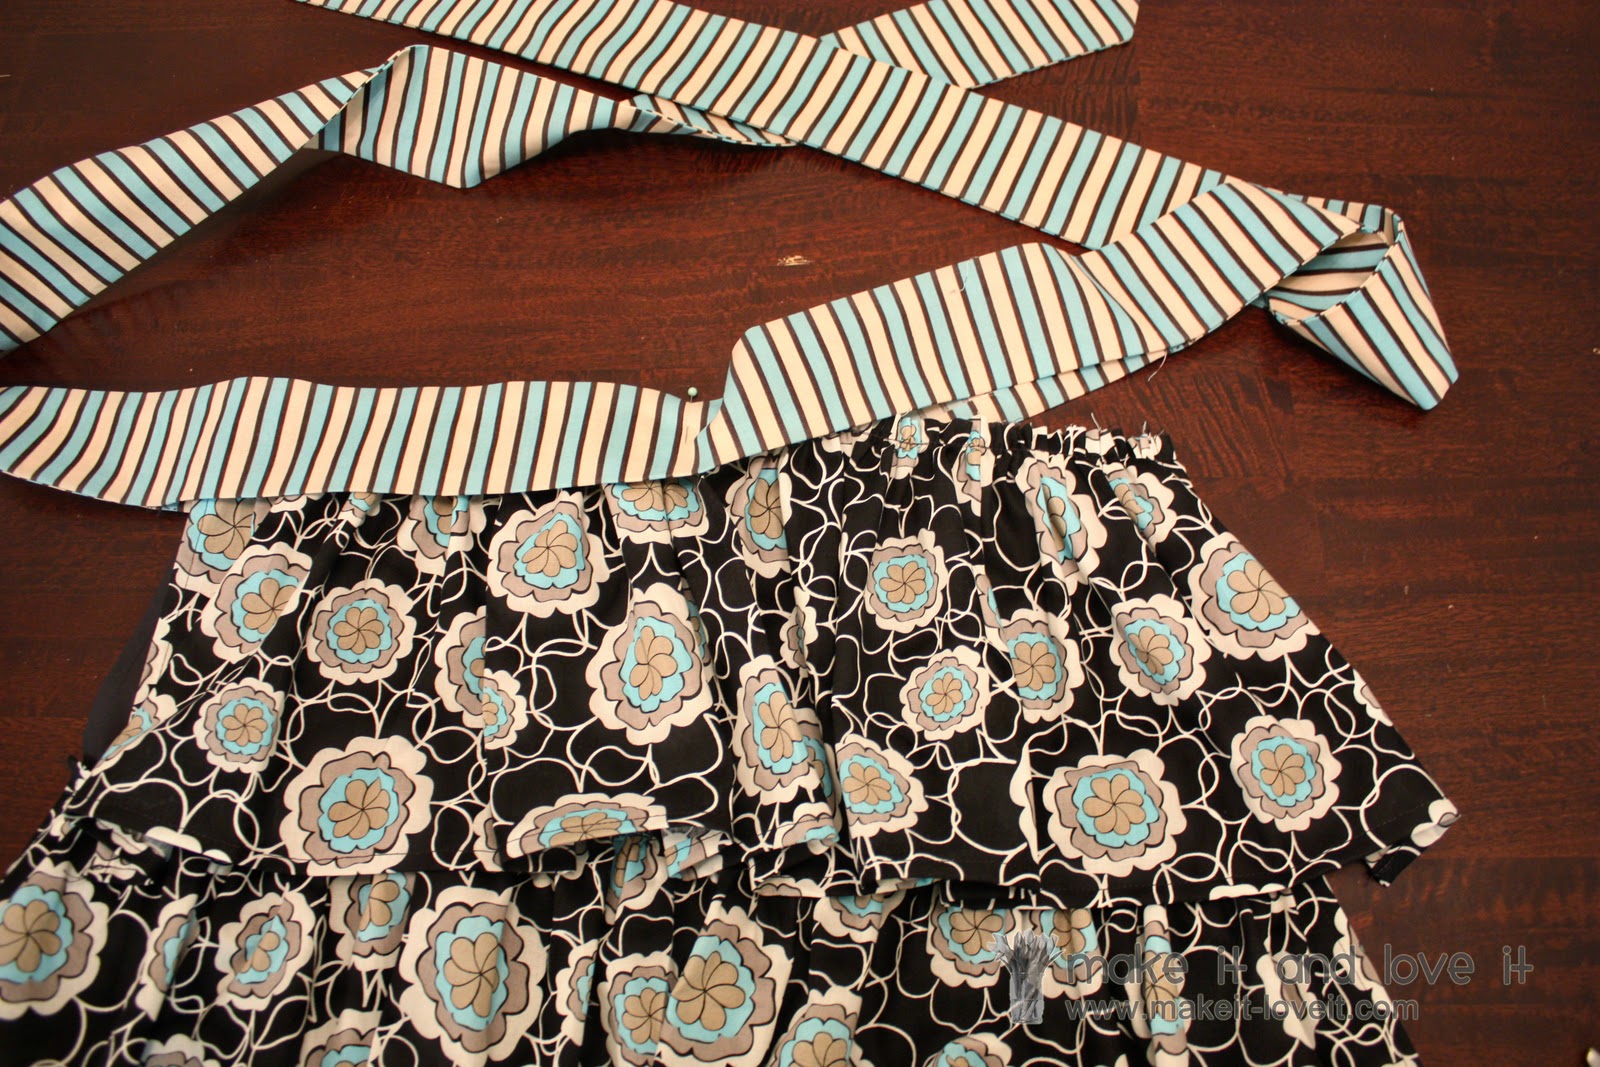
Now for the waistband and ties.
I cut 2 pieces of fabric that were 4 inches wide and 88 inches long. (I had to sew some pieces together to make them that long.) Then I sewed my two long pieces together with right sides together, using a 1/2 inch seam allowance. However, I left a 19 inch wide gap along the very center of the two strips and didn’t sew them together at all for those 19 inches.
(I also sewed each end of the strips into a point and trimmed off the edges just because I like the look of the angled tie ends. But you don’t have to do that.)
Then I turned the strip right side out, poked out the ends, folded under the edges of that 19 inch gap a 1/2 inch………and ironed everything flat.
Then I slid the opening of the strip over the top edge of the apron. I matched up the edges of the opening of the strip with the top edge of the apron.
I pinned all along the top and bottom of the waist band section.
Then I sewed all the way around the entire strip……down to each end and angled tip. I sewed about 1/8 of an inch from the outer edge.
Then I added another seam along the shape of the waistband, about 1/4 inch from the outer edge………to really secure the waistband to the apron.
And that was it.
Now, 2 aprons for a very deserving couple of friends.


