Home » DIY Tutorials » DIY Sewing » Sewing: Clothing » Accessories » Zippered Pouches personalized with Iron-On Vinyl
Zippered Pouches personalized with Iron-On Vinyl
November 19, 2010 - By Ashley Johnston 95 Comments
.
I put my Silhouette craft cutter to work the other day.
And had her help me create some vinyl iron-on cutouts for my little zippered pouches.
And then, remember how I used freezer paper and fabric paint to make my Halloween costumes (
here)? Well, instead of cutting out my design with a razor blade, I used the Silhouette cutter to cut my freezer paper for the stencil………….and then used fabric paint to create the dress form shapes on the green pouch.
SO much easier/faster than cutting by hand.
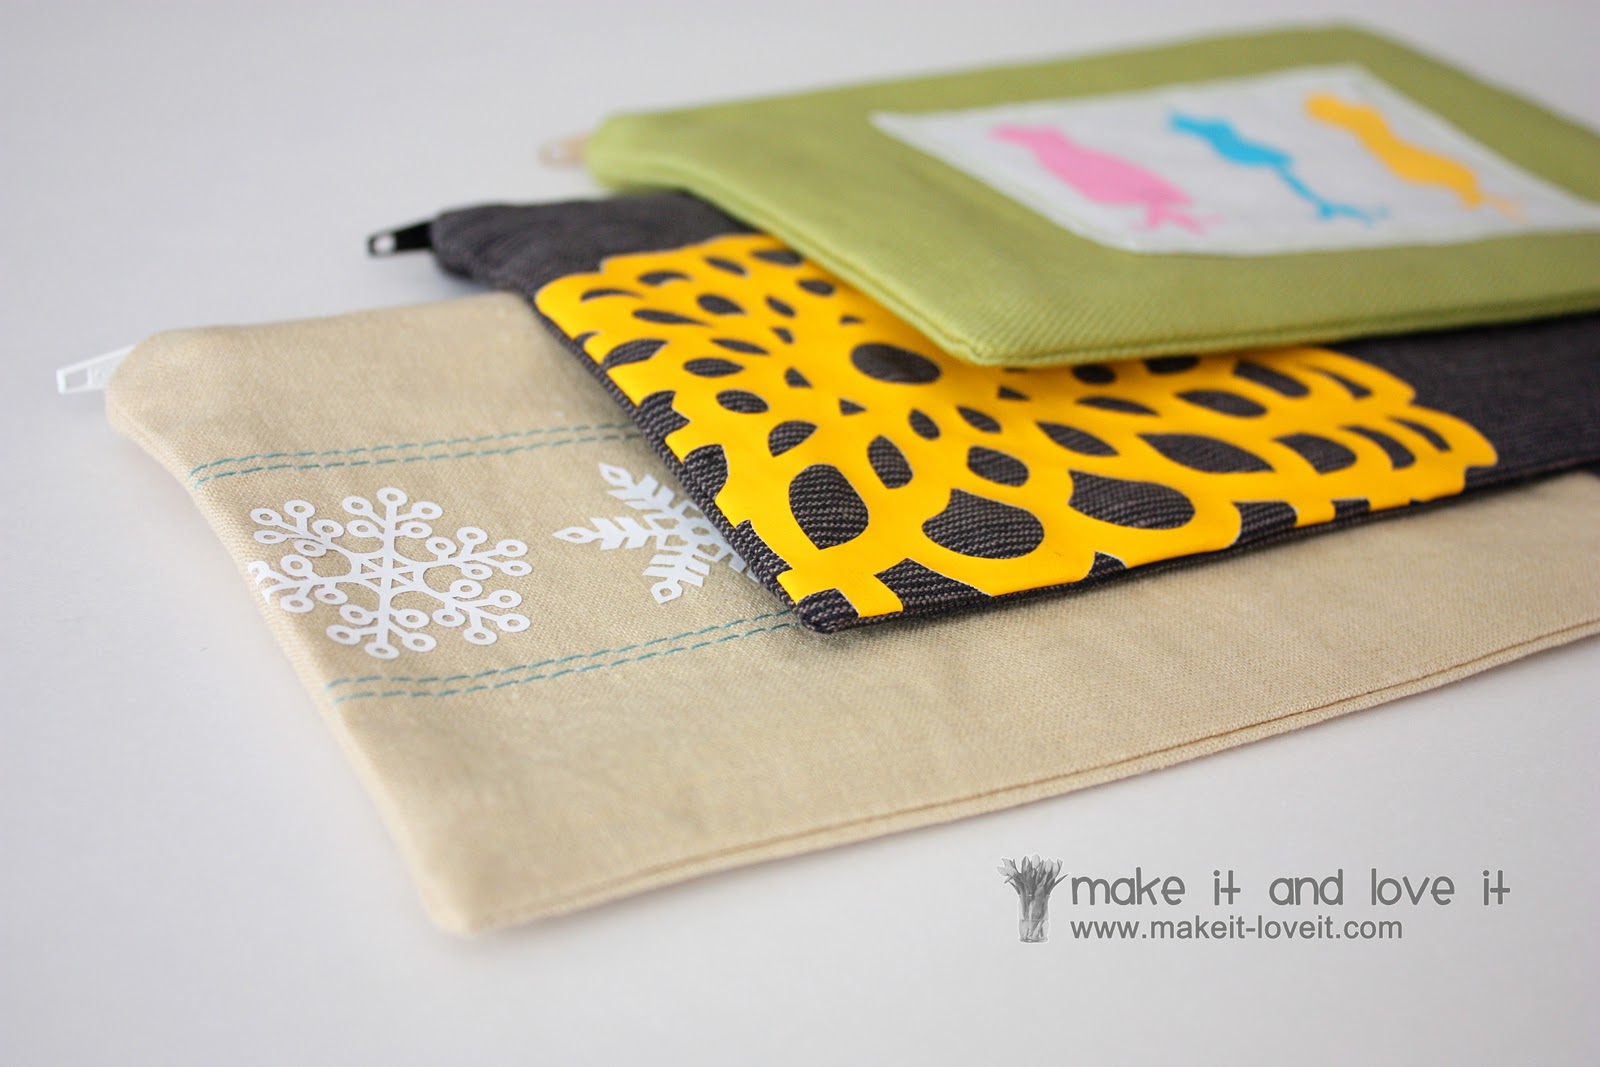
And now, I have 3 little zippered pouches, ready for gifts.
Can you just imagine, some jewelry, some great craft supplies, or even a few treats placed in one?
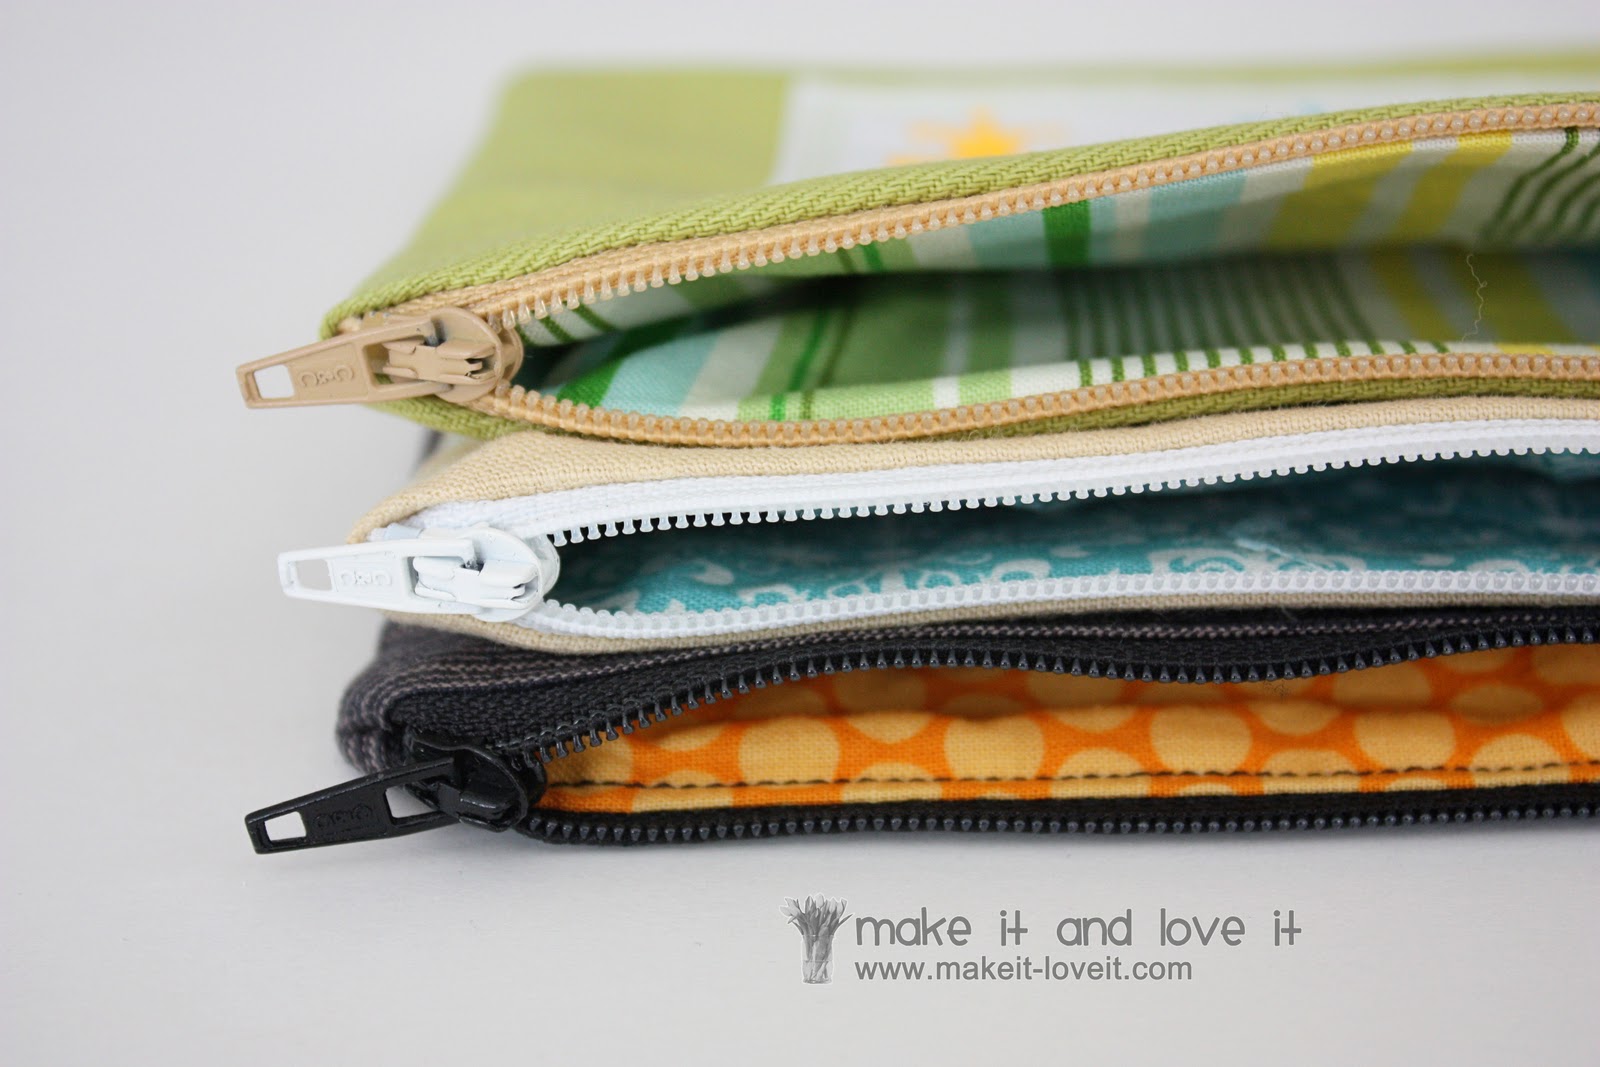
And of course, the lining can give these pouches a great pop of color. Ahhhhhh.
But my Silhouette Cutter really allowed me to spice up that outer fabric.
The possibilities to personalize these pouches are endless.
I know zipper pouches are something that everyone may already know how to do. But in case one of you may be curious…….all the steps will be shown.
Cutting Fabric:
For my pouches, I cut 2 outer pieces of fabric and 2 lining pieces that were all 9 inches x 6 inches.
And for each pouch, I took one of the outer pieces of fabric for each pouch, and decorated it up a bit before sewing it all together.
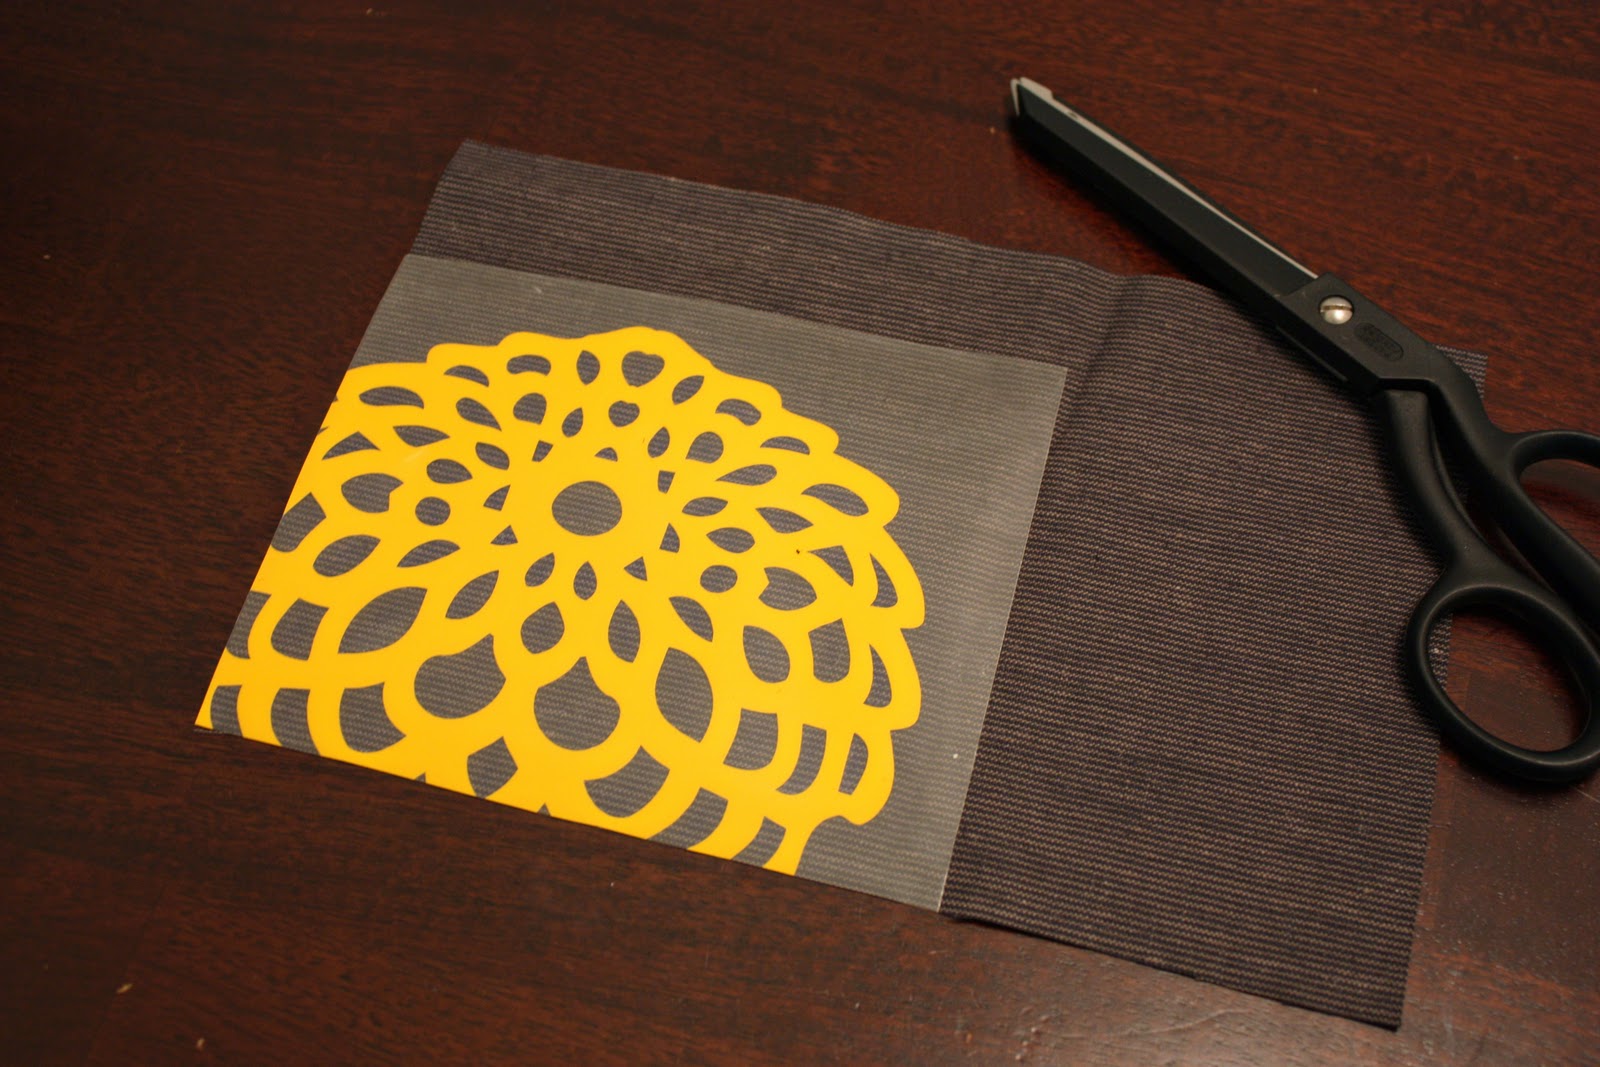
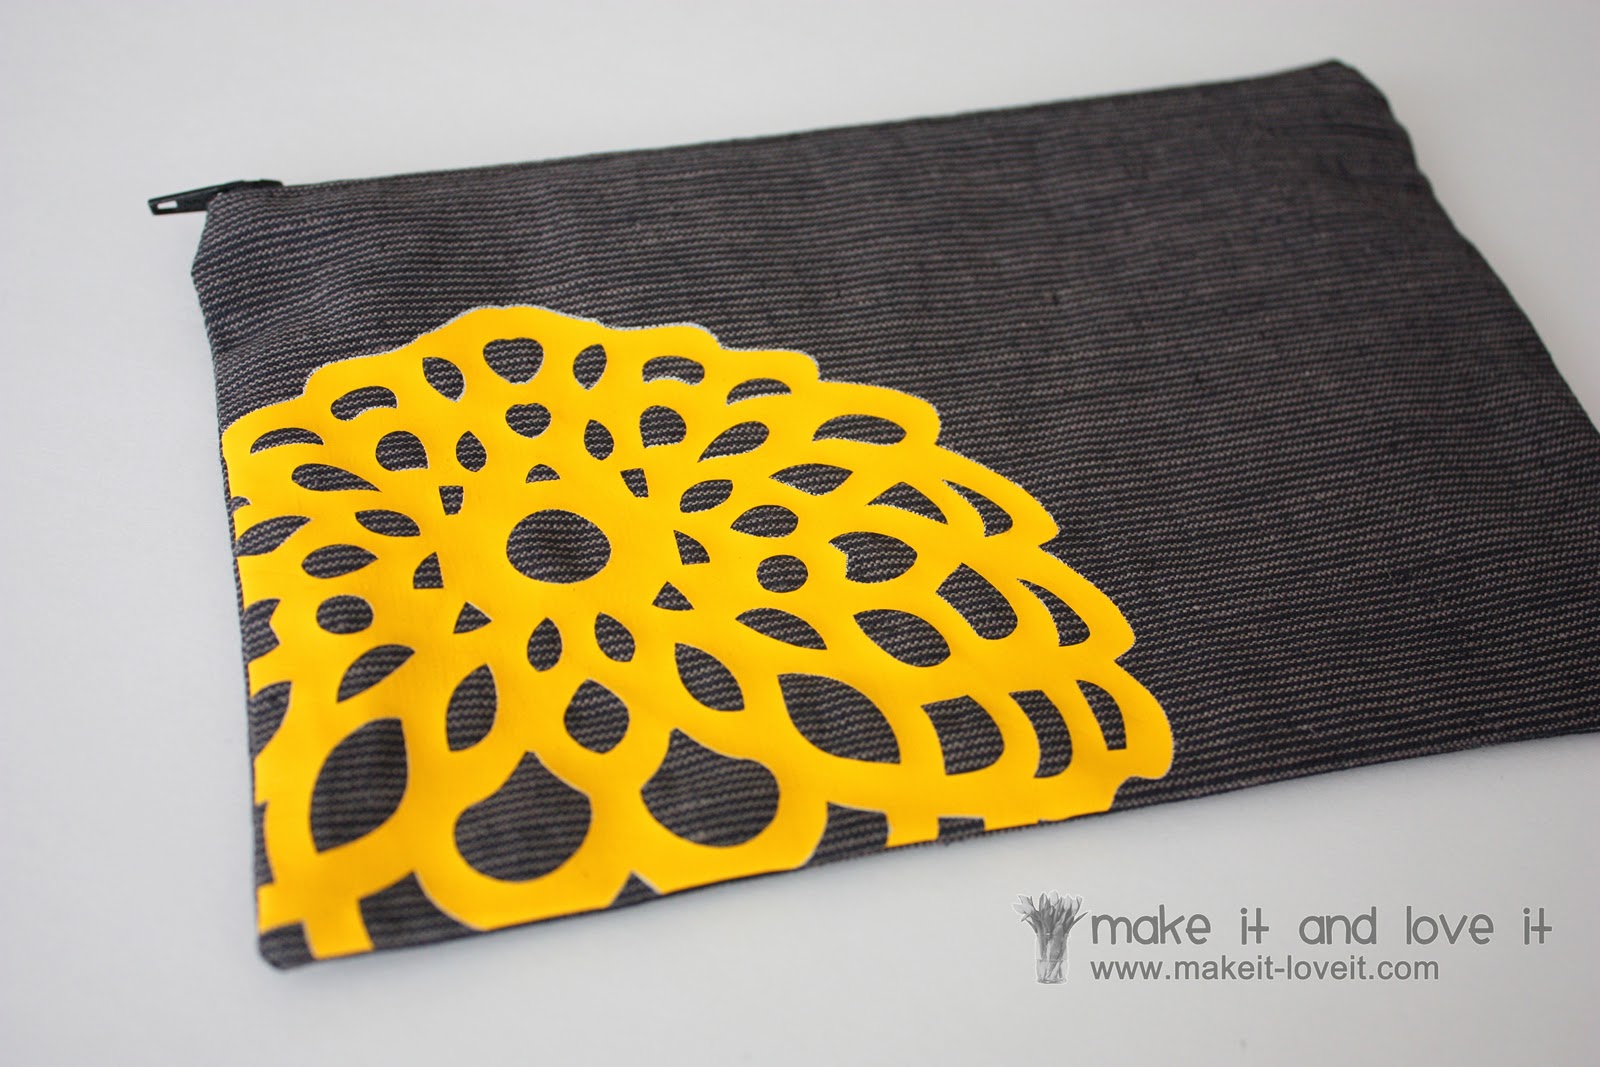
For the first one, I purchased this dahlia shape from the Silhouette store, printed it out on heat-transfer vinyl (found
here) and then removed all of the negative space from the backing.
(Check out my other heat transfer projects
here.)
Then, I cut a bit off the side and bottom, so the image would run off the front of the pouch.
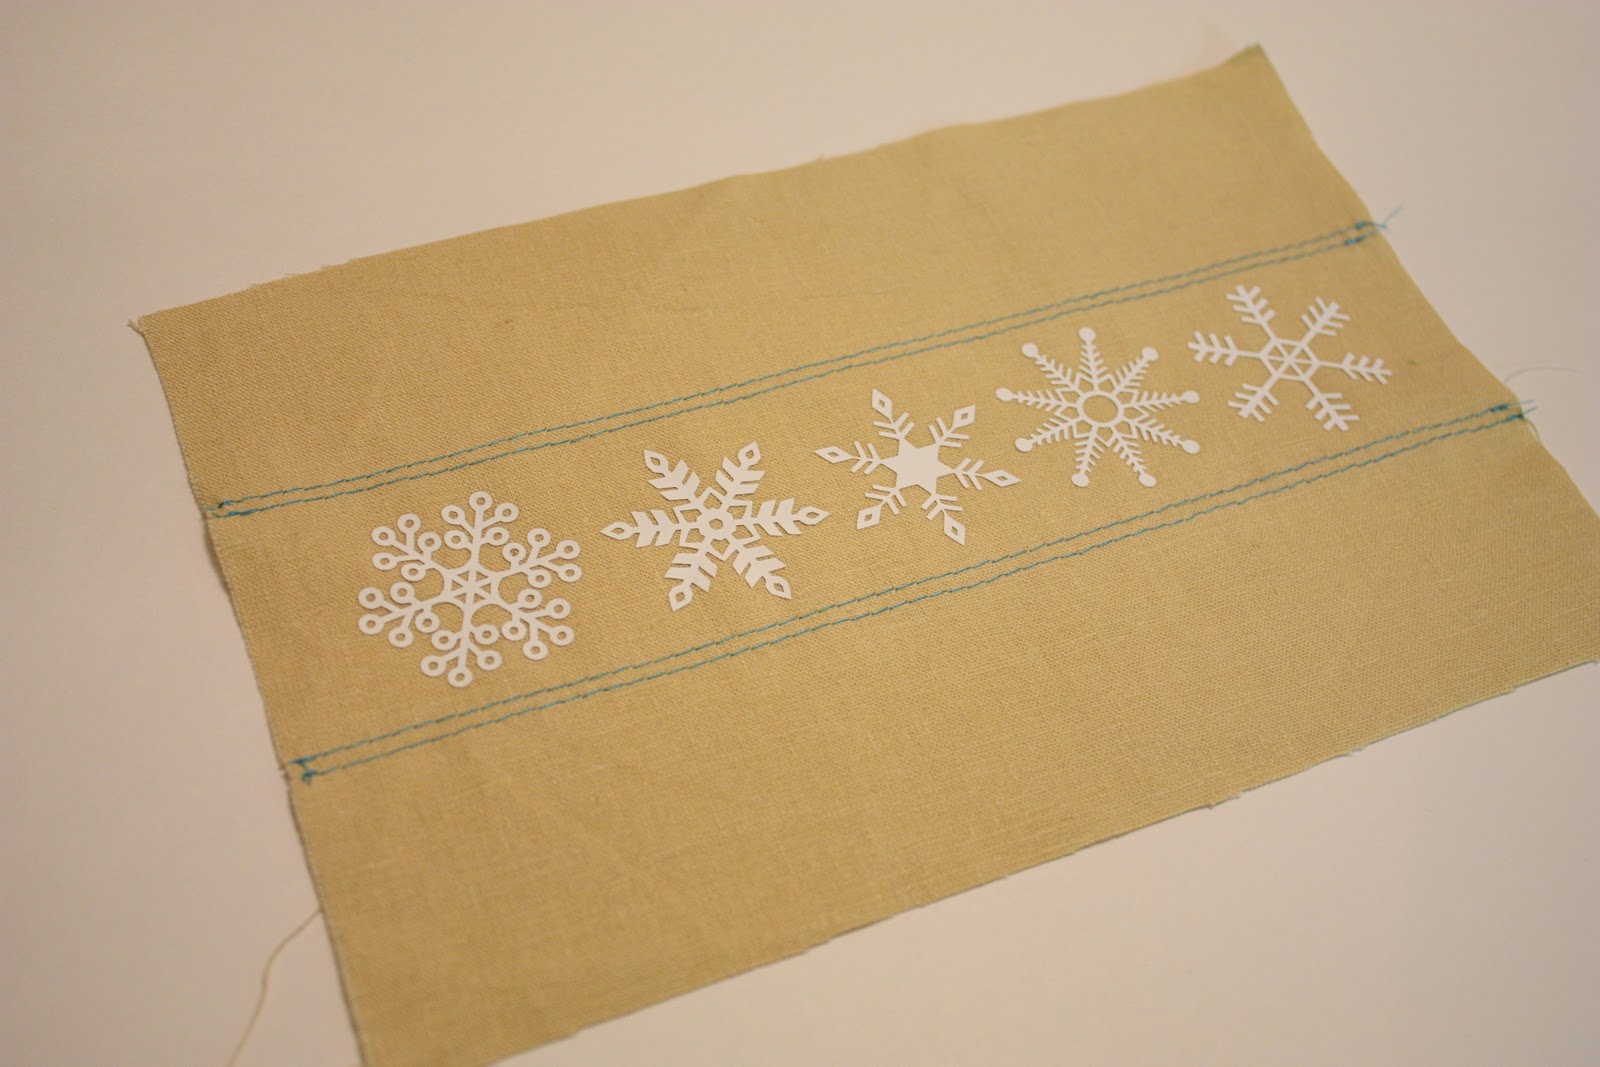
The next one was done the same way.
But then I added some blue stitching to the front. Just for fun.
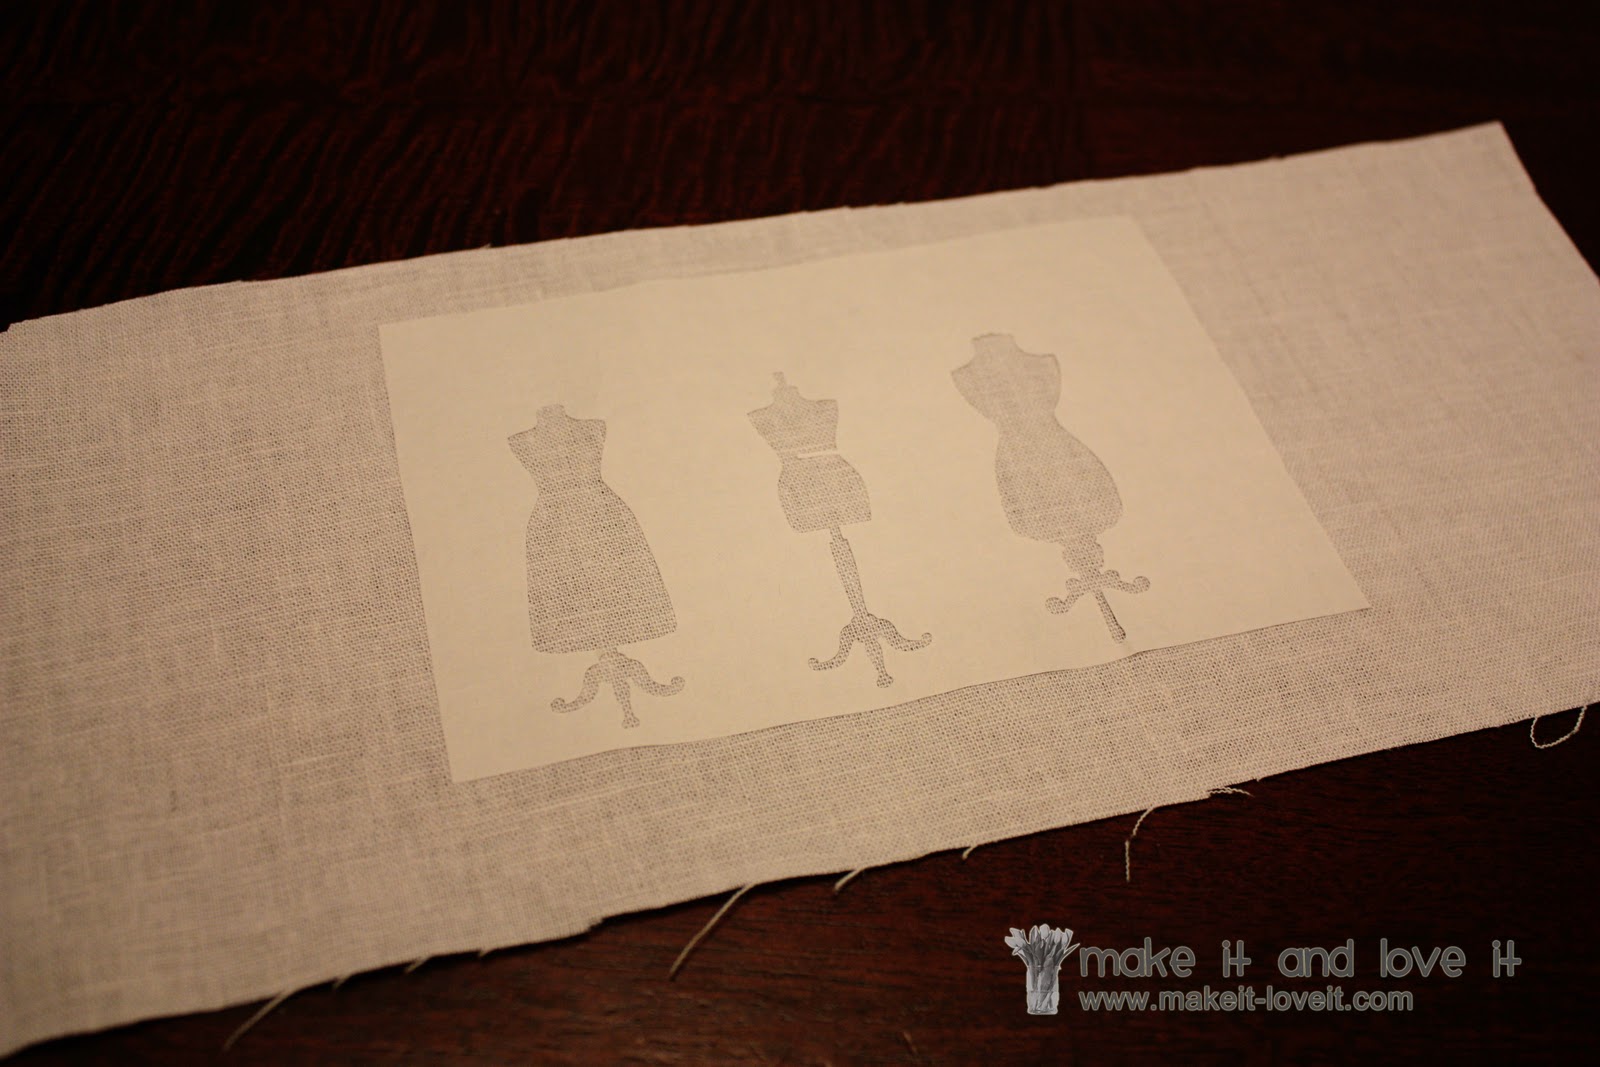
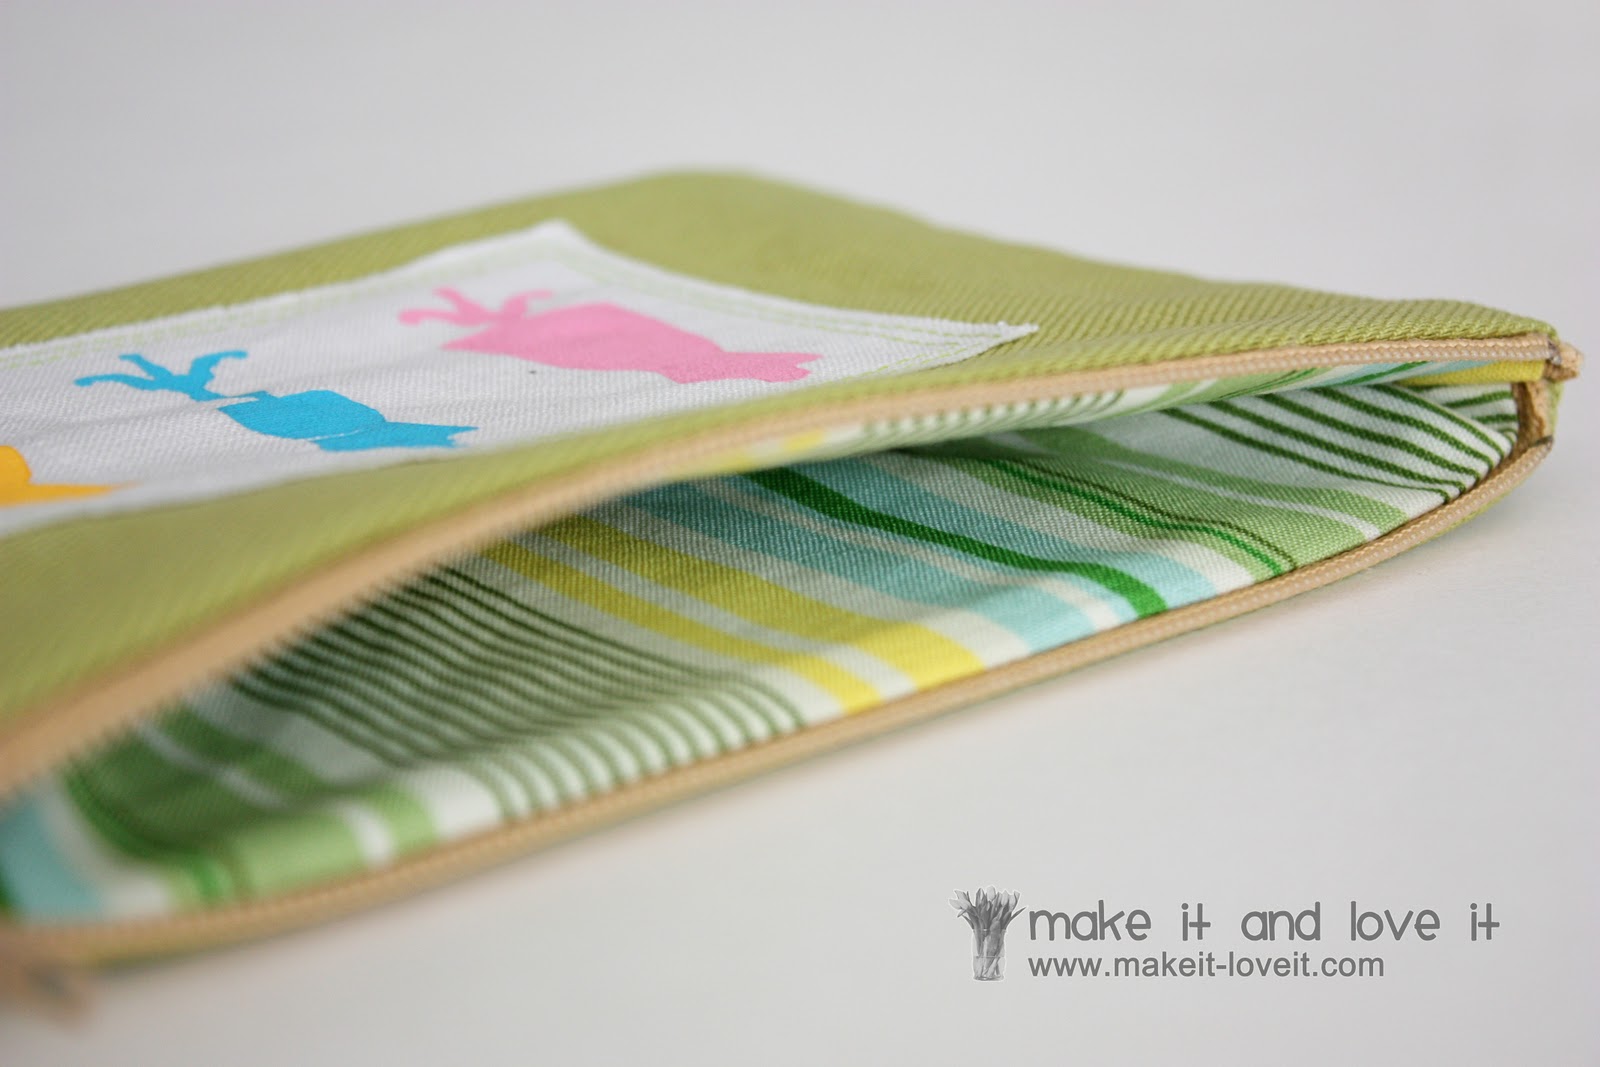
And for the third one, I used some freezer paper, stuck it to the sticky mat (that comes with the Silhouette) with the smooth side face down, and cut out my images. Then I peeled back the freezer paper and ironed it down to an extra piece of fabric, with the smooth side facing down.
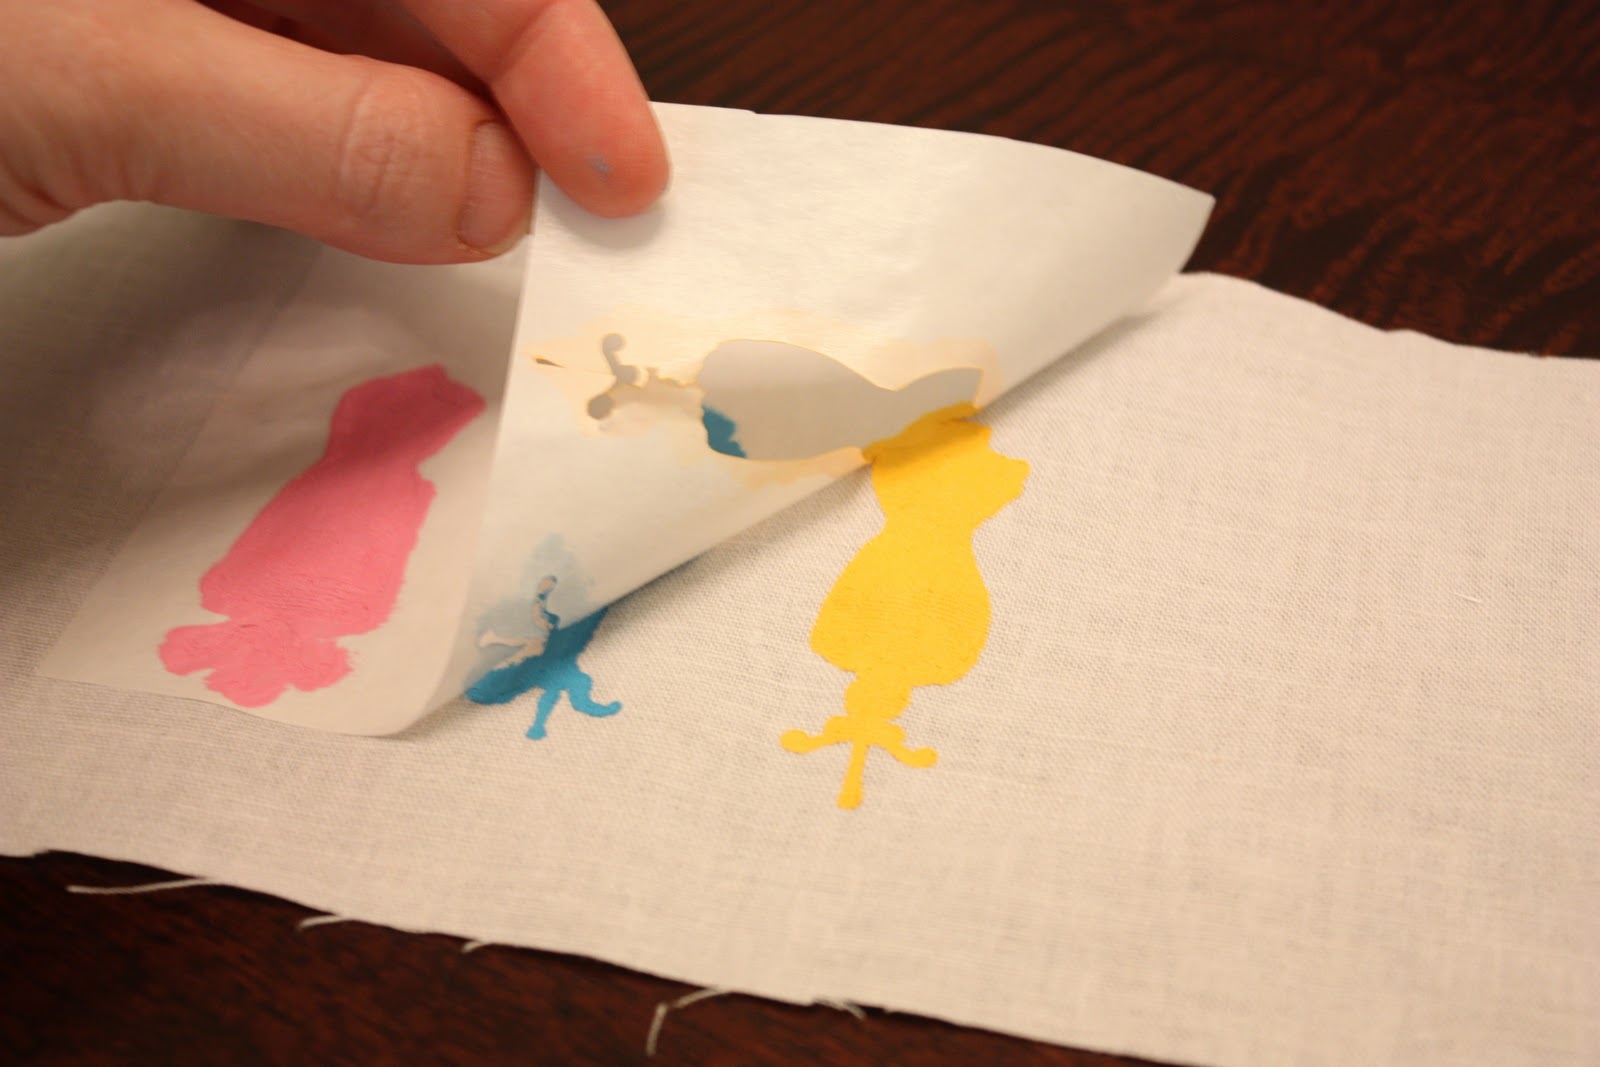
Then, I painted inside those images with two coats of fabric paint.
(More on freezer paper stenciling
here.)
After the paint completely dried, I peeled back the freezer paper to reveal my images. Then I heat sealed the paint by ironing on top of the images with a piece of fabric in between.
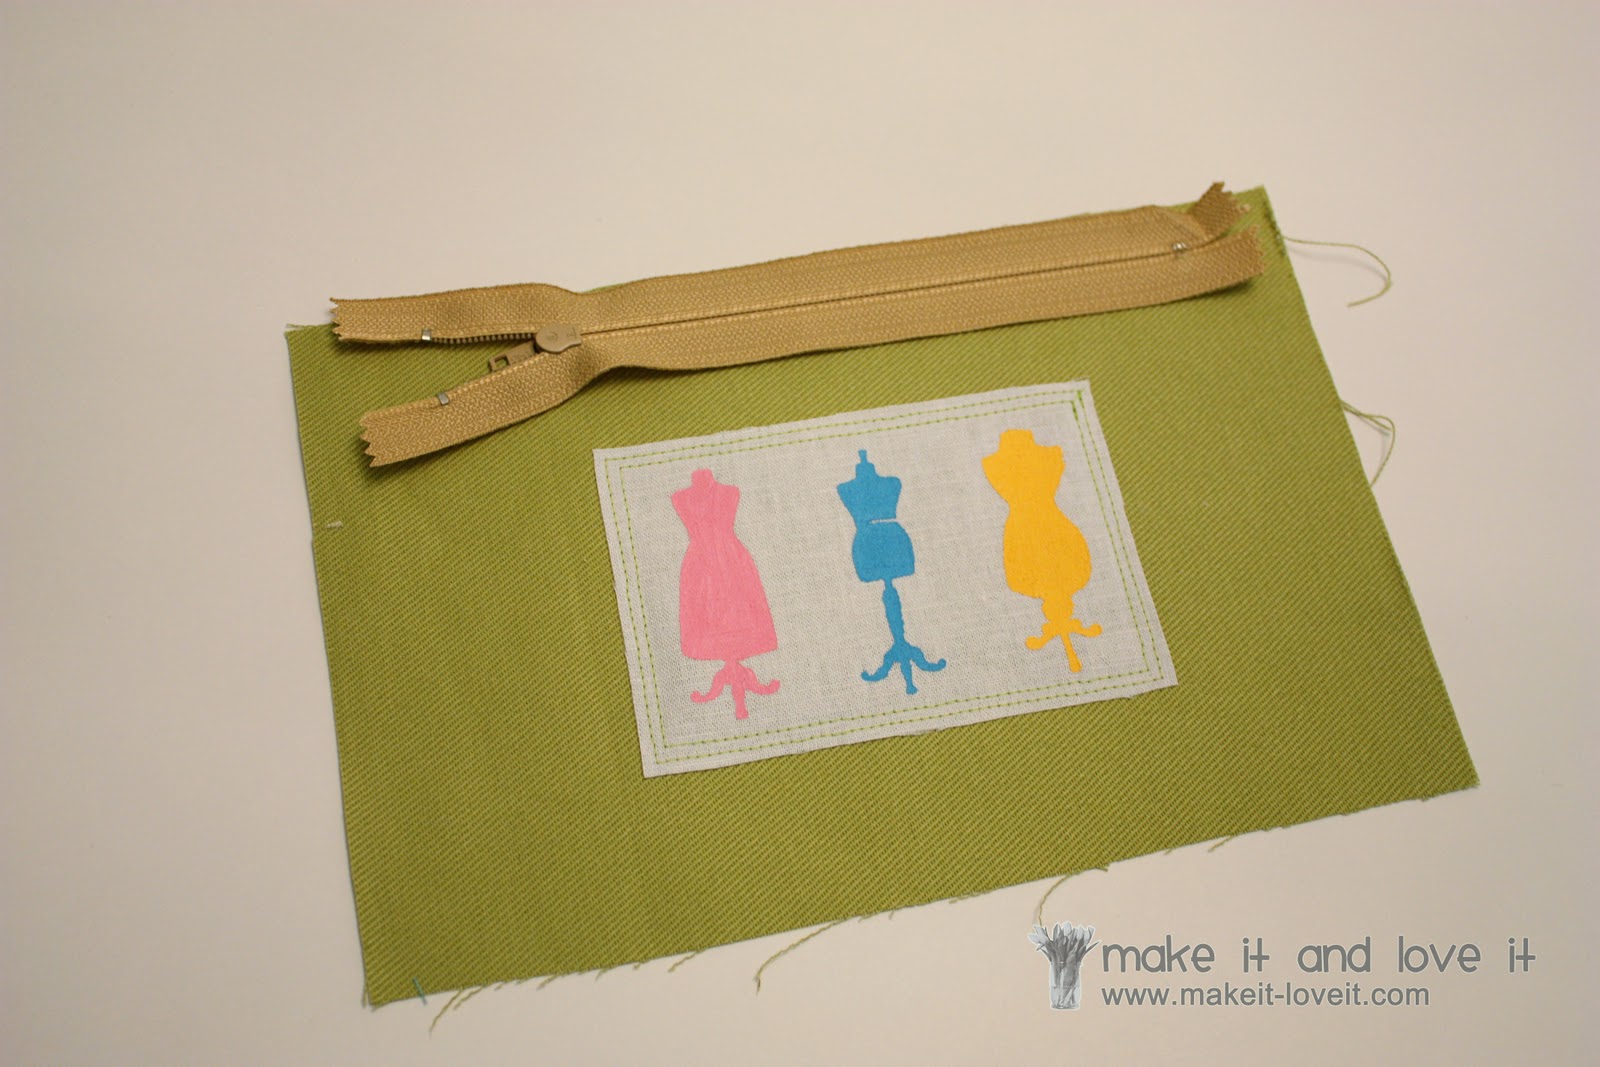
Then I trimmed down the fabric and attached it to the outer piece of fabric of the 3rd pouch. (You can use double sided fusible web between the two layers to keep the fabric in place while sewing, but I skipped that part.)
Assembling the zipper pouches:
First, you’ll need a zipper that is 9 inches for the size pouches I made here. I didn’t have any…….oops. So I am using a 7 inch zipper below (which is really 8 inches long with the extra they give you at each end) and just took my sides in a bit more. But if you’re using a zipper that is slightly longer, line up the top of the zipper along one end and let the extra at the other end hang off.
Place your zipper face down along the top, while the fabric is face up, and be sure that the top edges are even.
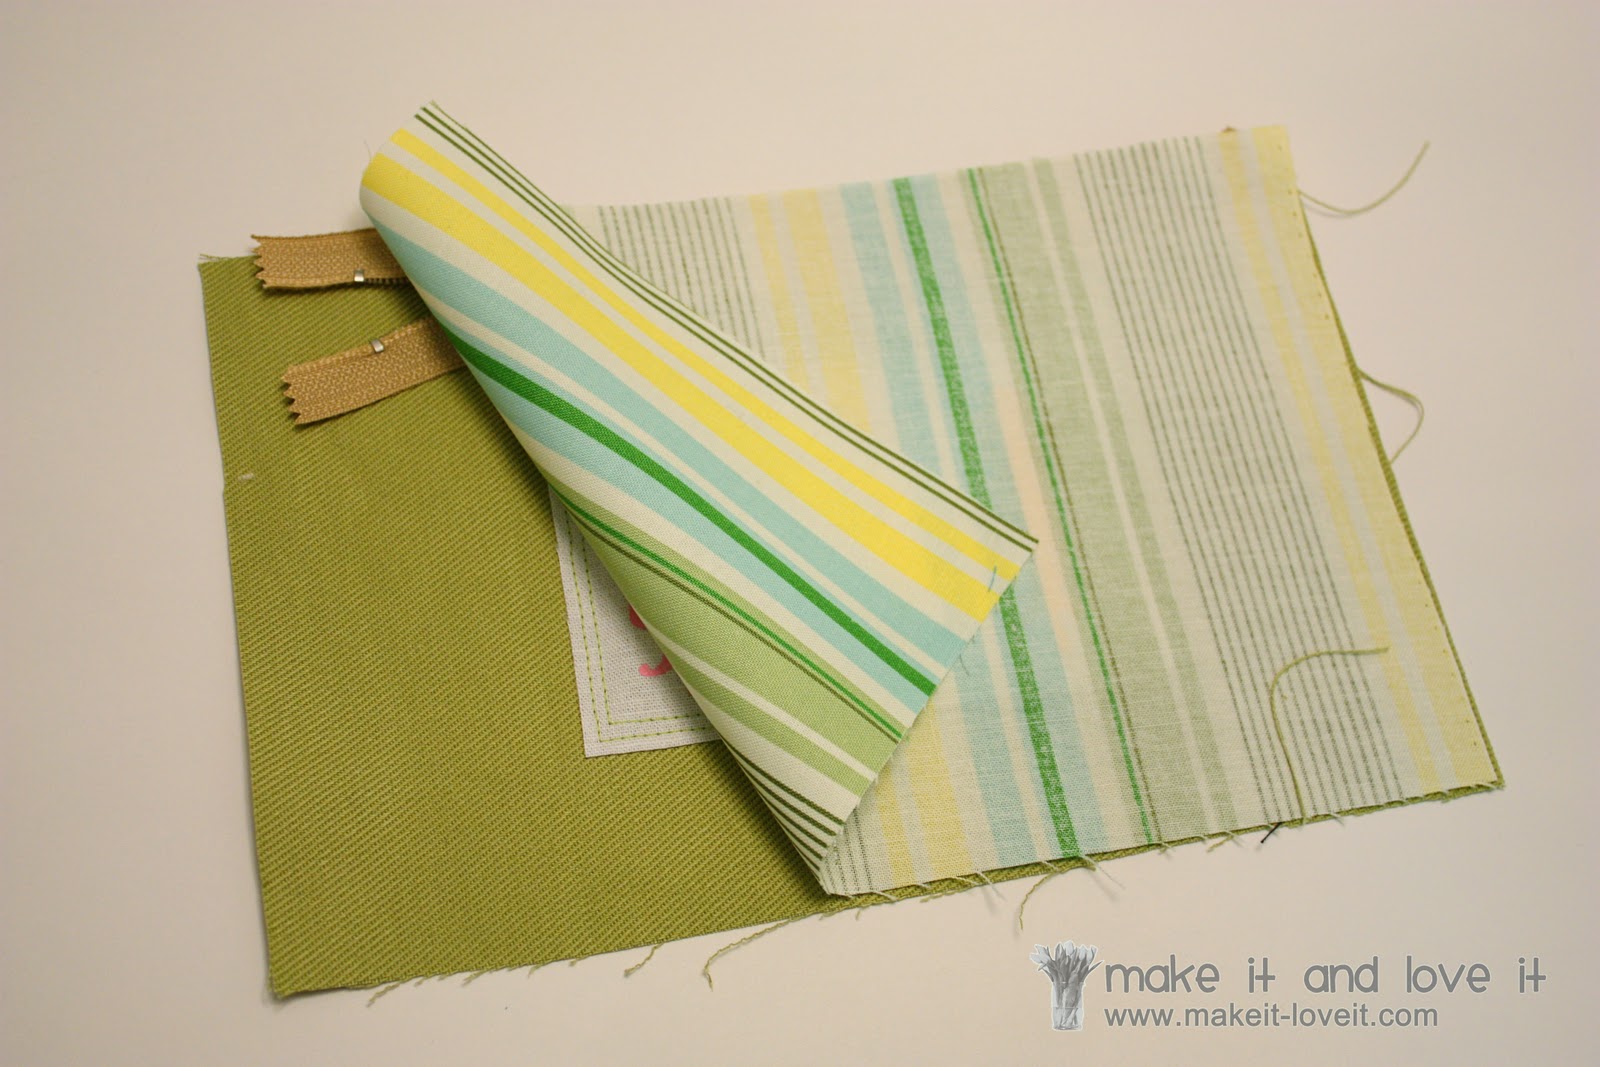
Then place one of your lining pieces on top, face down. Line up all 3 top edges.
Sew along that top edge with a zipper foot.
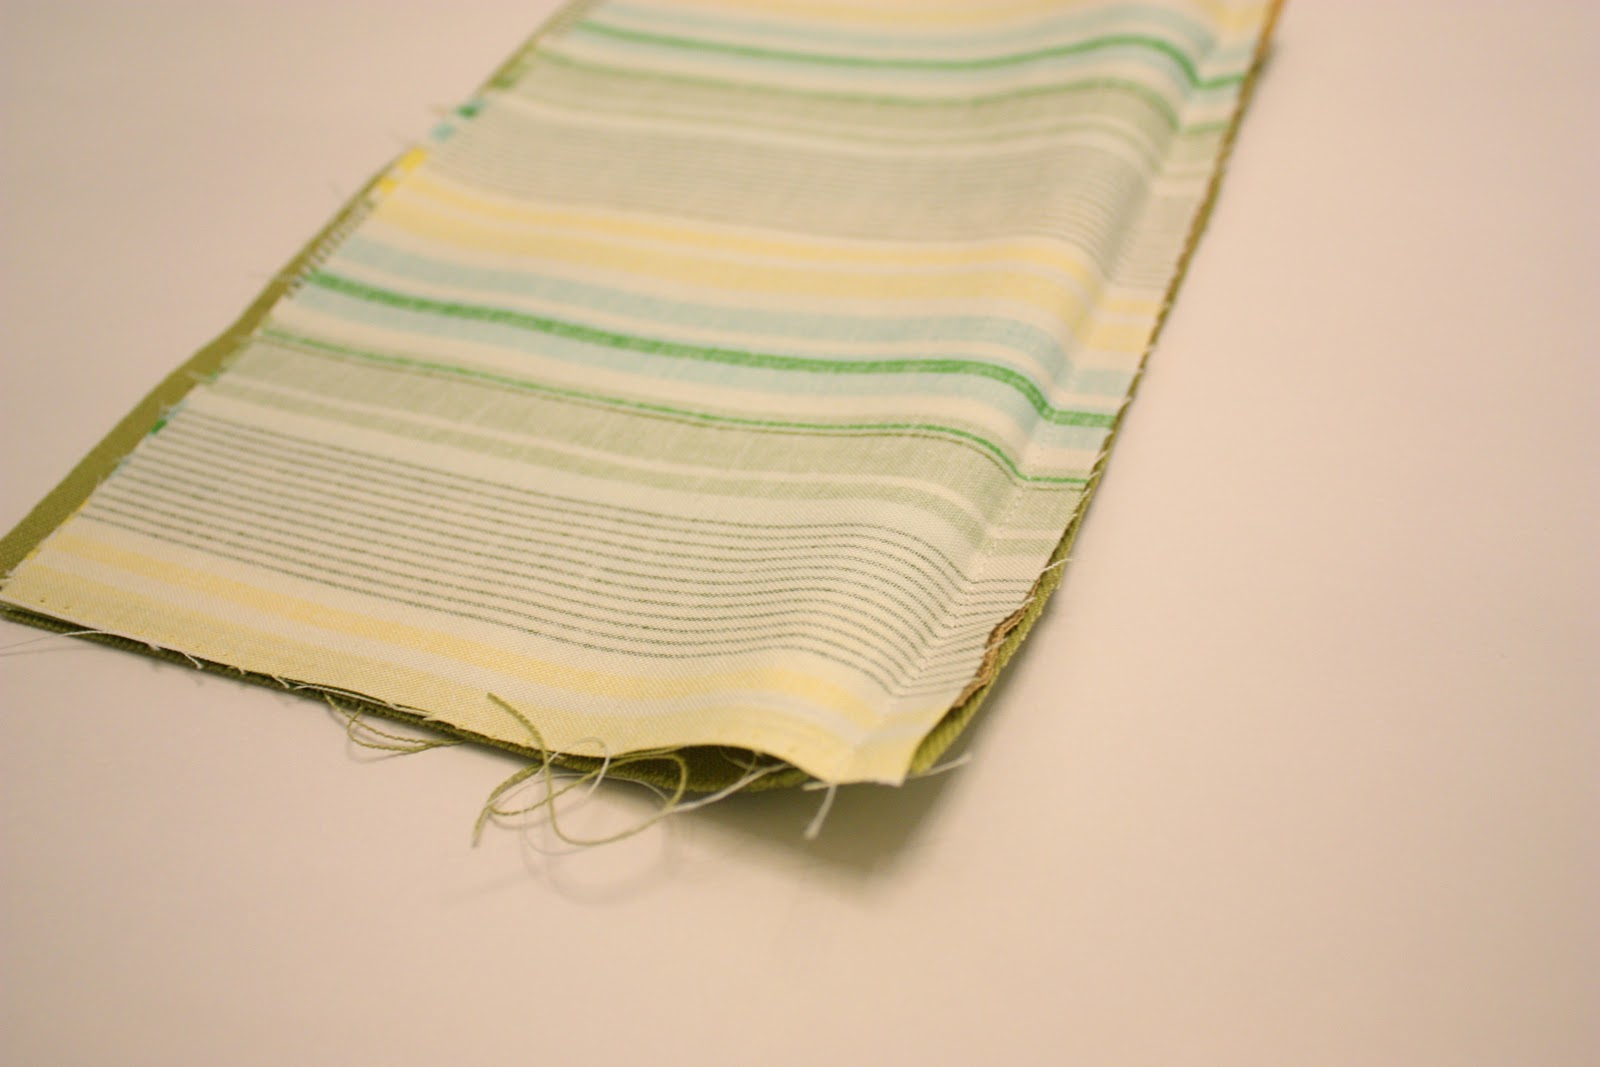
Open it up and get the fabric out of the way while you do the same thing with the other side of the zipper….with the other 2 pieces of fabric. If you open it all up, it will look like this:
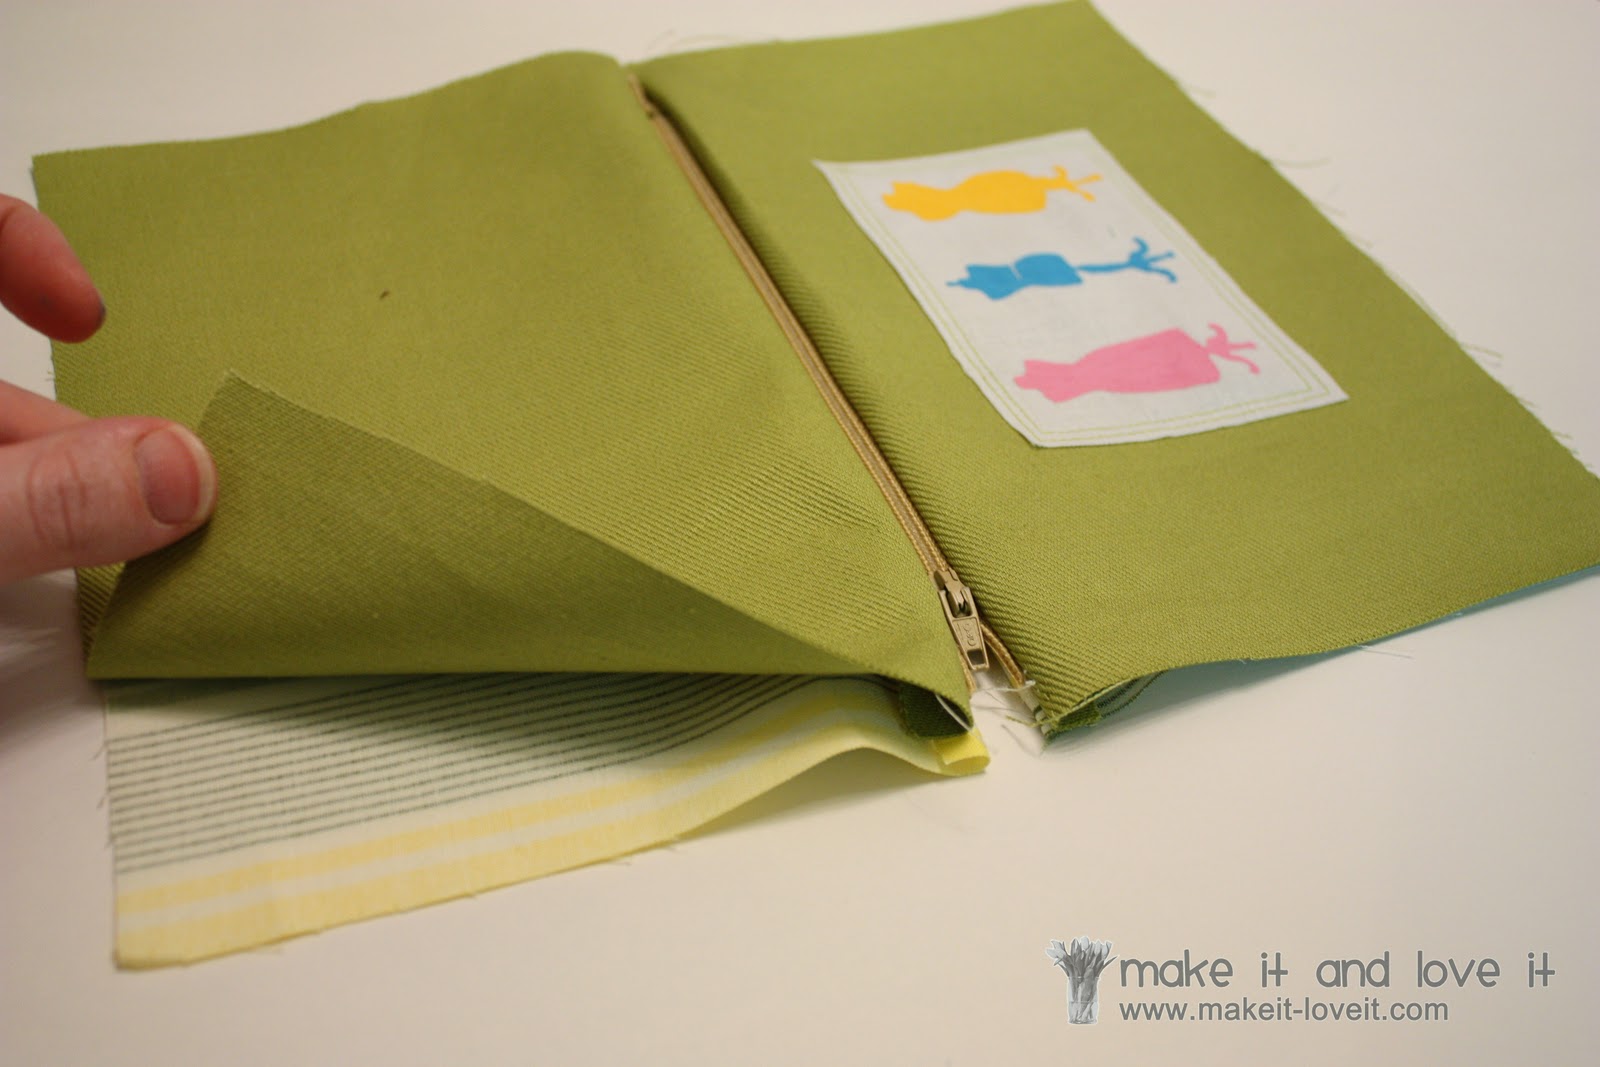
Unzip the zipper halfway (important step) and then fold the two outer piece of fabric together with right sides together and the tow lining pieces together with right sides together. Sew all the way around this big rectangle (with a 1/2 inch seam allowance….except I had to take mine in more at the sides because of my shorter zipper), leaving about a 3 inch hole along the bottom of the lining. Then trim the corners and zig zag around all of the raw edges.
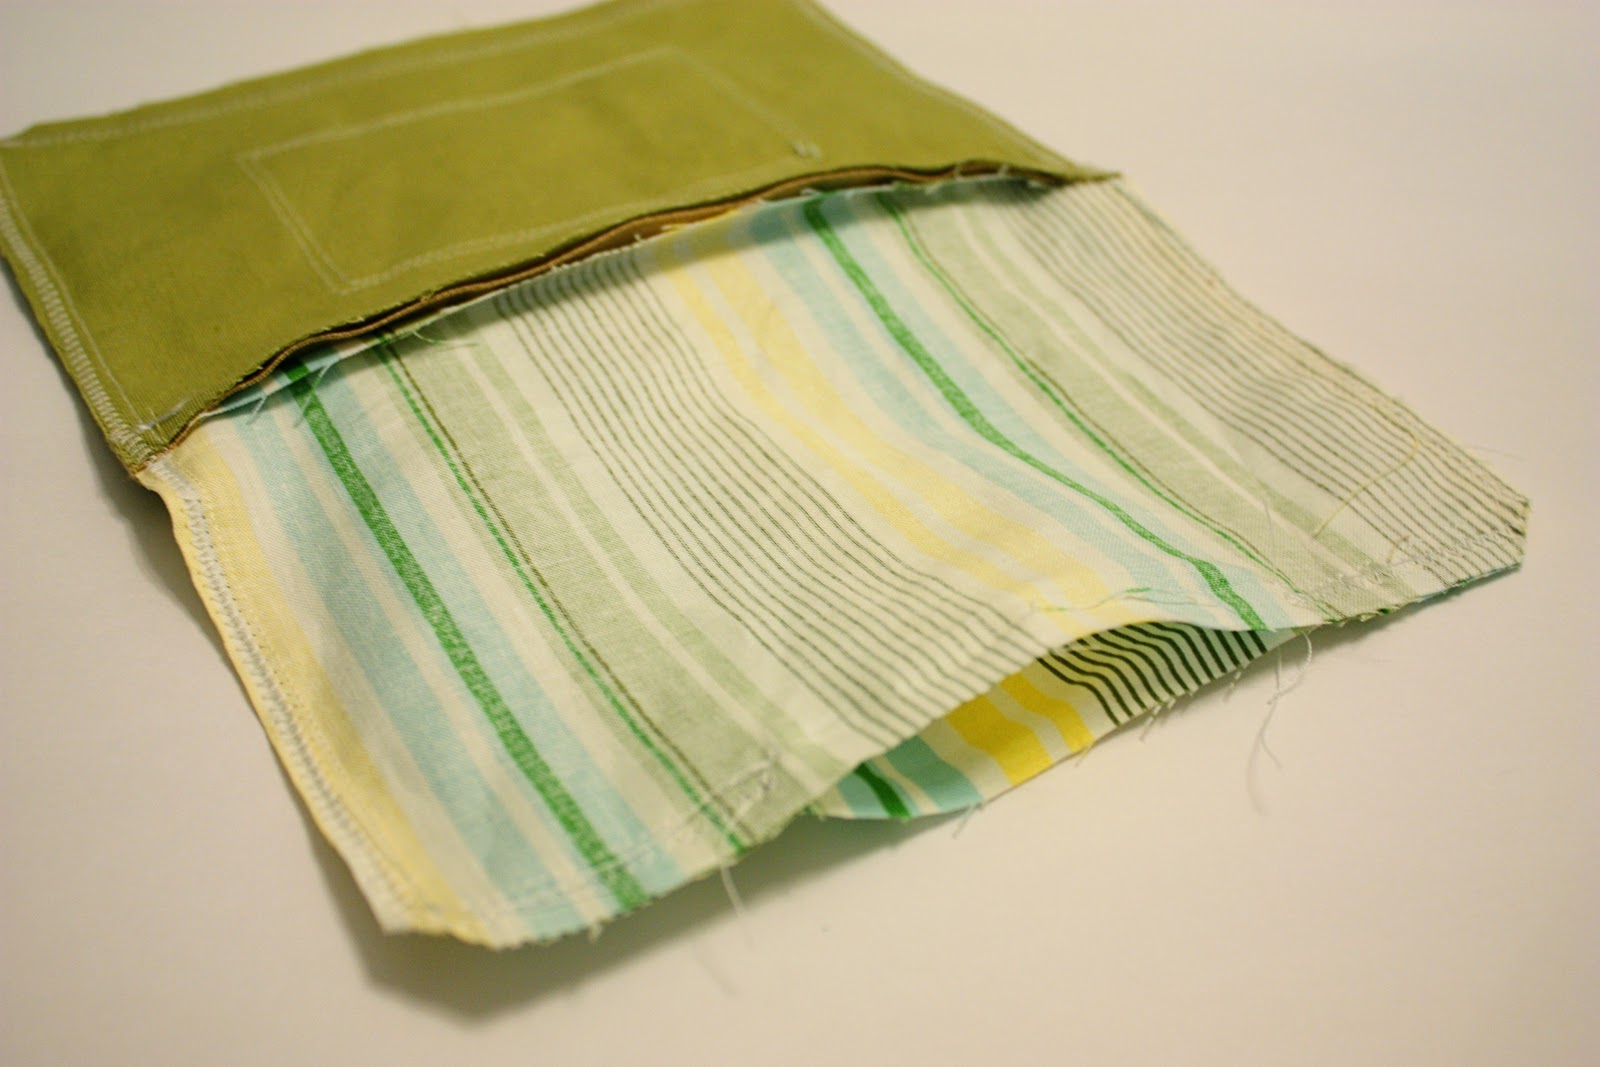
Then, turn the pouch right side out through that gap in the lining. Poke out all of your corners so that they’re nice and crisp. Then fold the raw edges of the opening towards the inside, and then hand-stitch or machine stitch the opening closed.
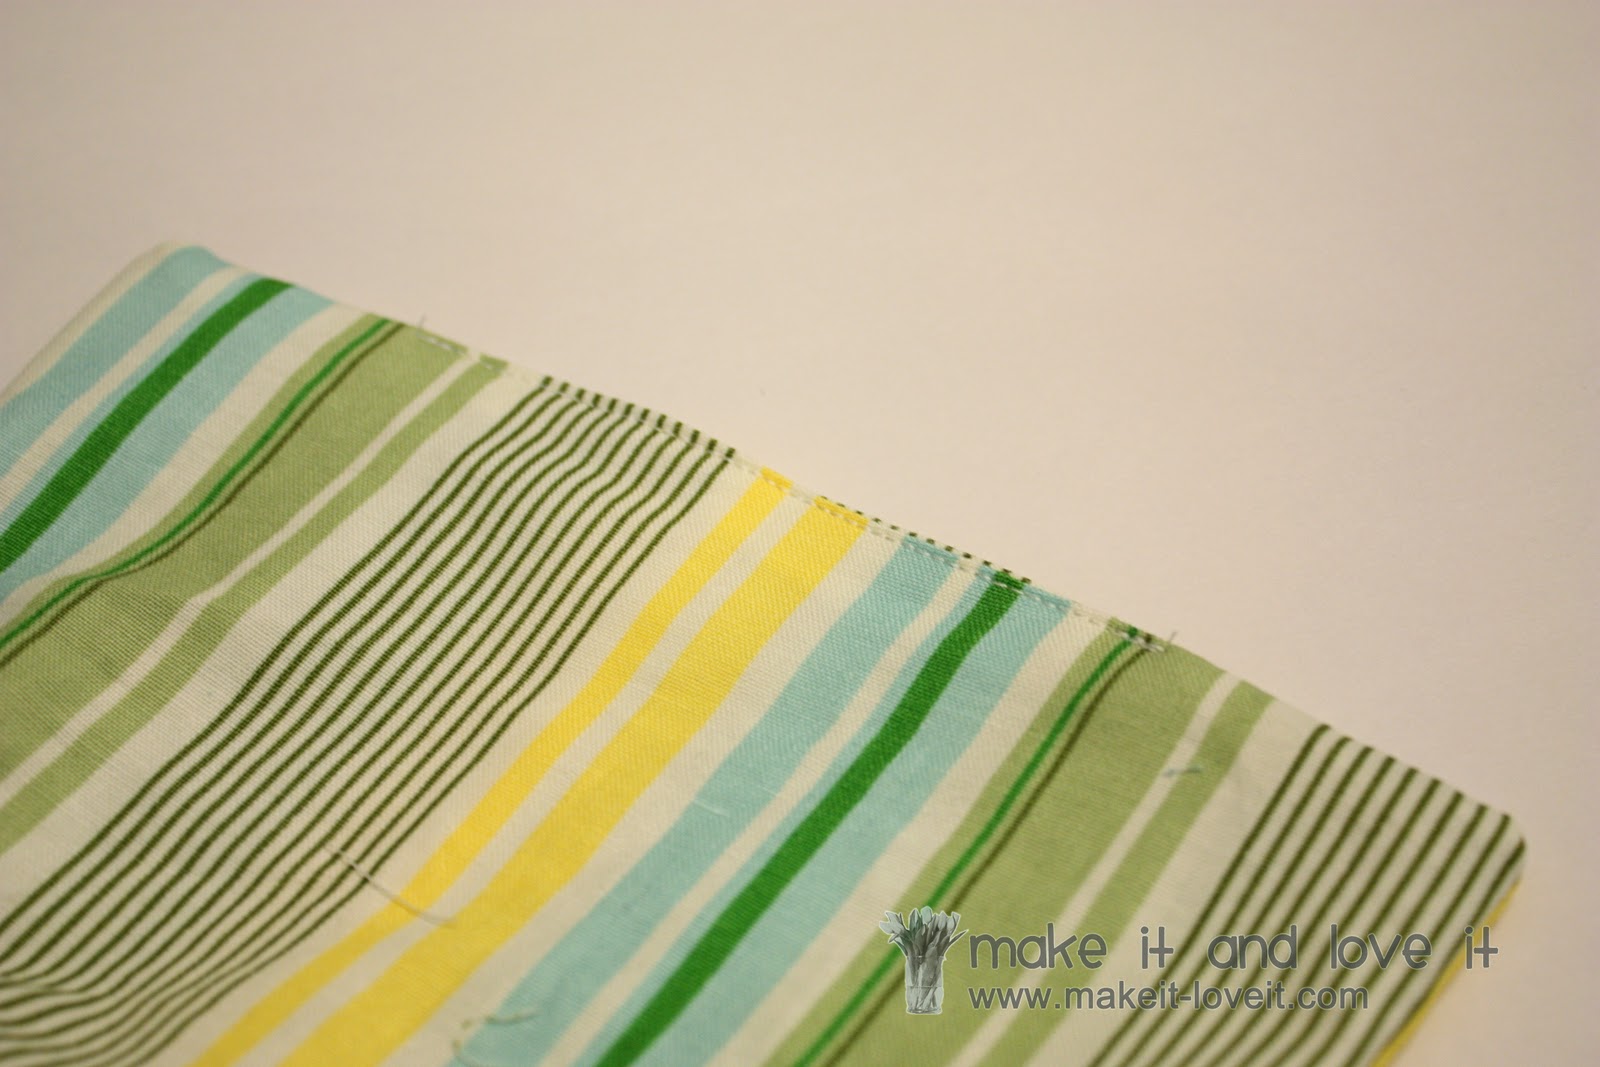
Shove the lining down inside the pouch and then press the pouch flat.
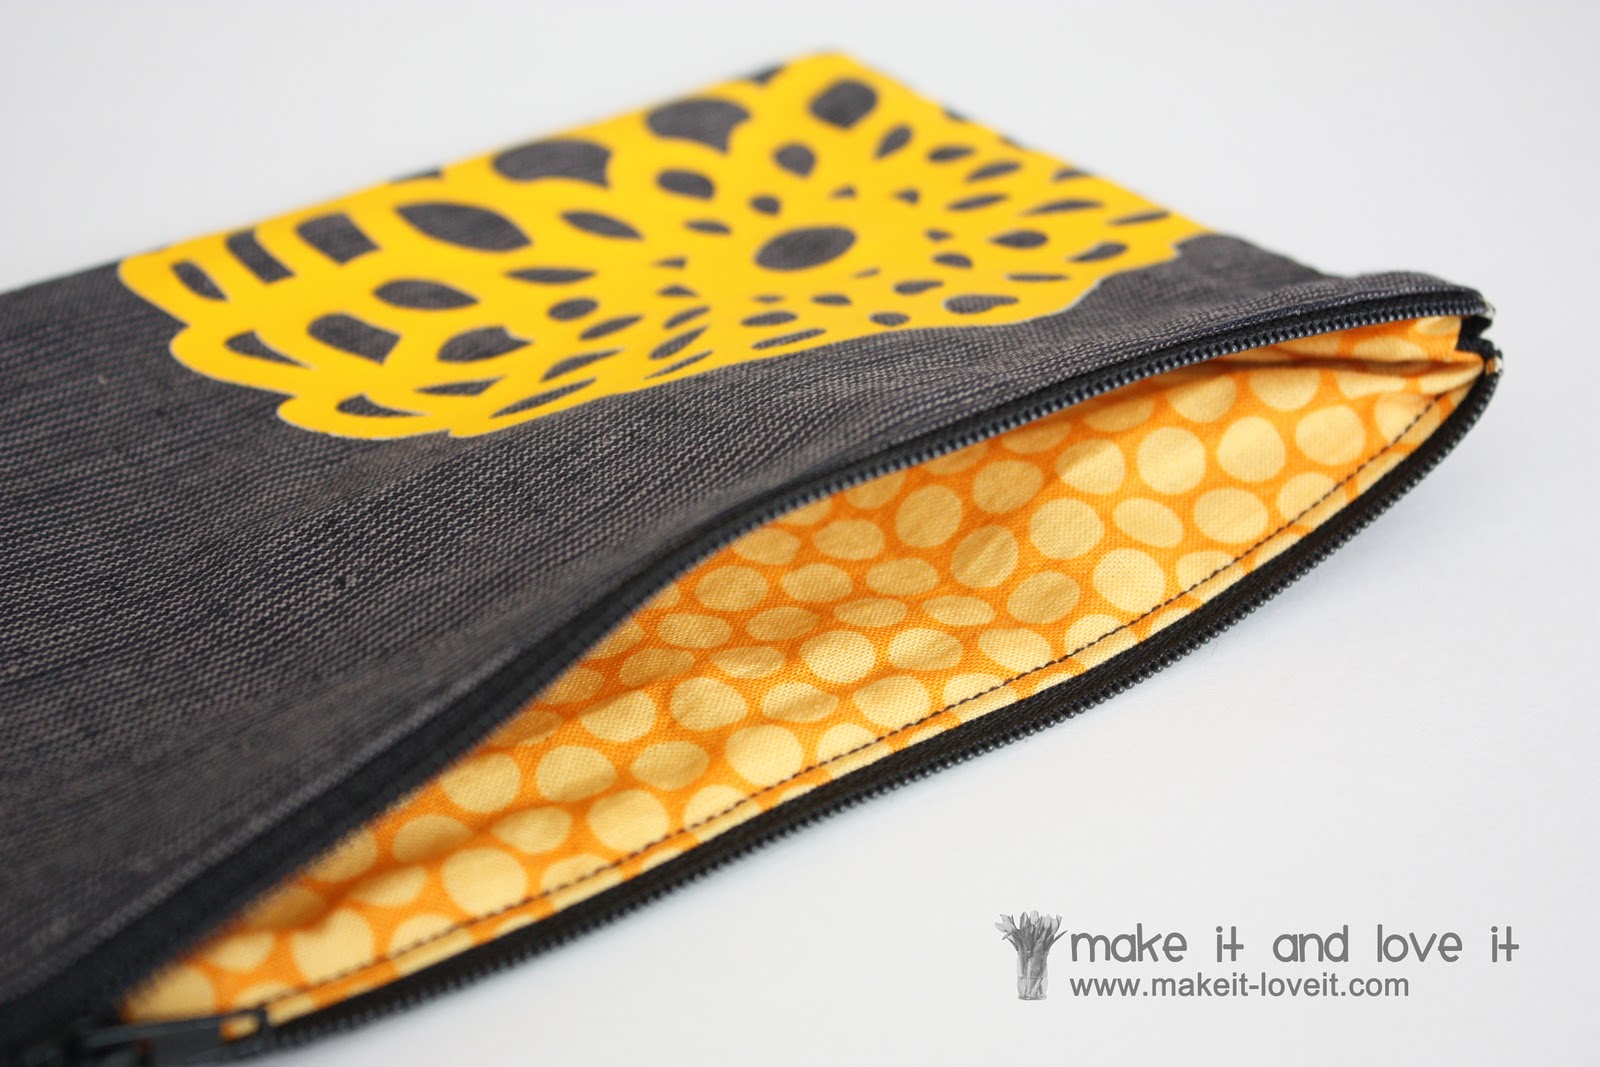
And while the pouch is open, you can see that great lining fabric peek out.
How’d the other others turn out?
The snowflake pouch turned out soft and sweet.
With a great blue lining…
And the charcoal pouch with the vivid yellow dahlia, screams hello.
And has such a happy polka dot lining. Don’t those dots put a smile on your face?
And that’s it.
A nice and easy project that can be used or gifted in so many ways.
Now, go on a personalize one…….and then gift it away.
Thank you Silhouette for making that so much easier!