Home » DIY Tutorials » DIY Crafting » Crafting: No-Sew » DIY 5 Minute Wreath
DIY 5 Minute Wreath
April 14, 2014 - By Ashley Johnston 10 Comments
So excited to have Cami from Tidbits here again today, sharing this quick 5 Minute Wreath Tutorial. Really, who doesn’t have 5 minutes to pretty up a little nook/wall space in the home!
-Ashley
. . . . .
Have you noticed this year is all about purple? I’ve been seeing it pop up in magazines, throw pillows, fashion, and even appliances.
The pro’s have even dubbed it the color of the year.
Click
here to see Pantone’s purple, Radiant Orchid. Sooooo pretty.
After seeing purple everywhere, I decided I needed a touch of it in my home.
Since we recently added a baby boy to our family, this touch of purple had to be a quick touch of purple. The baby in blue wants most my attention!!
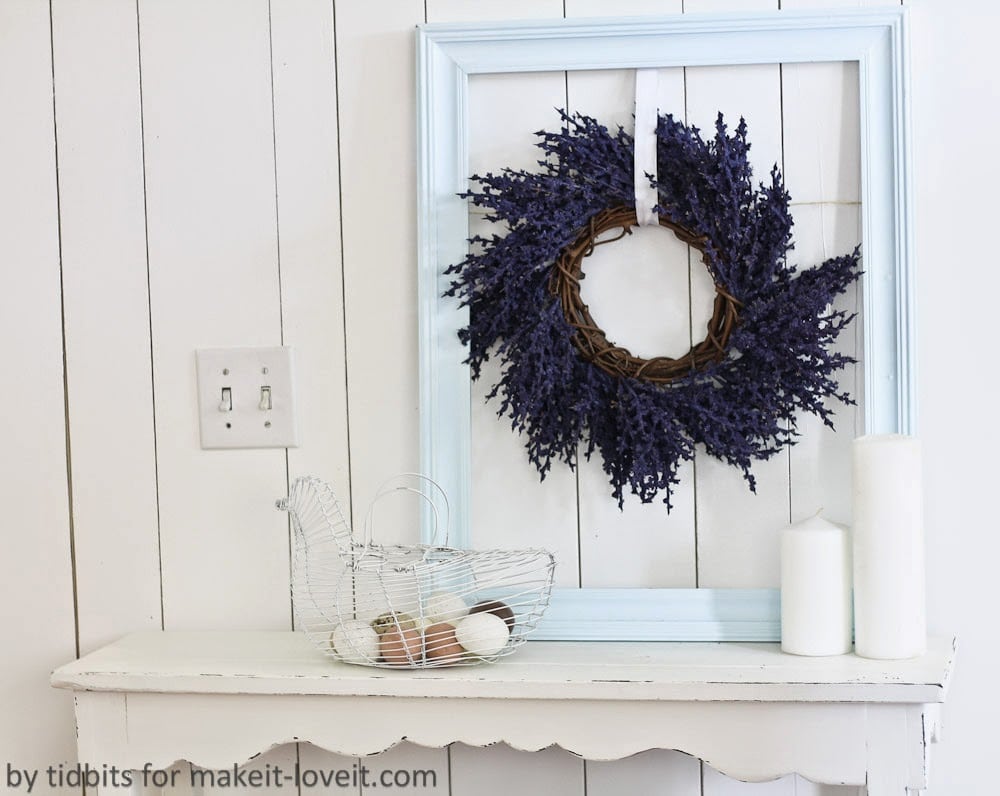
I am going to show you how I threw together a 5 minute wreath for my entry way, using the perfect shade of deep purple.
Paired with my thrift store chicken egg basket, spring is officially welcomed into our house.
However, you can adapt this simple wreath for any look or season – IN JUST 5 MINUTES!!
All you have to do is change out the floral for a completely different look. Use the same wreath form over and over again, and you have a quick interchangeable way to spruce up any room in your home.
When my sweet girls saw what I was making, they discovered yet another use for a flowery wreath.
A nature princess!! If only we could all have the imagination of a child.
Ready to whip up your own crown . . . . . . . . . . . er . . . . . . . . . . wreath?
This is so easy, I have a hard time calling it a tutorial.
In 4 easy steps, you will be done.
STEP 1 – GATHER
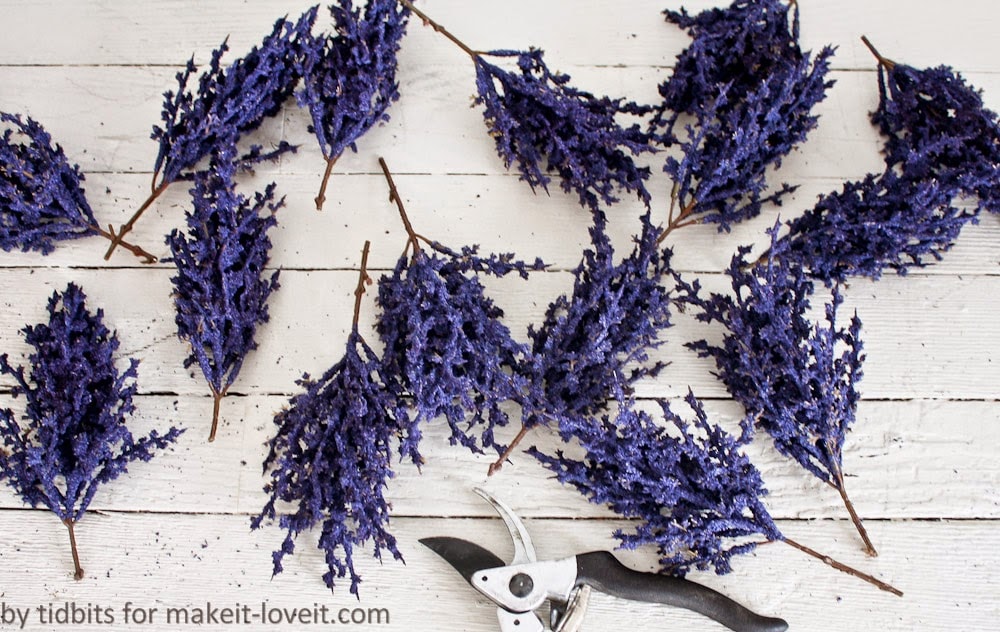
Go to your nearest craft store and get a stick wreath form, and any floral on a stem that floats your boat. The possibilities are endless. I have no idea what the purple flower is called, I just liked the look of it.
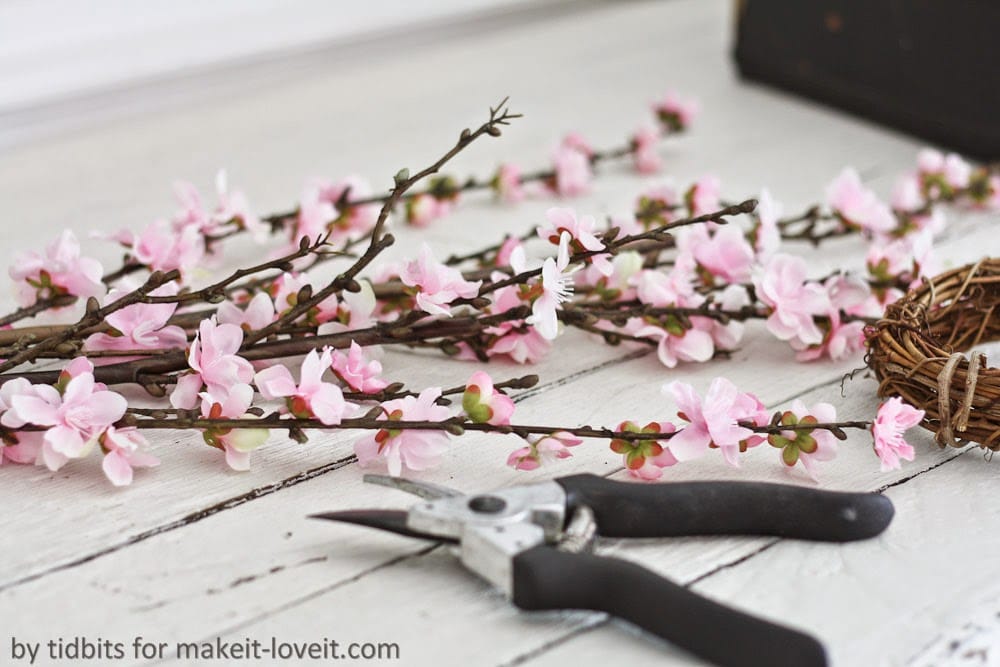
I couldn’t resist these cherry blossoms, and I knew they would be perfect wrapped around a couple of mini wreaths.
STEP 2 – SNIP
Use a wire cutter and snip off the floral parts you want to use, leaving some stem to work with.
STEP 3 – STICK
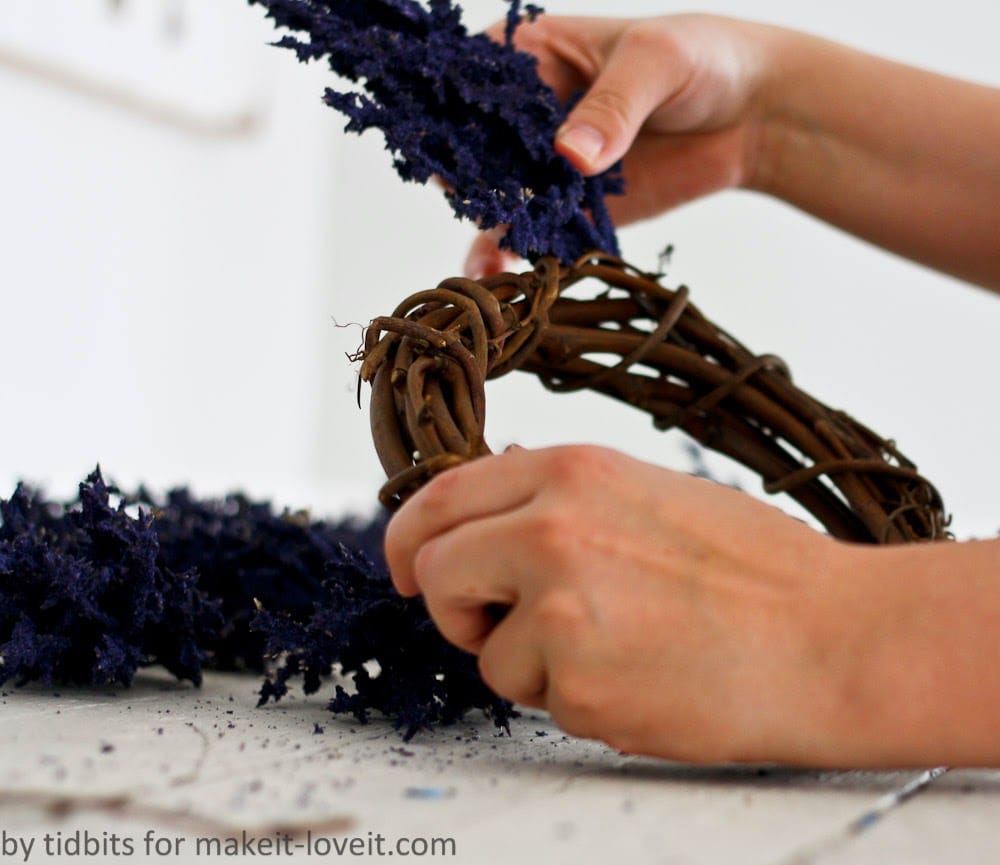
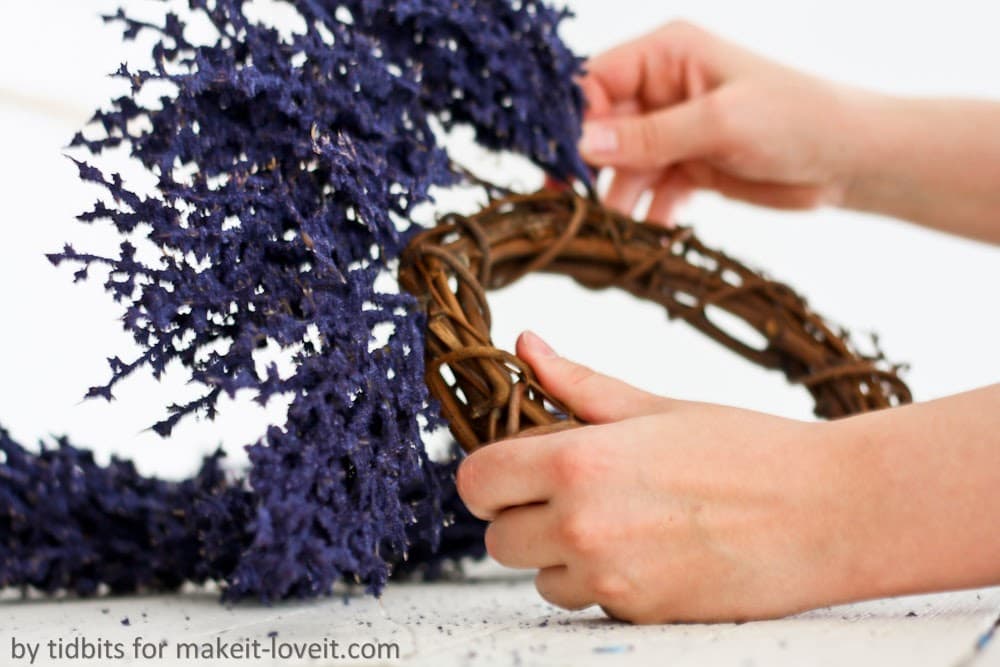
Simply stick your floral inside the wreath form, securing it in between the sticks. I did not need to use any floral tape or wire. (However, depending on your floral choice, you may need a bit to help secure your stems.)
Continue working around the wreath until it is full.
STEP 4 – HANG
I used a piece of ribbon taped to the back of a frame, but you can hang it anywhere or anyway you like.
And that is it! So very easy.
And so very purple.
Check out Cami’s blog Tidbits, her Pinterest Boards, and her Facebook Page.


