Today’s contributor is Tiffany from Making the World Cuter. All posts written by Tiffany for Make It and Love It, can be found here.
. . . . .
Hi everyone! It’s Tiffany!
I hope everyone had a very merry Christmas this last week! Now we are looking forward to the new year, and with that (at least for me and my house), we work on getting projects done that we started this last year! January for me is always the month that I look back on what I started the year before and make a plan to finish it. One of those things on my list is my daughter’s room. We got 99% of the way done and then started thinking about Christmas and neglected to finish the final details.
One of those details, is hanging things on the wall. She’ll be 12 in a couple weeks, so we wanted an older-looking room while still being lots of fun…just like her. She doesn’t really have a theme to her room, except cute. So these Dollar Store Burner Cover Art pieces are perfect!
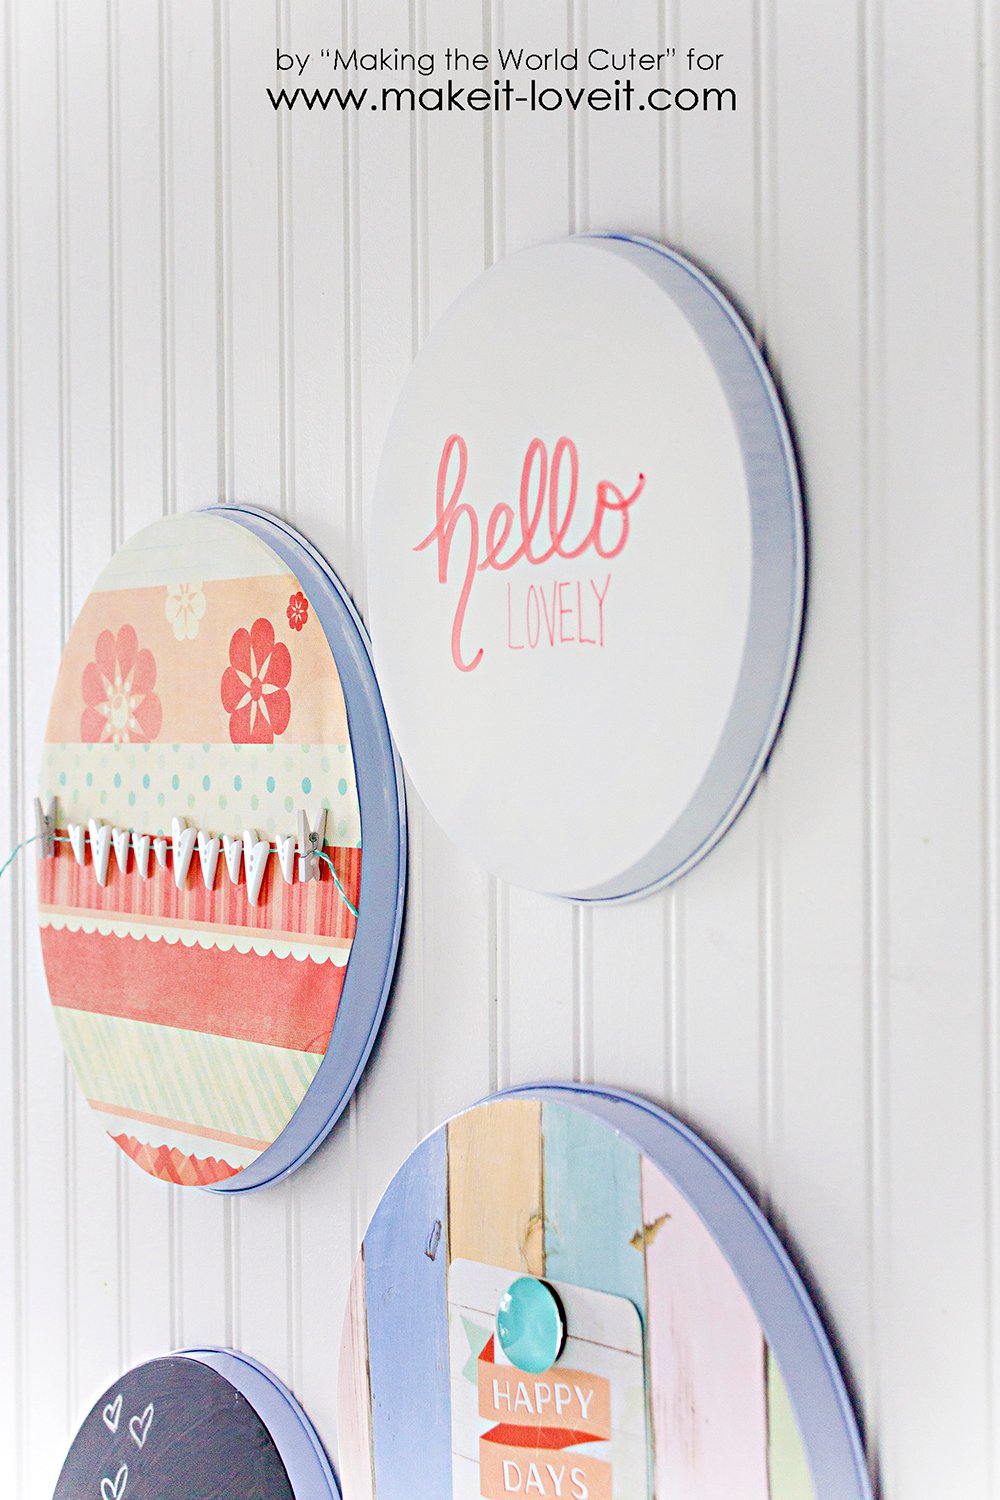
Above her bed we’ve been gathering things for a cute gallery wall, and I thought a couple round “embroidery hoop type” art would be cute.

She wanted a bike and a vintage camp trailer, and as cute as that would be to embroider…I don’t have the time, patience, and most importantly talent to do that! So, we looked for an alternative.

While browsing at the dollar store for something completely unrelated I came across these burner covers and had an “aha!” moment.

These really couldn’t be easier to make, and you can do just about ANYTHING to them and make them ADORABLE! These are a fantastic craft stash buster. Pull out just about any of your craft stash items and see where your imagination takes you…and if it takes you someplace you don’t love, you’re out a buck, and you probably had fun. Worth it!

I used chalk paint, spray paint, chalkboard paint, paper, mod podge…

For this one, I painted it with chalkboard paint. After it dried I just doodled a little camp trailer with some chalk and my daughter was thrilled. Super fun!

This one is fun, I just took some cute paper from my stash that looked like painted wood slats and used the burner cover as a template to trace the circle. I cut it out and used Mod Podge to adhere it.

Then here is the cool part, because it’s metal…wait for it…it’s magnetic! We took a cute card, that had a bike on it, a magnet and voila! I’m sure these will be covered in photos of her and her friends as she gets older.

I decided to do a couple more for the wall next to her bathroom, and these were just fun. I started this one the same way as the last one. Used the burner cover as a template and traced.

After gluing the paper down, I looked through my stash and found a few things that looked cute together and came up with the plan.

I made a little clothesline with the bakers twine and clothespins.

Then just hot glued the heart buttons on top. Turned out super cute!

For the last one, I just spray painted one white (the one I painted with chalk paint ended up going in a different spot and I just used it as a magnet board too) and then used a permanent marker to add the handwritten sentiment “hello lovely.”
I could have kept making them all day, they are so much fun! I have to keep telling myself that less is more in this room, it’s so much fun to decorate for this age!


If you are wondering how I hung them, I just used some duct tape (again using some of my craft stash) and some bakers twine and attached it to the back. They are light so this is plenty strong! Put a nail in the wall and hang them up!


Good luck!
-Tiffany!

. . . . .
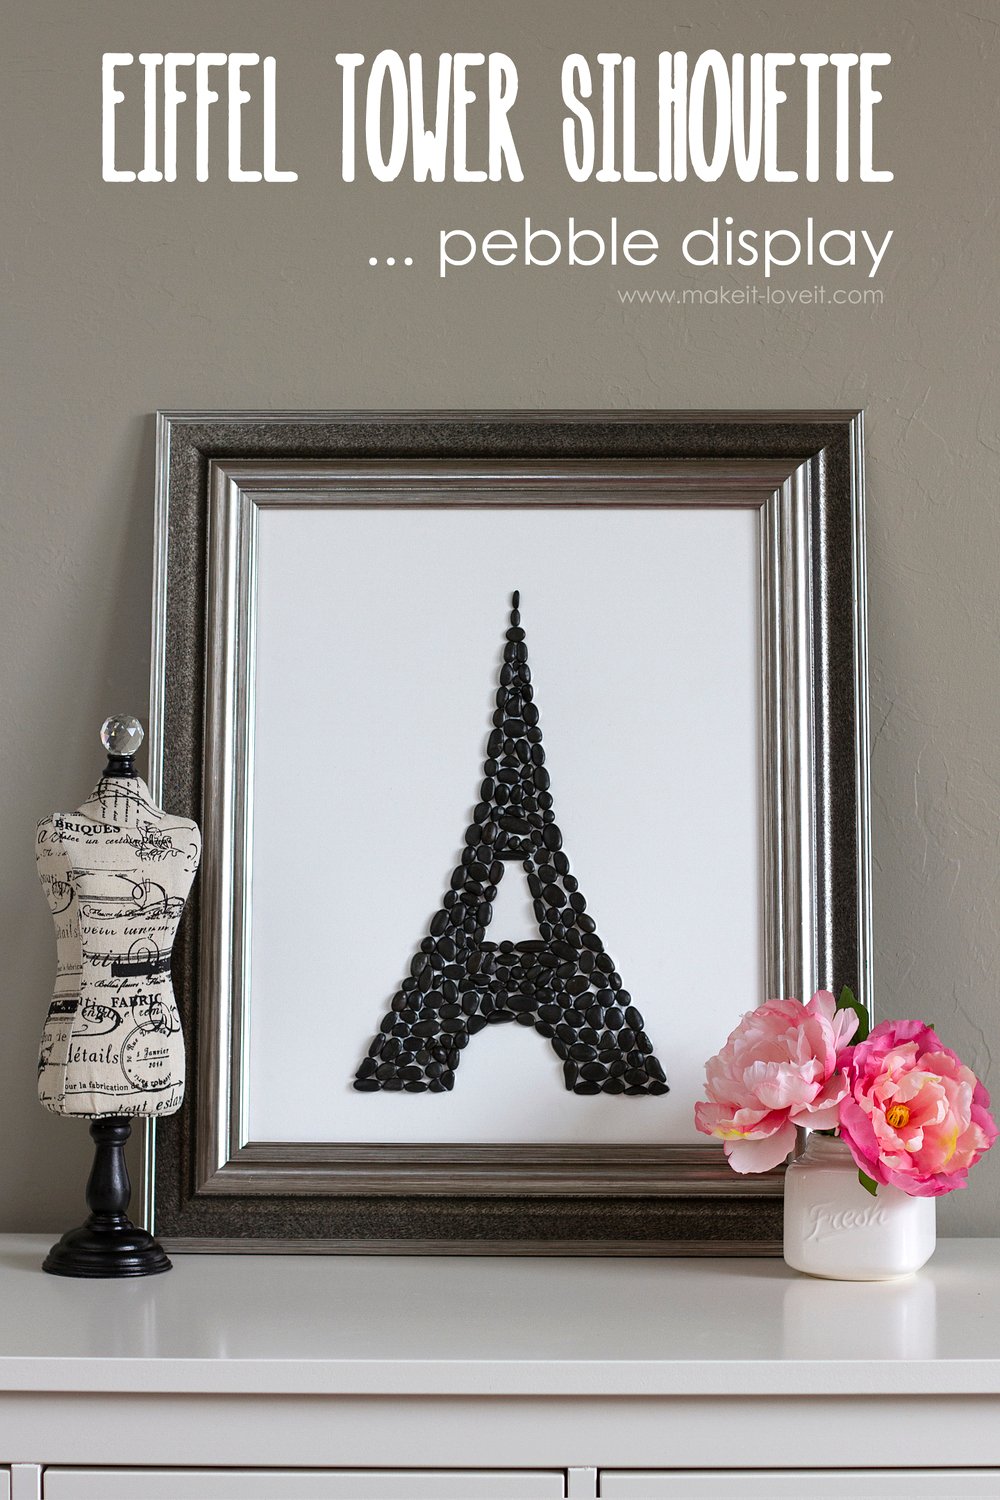
Your tween will love those burner cover art pieces,
as well as these other fun ideas to make their room unique:

Hi, I’m Ashley—the DIY-enthusiast behind this crazy blog!