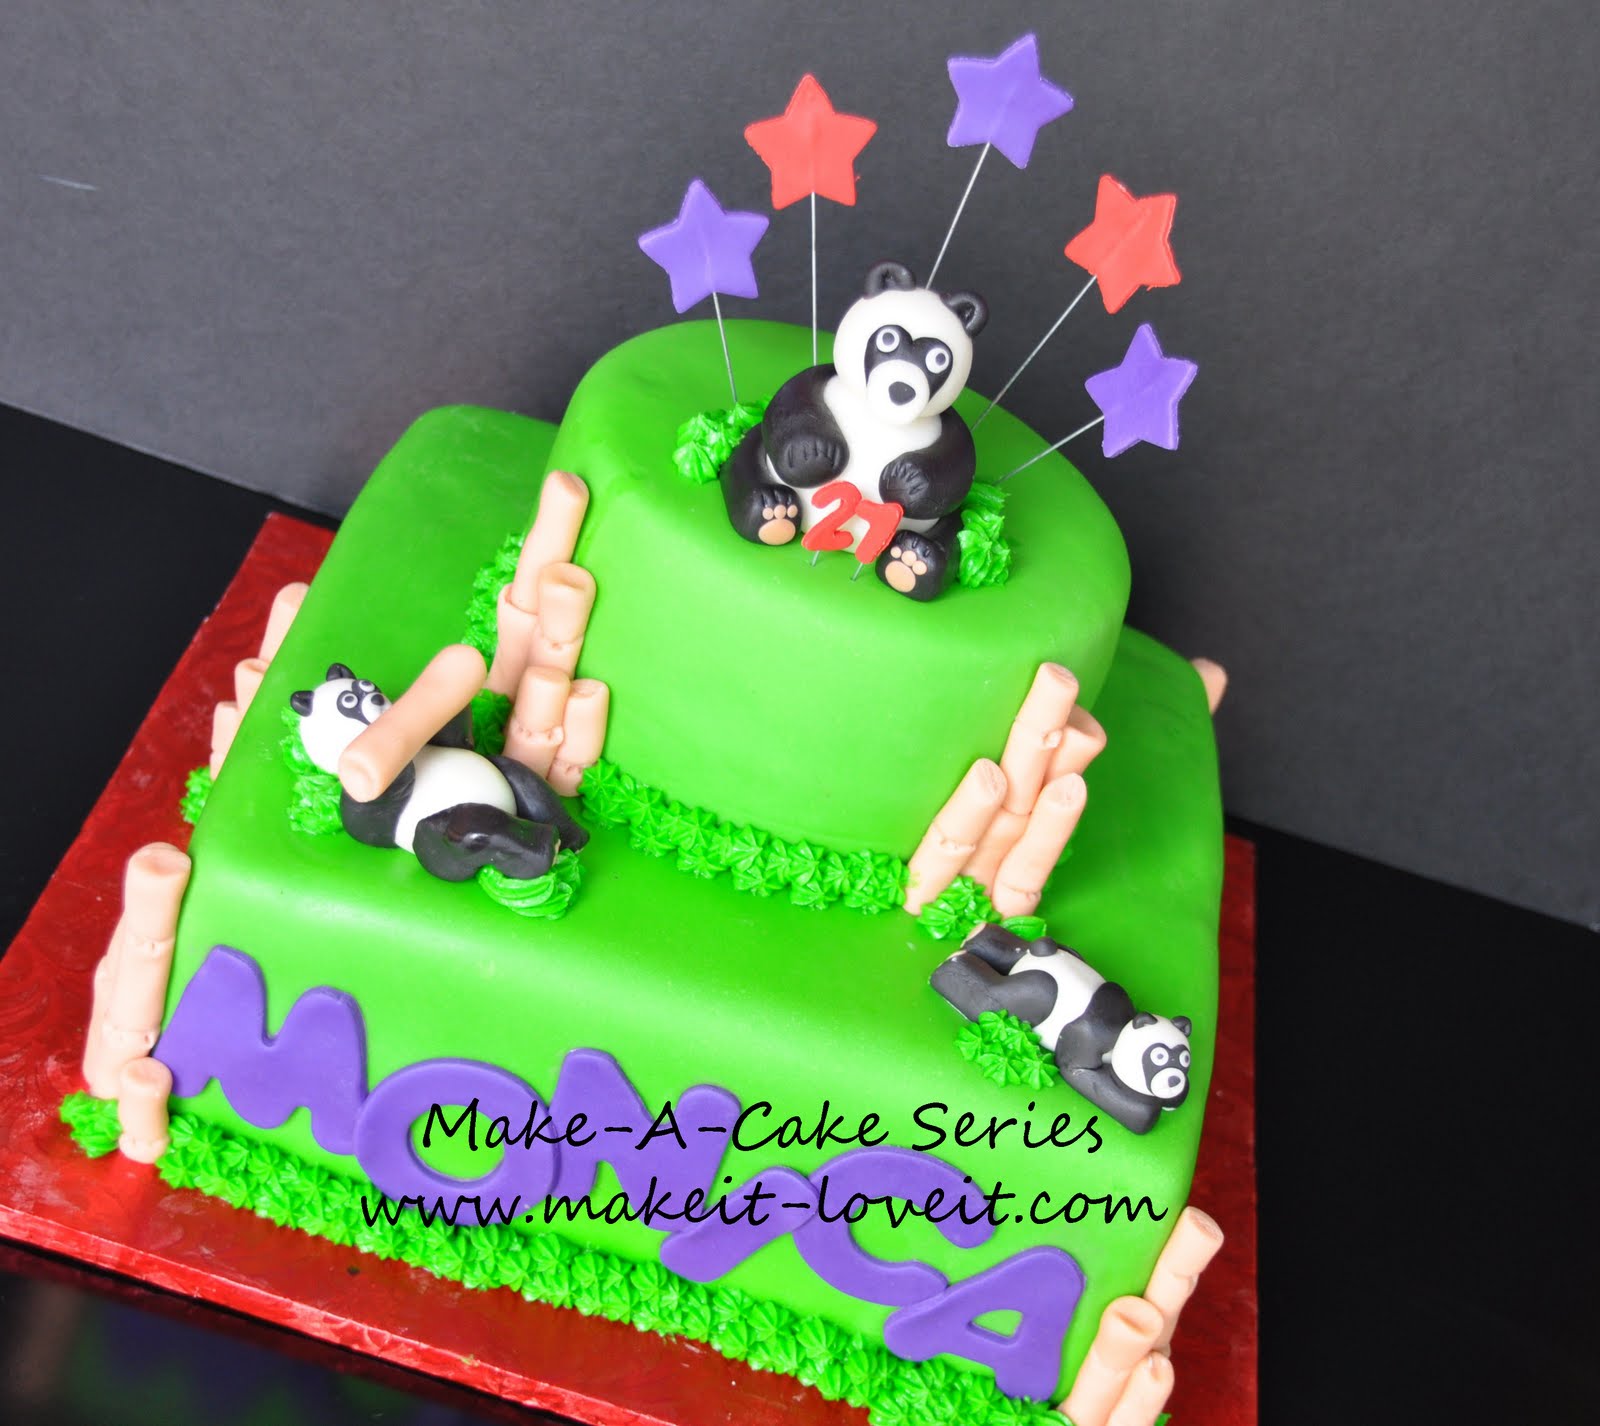
After I collect my information, I start working with my gumpaste.
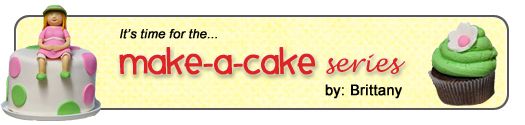
Do you want a Panda cake of your own?
Or maybe just some more tips on making figures?
I hope this helps!
Supplies
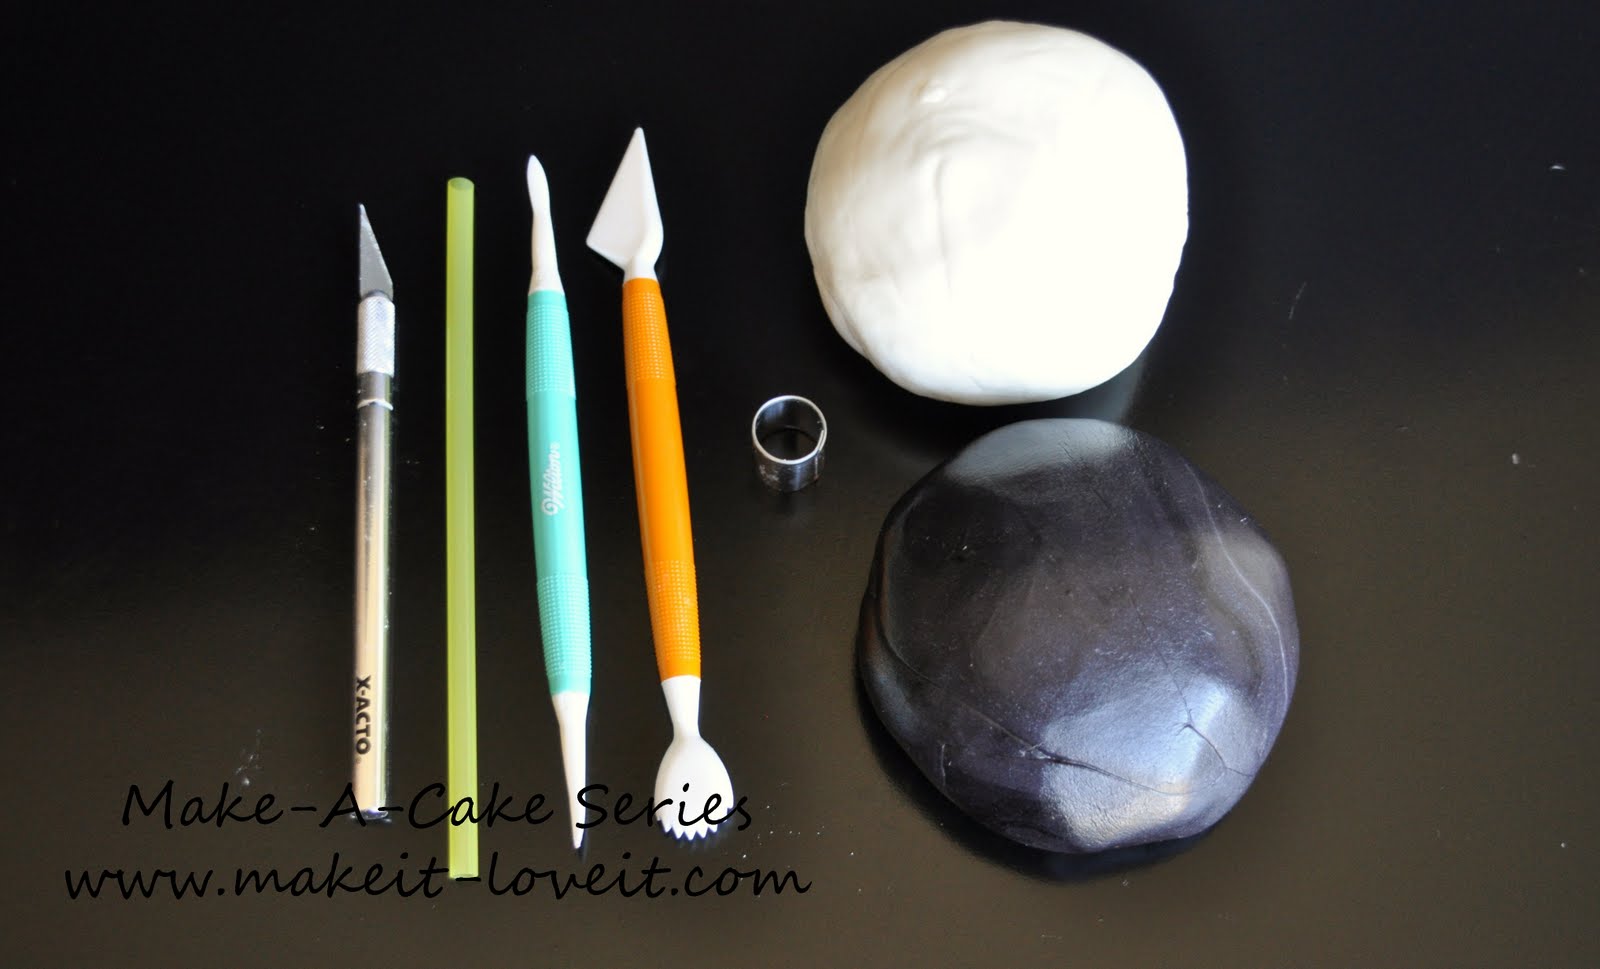
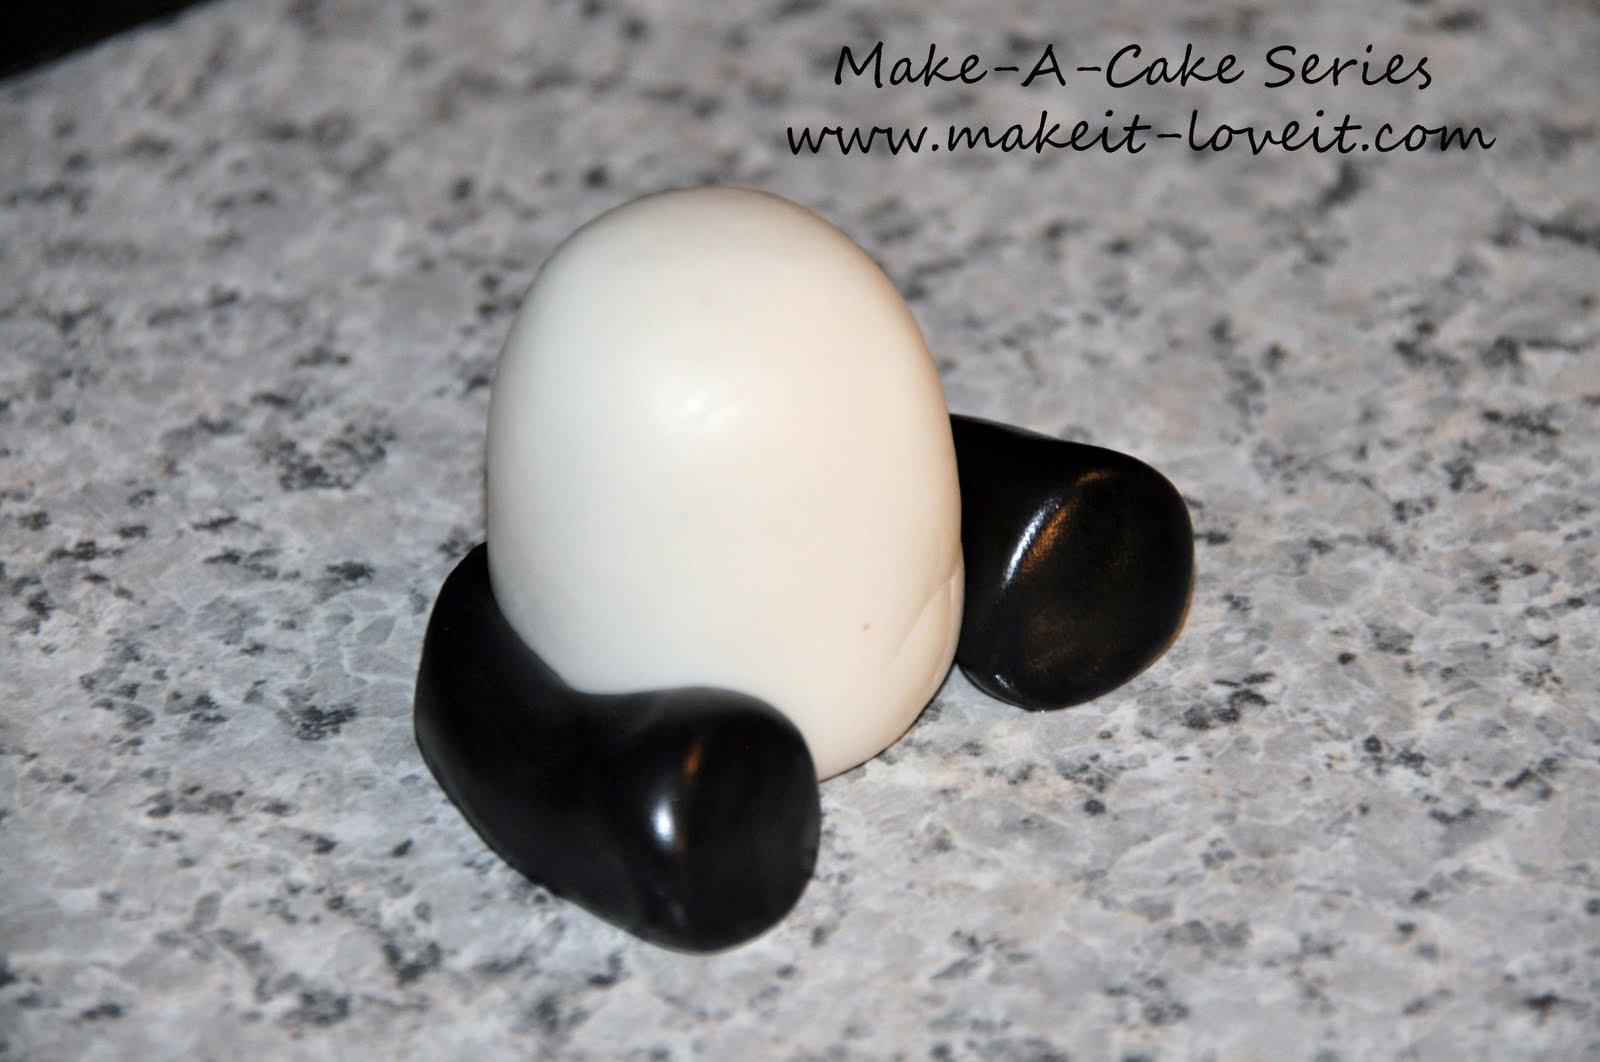
Shape the body and head. The head should be about 1/2 the size of the body.
Set both parts aside.
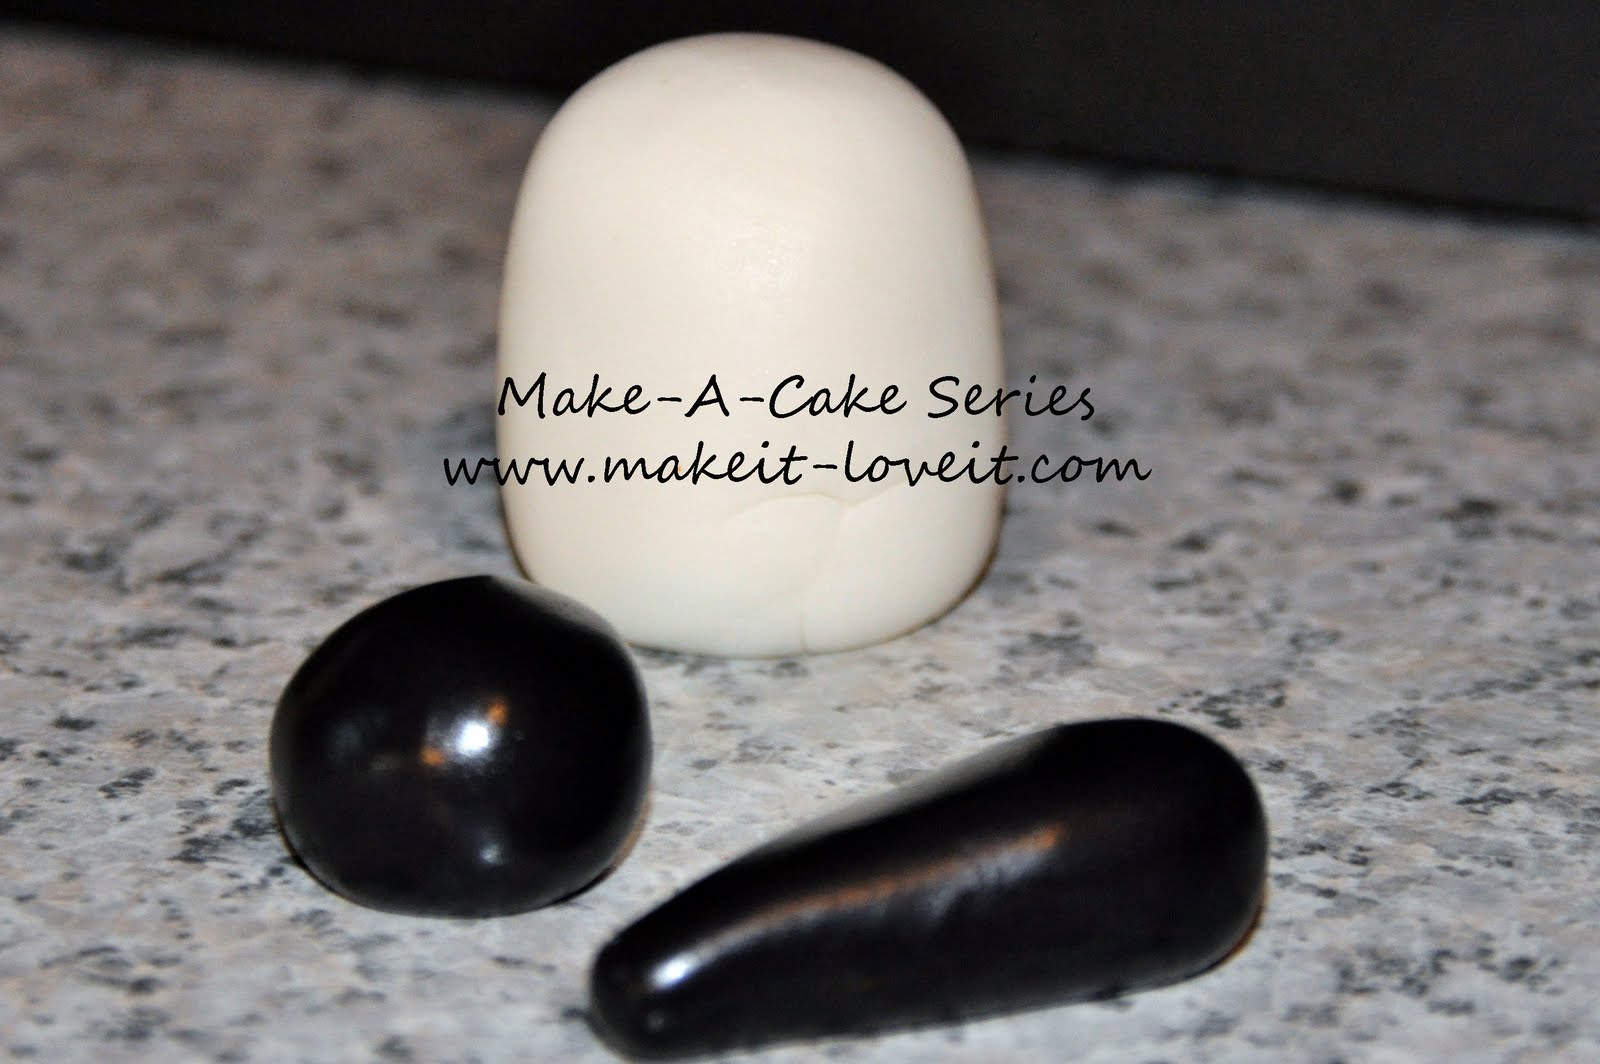
Make two balls the same size for the legs. Shape them into teardrop legs with your hands.
(The body is there only for scale.)
Wrap the legs around the base of the body. Attach with a little bit of water.
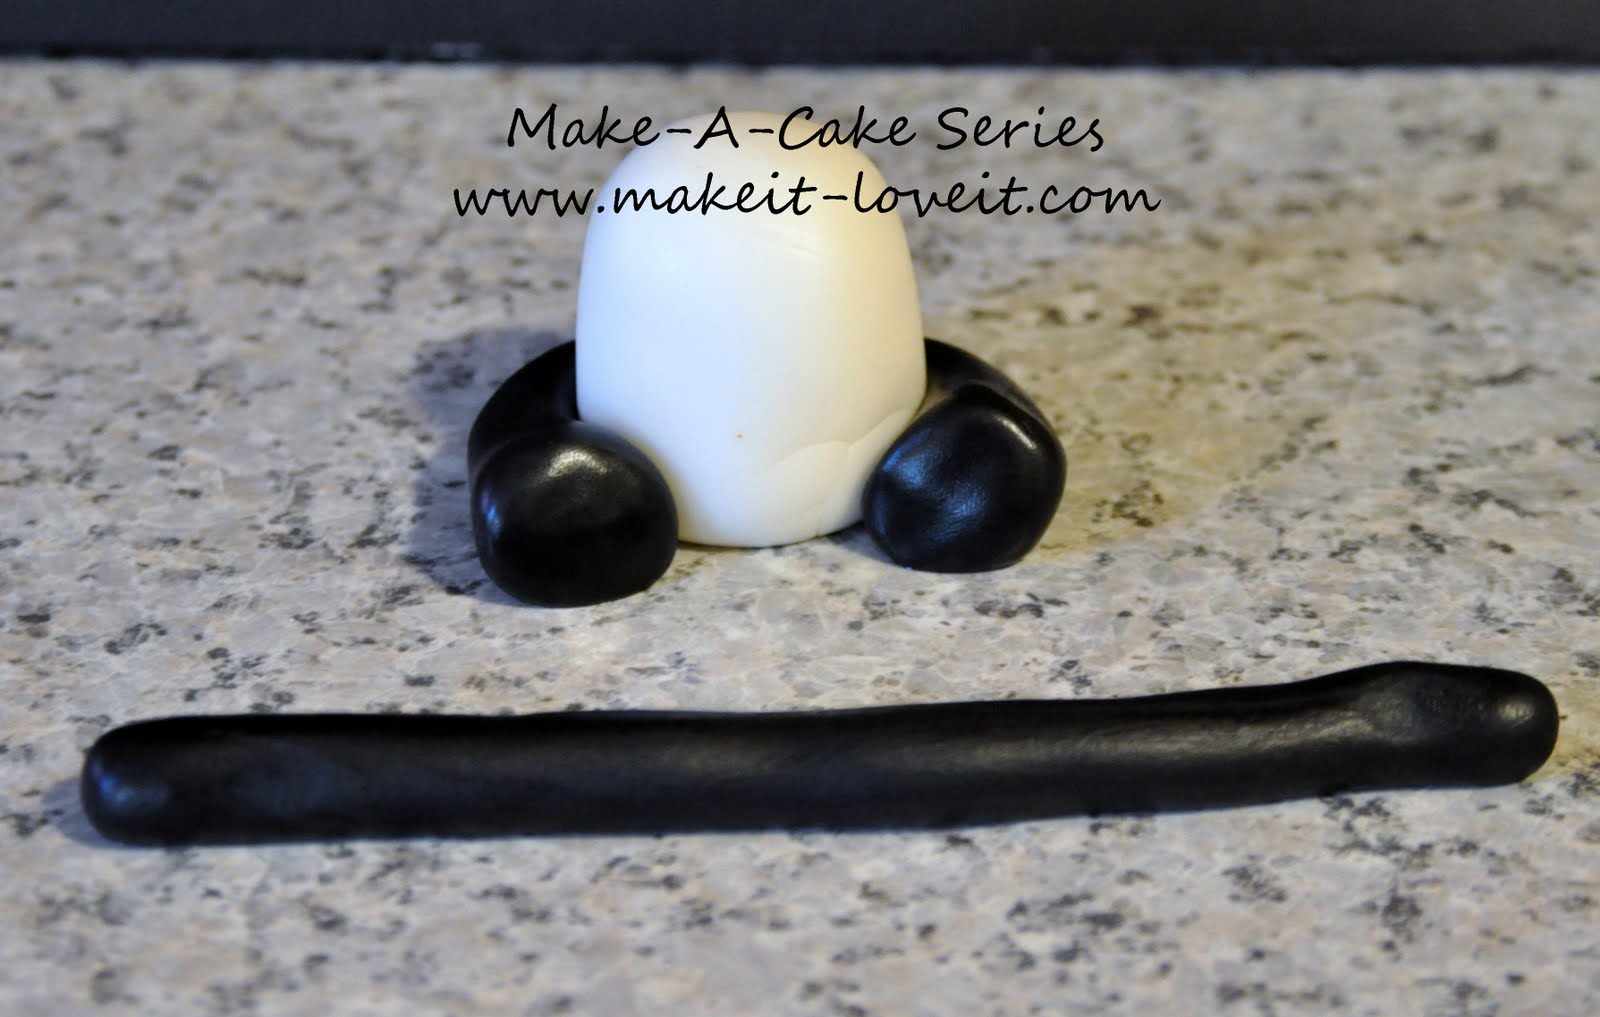
Flatten out the feet with the orange gumpaste tool pictured above.
Roll out a black snake for the arms.
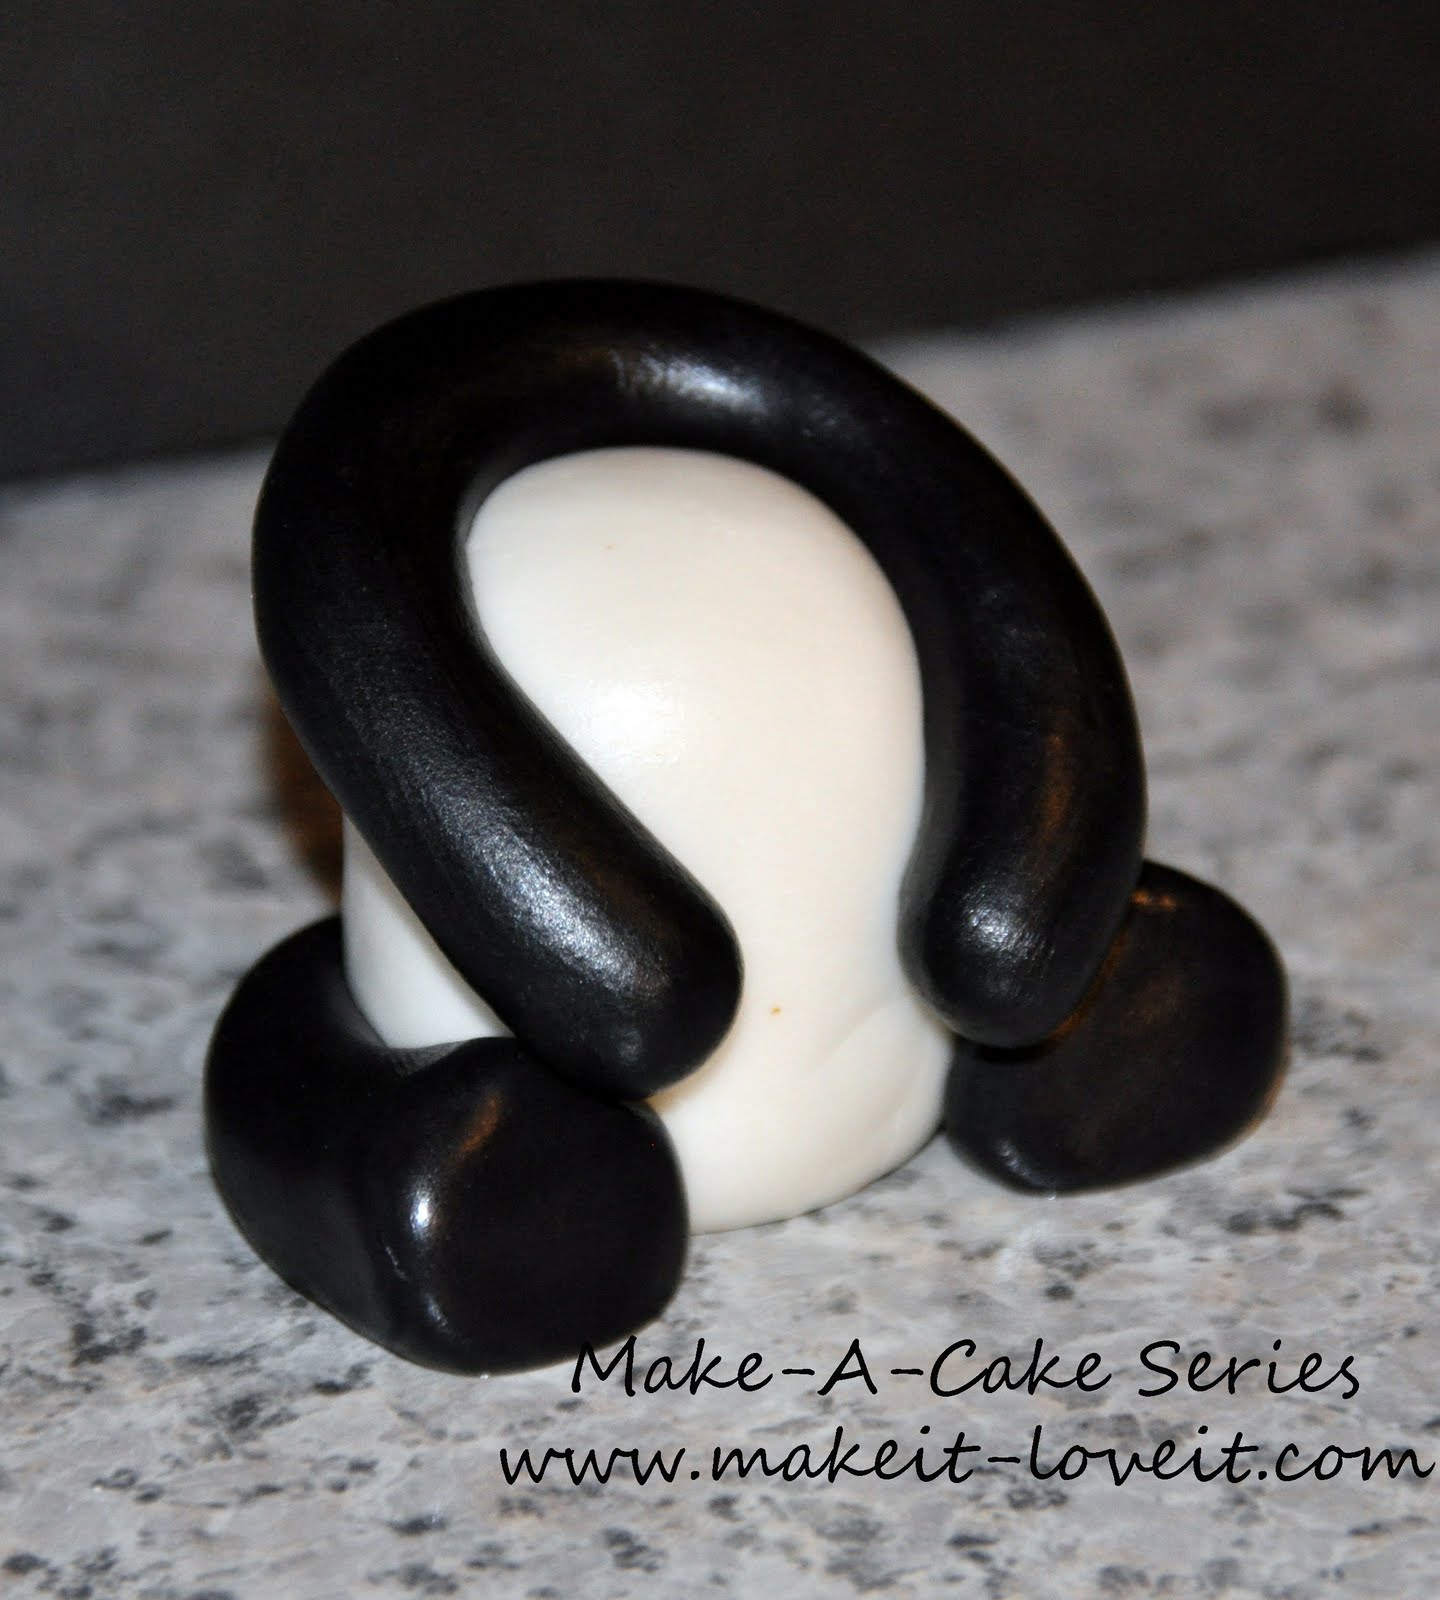
Using a little bit of water, attach the arms around the pandas body.
Set the body aside. We will put a little more detail on it later.
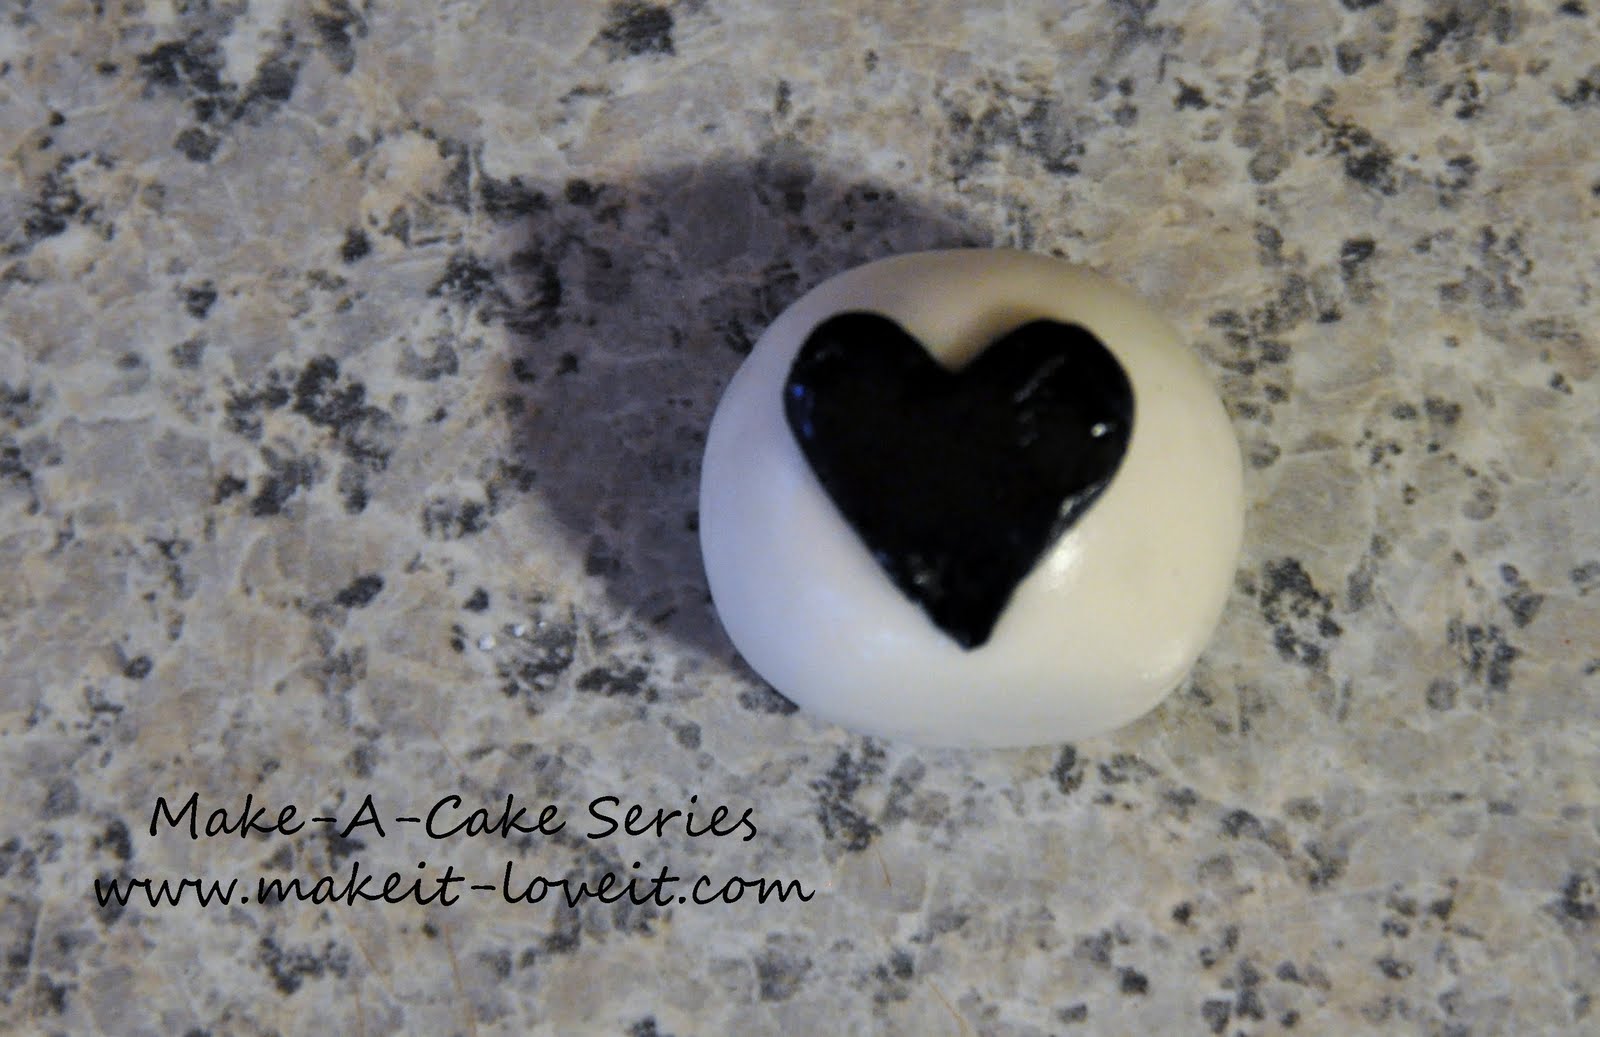
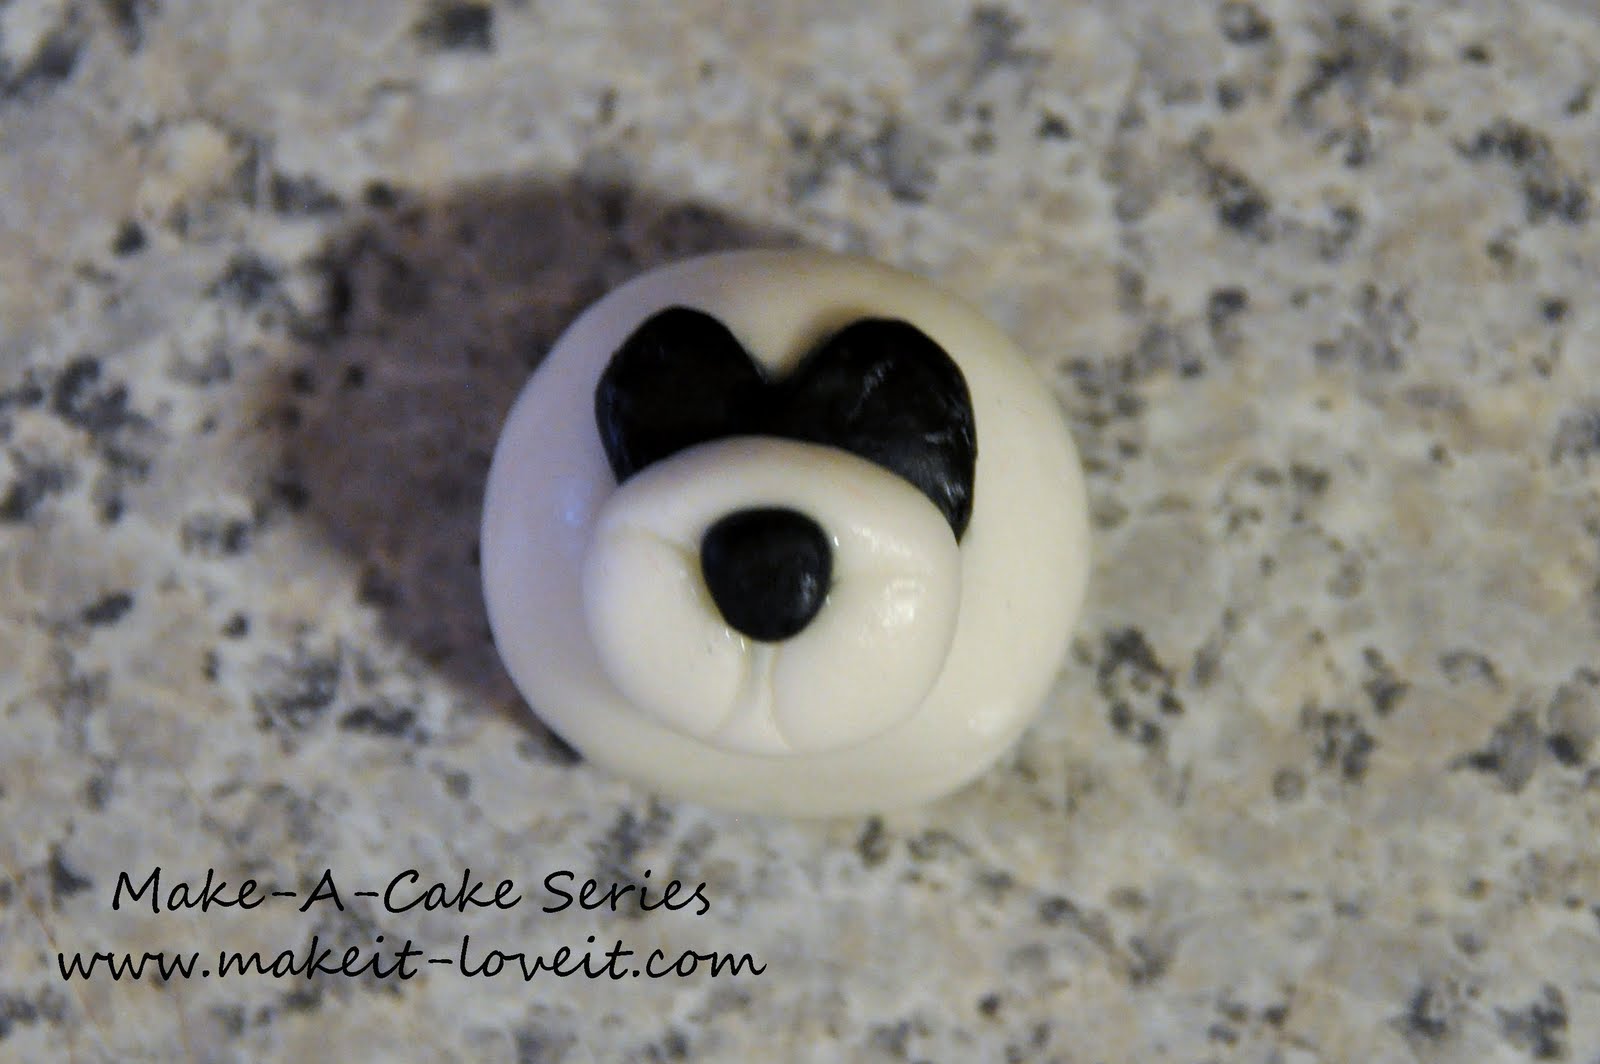
For the face of the panda, start by putting a heart shape right in the middle of the head.
I rolled out black gumpaste and cut this heart with my exacto knife. You could also use a small heart cutter.
Now with your hands, form a slight oval shape for the nose. Then add a small black nose tip in the slight shape of a triangle. Using your straw or small circle cutter, make detail marks on the nose.
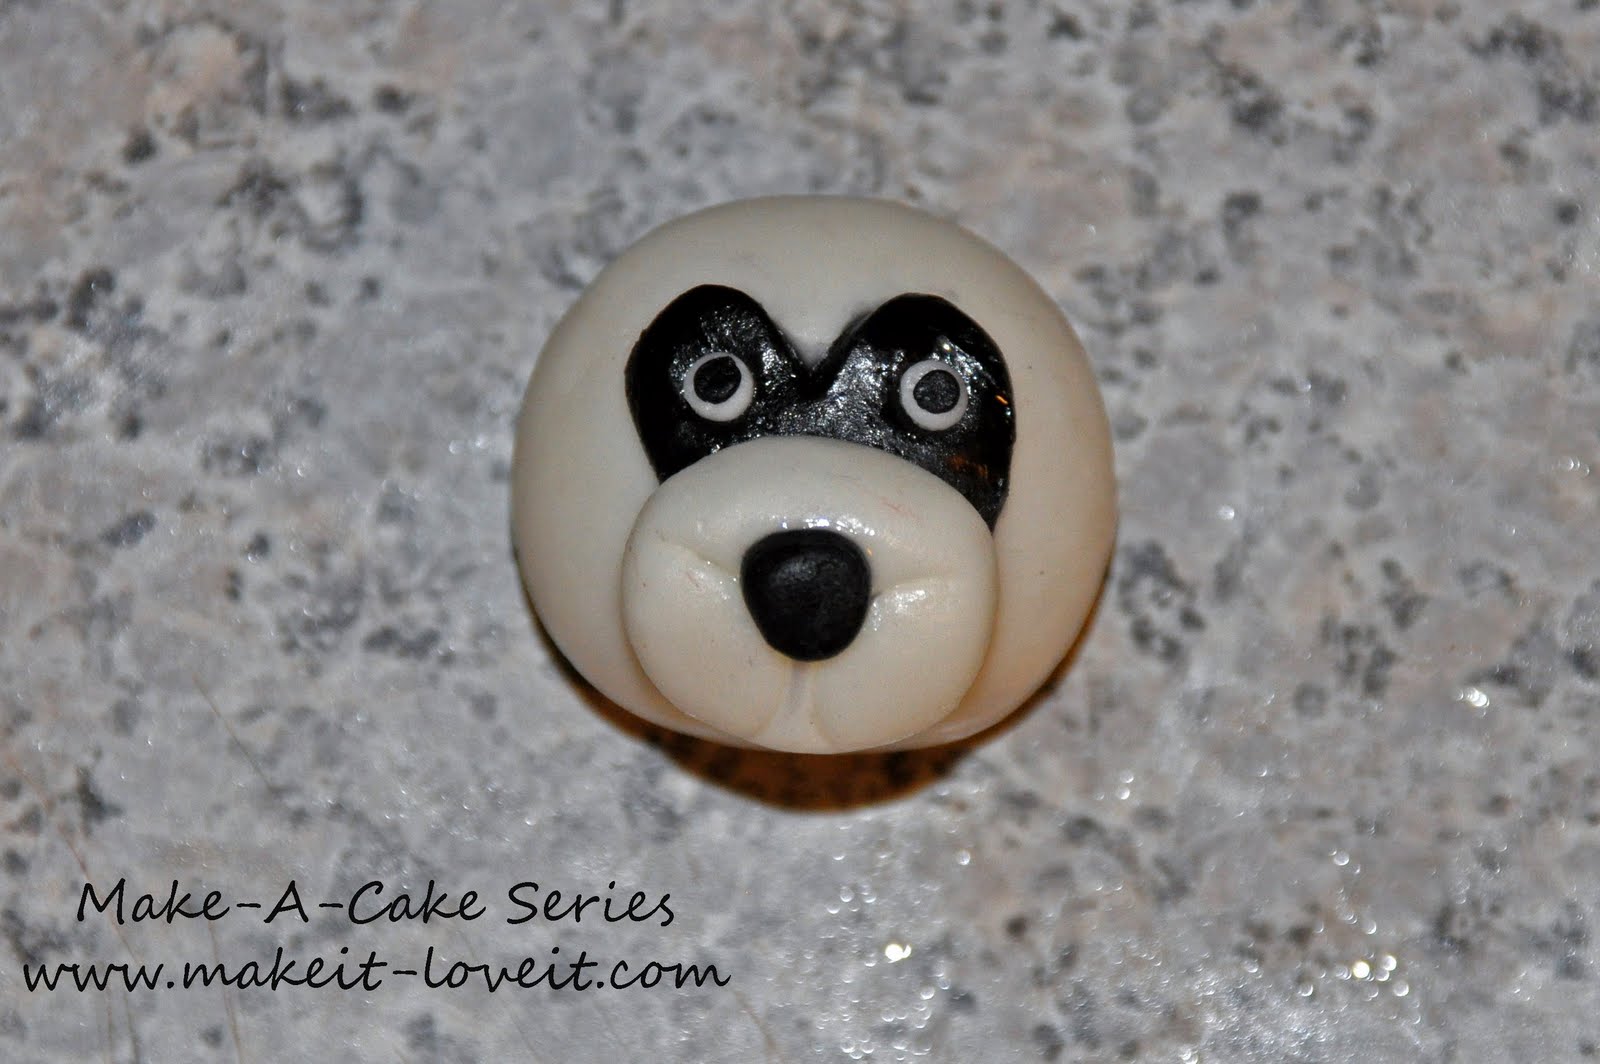
Add eyes to the face.
**hint** the smaller you make the eyes the better they look. If the eyes are too big the panda gets a “scared” look! Not good on a birthday cake….we want happy pandas! ha ha
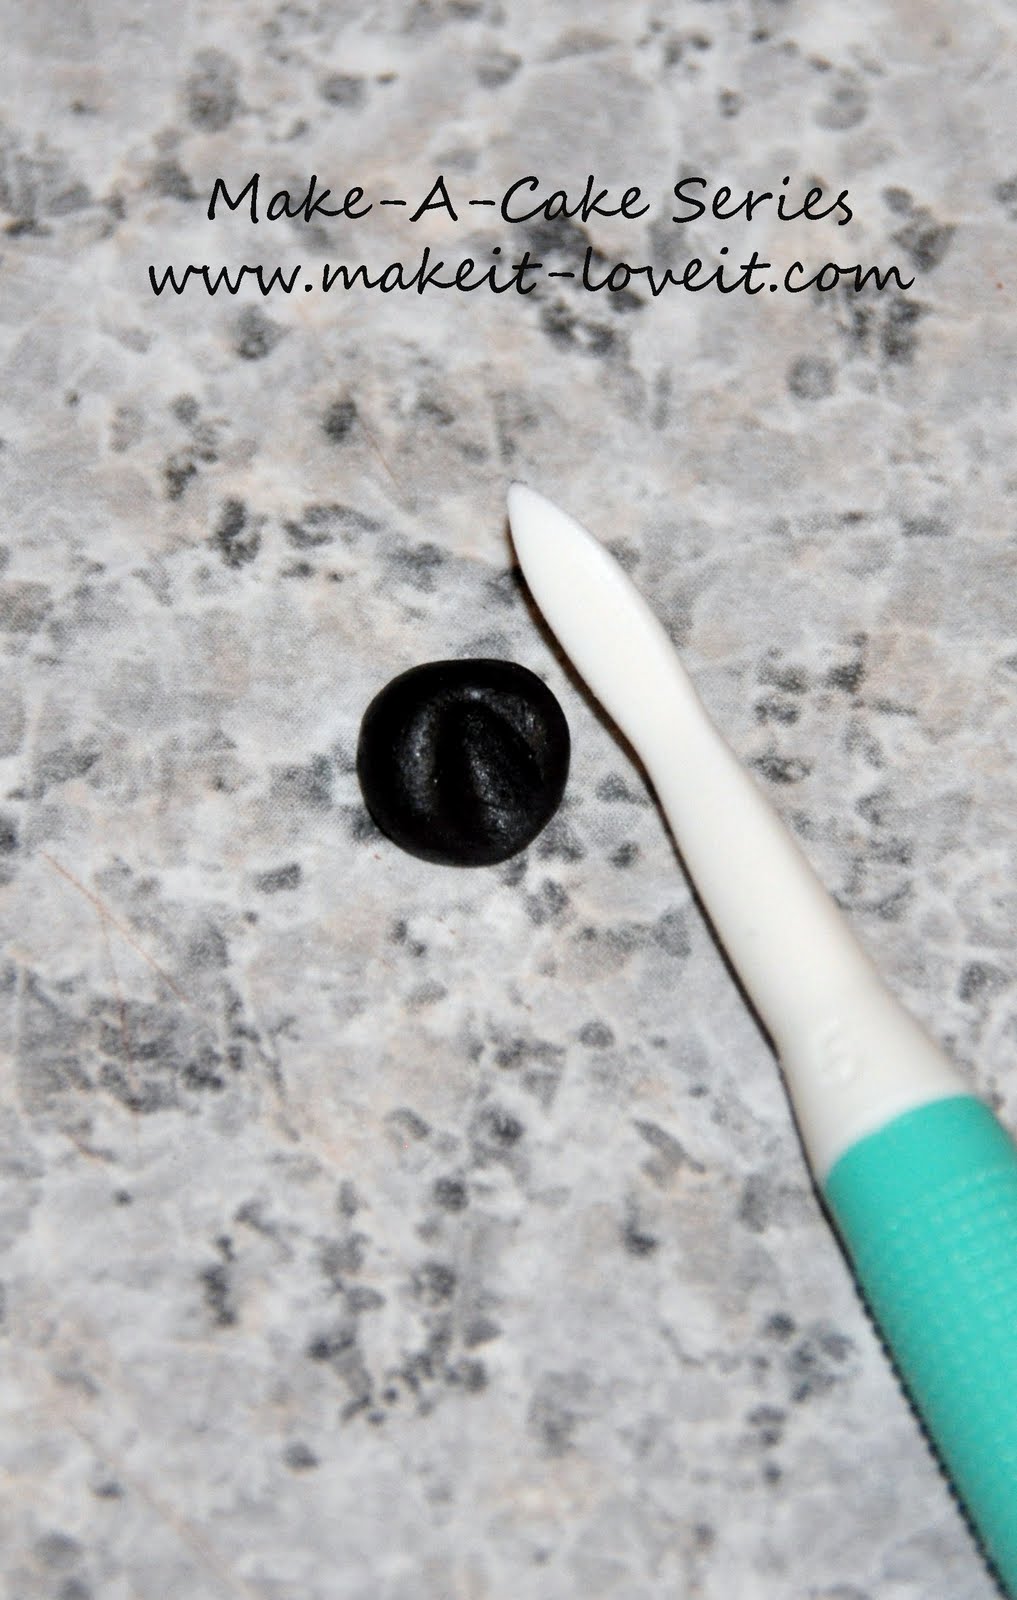
For the ears, I took a small ball of black gumpaste and flattened it out in the center and off to one side, with my fondant tool. Then I added the ears to the head with a little water.
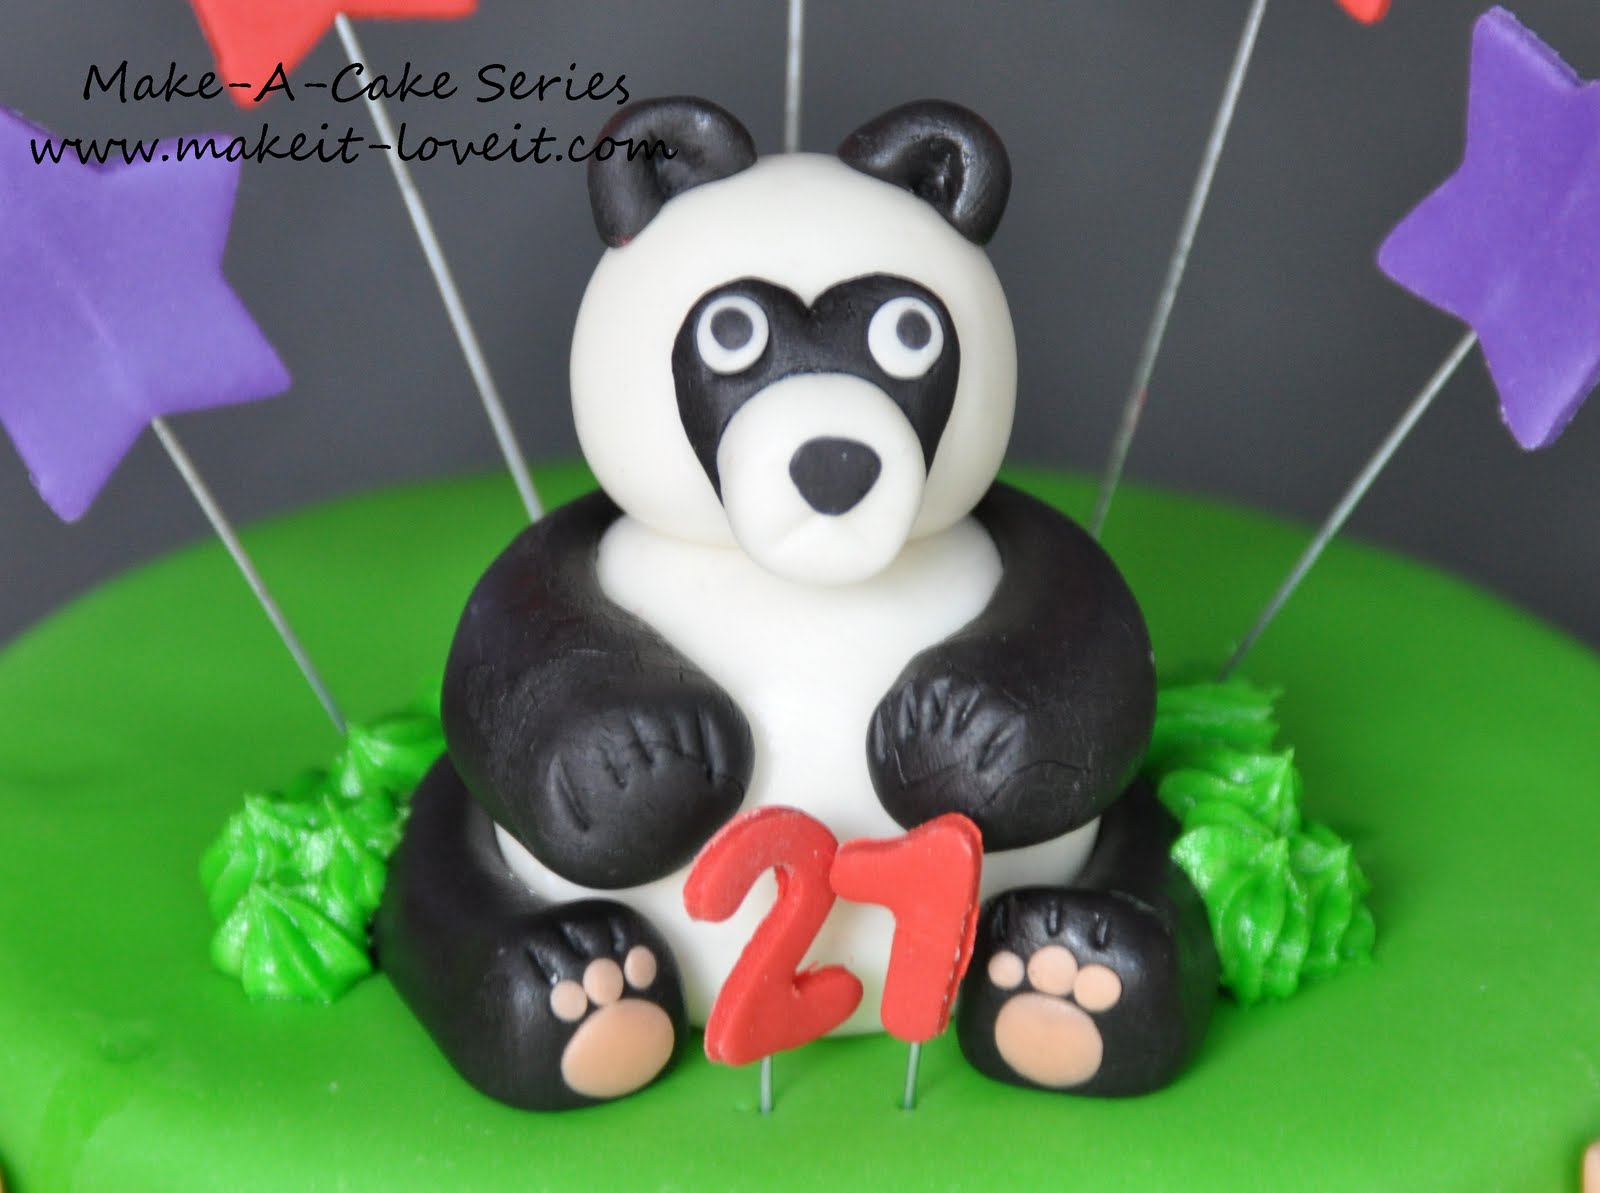
Then I just added a little more detail to the body.
I used my orange tool to make the claw markings and a little tan fondant for the pads on the feet.
Get as detailed as you want!
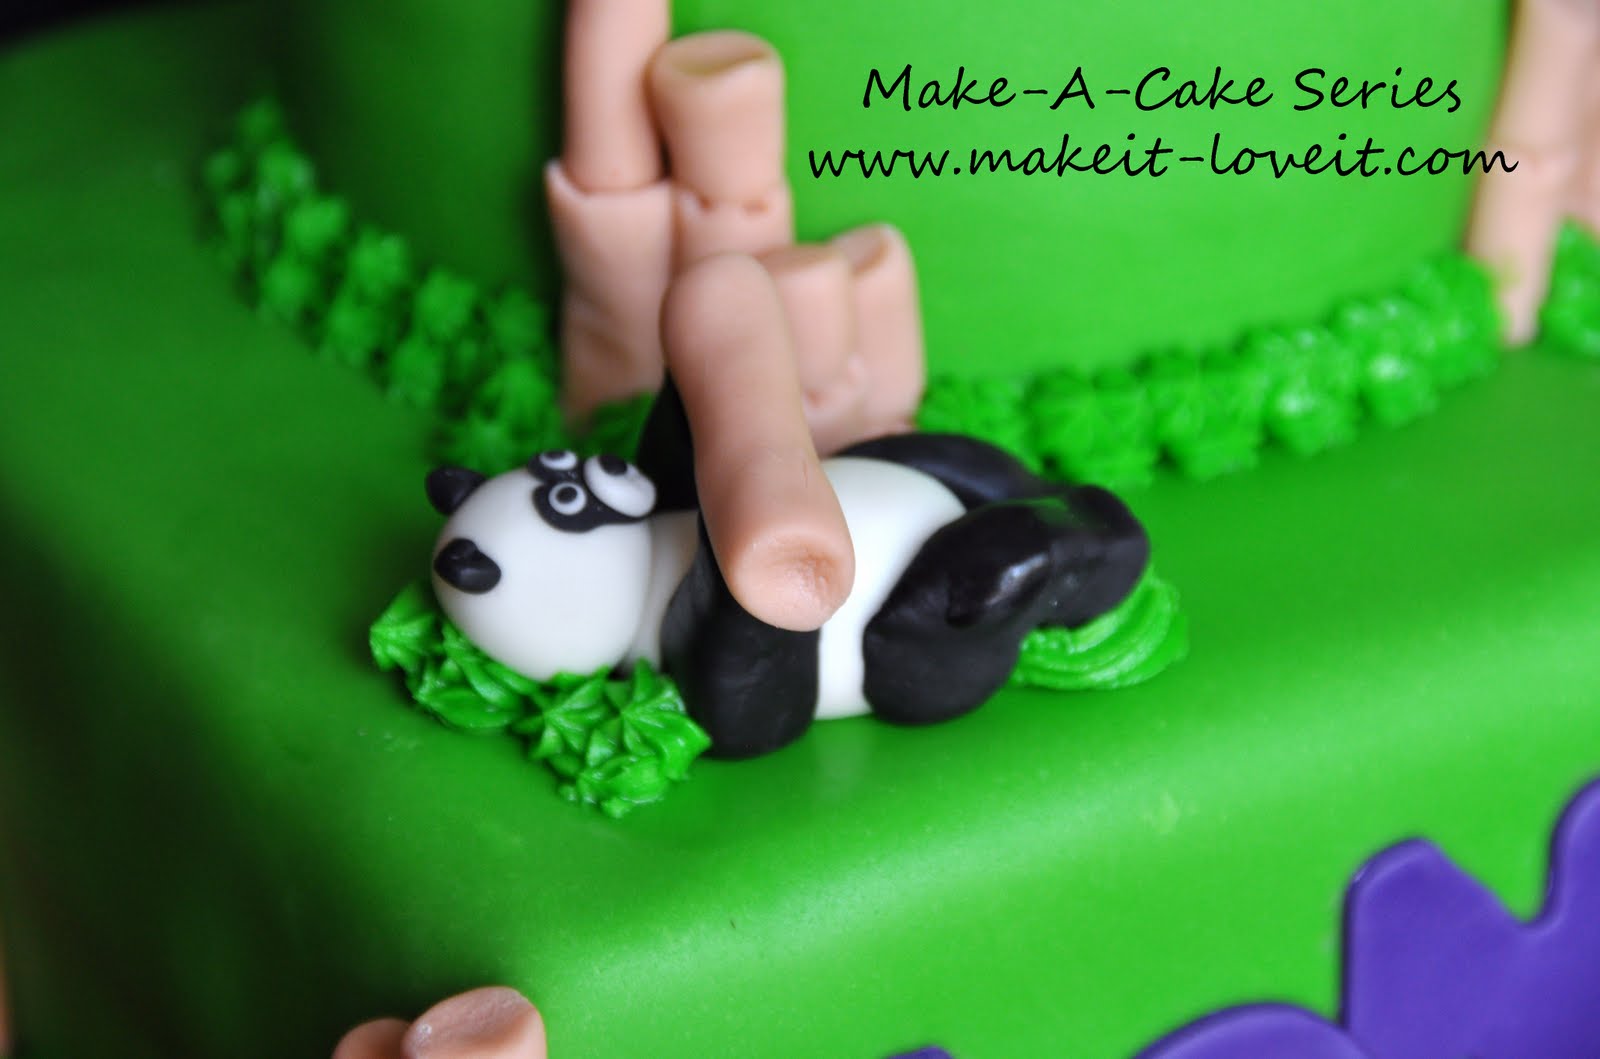
Once you have the basics you can play with pandas in different positions.
A panda on his back:
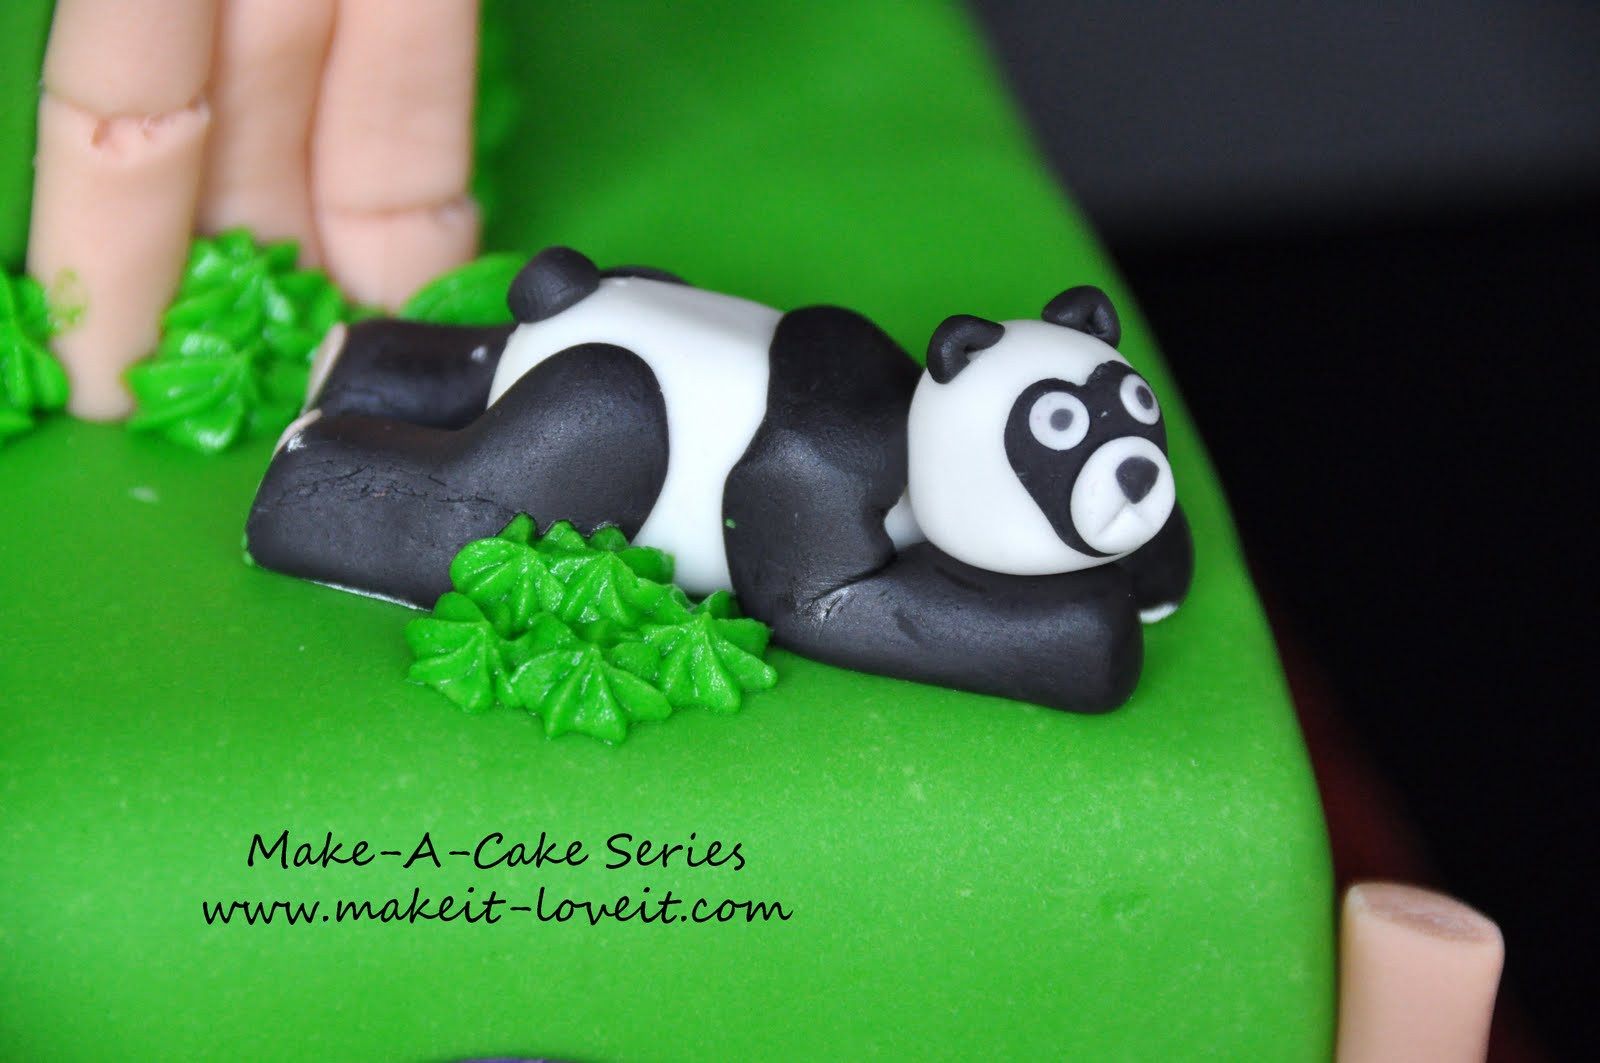
A panda laying in the grass on his belly:
Make them just how you’d like them.
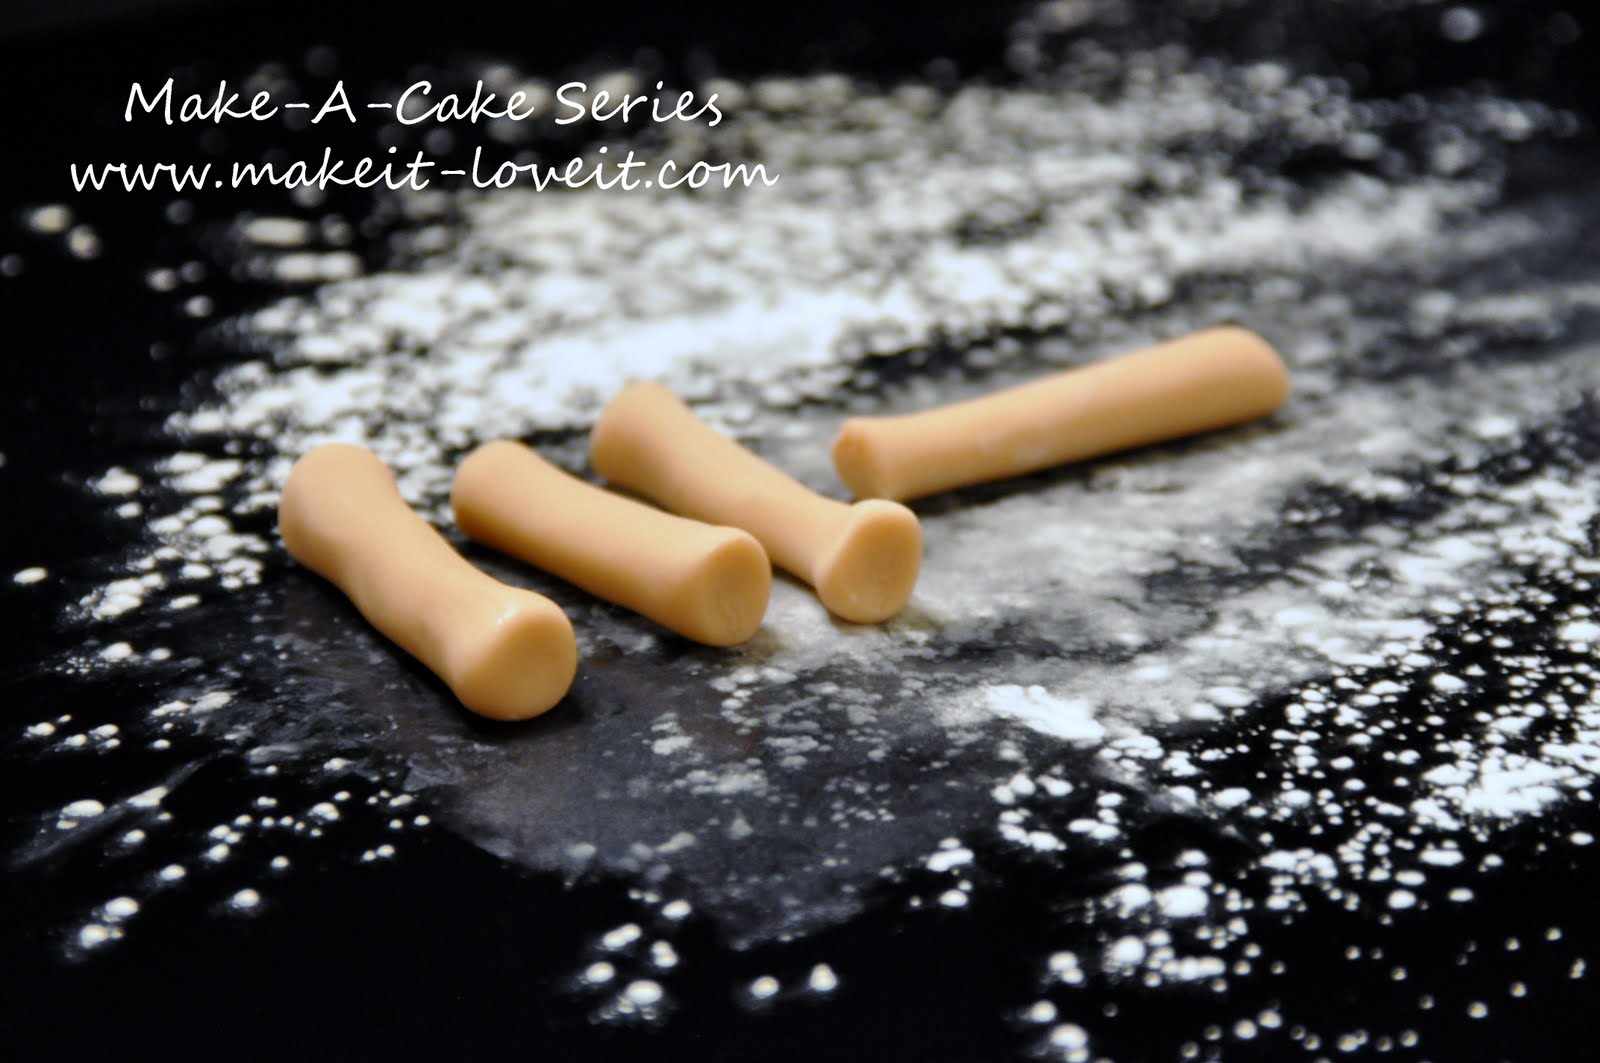
Now for the Bamboo.
(In case you’re interested in adding some to a panda cake. Kind of a cute little touch.)
Roll out a long “snake” of tan gumpaste.
(You can use fondant for this also.)
I just use my hands and the table with cornstarch sprinkled on it.
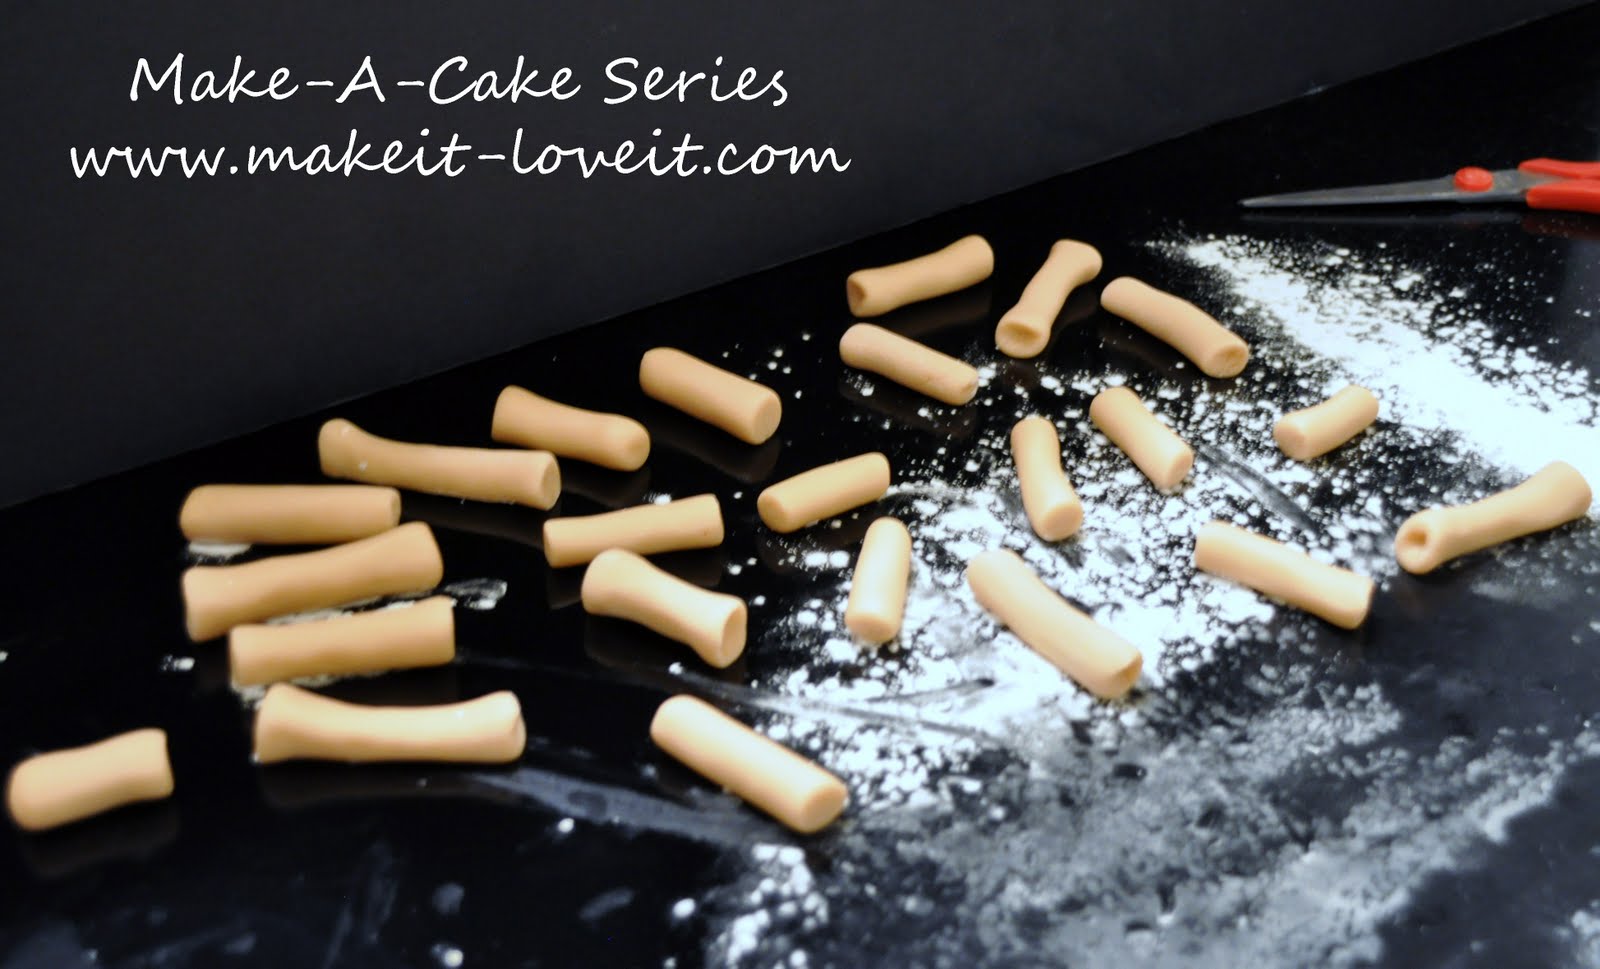
Using a clean pair of scissors, cut the gumpaste into segments.
Vary the lengths from 1-2 inches long.
Shape half of the segments to give them a flatter end for the bottom of the bamboo.
I made 23 segments out of gumpaste. Set them aside to dry for 2-3 hours.
I didn’t let them dry all the way so they would be firm enough to hold their shape but still soft so I can add detail. If you used fondant, let the fondant dry for 12-24 hours.
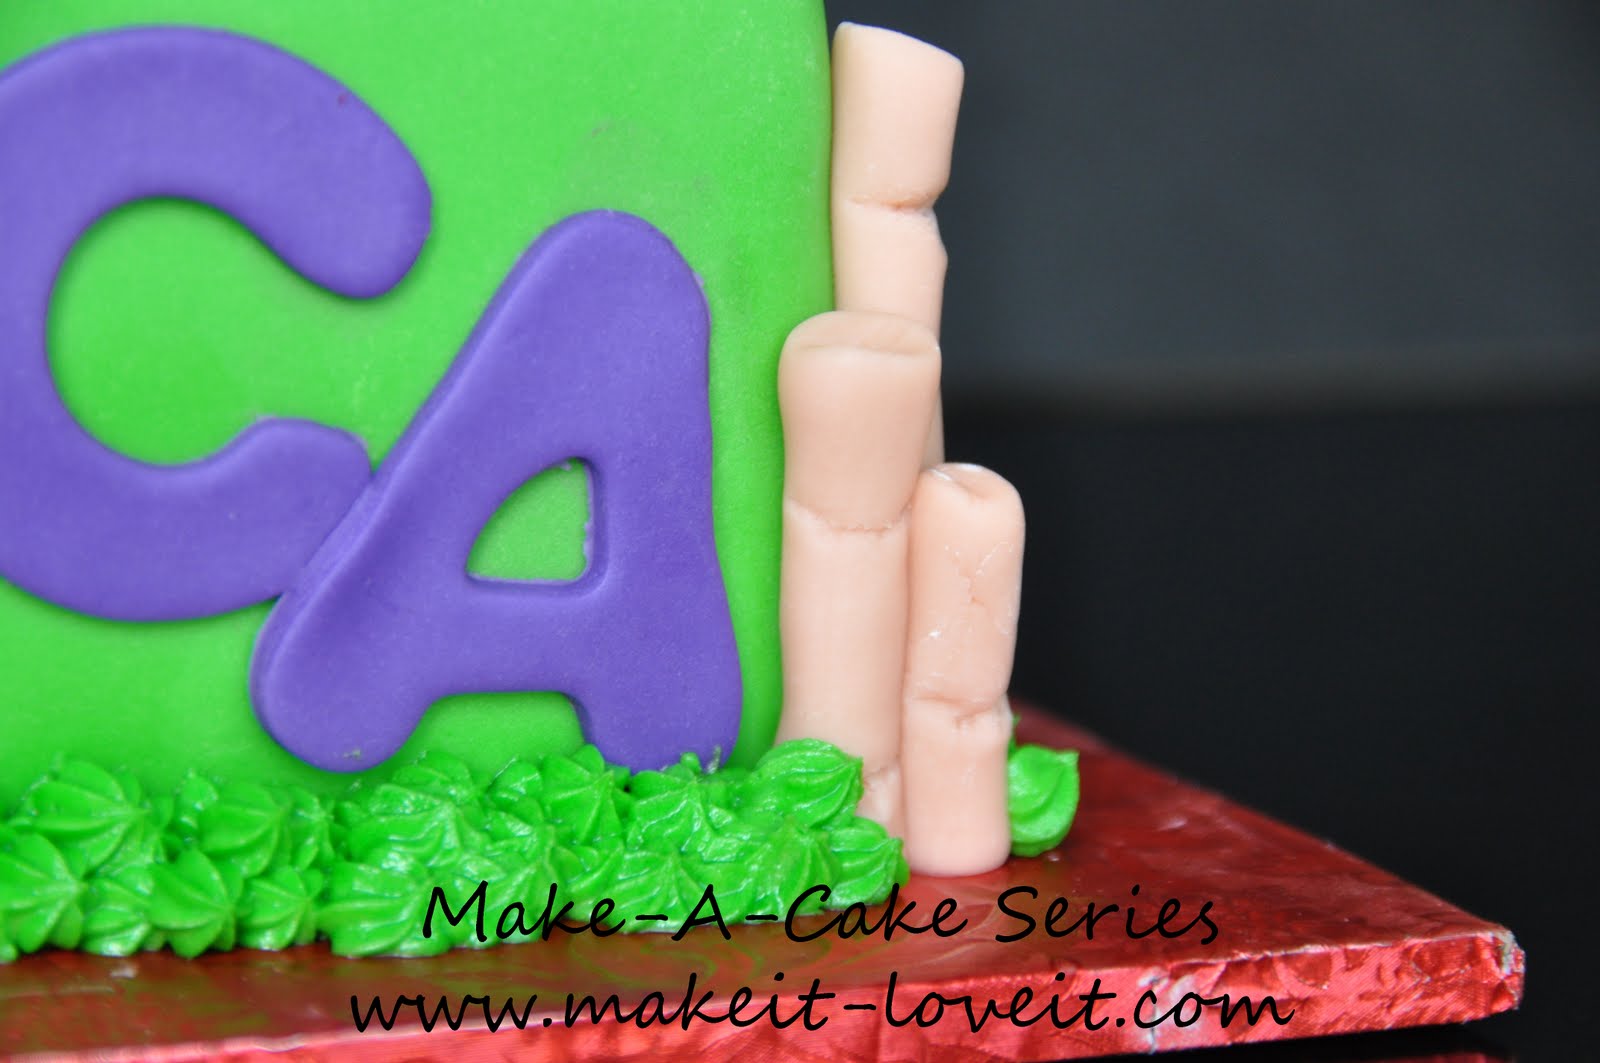
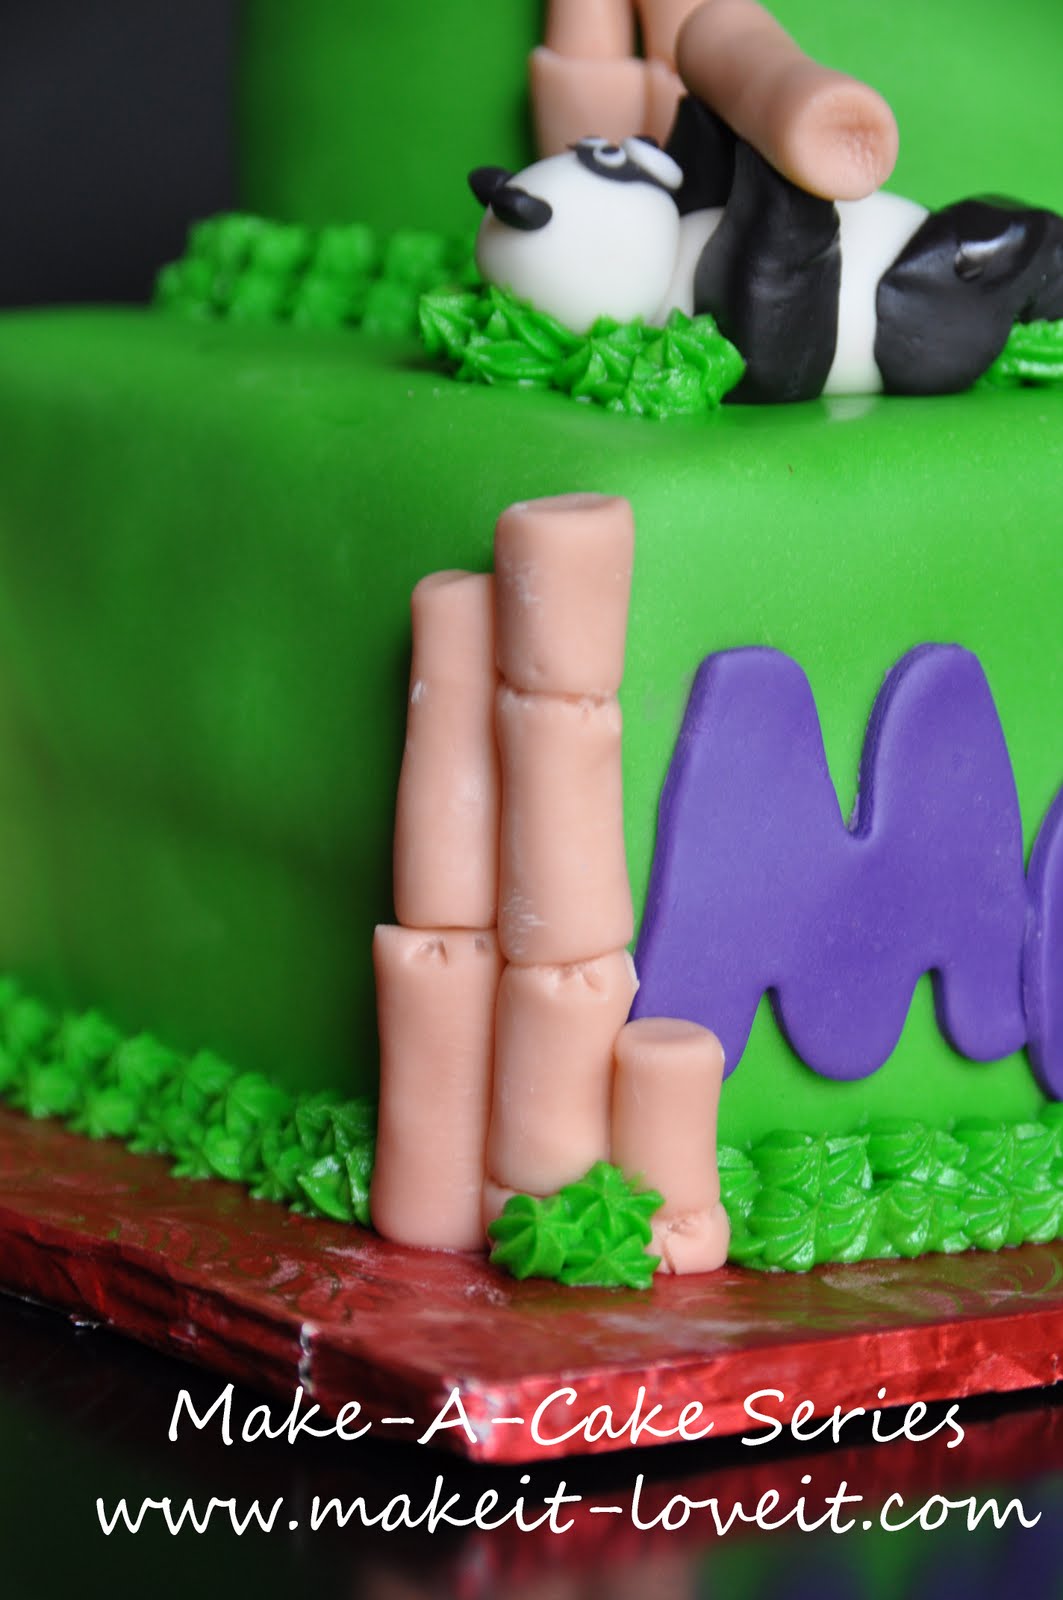
After the segments have dried arrange them on the cake.
Take your teal fondant tool and add detail to the segments.
I added extra segment marks and indents between the segment.
Inspiration.
At times it comes from somebody else.
Sometimes it comes from neccesity.
But by the end, I feel inspired about my hobby.
So feel free, get inspired!

Hi, I’m Ashley—the DIY-enthusiast behind this crazy blog!