Cupcakes!
How could anyone not love cupcakes?
It’s your own little personal cake…with LOTS of frosting. What’s not to love?
Cupcakes are really great by themselves but I really like the option of adding them to serve alongside a cake.
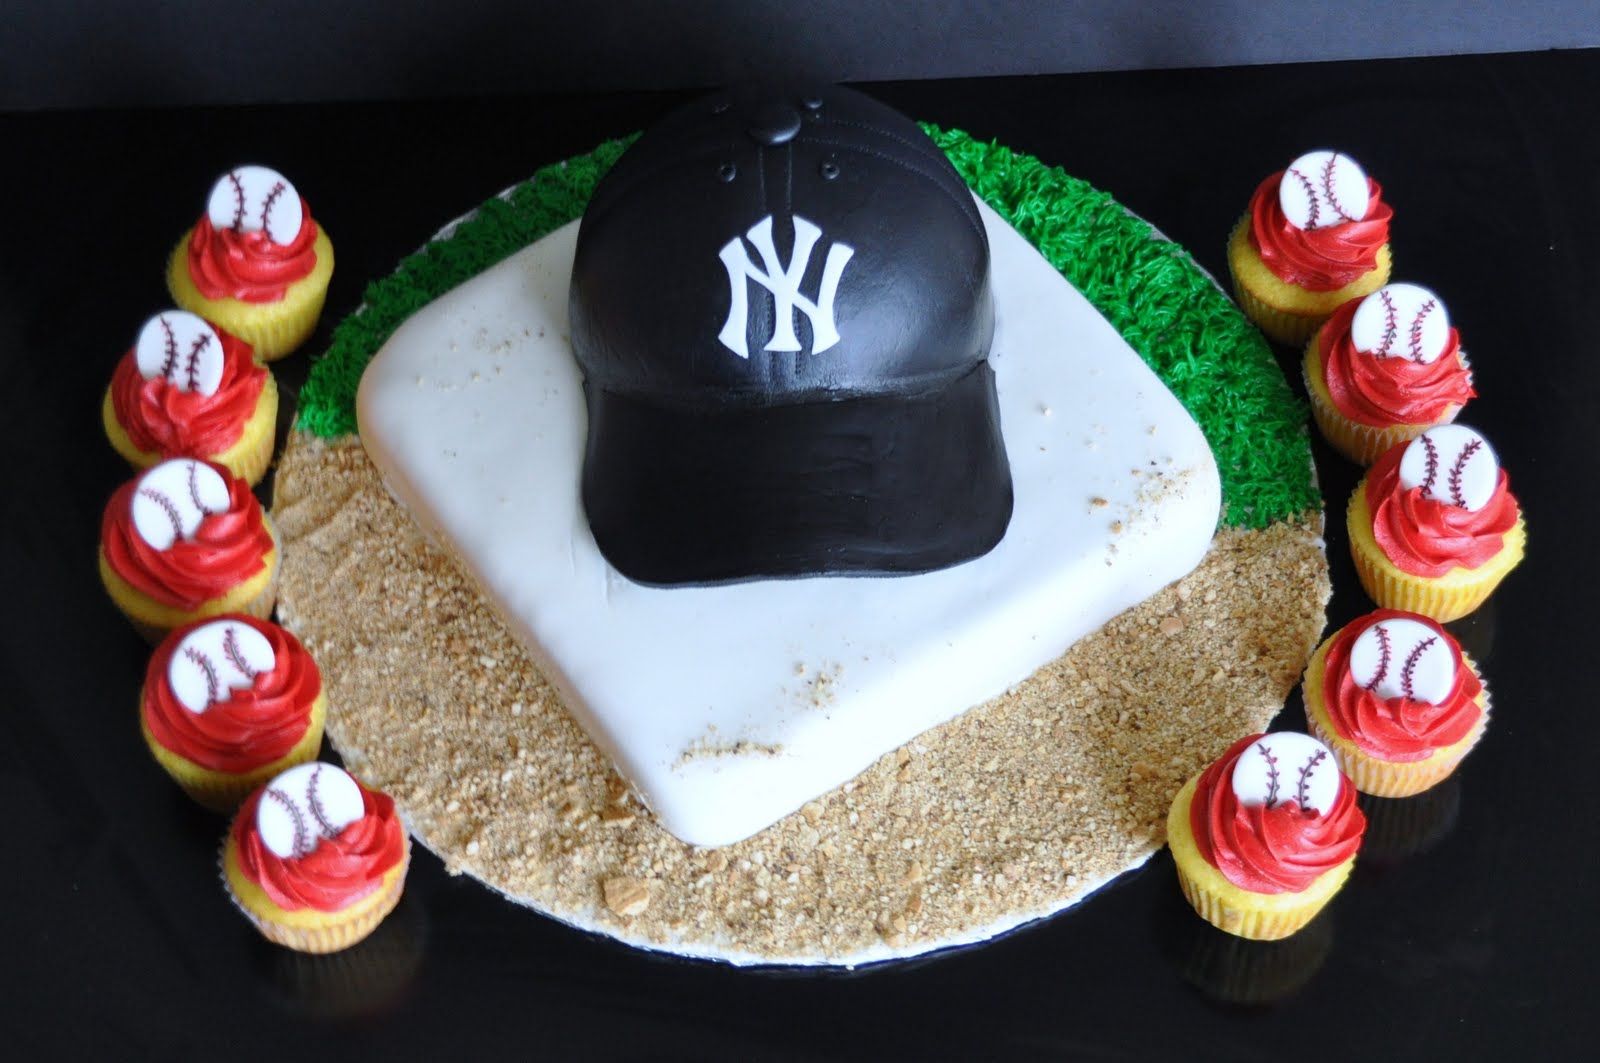
It’s an opportunity to add more color to the table, like this cake:
I think the red really helped this cake.
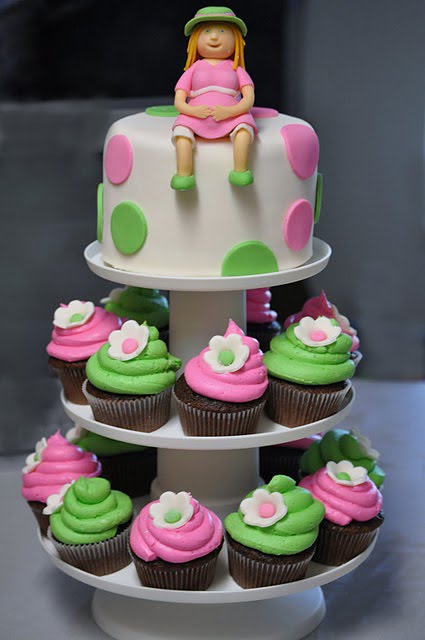
or for a cupcake tree, that are so popular for wedding and showers right now:
Buttercream or fondant? Filling or glaze? Blue or yellow?
So many options. Ok………I might like cupcakes a little too much!
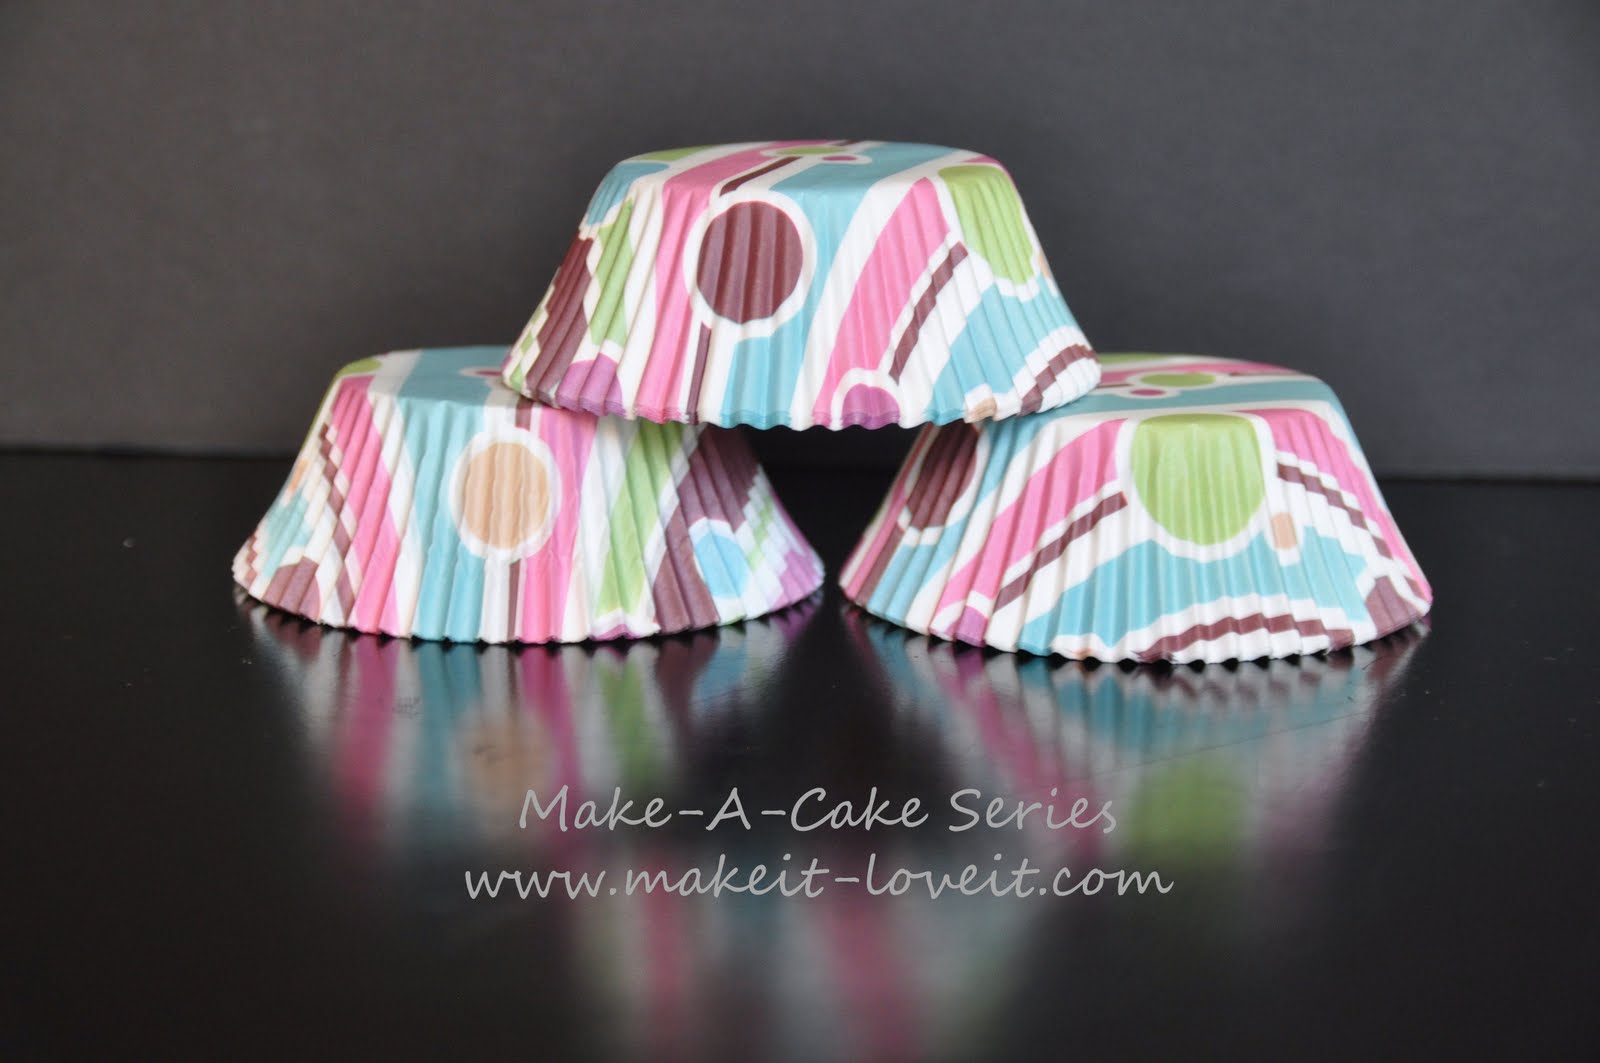
Not to mention the cute liners you can get these days.
Like these. Too cute, right?
There are a few tips that work for me that I want to share.
I am going to show you how I add a jam filling to cupcakes.
How to put a buttercream swirl on your cupcakes.
Also how to put fondant on your cupcakes.
Here are some of the supplies:
Ingredients:
Cream shortening with electric mixer. Add vanilla and milk. Add sugar, 2 cups at a time. Scrape sides and bottom of bowl often. Keep icing covered with a damp cloth until ready to use. For best results, keep icing bowl in refrigerator when not in use. Refrigerated in an airtight container, this icing can be stored for 2 weeks. Re-whip before using.
YIELD: 3 cups
Bake cupcakes.
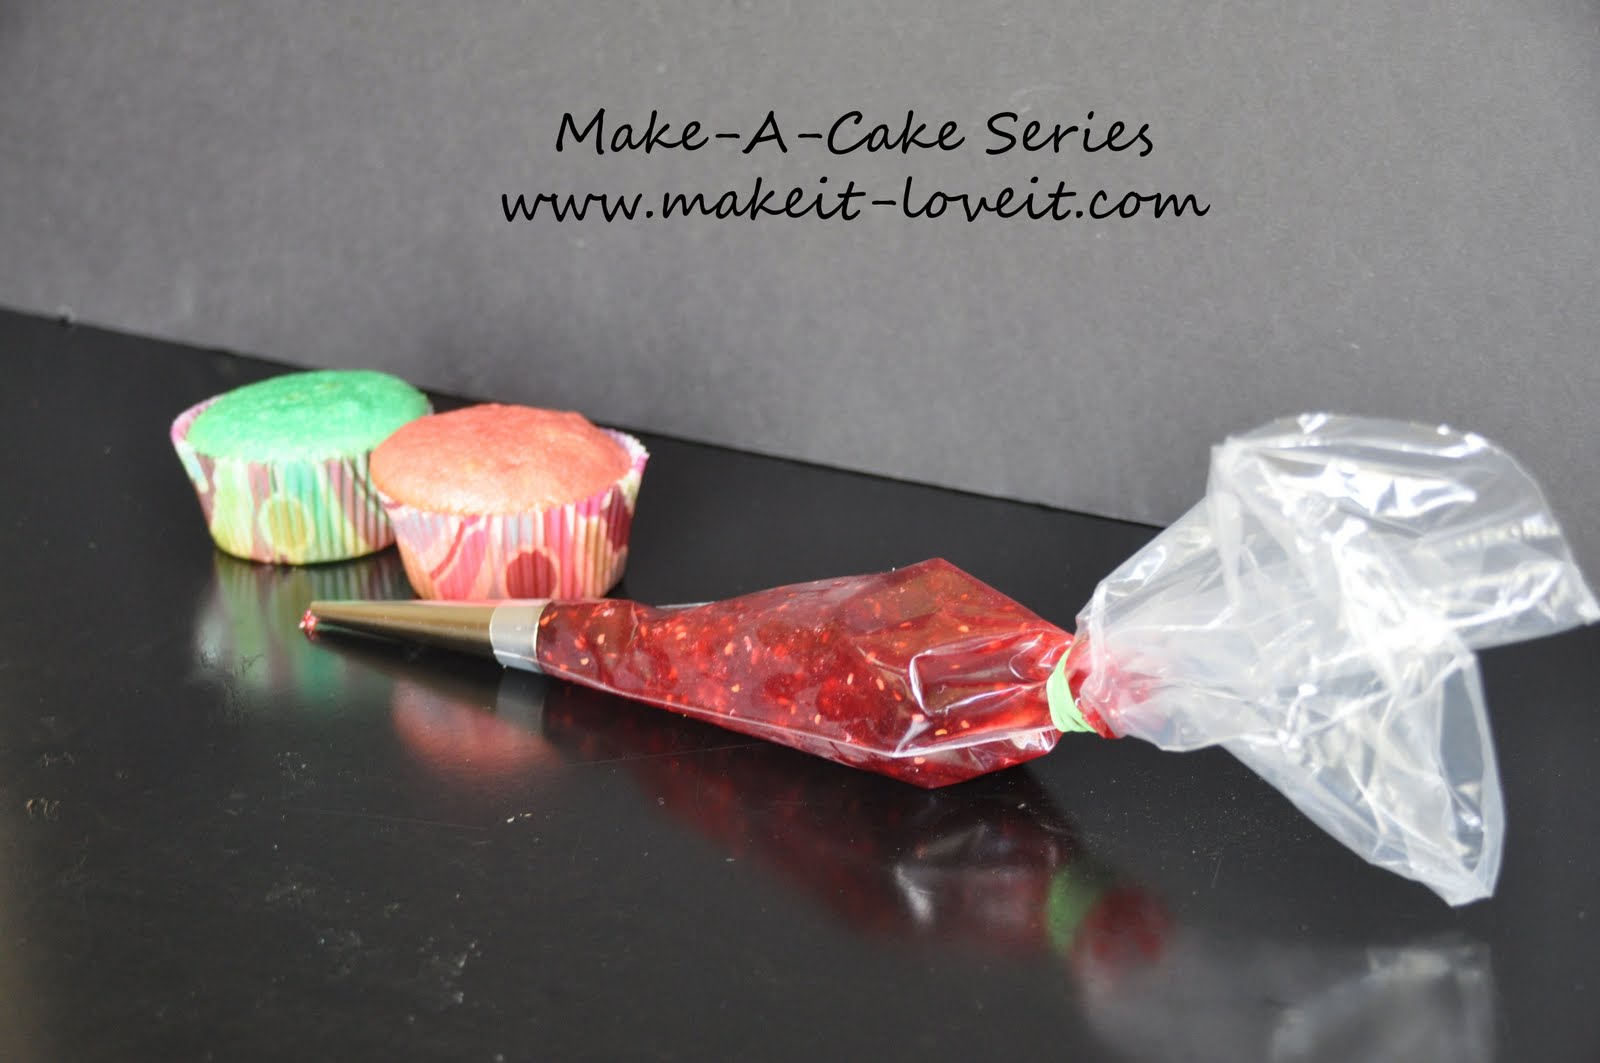
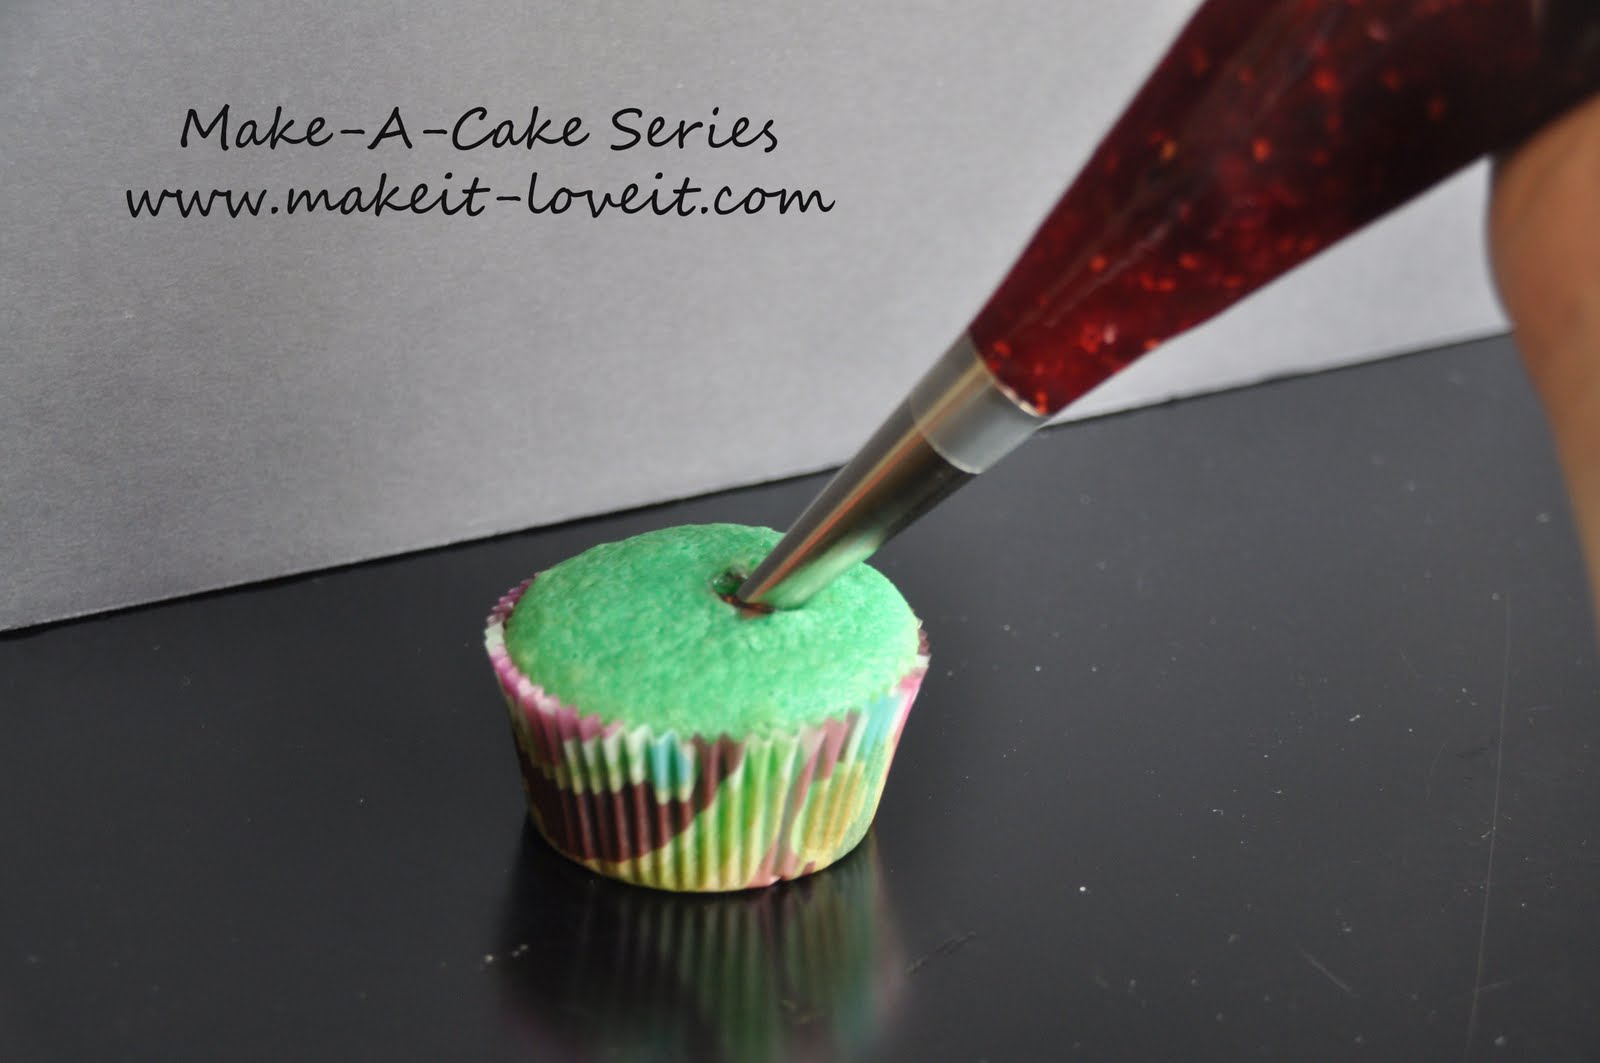
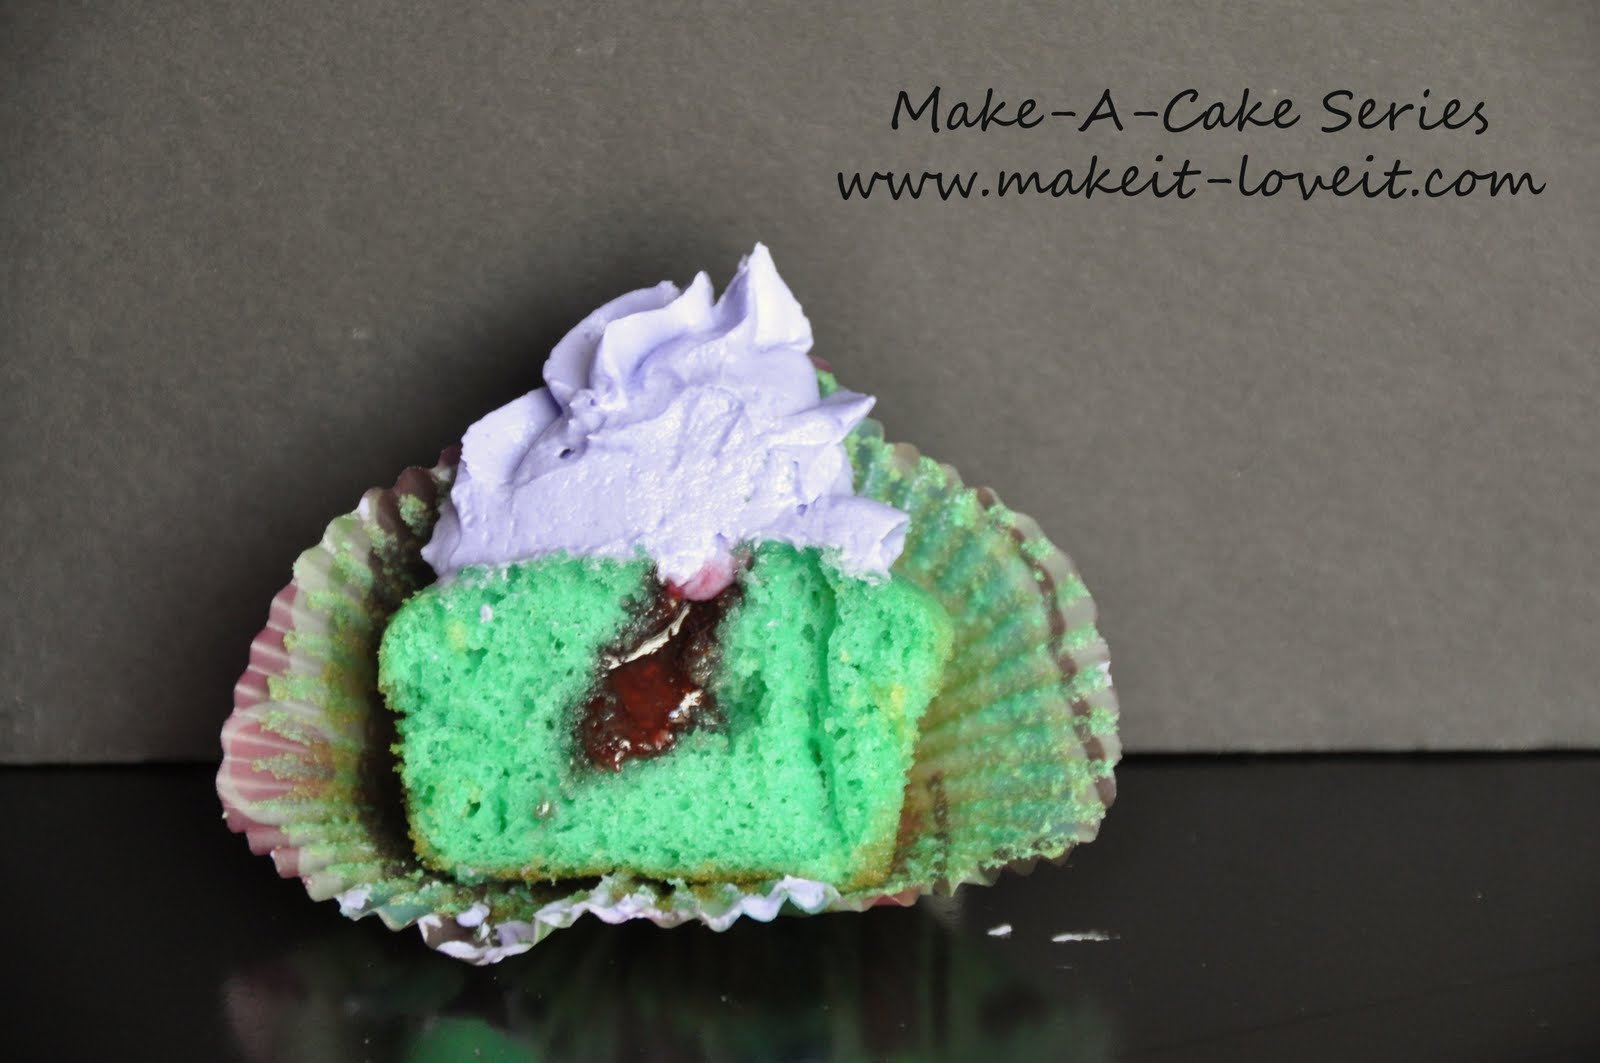
Cut tip off of piping bag and drop filling tip into the bag and fill the bag with any type of jam you like. Insert the tip halfway into the cupcake and squeeze a small amount of jam into the cupcake.
Now you have a sweet fruit surprise in your cupcake.
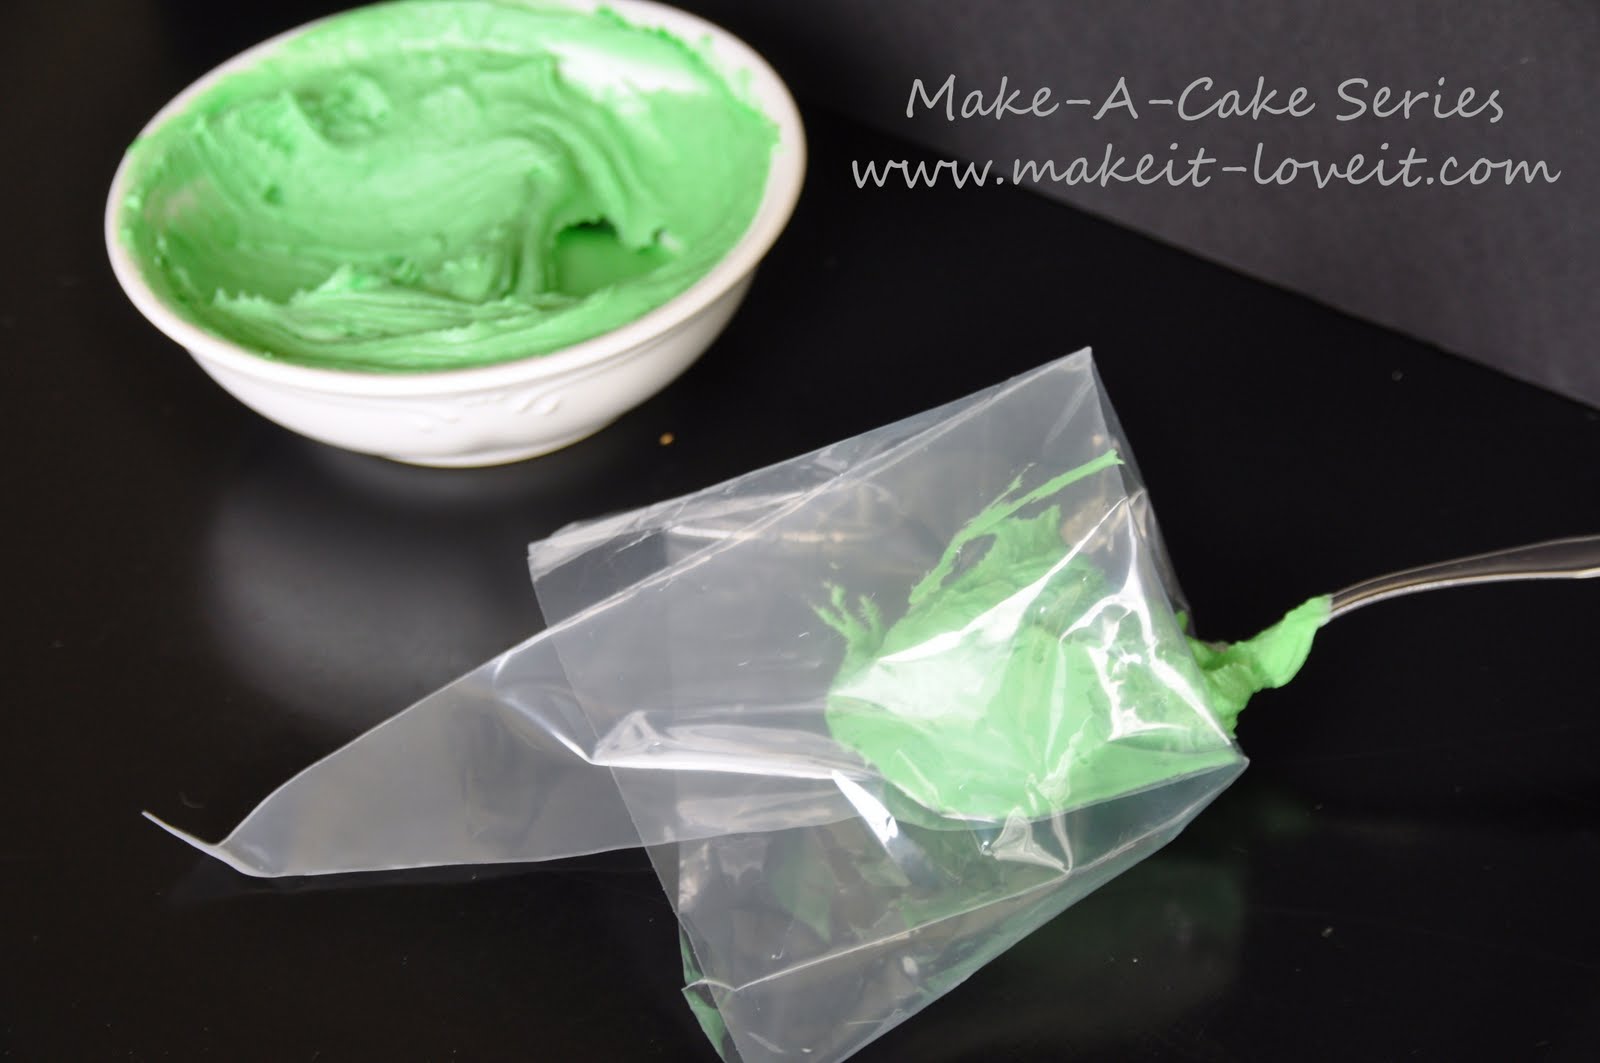
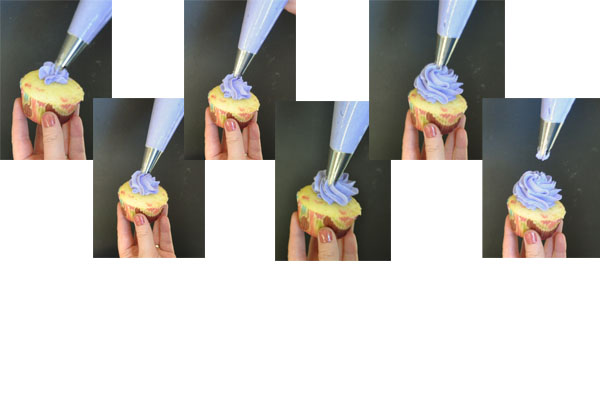
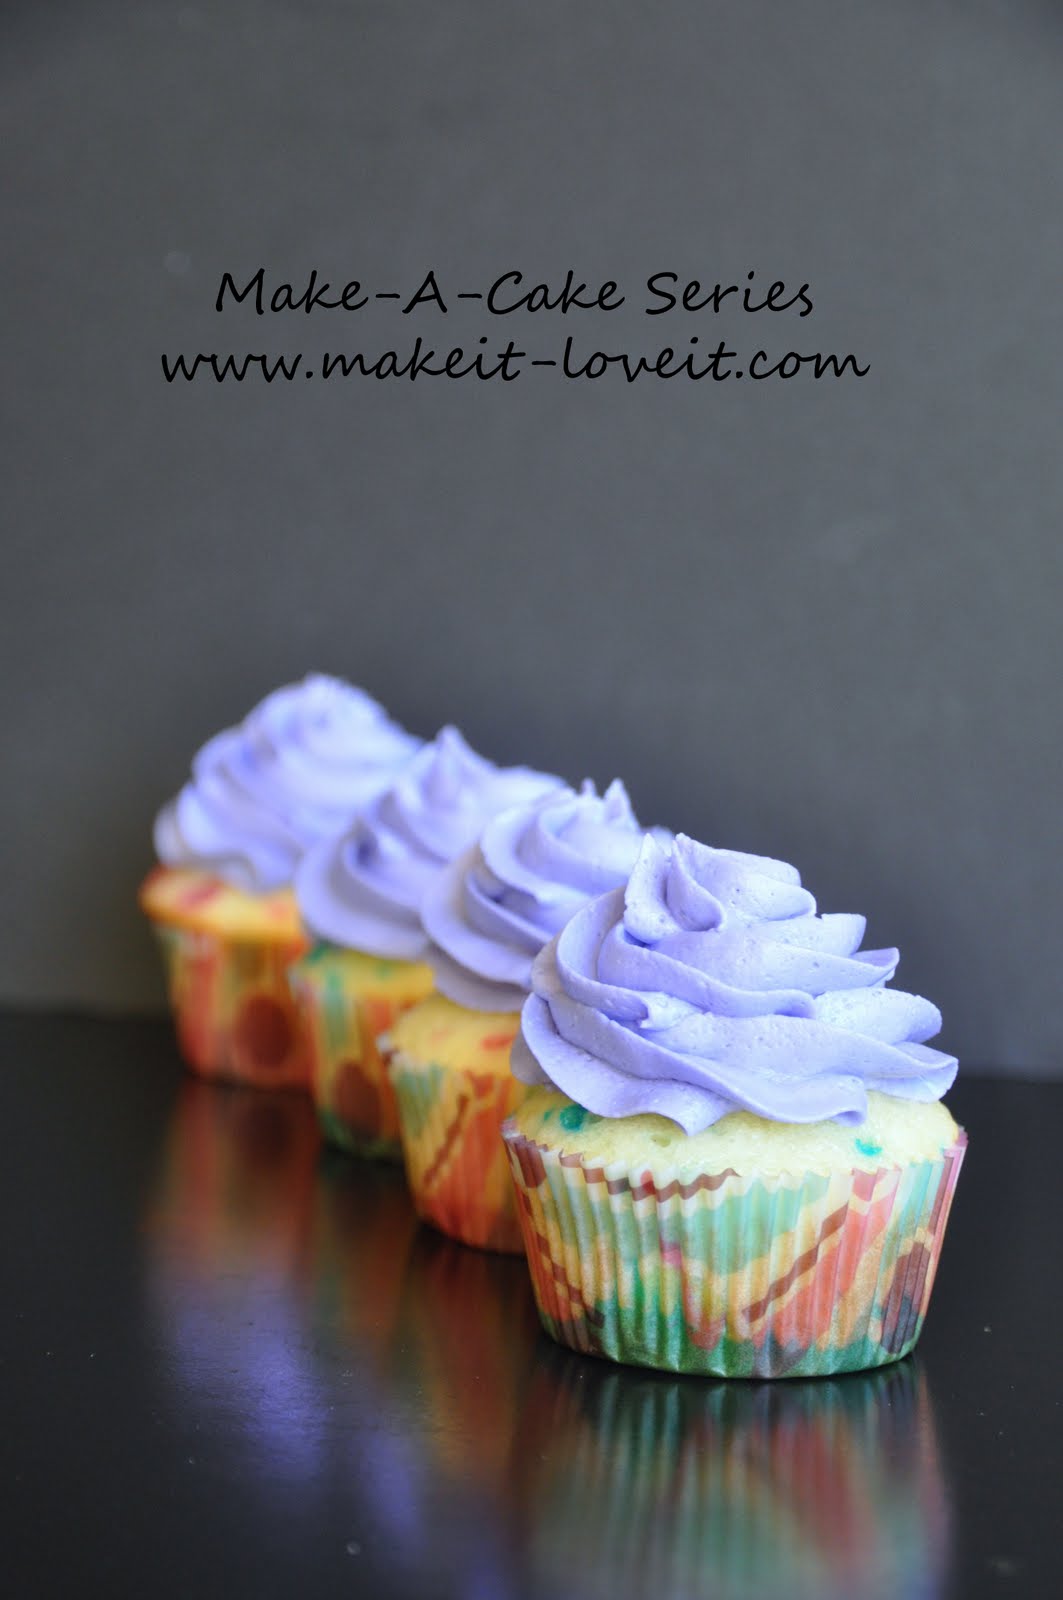
Topping your cupcakes with a buttercream swirl.
To put a swirl of frosting on a cupcake, use a 1M tip.
When making the swirl, start by squeezing a small amount of buttercream on top of the cupcake to make a frosting base. Then make a swirl around that base, then another swirl around the base. Then one more swirl will go on top of the base. When you get to the top, stop squeezing and lift straight up. You should have the base and three swirls around the cupcake.
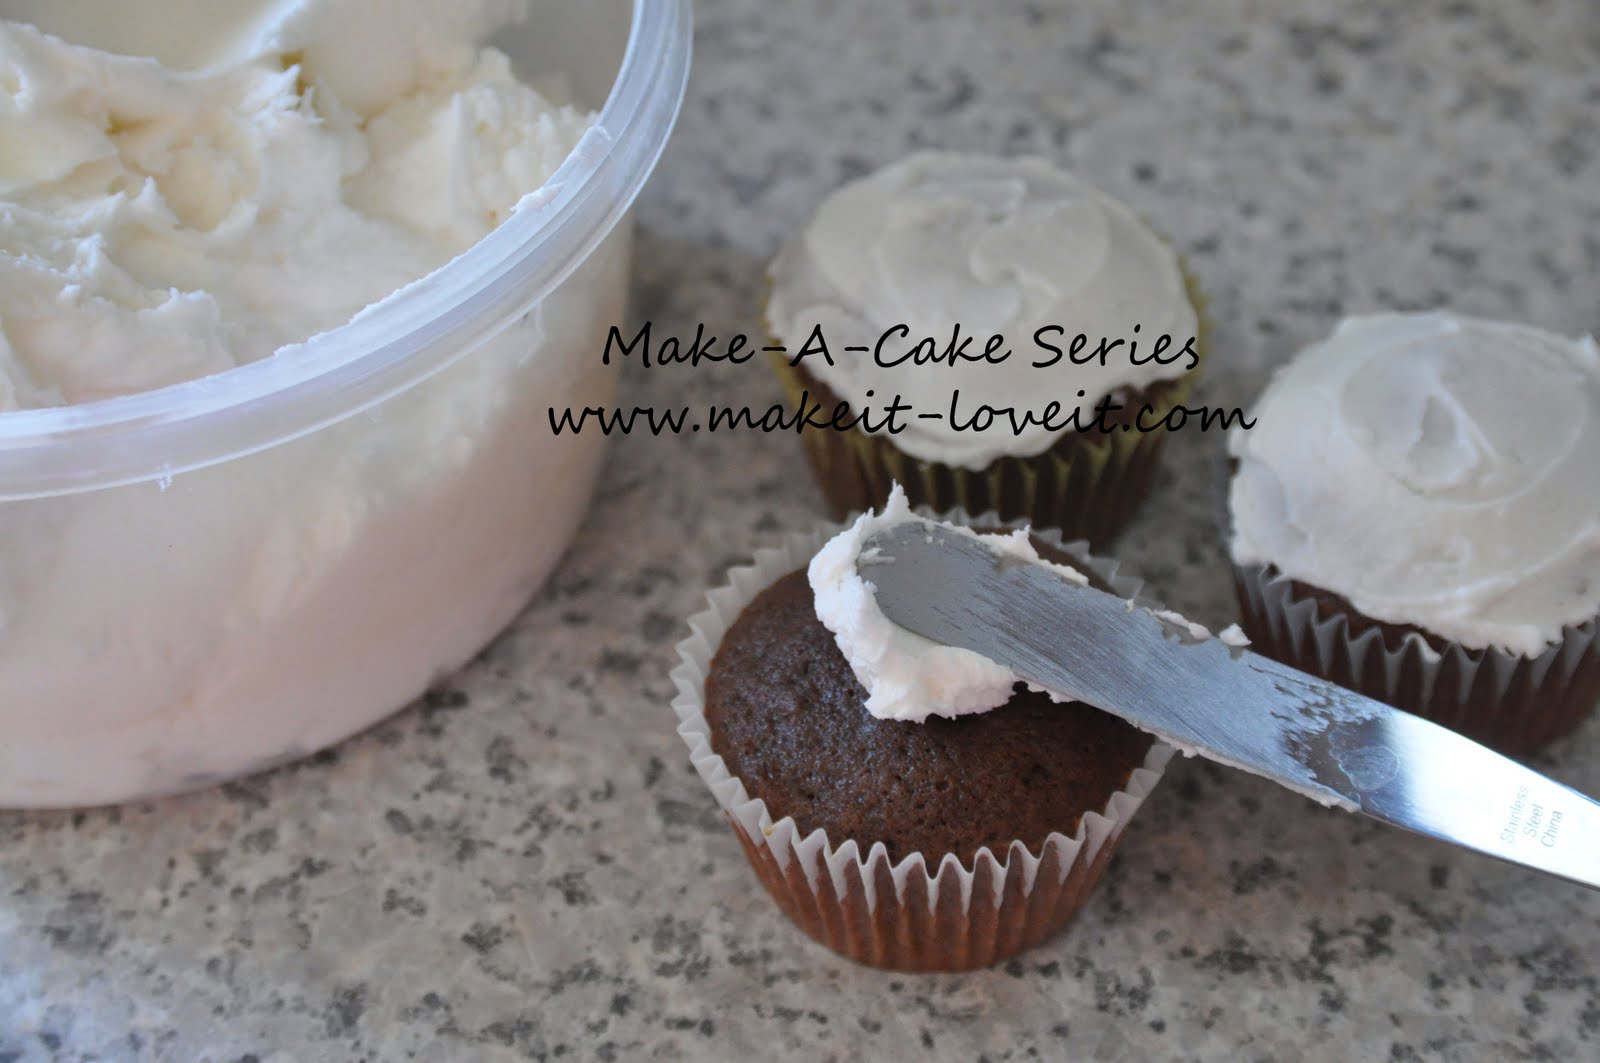
Bake your cupcakes and then frost them with a layer of buttercream.
**TIP- -If your cupcakes ended up baking flat (without a dome on top), make a dome with the buttercream. Just make it thicker in the middle.
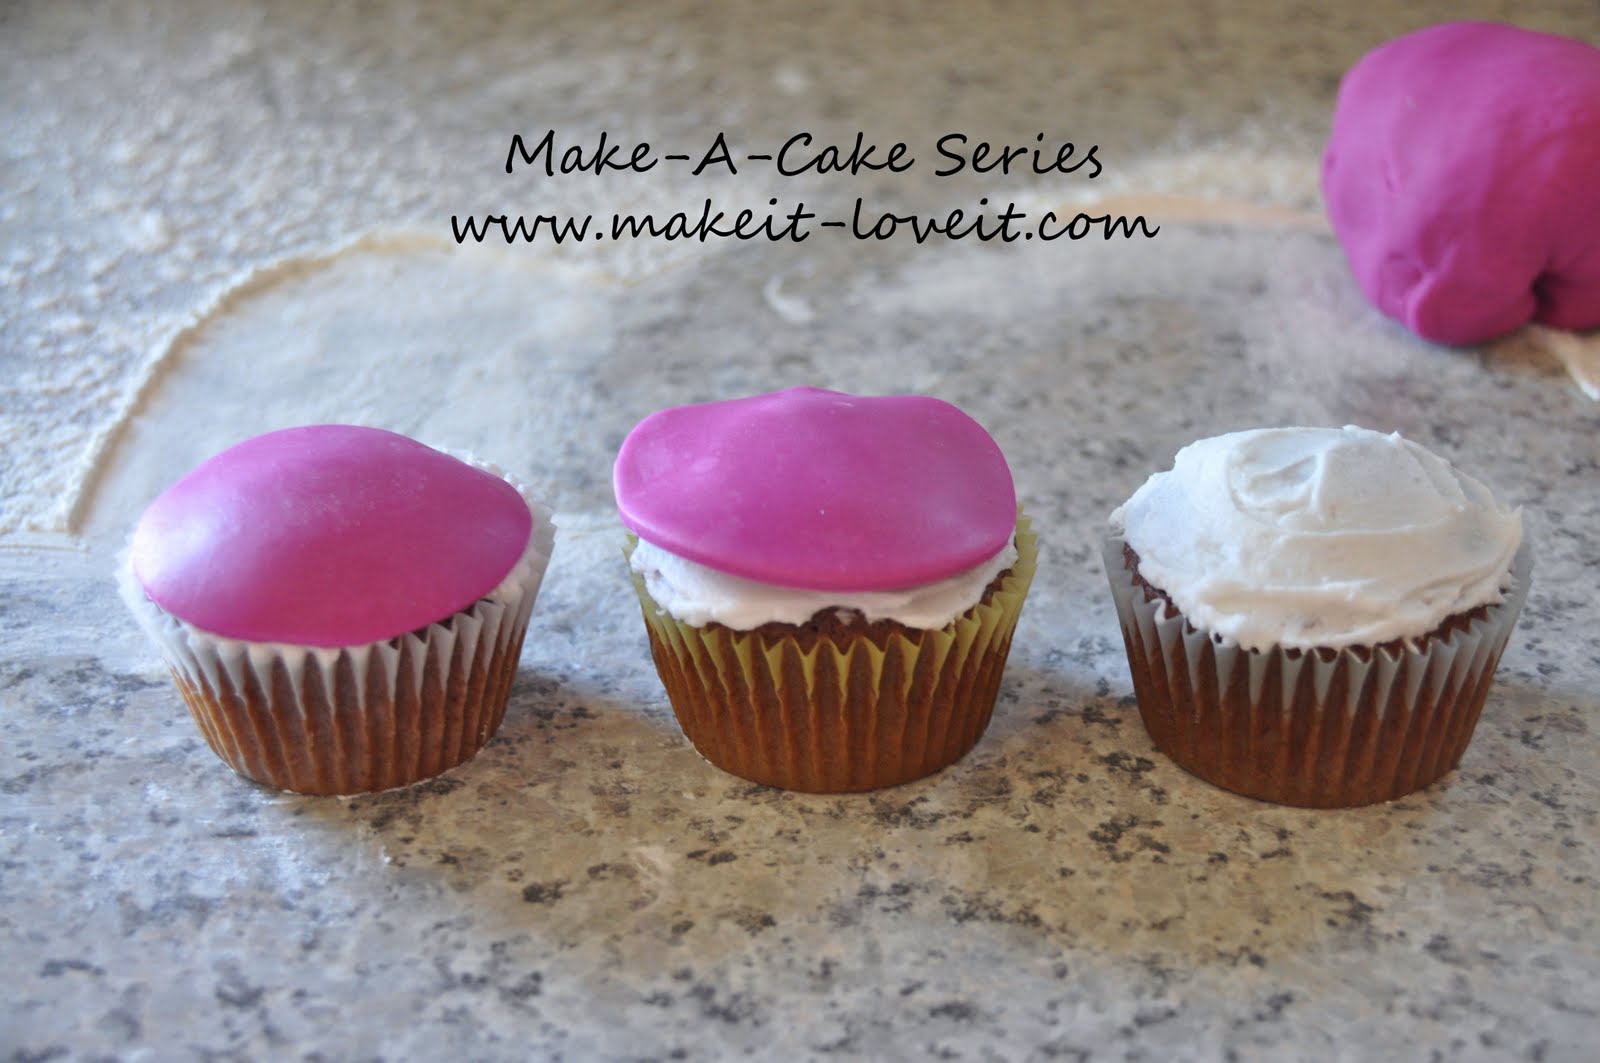
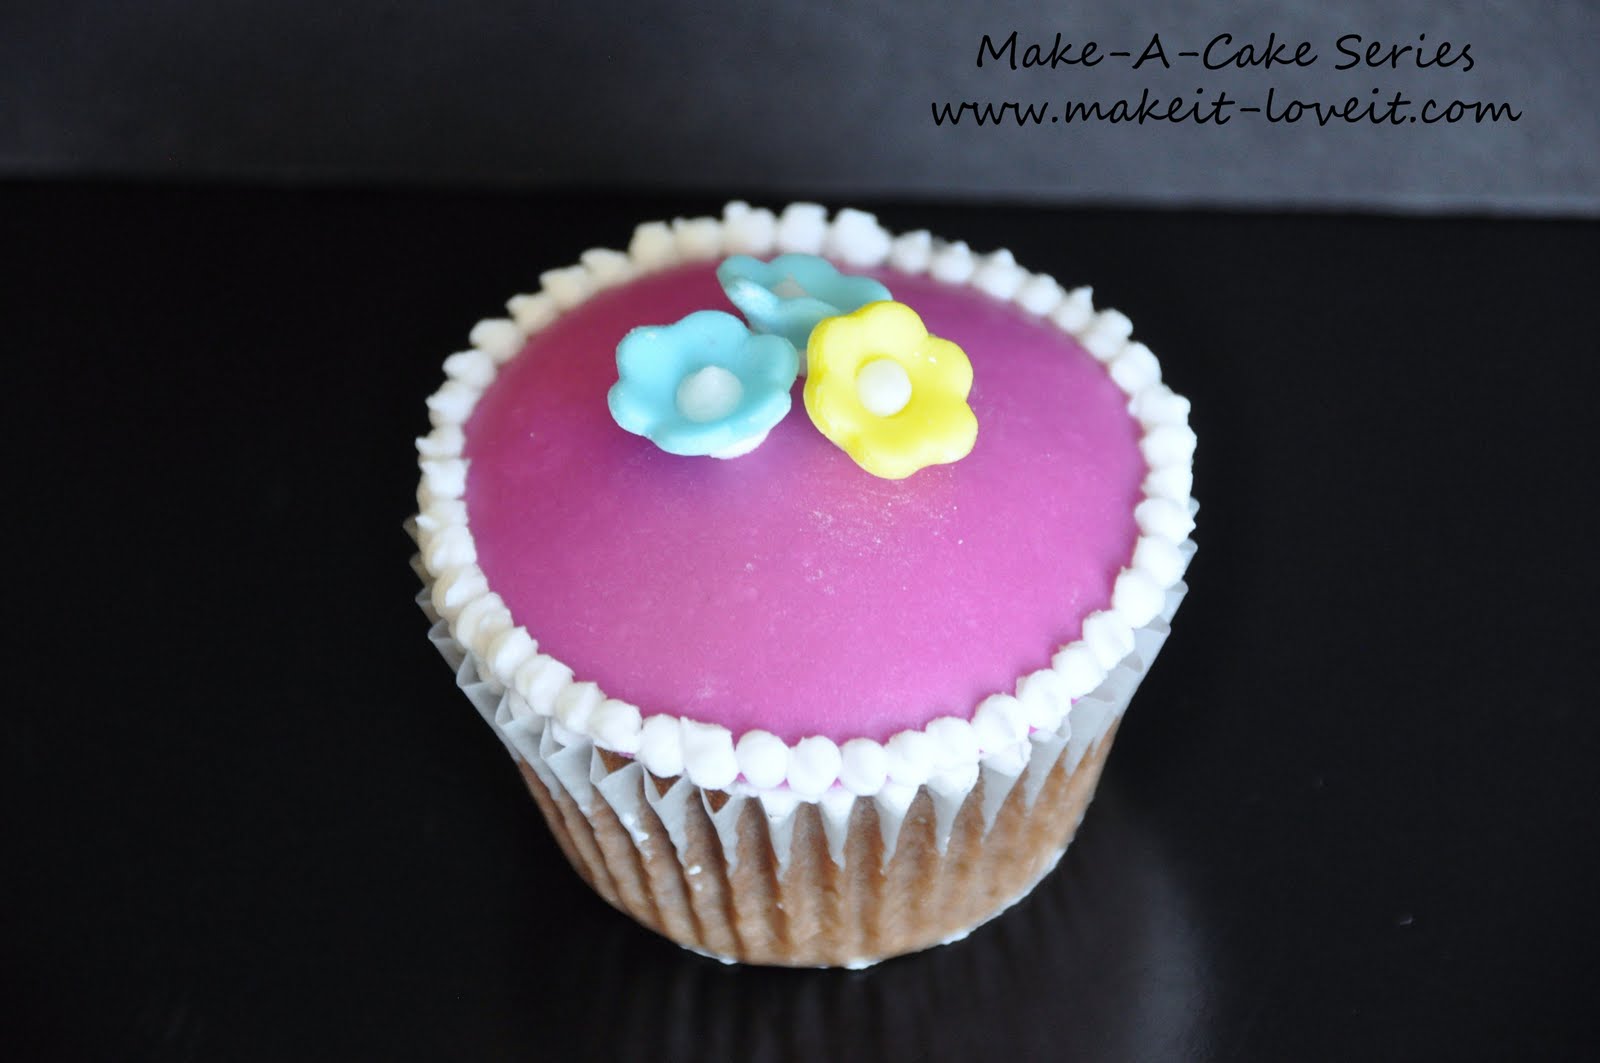
Roll out your fondant and cut out a circle that fits the top of your cupcake.
I used the smallest circle cutter from the same set I used in the Flag Cake post.
(Fondant tutorial here.)
Place the circle of fondant on top of your cupcake and work it with your fingers to smooth it out and get it to fit to the edges.
Now add your decorations.
I just piped a dot border and cut out fondant flowers for the top.
Easy, right?!
Now you are ready with some new tricks for your personal sized cakes!
Happy Decorating.

Hi, I’m Ashley—the DIY-enthusiast behind this crazy blog!