Home » DIY Tutorials » DIY Sewing » Sewing: Clothing » Baby Clothing » Re-purposing: Boys Tshirts, Part II
Did you see the first couple of boys re-purposed Tshirt ideas here?
That was Part I…..now, get ready for Part II.
You know how quickly the little guys run out of clean clothes…..
So I had to make a total of 4 new little Tshirt’s for my little buddy. And also because I just love something new and handmade on my little munchkins.
Mmmmm….love it.
I used some Tshirts that we already had (one had a pocket on it and I picked out the seam and took it off…) and then added a new look using knit scraps from my stash.
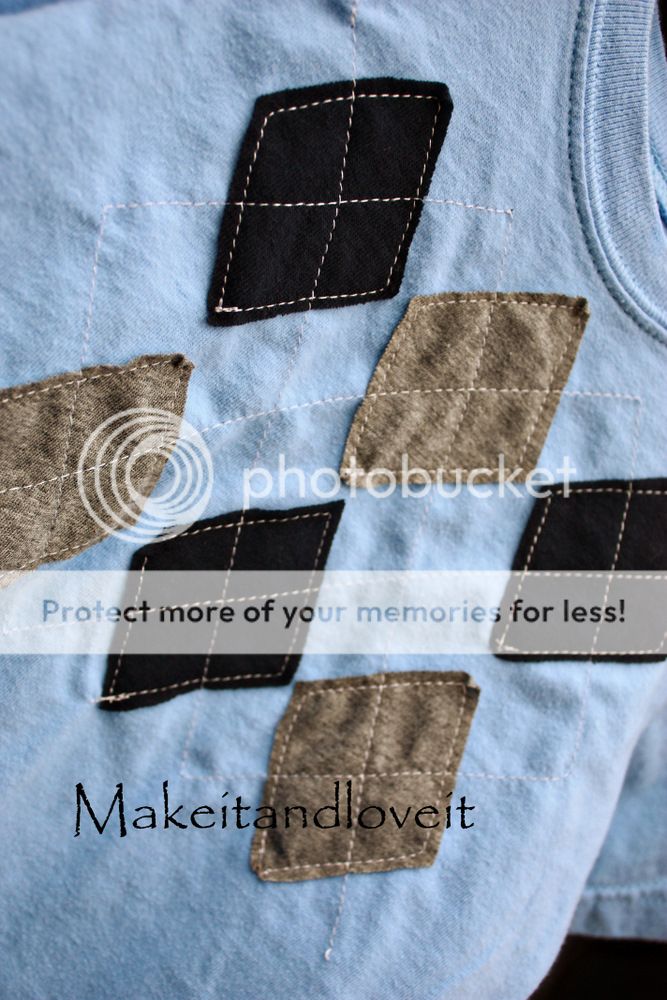
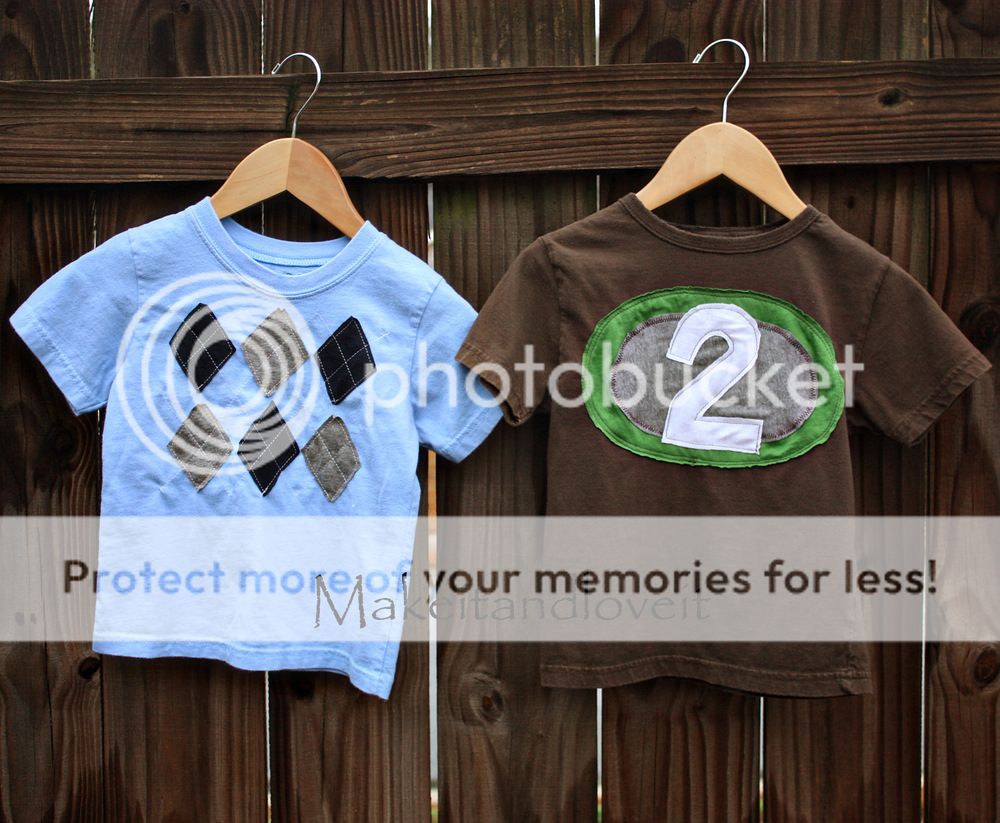
For the argyle shirt, I cut triangles and then pinned them in place. Then I sewed around each one separately. Then I made the argyle criss-cross pattern with straight seams. I used a wider stitch (but not quite as large as a basting stitch) just so that bigger stitches were showing.

Save
And my little buddy’s big day will be in a few months, so I decided to make him a birthday shirt. You can just eyeball these shapes like I did (far from perfect…..but definitely charming) or you can cut your shapes from paper and then use that as a pattern piece to cut your knit. Then sew each shape on separately. Make sure to pin your pieces well and leave them in place as you’re sewing. Knit stretches and will shift if you’re not careful. I sewed two parallel seams around the outer oval, a zig-zag around the inner over, and then a single stitch around the ‘2’. Turned out fun.

Save
**Just a tip: You can use interfacing to help keep your knit in place while sewing. Or, you can pin and sew carefully and adjust your fabric and needle as needed, while sewing. I find that using a larger stitch while sewing with knits or using a zig-zag stitch really helps it from stretching so much. Also, try to stay away from the absolute edge…..as that gets a bit more difficult to sew.
But have fun with it.
Design your own, use these ideas, or start thinking of some ways to make your girls some new Tshirts.
Why not?
In most cases you won’t spend a thing….and it’s so fun to have something completely unique for your child to wear.
**Note: You can use cotton shapes instead, if you’re having a hard time working with knits on the Tshirt. I just love the look of keeping it all knit…..but appliqueing cotton on, would also be adorable. I would zig-zag around the edges though, to minimize fraying.

Share via:
