Enjoy.
-Ashley
A Mod Podge gift chest – for less than 10 bucks.
Hi there! My name is Amy, guest blogger extraordinaire. Before I begin with my project, let me introduce myself to you as a present giver. I go WAY overboard contemplating what I am going to give to my loved ones. My presents aren’t any better than anyone else’s, but I can assure you that they are fretted about more than anyone else’s. Now that you know this about me, let me introduce myself to you officially – I am the owner of Mod Podge Rocks! and devotee of decoupage.
So how do gift giving and decoupage work together?
It’s simple. Since discovering decoupage, gift giving is not as painful for me as it used to be. I am able to create the unique gift my recipient will (hopefully) love, and I get to do my favorite craft at the same time. I’m here to show you how to do it too. The best part? The featured project above cost me $10 – I purchased the chest for $7 and the paint colors for $3. I already had the fabric scrap and Mod Podge. Now I have a delightful gift. Here’s my tutorial, and I hope you enjoy it.
Fabric Mod Podge Chest
Gather These Supplies:
FolkArt® Acrylic Paint
Calypso Sky
Hauser Green Light
Light Blue
Mod Podge® Fabric & Gloss
Small Wood Chest
Fabric scrap of your choice – 1/8 yard (you could use pieces too)
1” Flat Paint Brush
Craft Glue
Craft Knife
Pen, black marker works too
Ruler
Scissors
Wax paper
Sandpaper, medium/coarse grit
Spackle Knife & Hammer (to take off knobs)
Acrylic Sealer (optional)
1. You will first want to prepare the fabric before painting. To do this, wash and dry the fabric (do not use fabric softener). Iron and then lay out on a covered work surface. Wax paper is preferable for covering your table. Using a brush, paint a light coat of Fabric Mod Podge onto your fabric. Allow to dry. This will allow you to cut the fabric like paper without frayed edges.
2. Go back to your wood chest. I wanted to cover the drawers with fabric, so I summoned up a little trick my friend Holli taught me. I “knocked off” the knobs using a spackle knife and hammer. I put the spackle knife right behind the knob and tapped the hammer to pop it off. I nicked the drawers a little bit, but that is okay, we are covering them with fabric and paint. You’ll see – it will all make sense! Right?
Before you move on from this step, I HIGHLY recommend sanding the drawers. You are going to add several layers of paint and Mod Podge – the drawers will be a tight fit unless you work them down in a little bit in places where they touch the chest. Grab a piece of sandpaper and work the top/bottom ridges and sides. You’ll be glad you did.
3. Time to paint! Pull the drawers out and paint them Hauser Green Light. Let them dry.
4. Paint the base chest Calypso Sky. Let dry.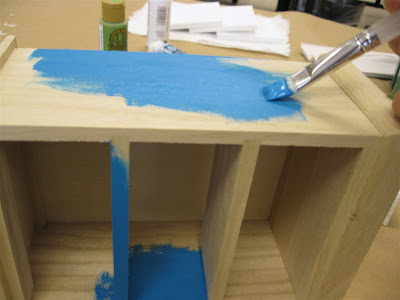
4. Paint the top and bottom of the chest Light Blue. At this time, also paint the knobs Light Blue. Let dry.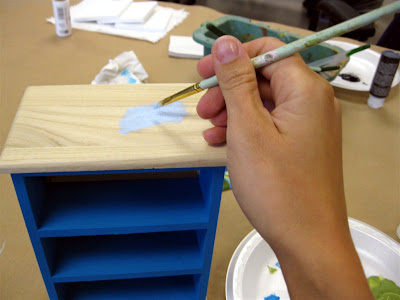
5. Time to measure your fabric pieces. Lay the drawers front down onto the fabric and trace. The sides and top are going to be a little different since you can’t set the chest down flat on the fabric. What I did is measure the sides and top and then cut the same sizes out of the fabric. You’ll adjust a little in the next step.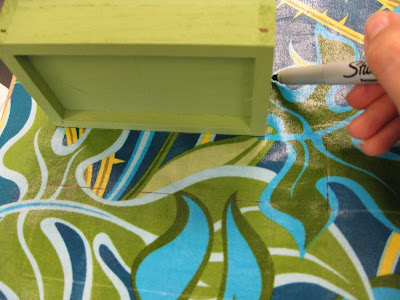
6. Using your craft knife (blade must be SHARP), cut the fabric pieces out. I ALWAYS end up with the fabric pieces a little too big. It’s easy to fix – just keep trimming a teensie bit off of the fabric ends until you get it just right. It works well, trust me. Get all your pieces ready. The fun is about to begin!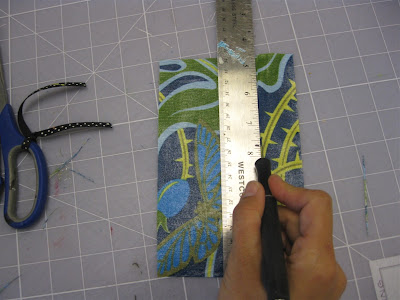
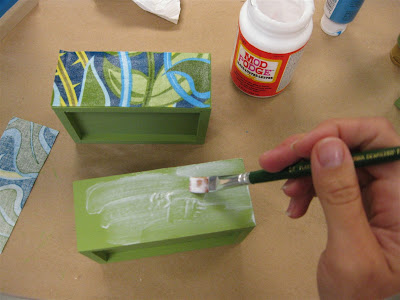 5. This is my favorite part! Adhere the drawer fabric using the Gloss Mod Podge. Completely smooth out all air bubbles (I like to use a brayer) and allow to dry for 15 – 20 minutes.
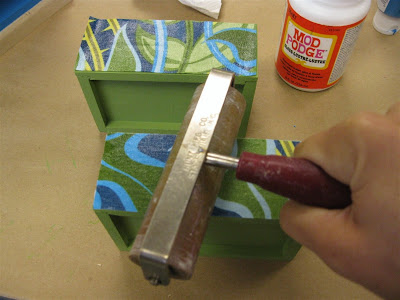
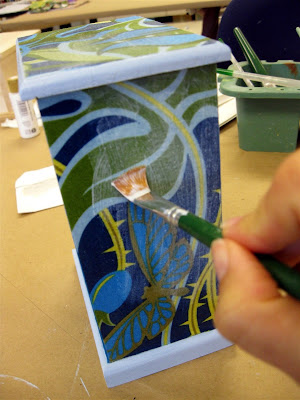
6. While the drawers are drying, affix the fabric to the sides and top of the chest. You can work sections at a time. I always do with larger areas so that my Mod Podge doesn’t dry too much before I stick the fabric down.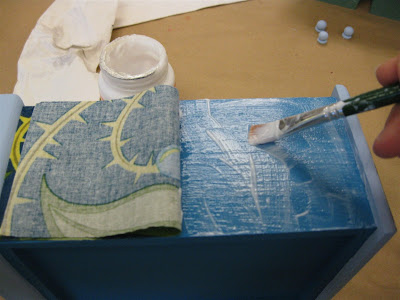
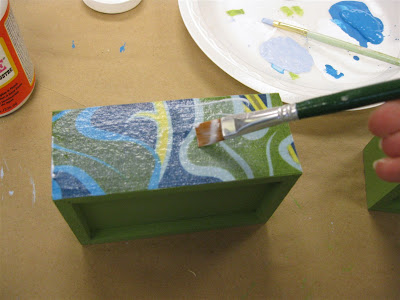 7. Coat the drawers and entire chest with at least two coats of Gloss Mod Podge. Allow to dry.
8. Glue the knobs to the front of the drawers with craft glue.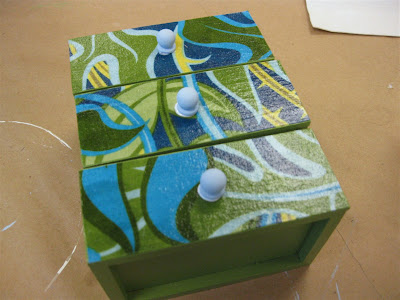
9. Well hello there, cute finished project! Allow your gift chest to dry for at least 24 hours before using. I recommend spraying with several coats of acrylic sealer to completely finish your project and add durability.
I hope you enjoyed this tutorial, and that you may be inspired to decoupage a gift. Try it. It’s easier than it looks, and remember, I’m always here to help. Come visit me at Mod Podge Rocks!any time to get the latest decoupage inspiration, tips, tricks and to ask me any questions you might have. Happy gift giving!