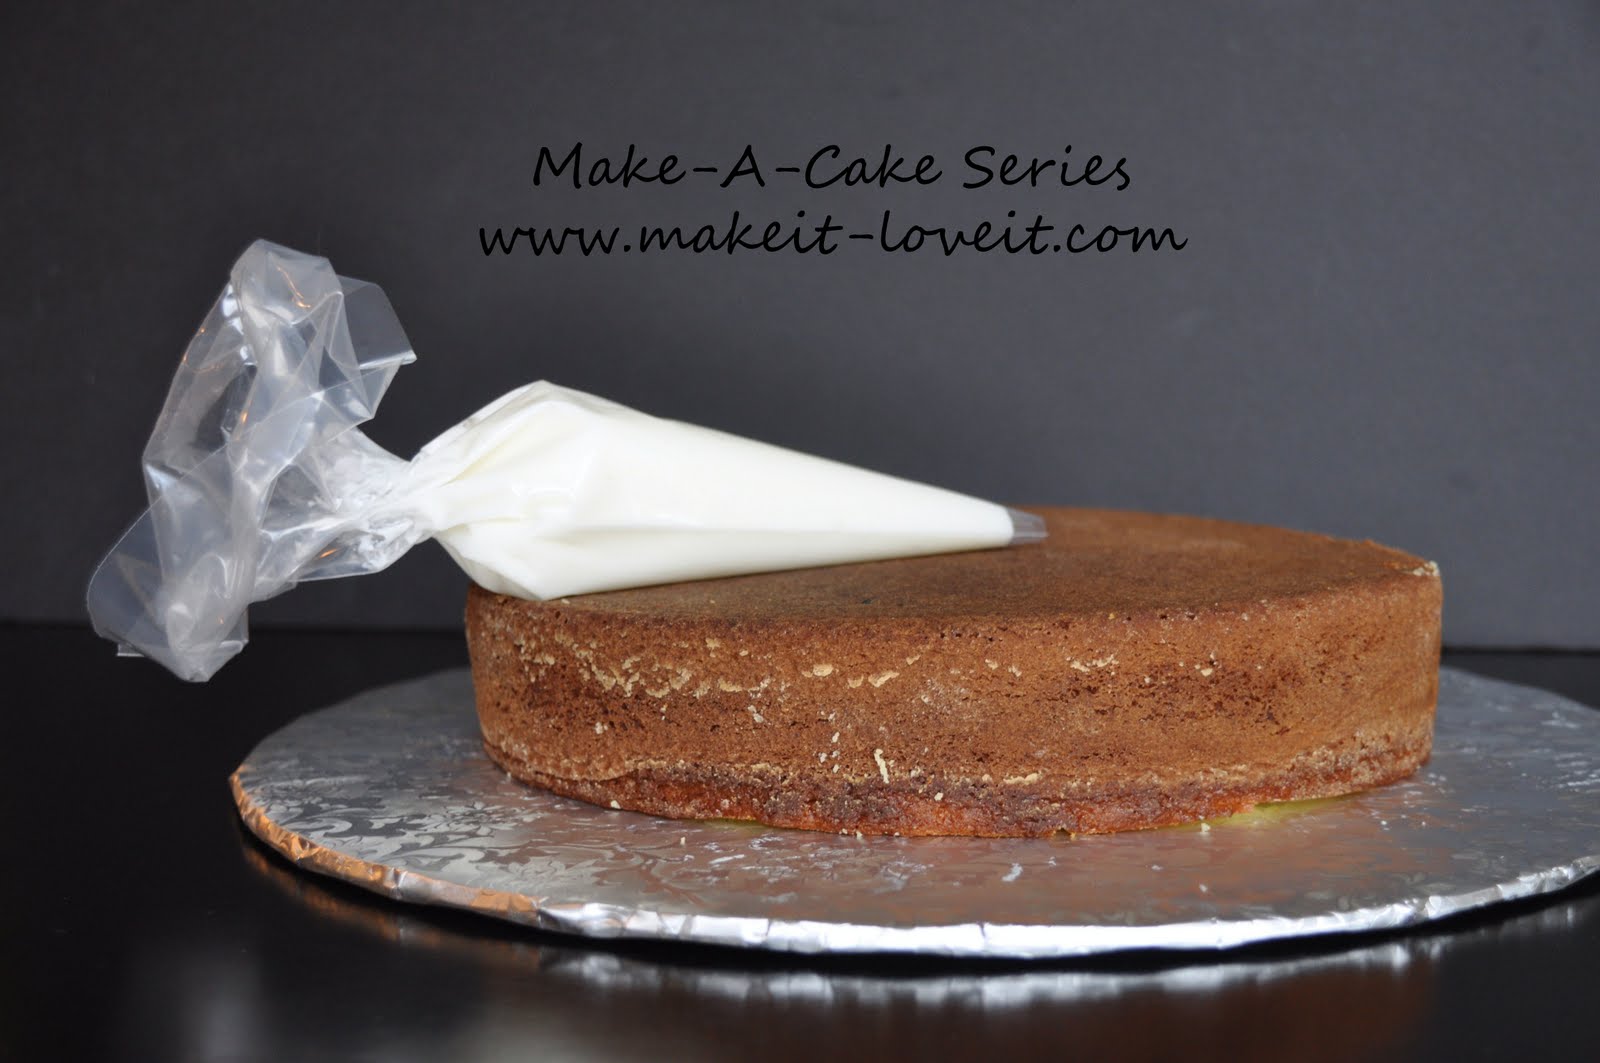
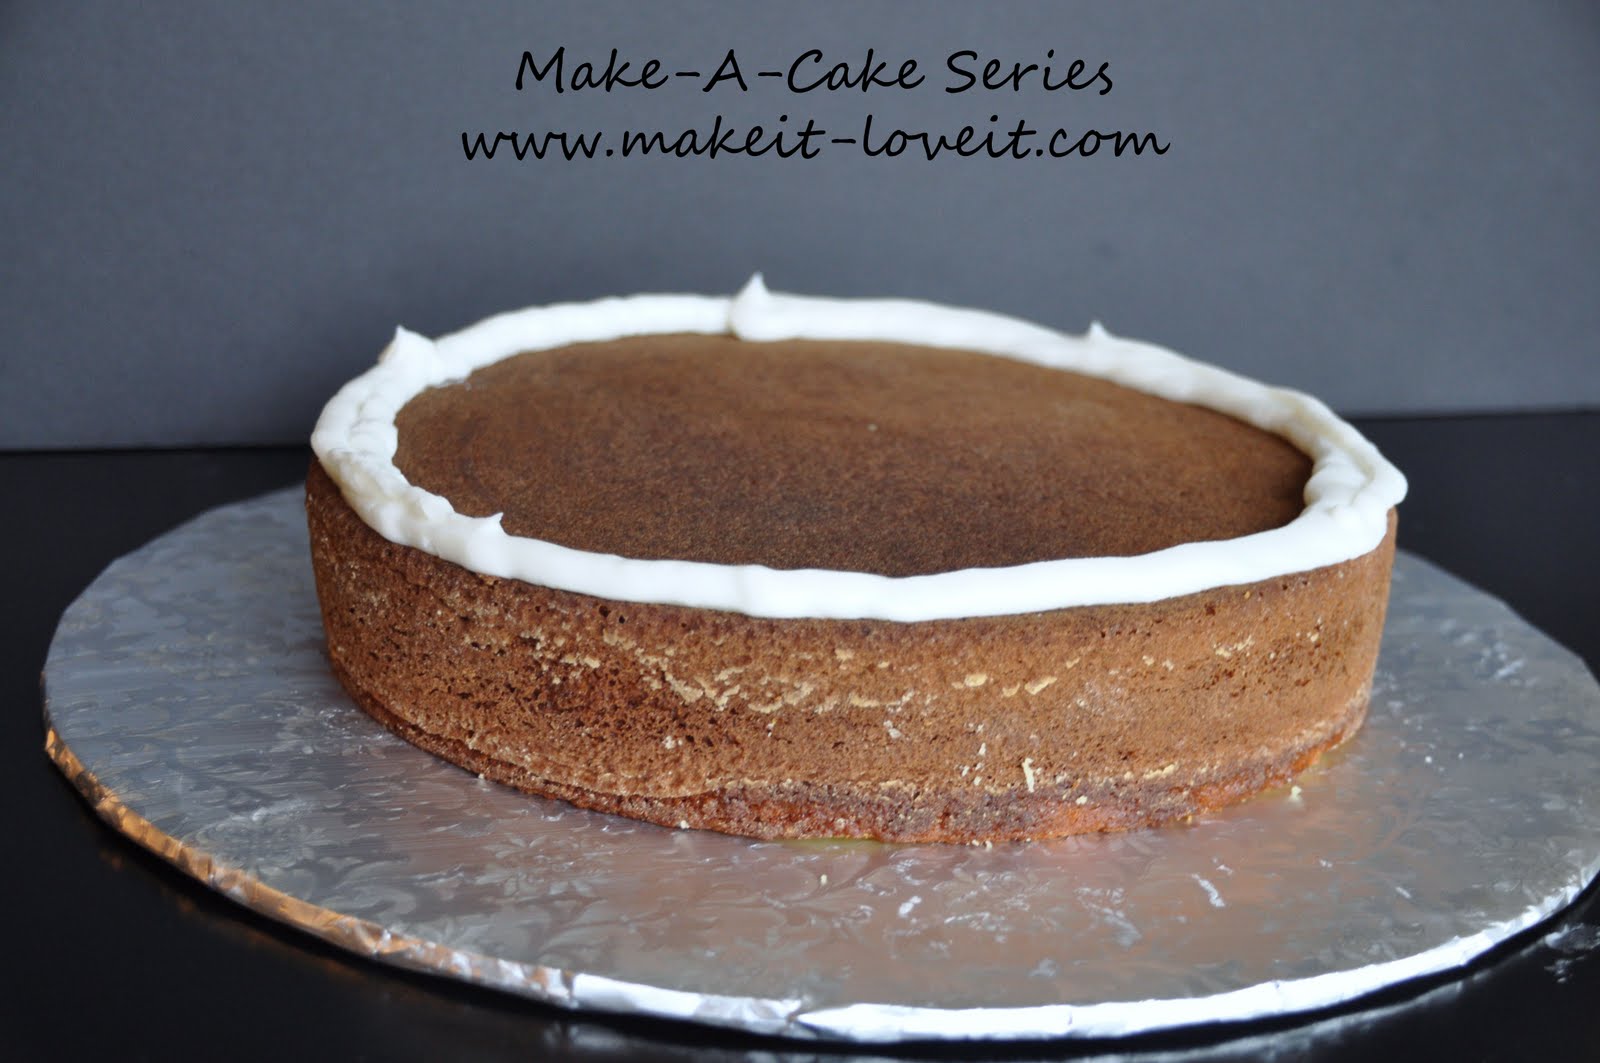
Level your first layer and turn it upside down onto your cake plate.
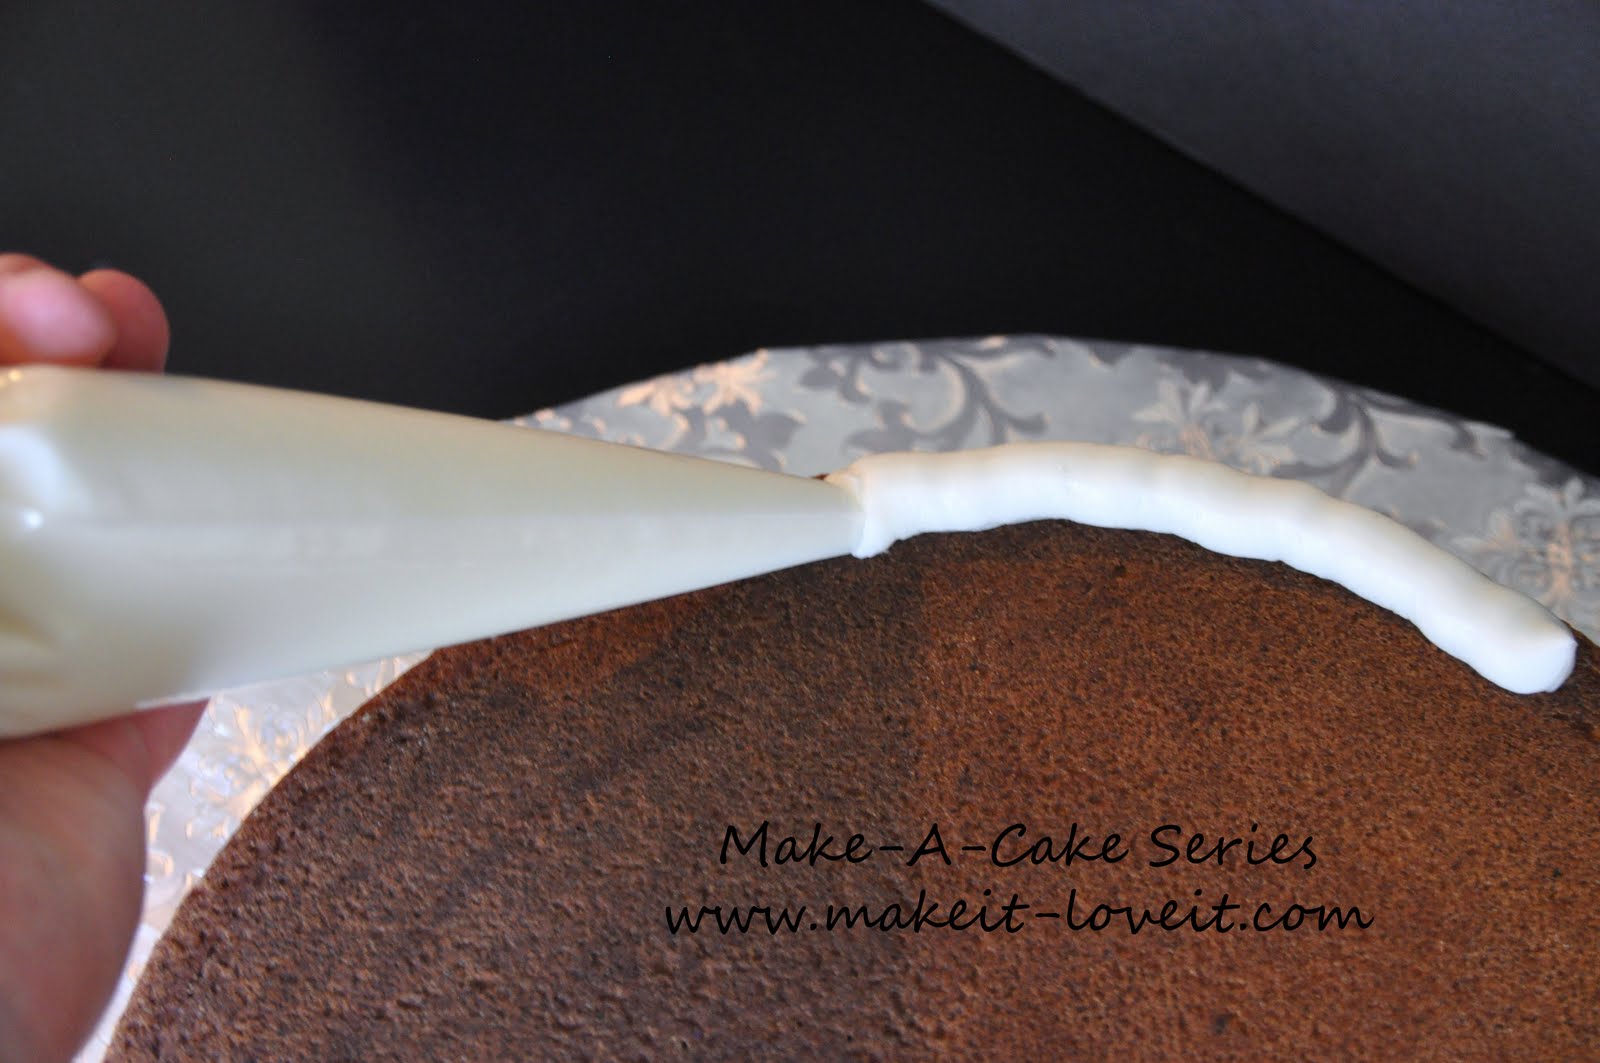
Edge the cake by piping it with buttercream.
The reason I do this is to keep the filling from seeping out the sides when you stack the cake.
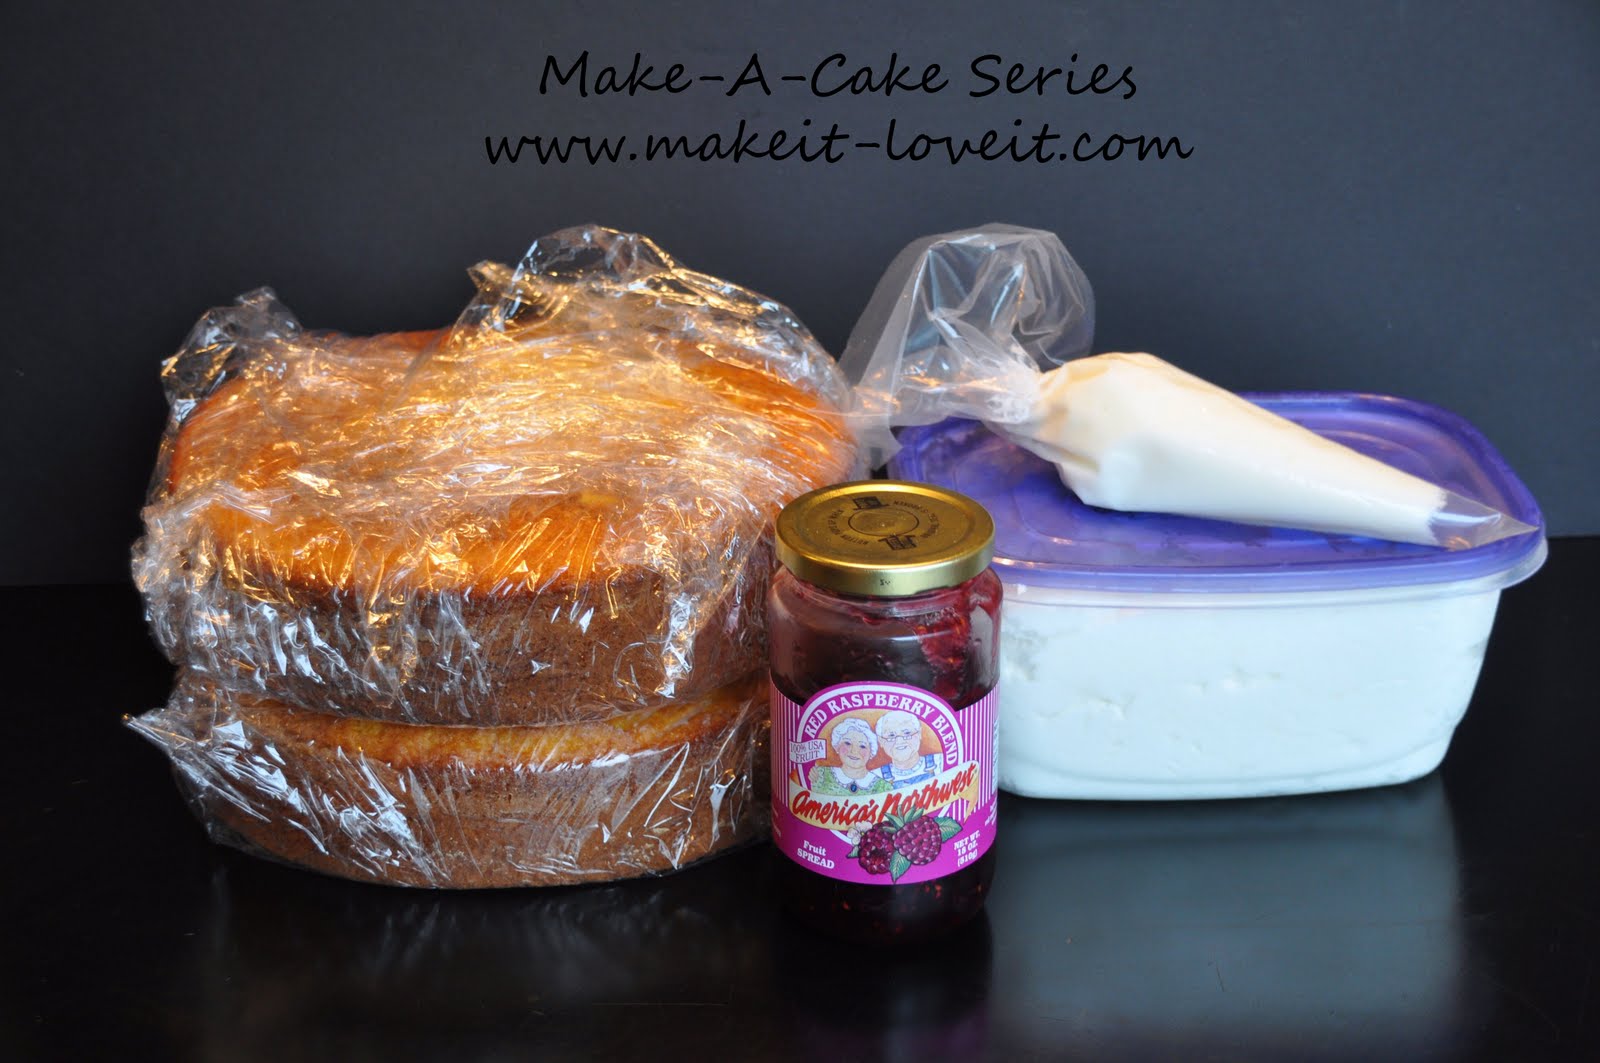
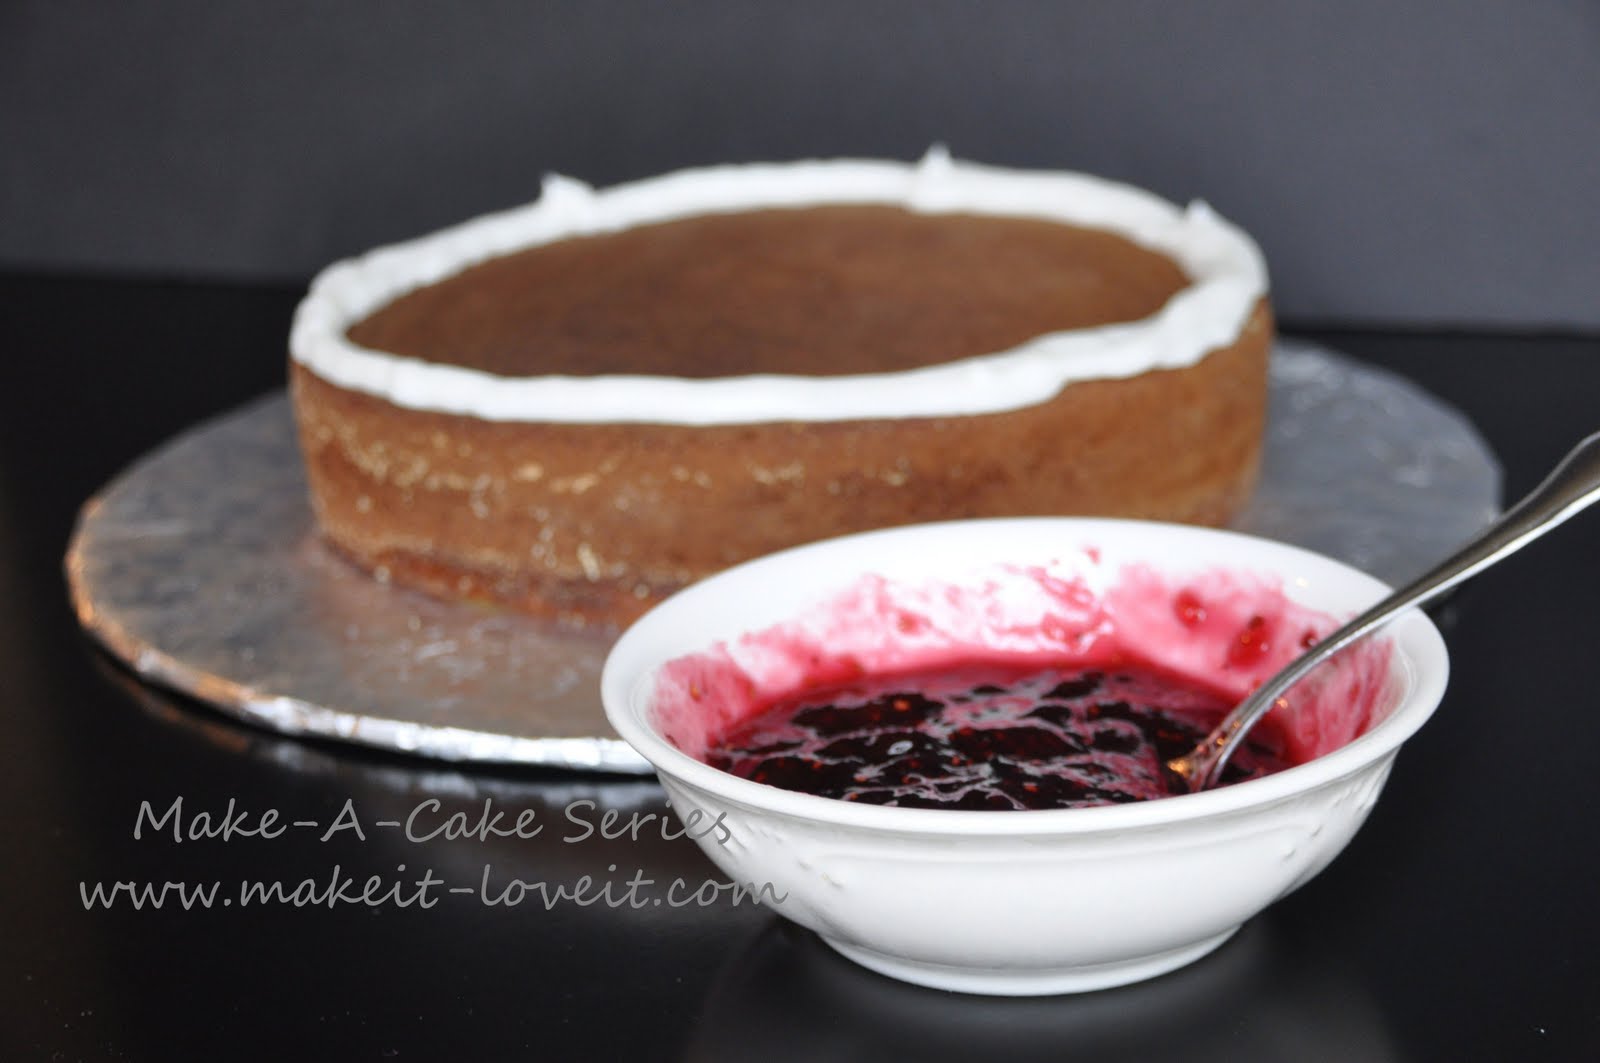
I used raspberry jam for this cake.
I placed the jam into a bowl and then whisk it until it is a smooth consistency.
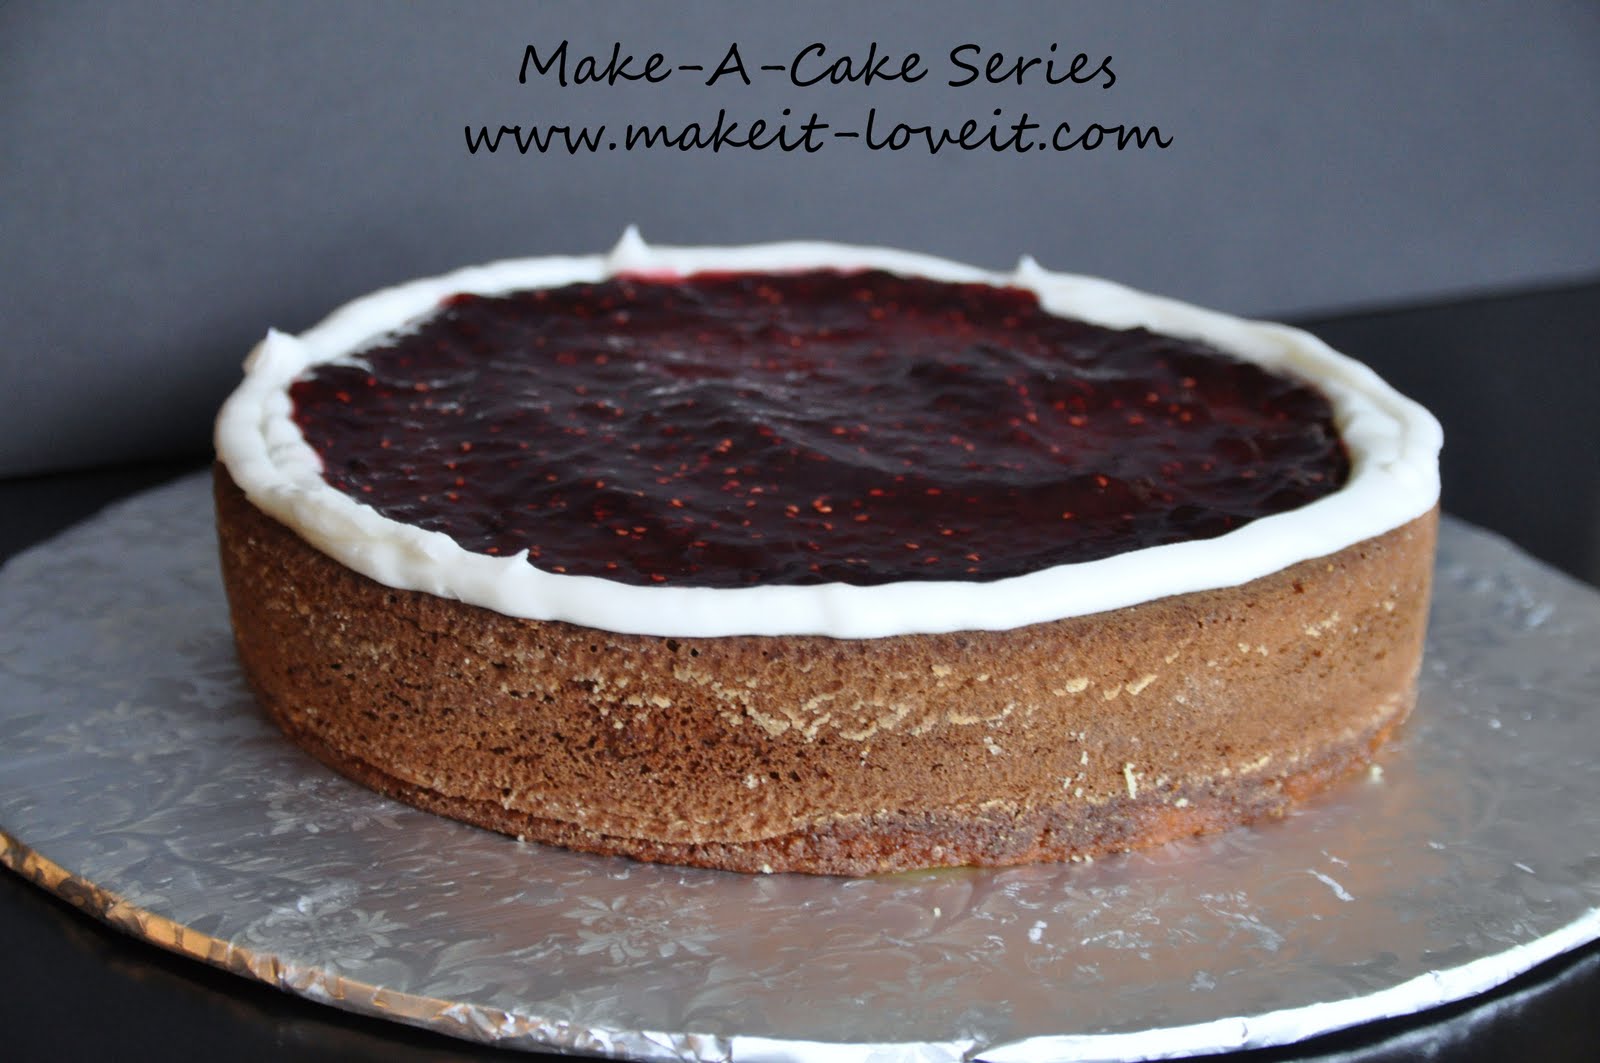
Evenly spoon your filling into the middle of the cake.
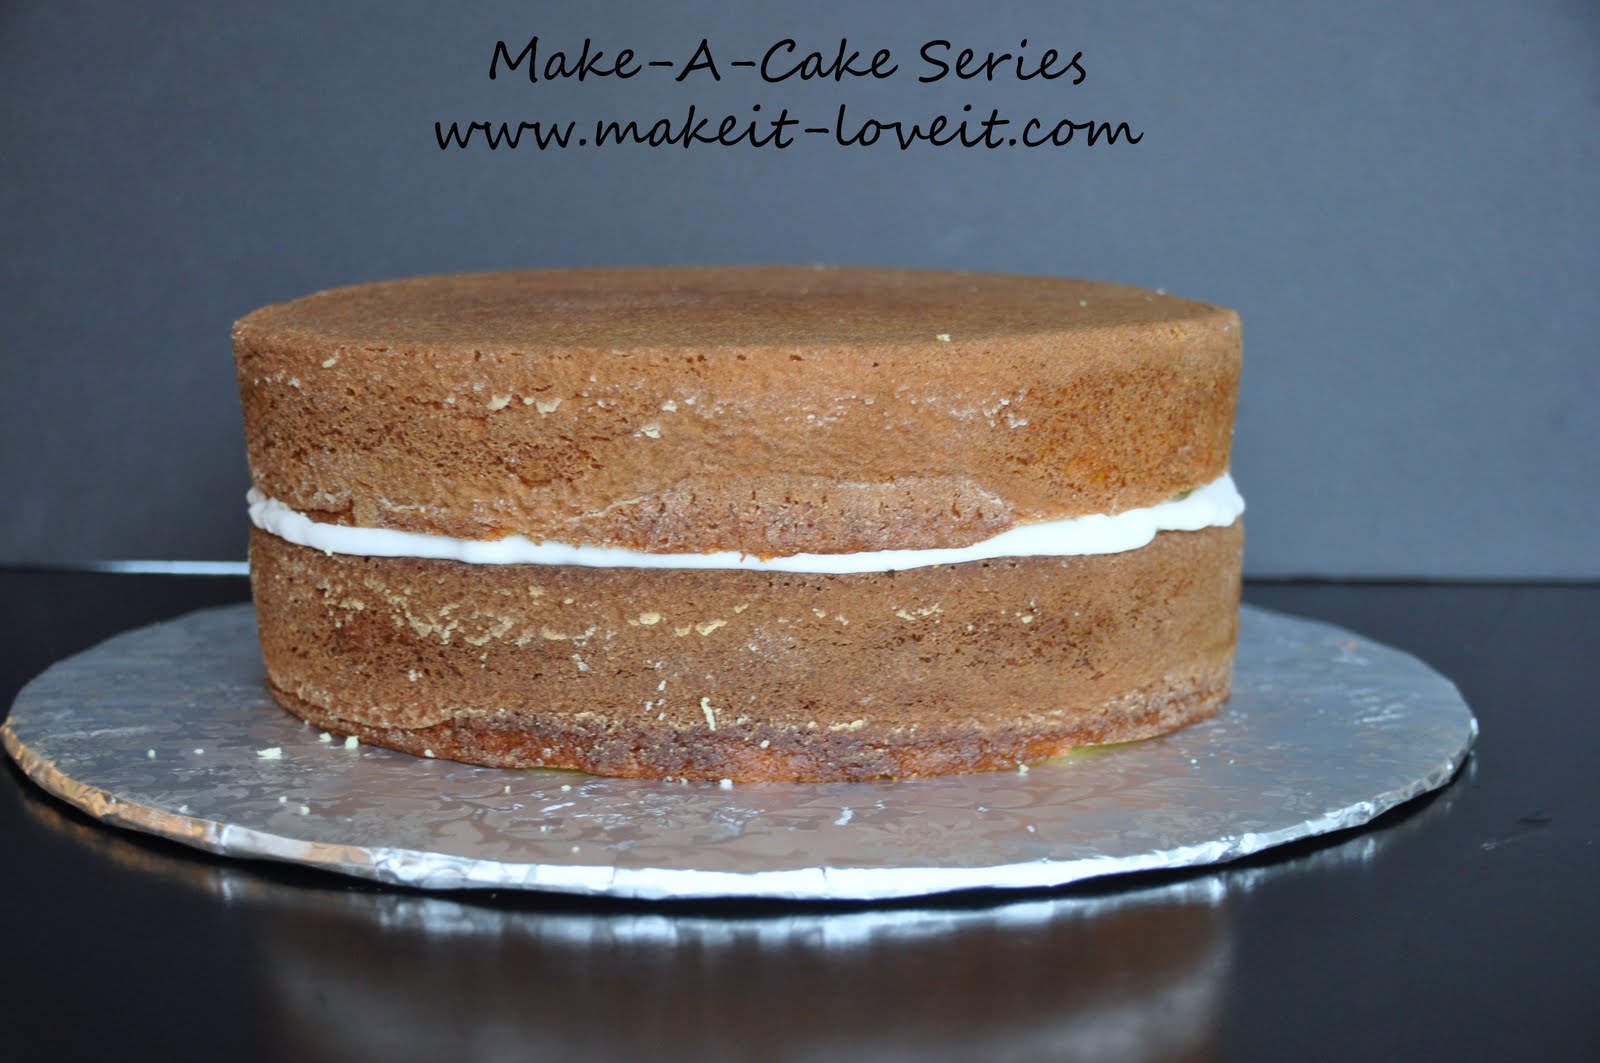
Level your second layer of cake, turn it over, and place it on top of your filling layer.
At this point ice the cake and cover it with fondant.
After you have both of your layers covered with fondant we can move onto stacking the two layers.
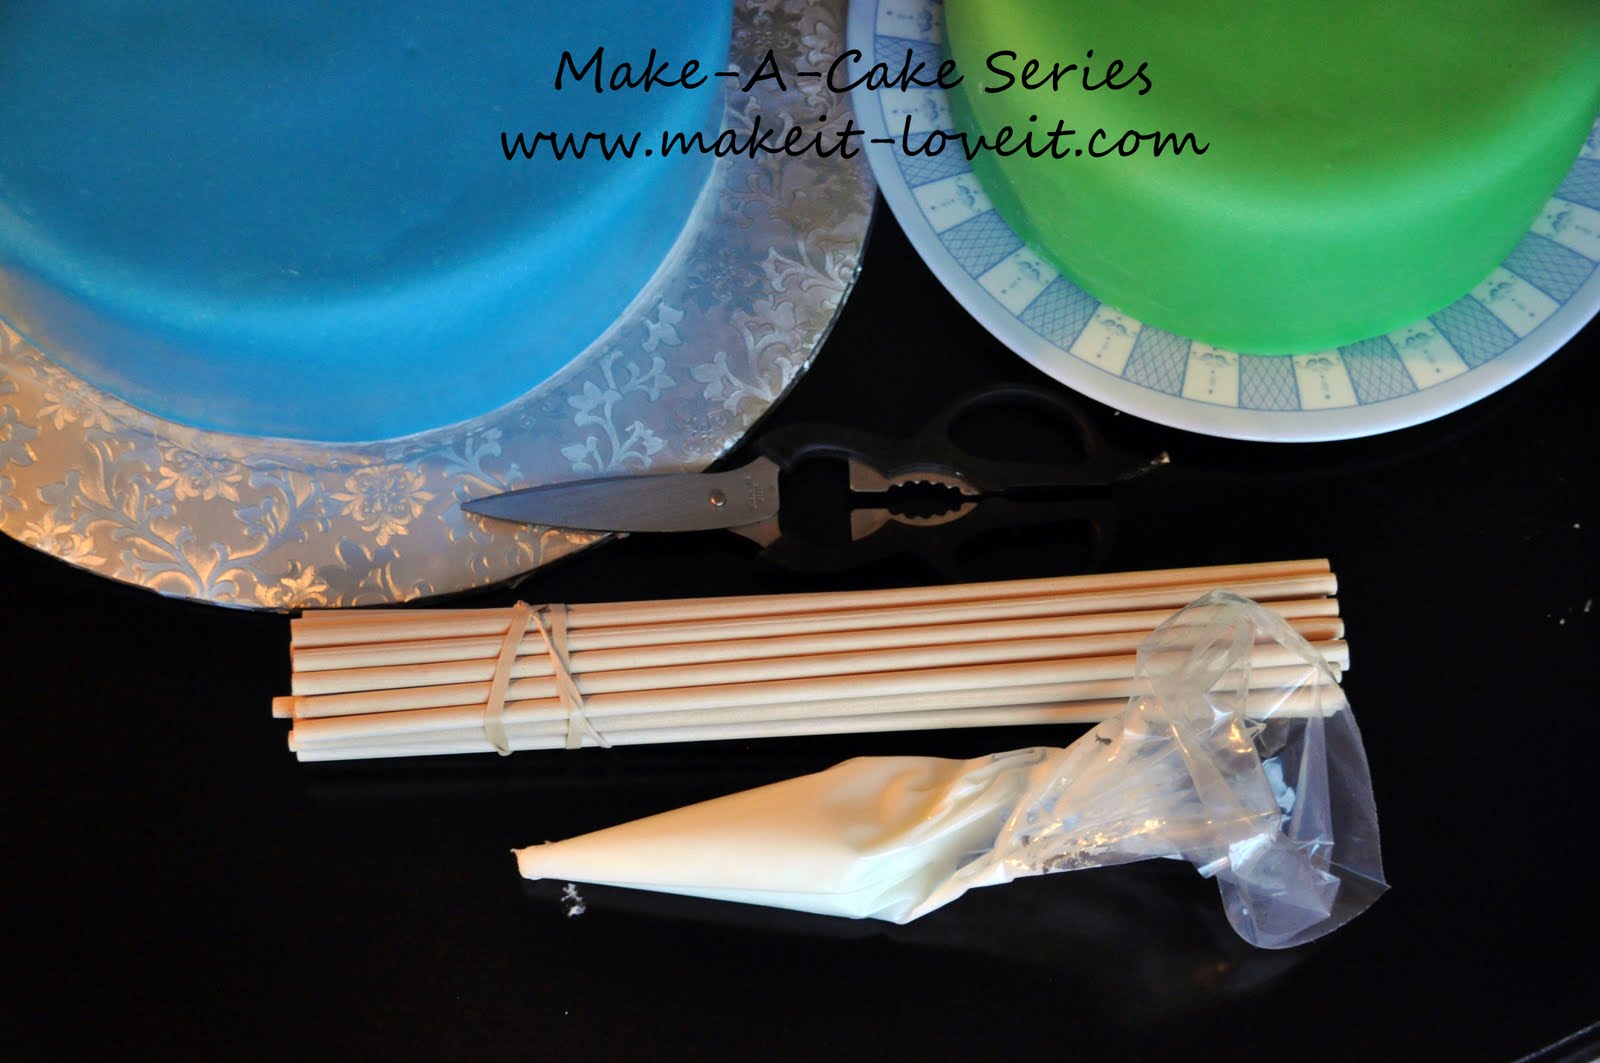
Supplies for stacking two cakes.
These steps are important to add support to the cake. If there is not support to hold the second layer it will sink into the first.
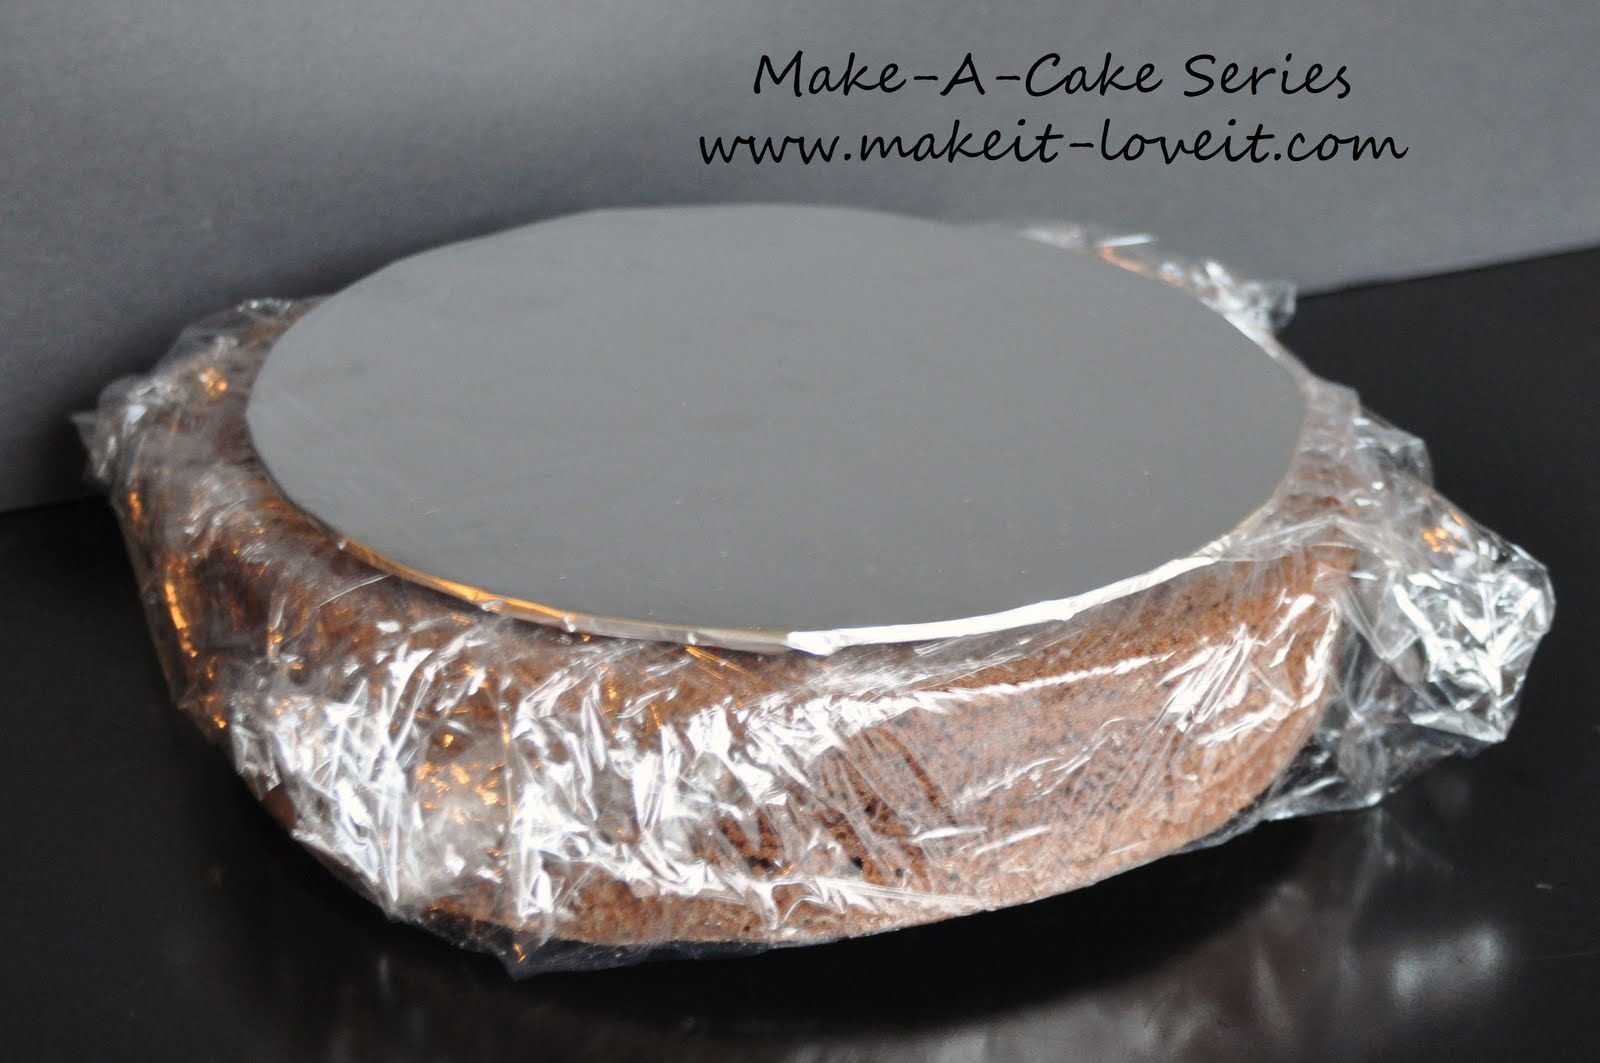
This is a back step but it’s important.
When you are stacking the second layer of your cake (the smaller layer– in this case, the green layer), use a cake plate that is smaller than the cake and covered with foil.
This plate will be what is held up by the dowels.
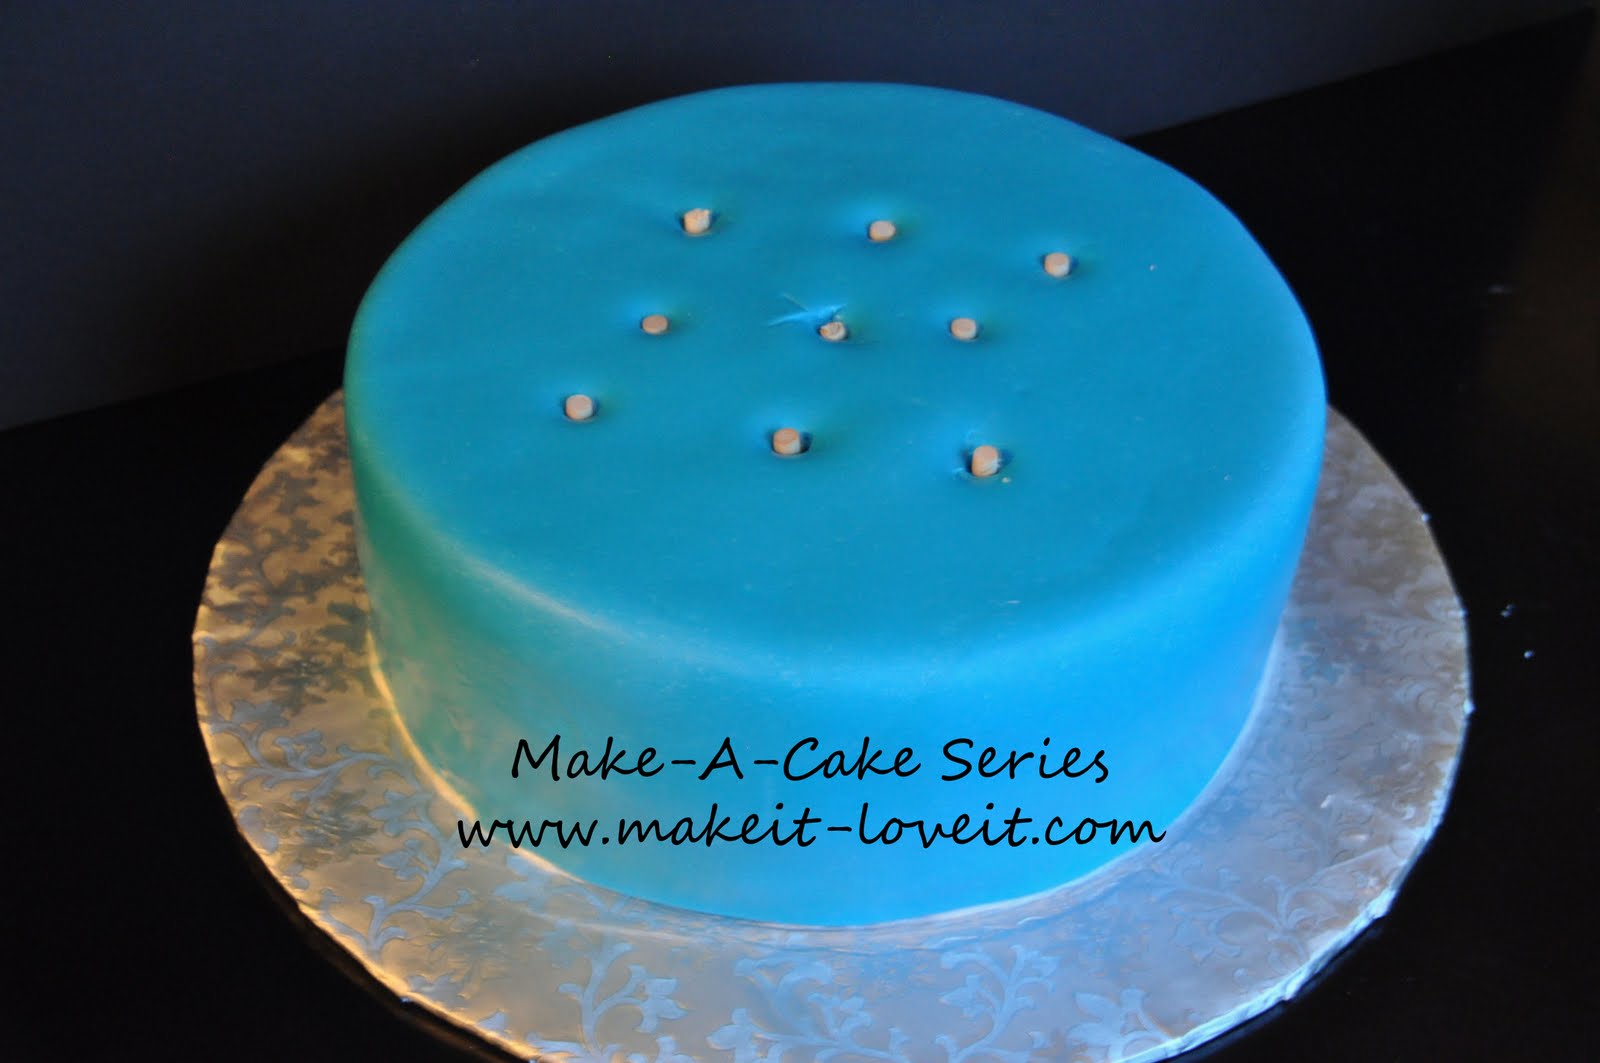
Now go back to the larger cake. Measure the dowels to the height of the cake.
Cut 9 dowels to the height of the layer.
This is for a 10 inch cake, adjust accordingly for bigger or smaller cakes.
Insert the dowels into the cake. Stay close to the middle where the smaller cake will sit.
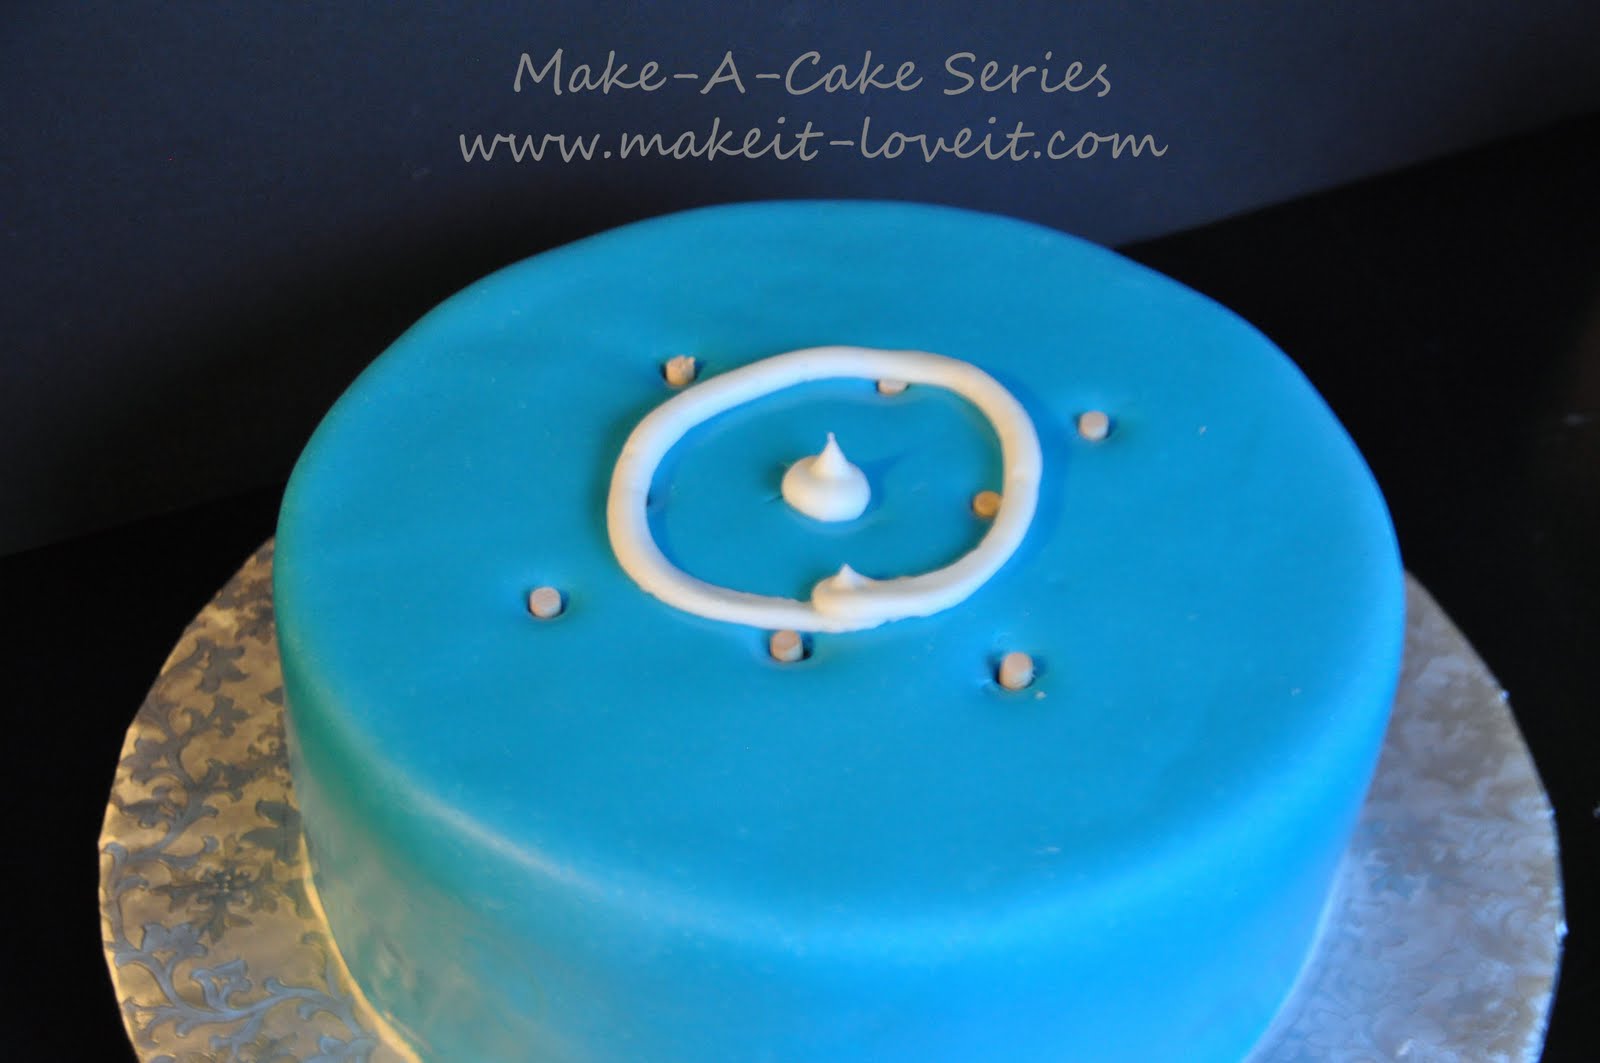
Add some buttercream on top of the area with the dowels.
This will keep the layers from sliding when you move the cake.
Carefully place your second layer on top of the first, making sure it’s even and centered.
Now you can add a border and decorate the rest of you cake.
If you would like to see how I decorated the rest of the this cake, click here.
I hope this information will help you make a beautiful two layer cake!
Happy Decorating!

Hi, I’m Ashley—the DIY-enthusiast behind this crazy blog!