Home » DIY Tutorials » DIY Sewing » Sewing: Clothing » Baby Clothing » Re-purposing: Shirt(s) to Skirt with Tie
Re-purposing: Shirt(s) to Skirt with Tie
May 19, 2010 - By Ashley Johnston 33 Comments
I’m back.
Darn internet connection.
So if you’re waiting for a response from an email, I’ll read it soon. Promise.
As for a new post, I have several little re-purposing projects coming on up. I know, I go in spurts….a little home improvement, then a quick recipe, a kid activity, and then some re-fashion. But I sure have fun with it, so I hope you’re enjoying it as well.
And I hope you have your sewing machine out and ready.
Because it’s time to create a new little skirt…..made from the unused portion of the shirt I used
here, and another shirt in the “ready for the thrift store” pile.
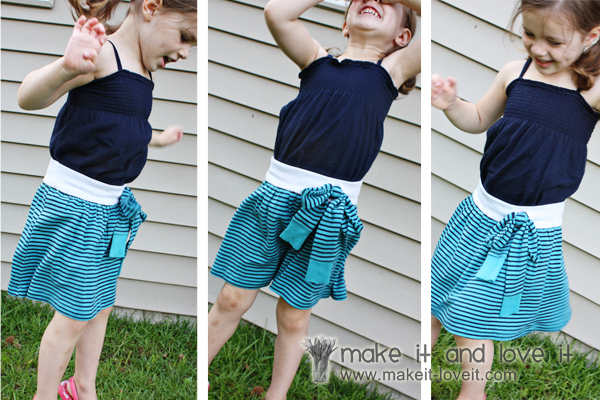
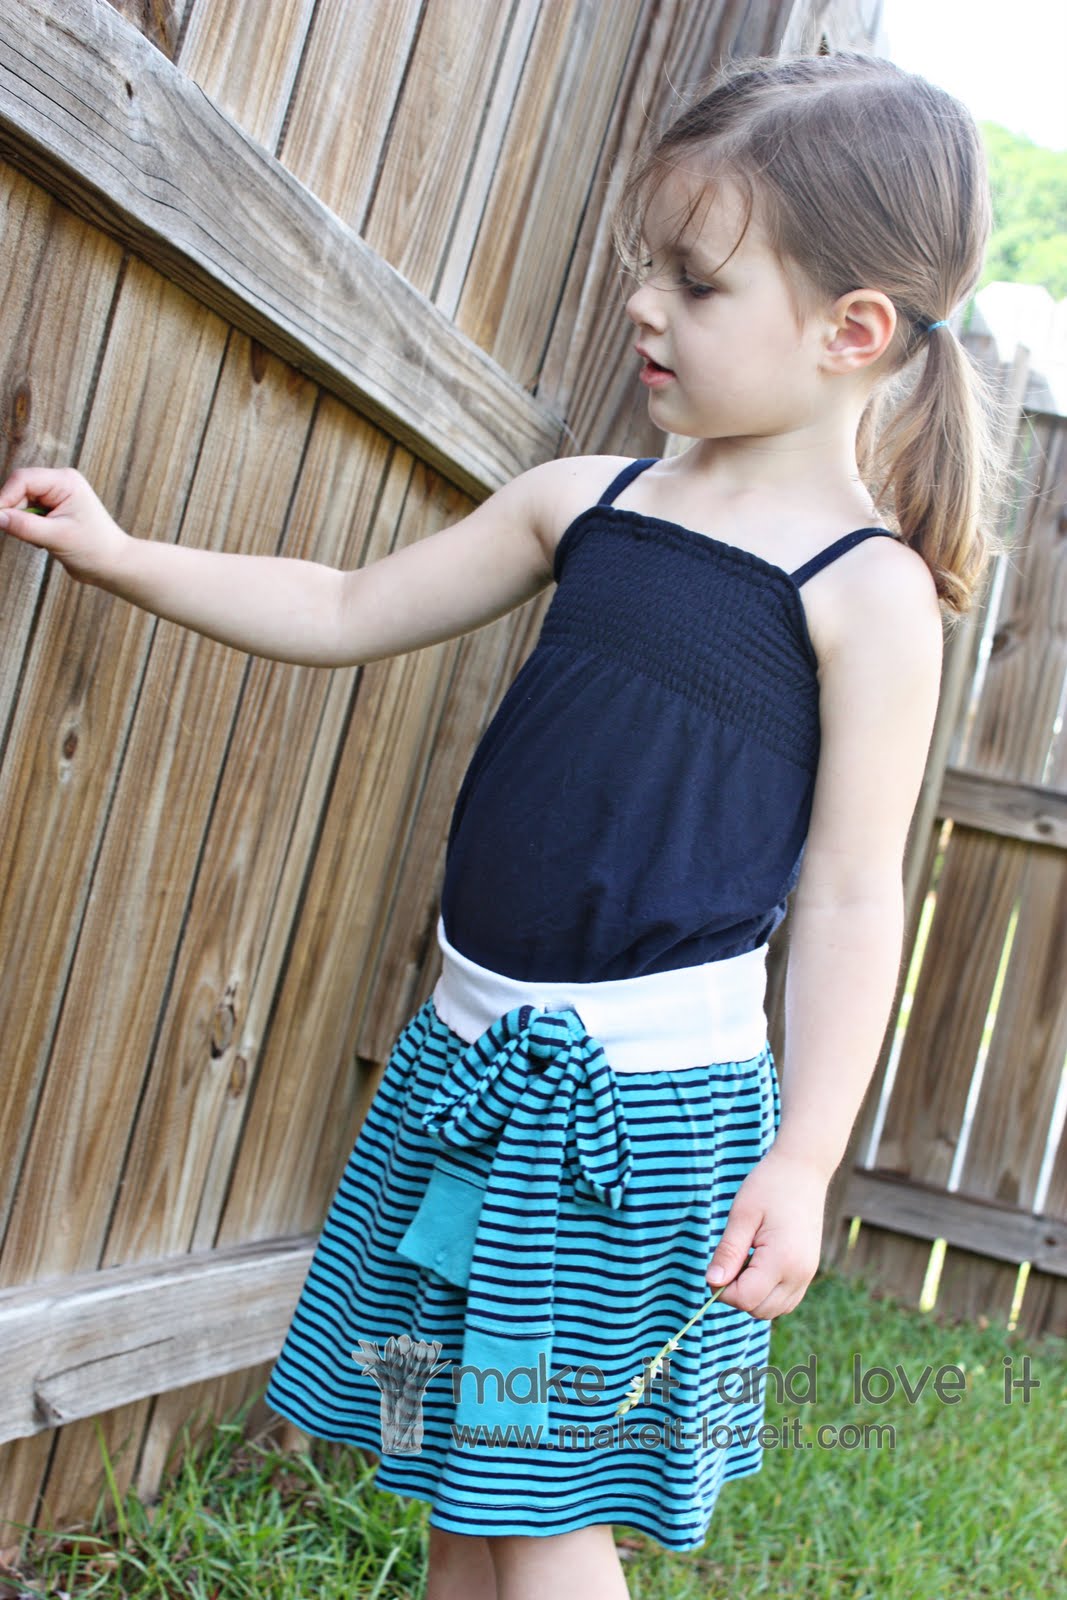
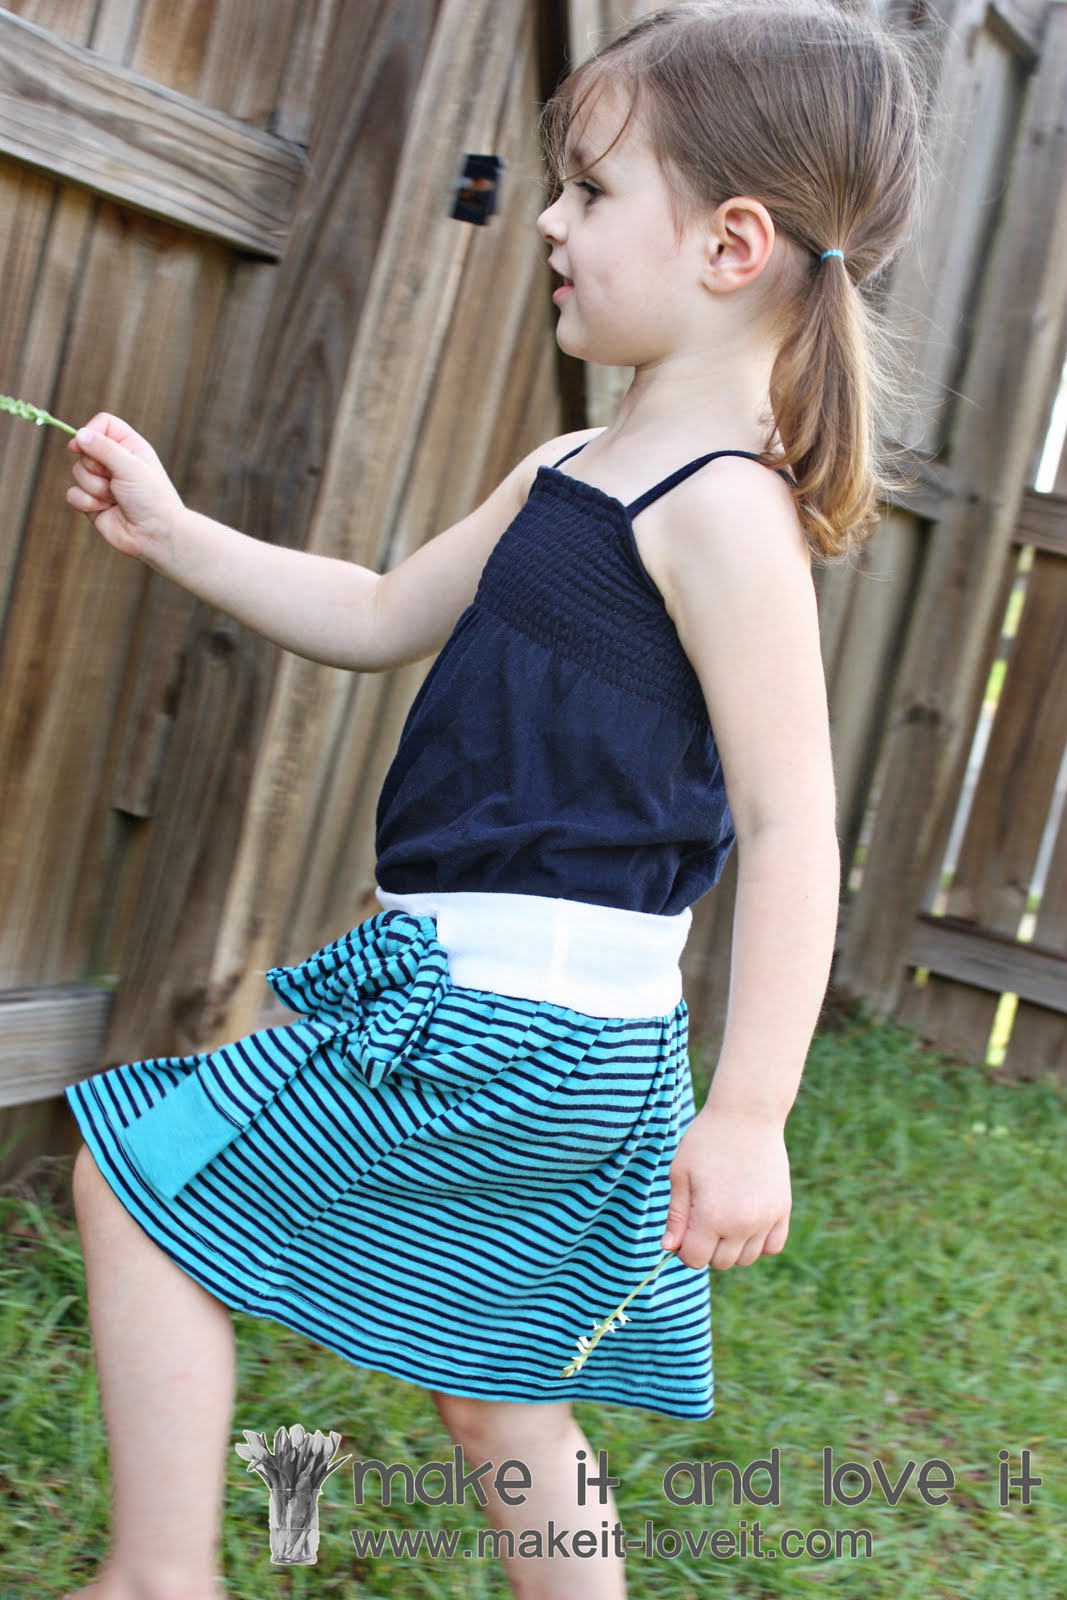
A sweet new skirt……made from 2 older pieces of clothing.
Perfect.
With a flouncy waistband tie, positioned off to one side, to help keep the skirt in place.
It’s perfect for playing or twirling or hopping.
All things fun.
And not even a penny spent.
**And yes, you could use this same concept to make yourself a brand new skirt.
I’m itching for one myself.
I love summer.
Would you like to make your own?
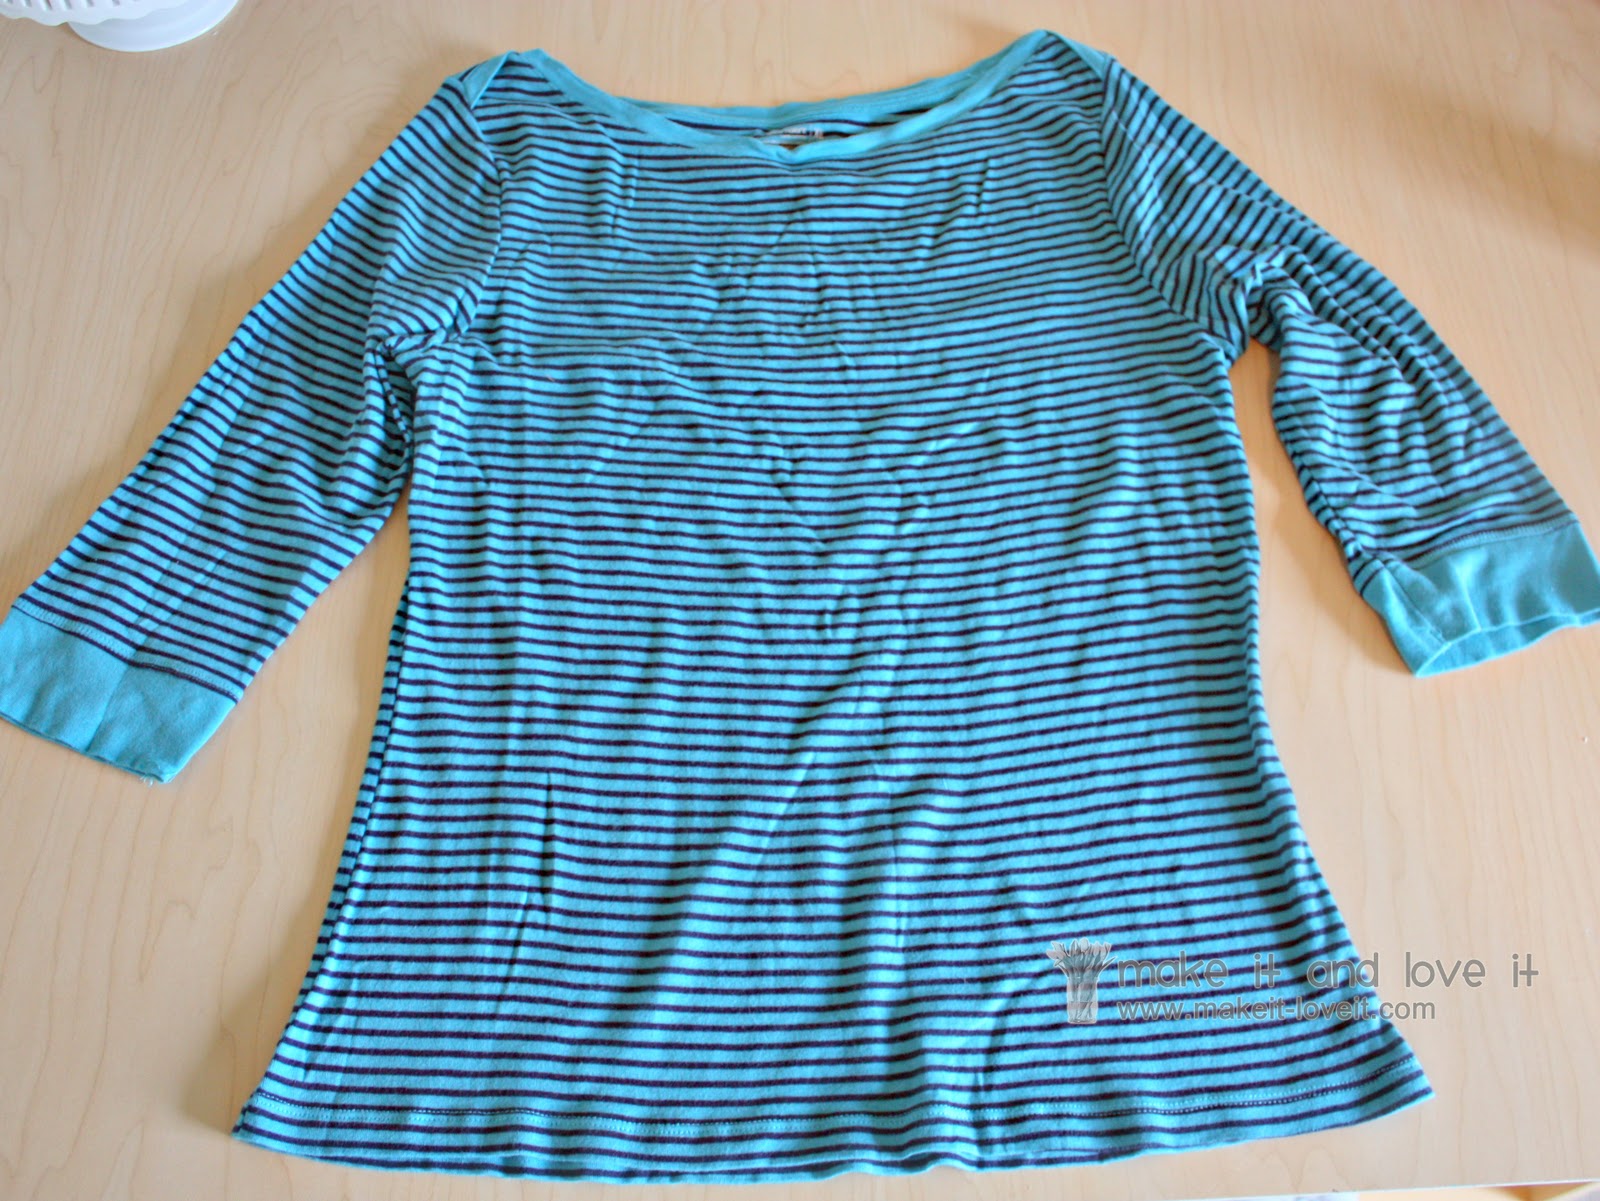
I started with this old knit shirt. (That really never got its full use out of it…..the boat neck on this one always made me crazy for some reason.)
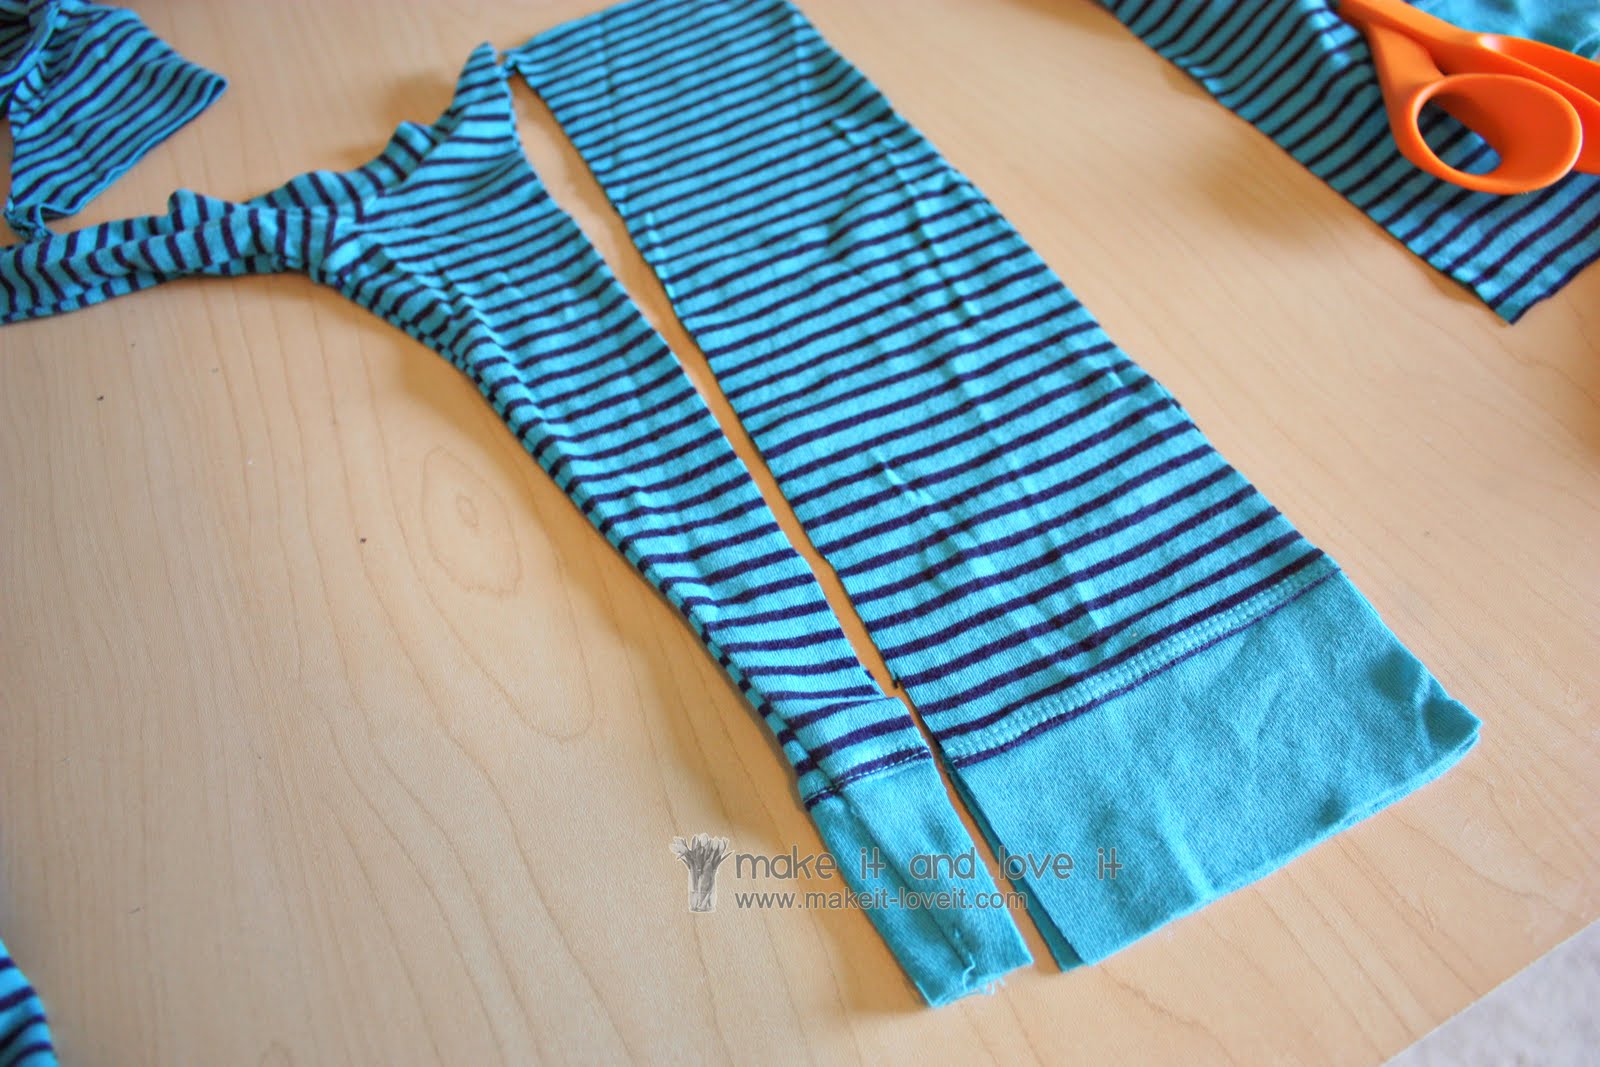
Then I cut off about 10 inches from the bottom, to use for the main piece of the skirt.
(And kept the hem of the shirt as the hem for the skirt.)
Next, I cut 3 1/2 inch wide strips out of the other scraps of the shirt….using the cuff of the sleeve as the ends of the tie. I thought it made a nice contrast at both ends of the tie.
You may have to piece several pieces together to have a tie that’s long enough. (My tie ended up being about 52 inches long and worked great for about a size 4T.) Then fold the long 3 1/2 inch wide strip in half lengthwise (with right sides together), sew the two raw edges together with a 1/4 inch seam allowance, then turn the whole tube right side out, using
this tutorial if needed.
Now set those pieces aside while you make the waistband. Grab the bottom half of the shirt from
this tutorial and cut off a piece that is about 5 inches tall.
(Remember how I said to save that scrap piece??)
Try this around the waist of your little girl and decide how wide you’ll need the band. You want the knit to have to stretch as she puts it on, to help keep the skirt up. So I trimmed off a bit, making my waistband about 9 inches wide.
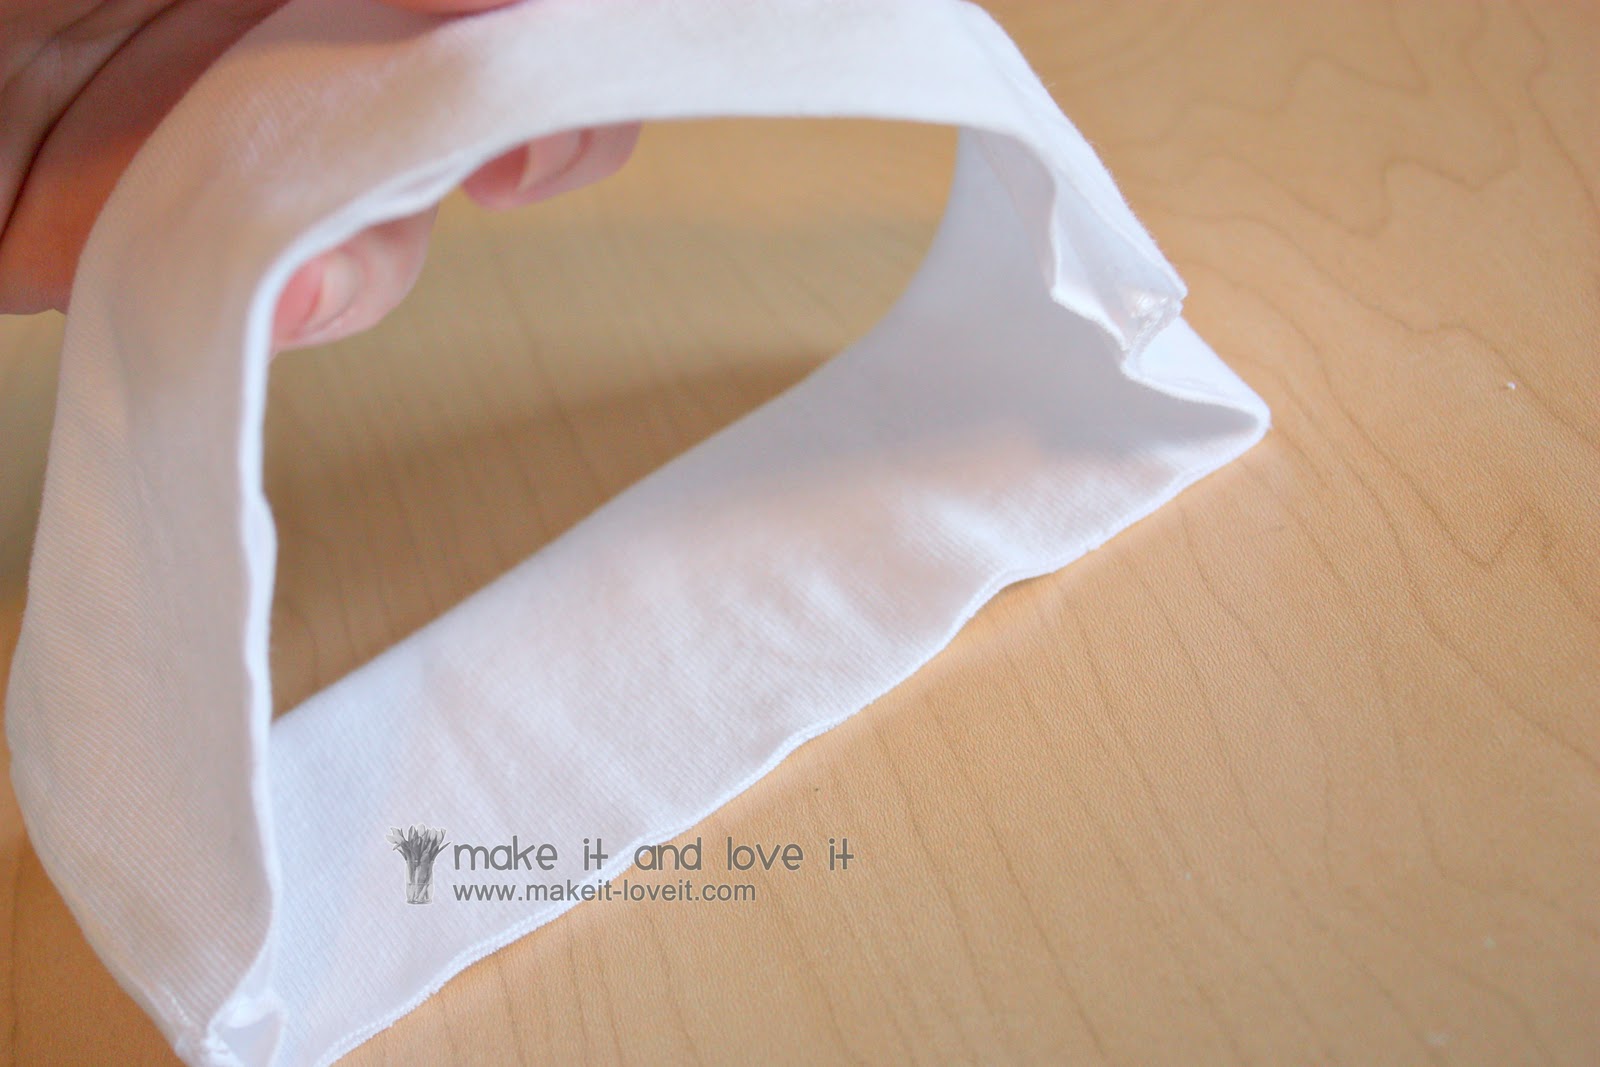
Then I sewed up the open side (seam on the right) with a 1/4 inch seam allowance.
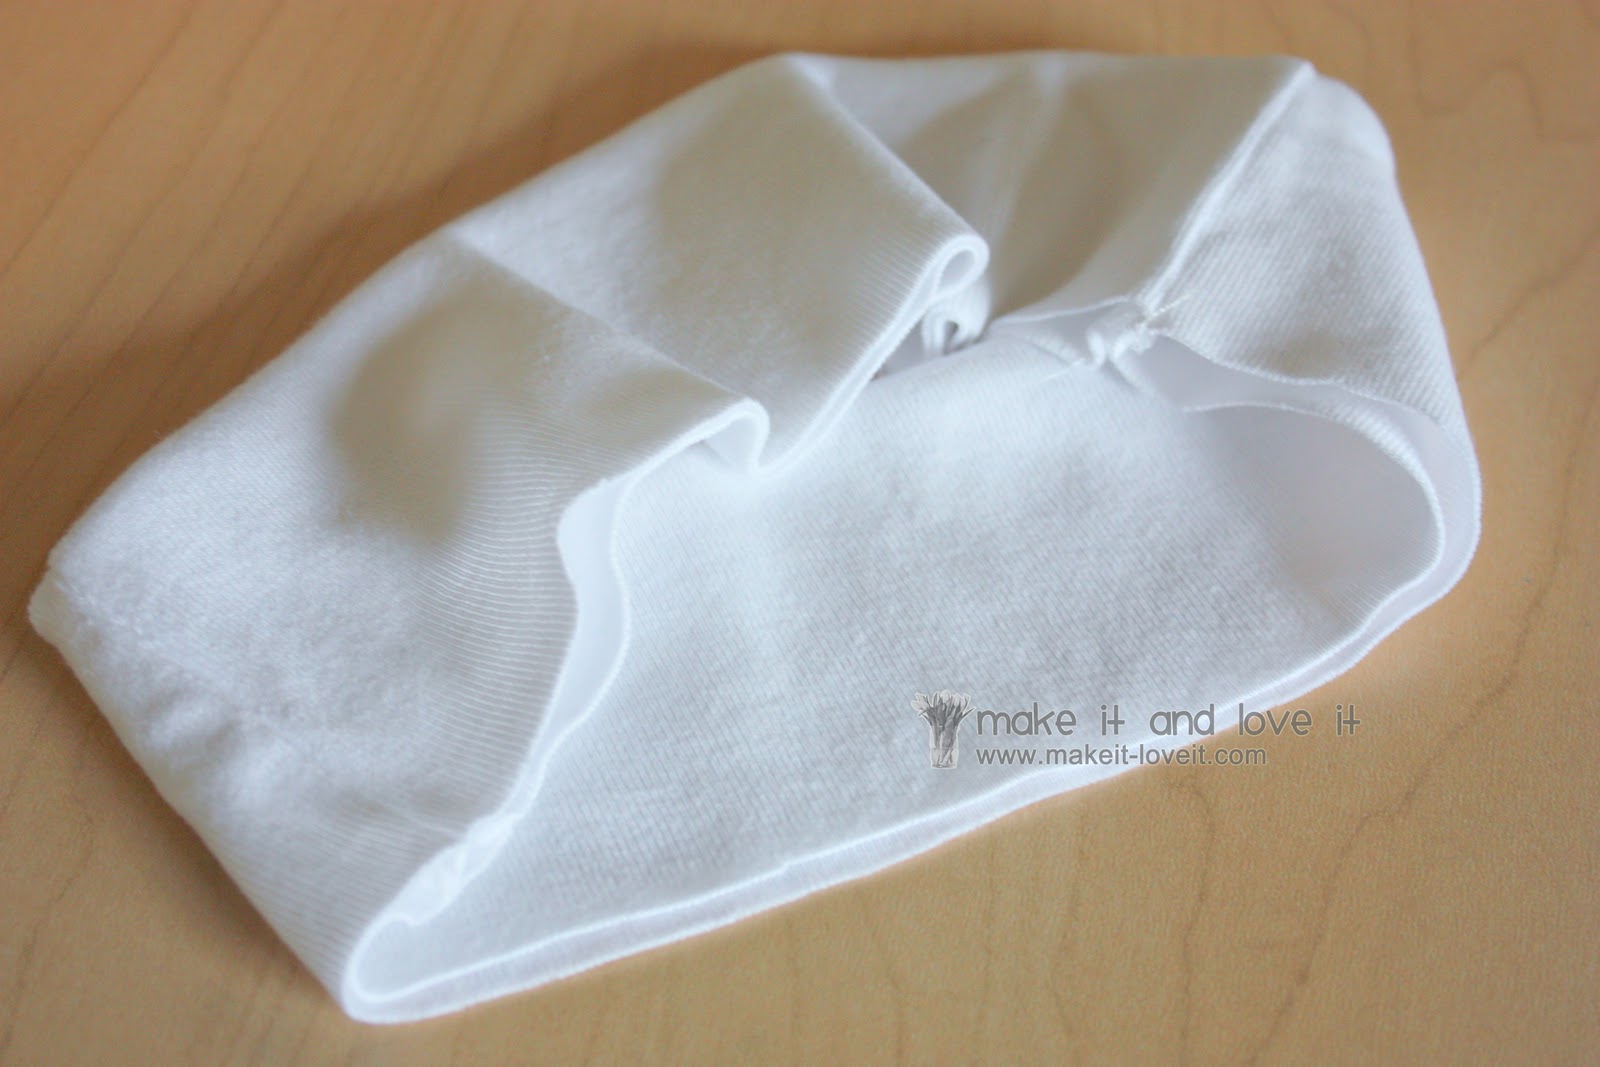
Then I folded the waistband in half, with the seams on the inside.
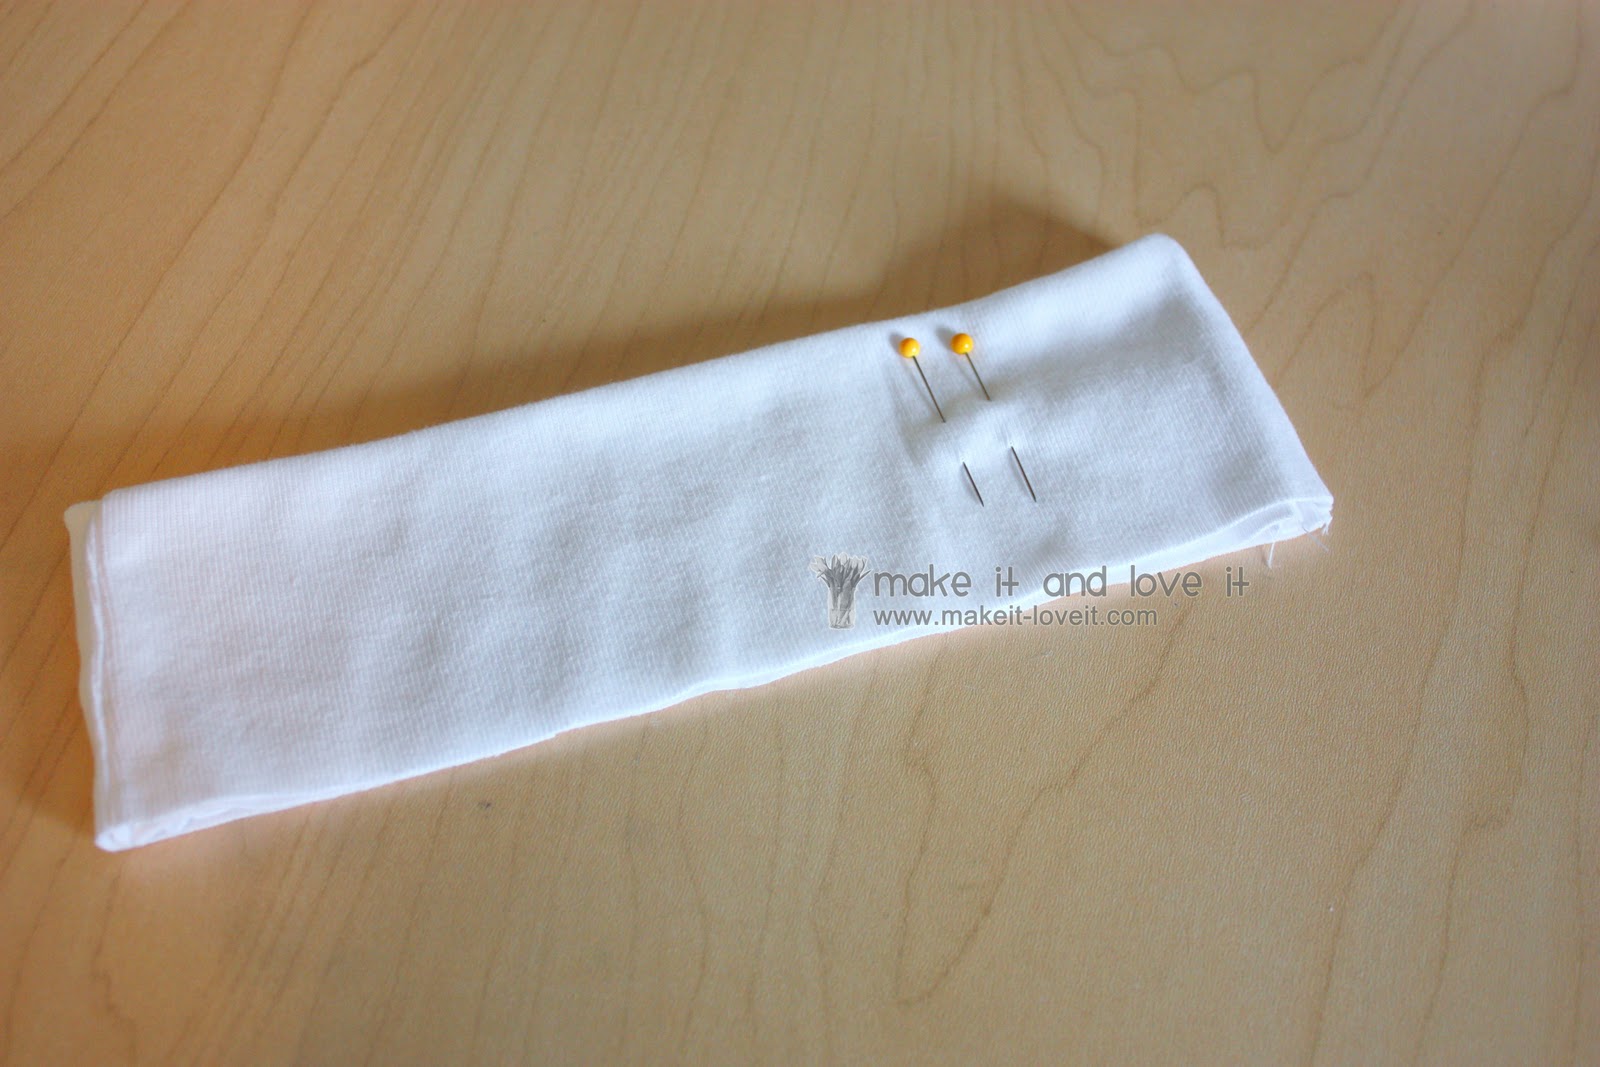
And with the seams at both sides, I layed the waistband flat, and determined where I wanted my bow to be tied. I placed two pins where I wanted my button holes to be. (About 2 – 2 1/2 inches from the right for this 4T size.)
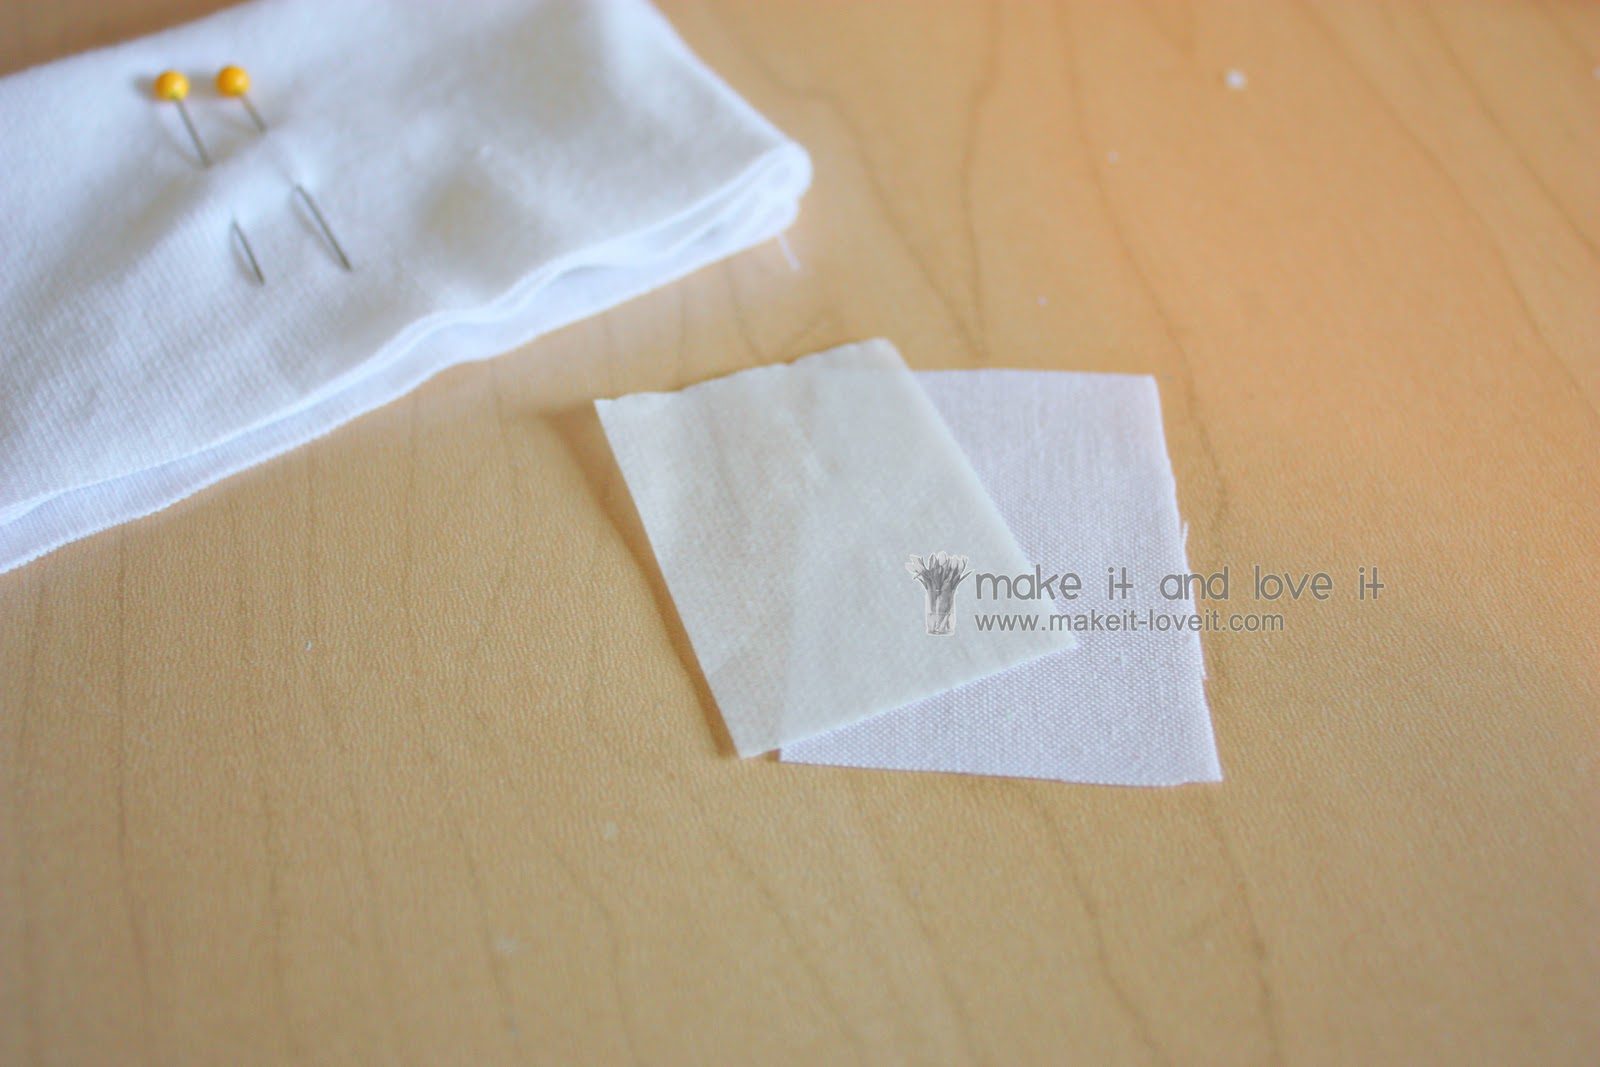
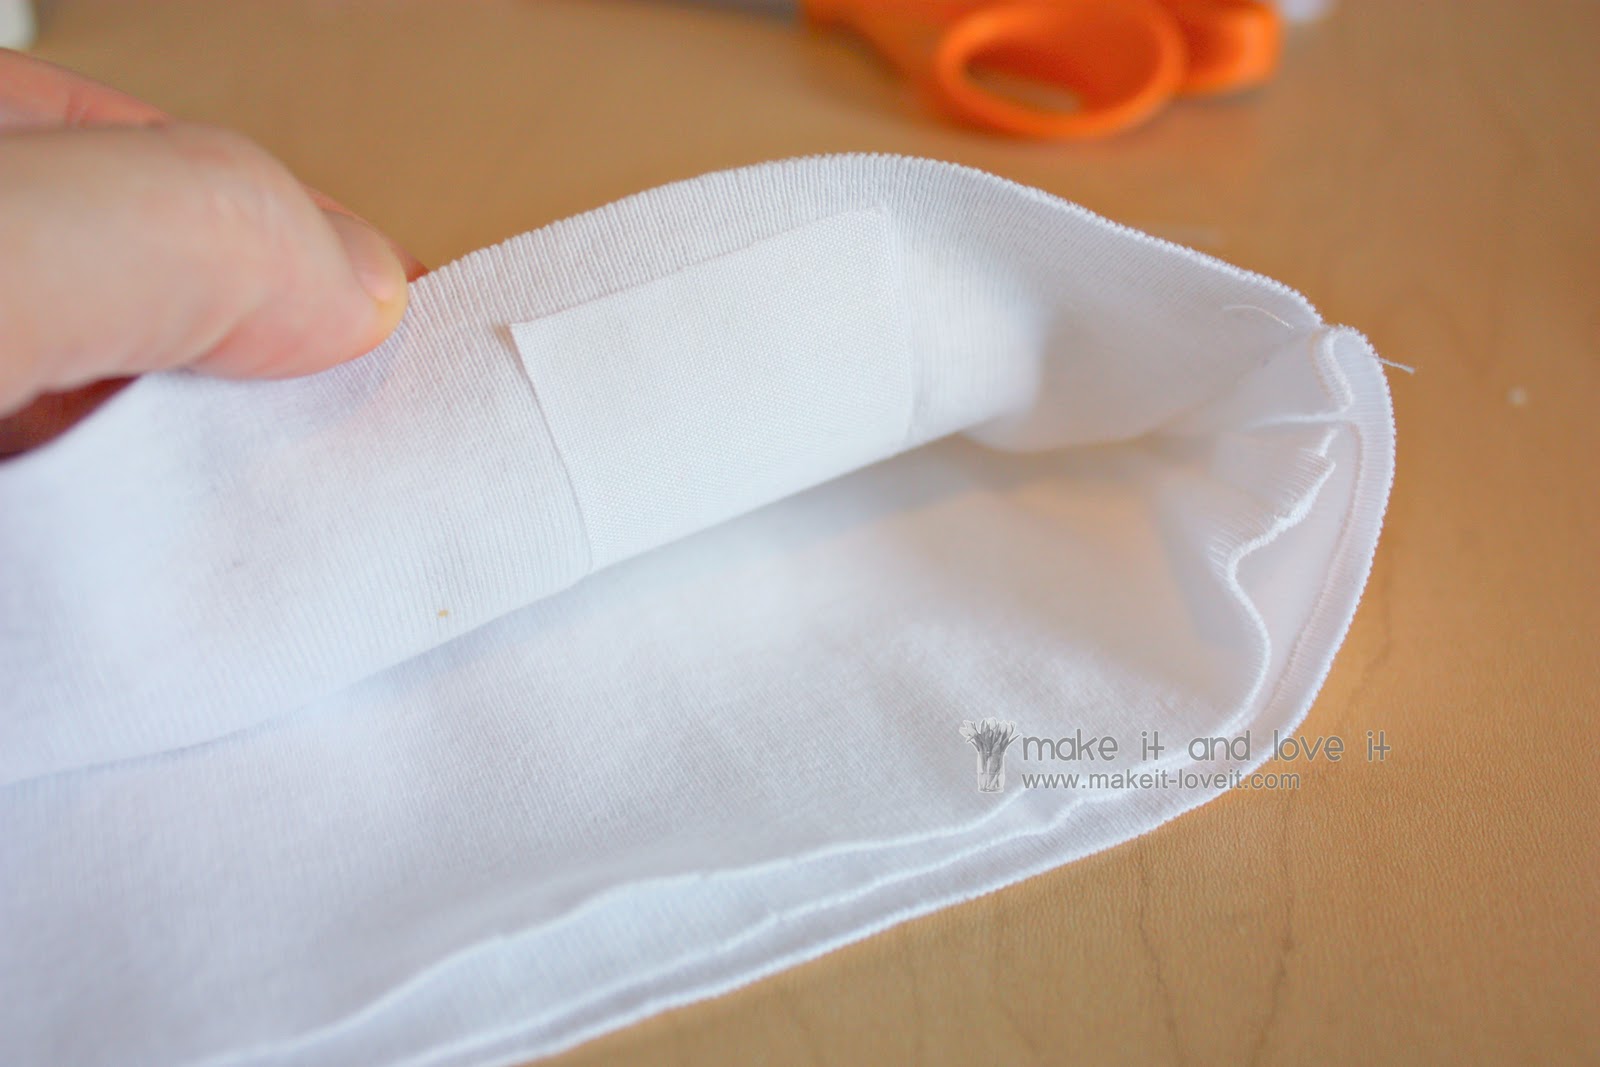
Then I cut a piece of cotton and a piece of double sided fusible web that were 1.5 x 1.5 inches in size. (Which is bigger than my button holes will be in the next few steps.)
Then I placed the web and the cotton on the “wrong side” of the knit right behind the pins (with the web in between the knit and the cotton layers), making sure the cotton would be right in the spot that my button holes would be. Open up your fabric to make it easier to iron, and iron the cotton right to the knit.
Attaching that piece of cotton is an important step before trying to make a button hole in your knit. Button holes can be finicky and the cotton will help the knit from stretching and pulling while your machine is making the button hole.
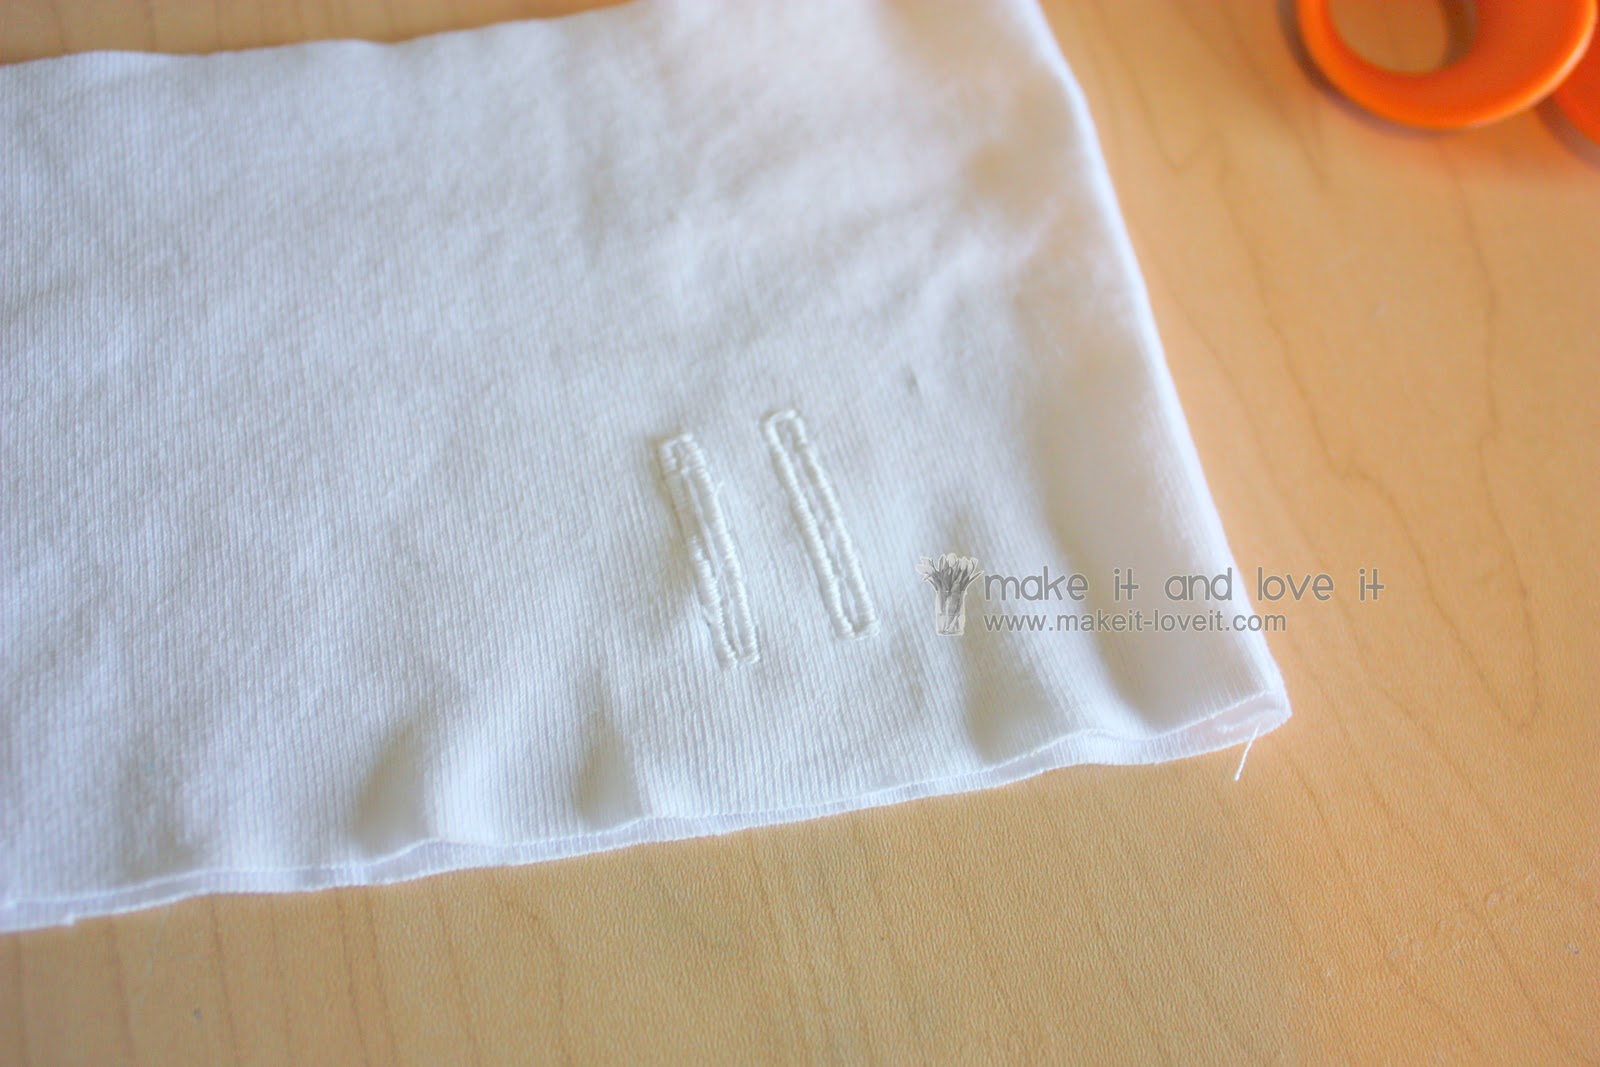
Now, fold the waistband back in half again and then re-place the pins in the waistband again, right where they were previously. Place each pin about a 1/2 inch apart as a guide and try to center your start and stop spot for each button hole on the waistband……….keeping in mind that you’ll be using about a half inch all the way around the bottom, to attach the skirt to the waistband.
Then sew your button holes into the waistband. (Use your sewing machine manual to see how to use yours. If you have never made one, use a scrap piece of fabric and try to make a few button holes for practice. Now is the time to learn!)
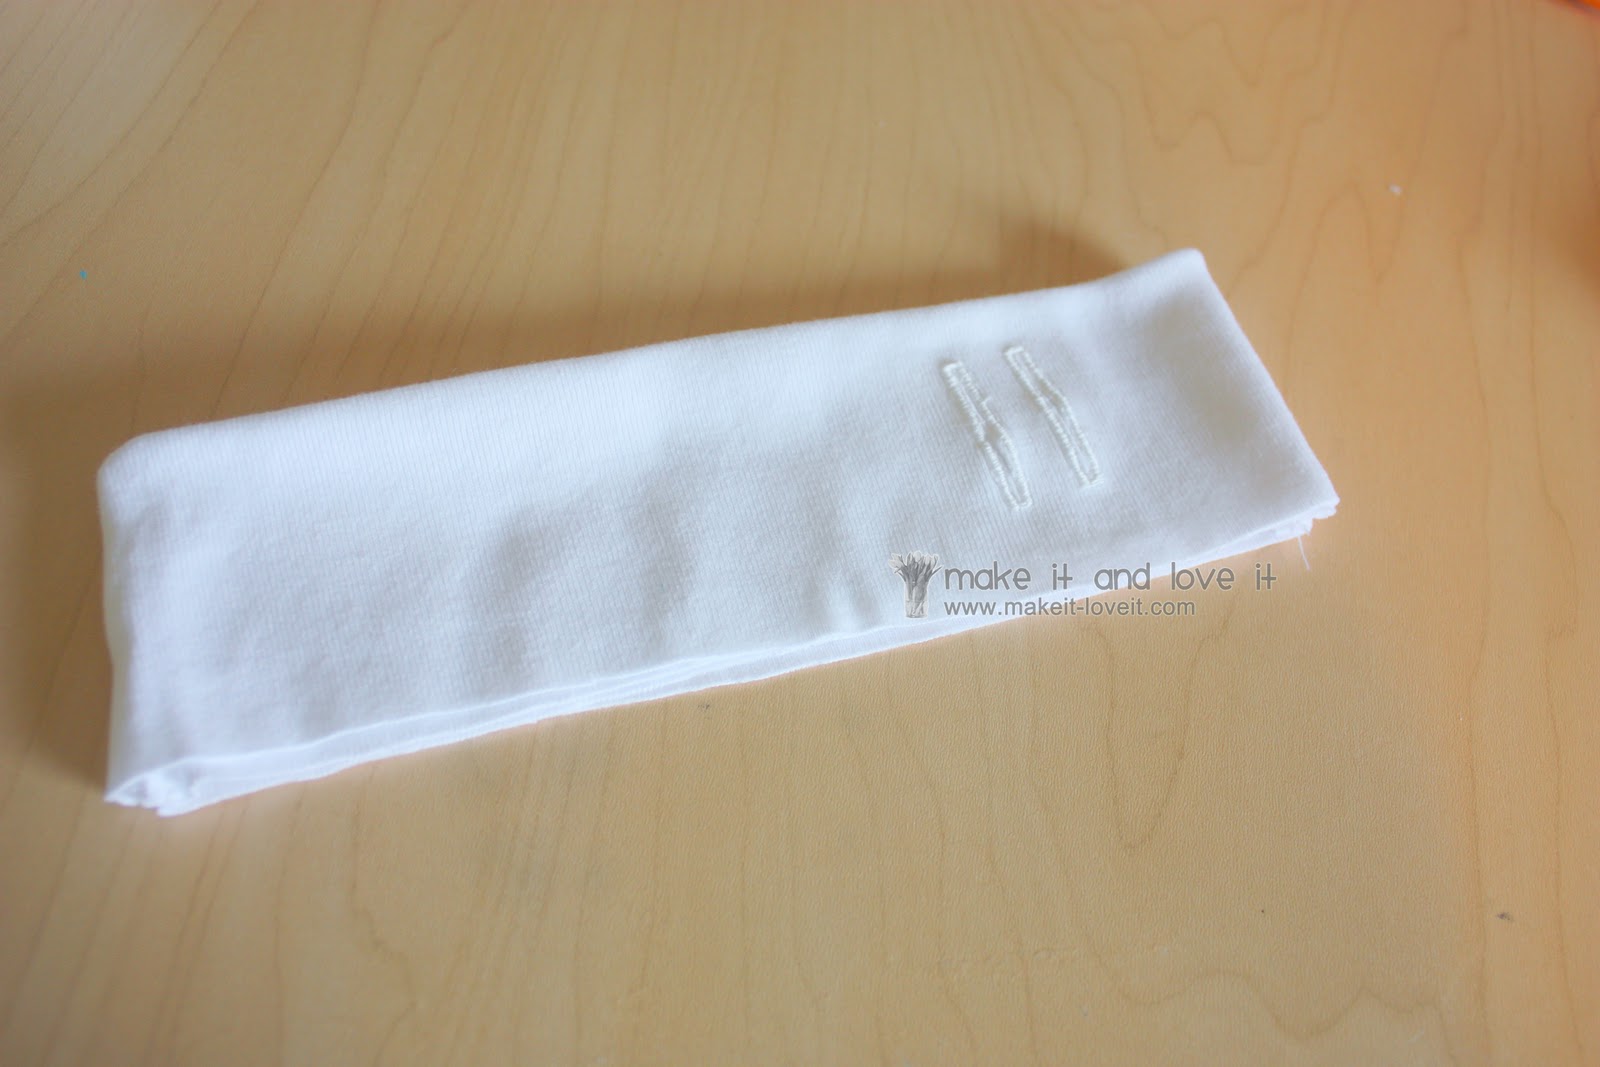
Then cut open the button holes and then re-fold the waistband in half again.
Now back to the skirt section—
Make a basting stitch along the front top of the skirt about 1/4 inch from the edge….starting at one side seam and stopping at the other side seam, leaving longer thread ends. (don’t backstitch) Do the same to the back top of the skirt. You should now have 4 loose thread ends. (Need more help with gathering a skirt? Go
here. Need more help with gathering in general? Go
here.)
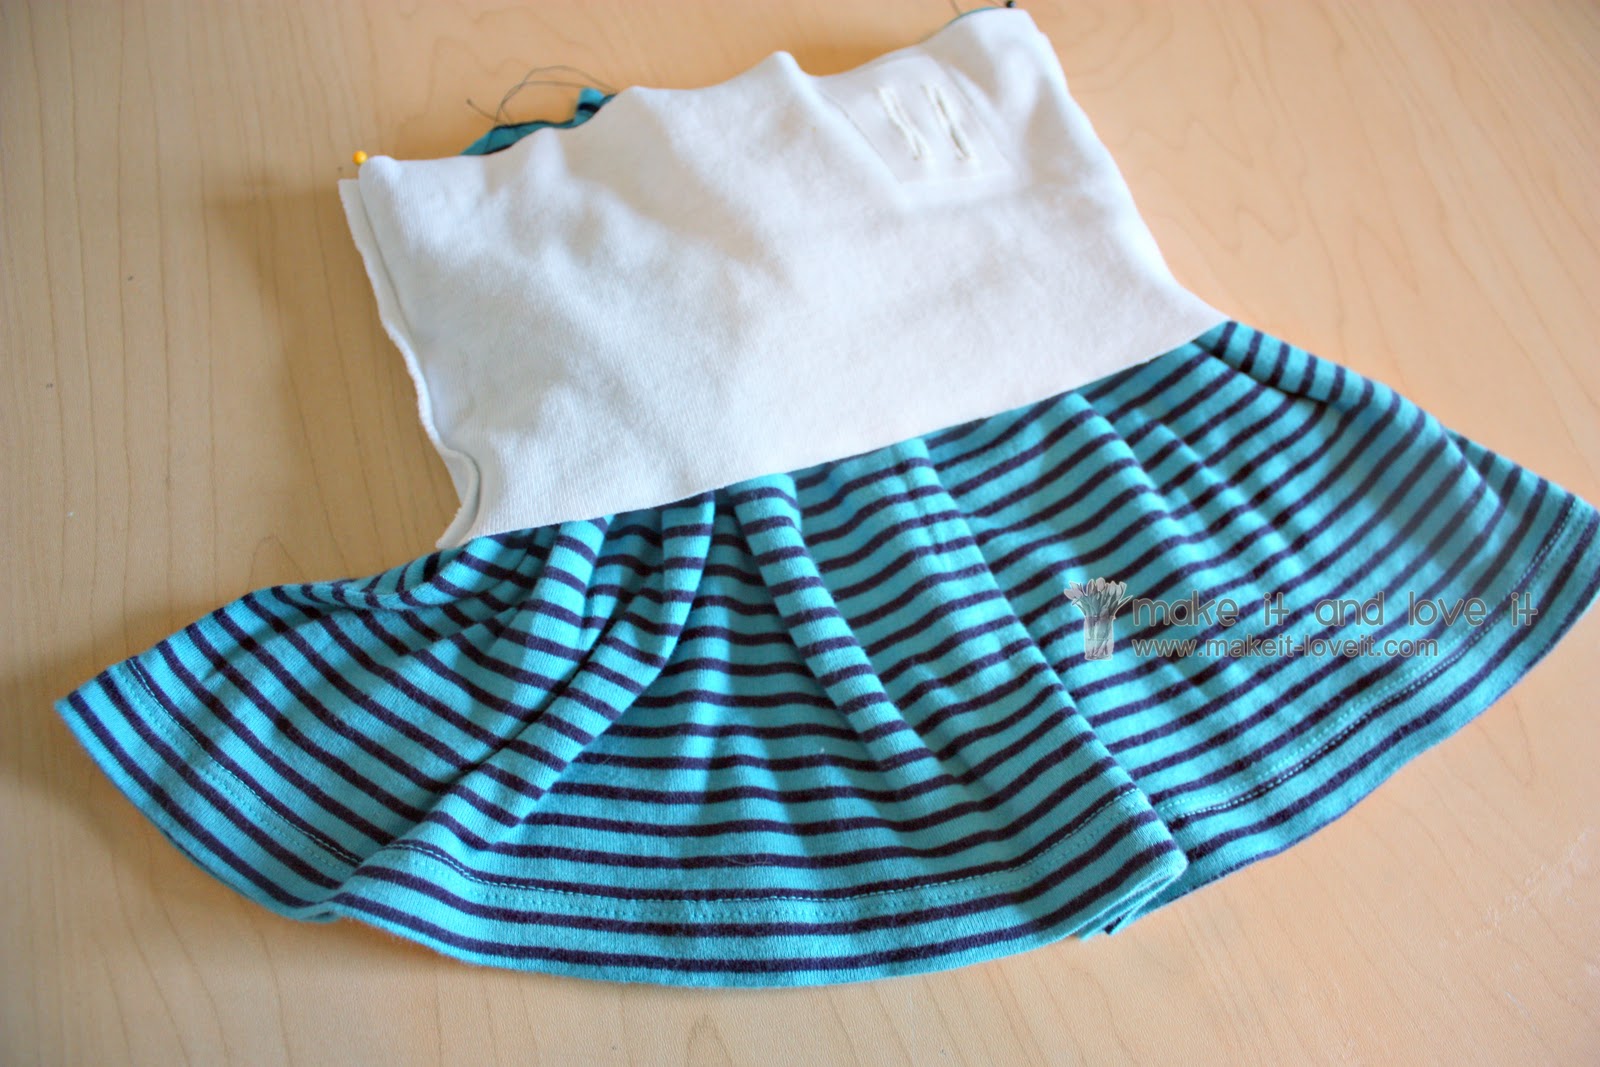
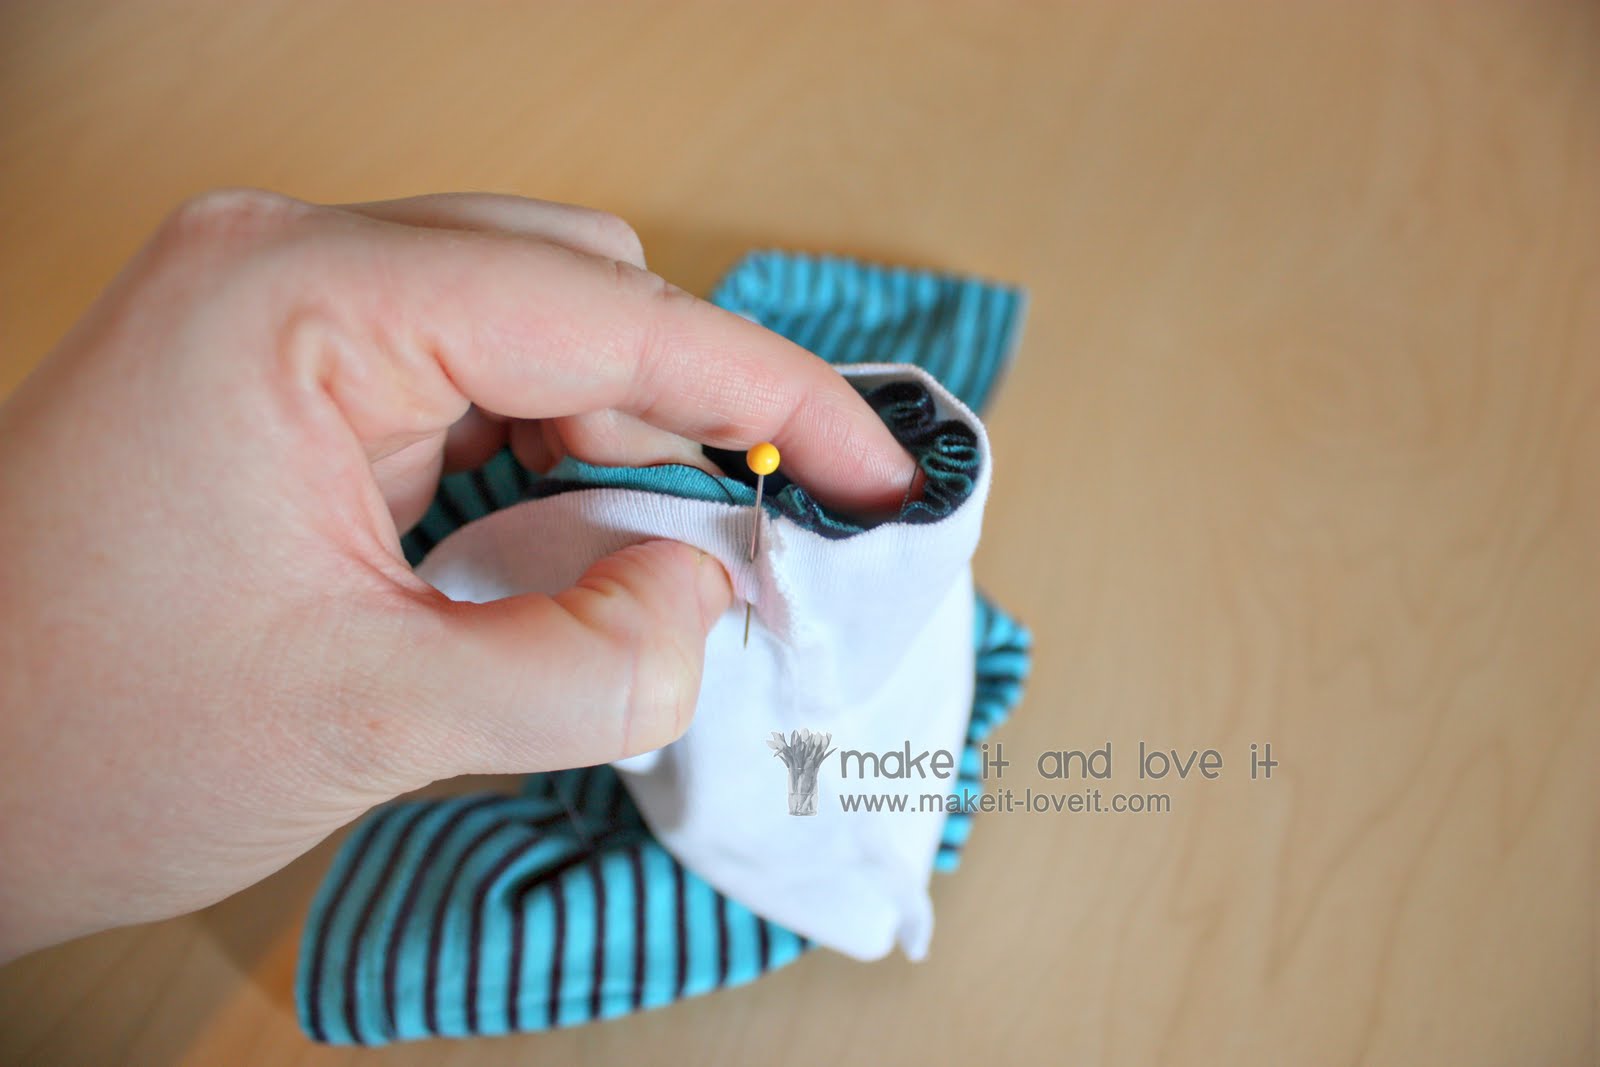
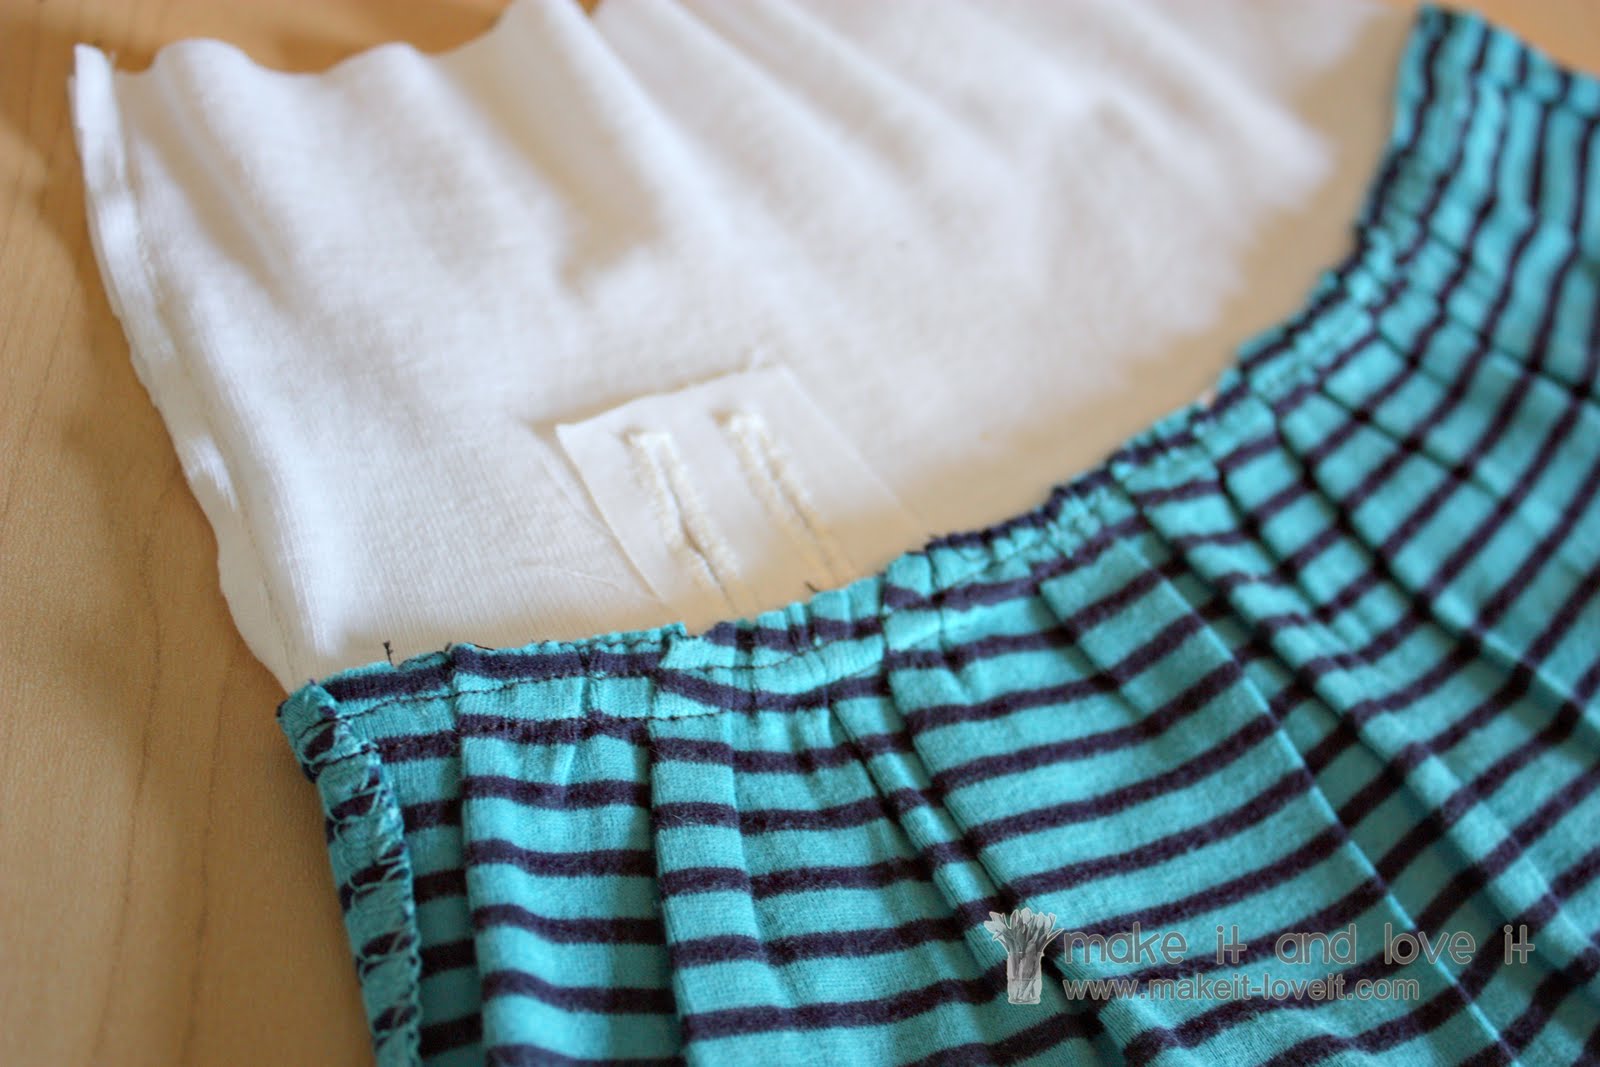
Now, turn your waistband inside out and slide it around your skirt section, that is right side out. And be sure that the edge with the button holes are on the edge closest to the top of the skirt. (click on image below to view larger.)
Next, pin each side seam of the skirt to the side seams of the waistband. And make sure that the waistband is inside out and the skirt is right side out.
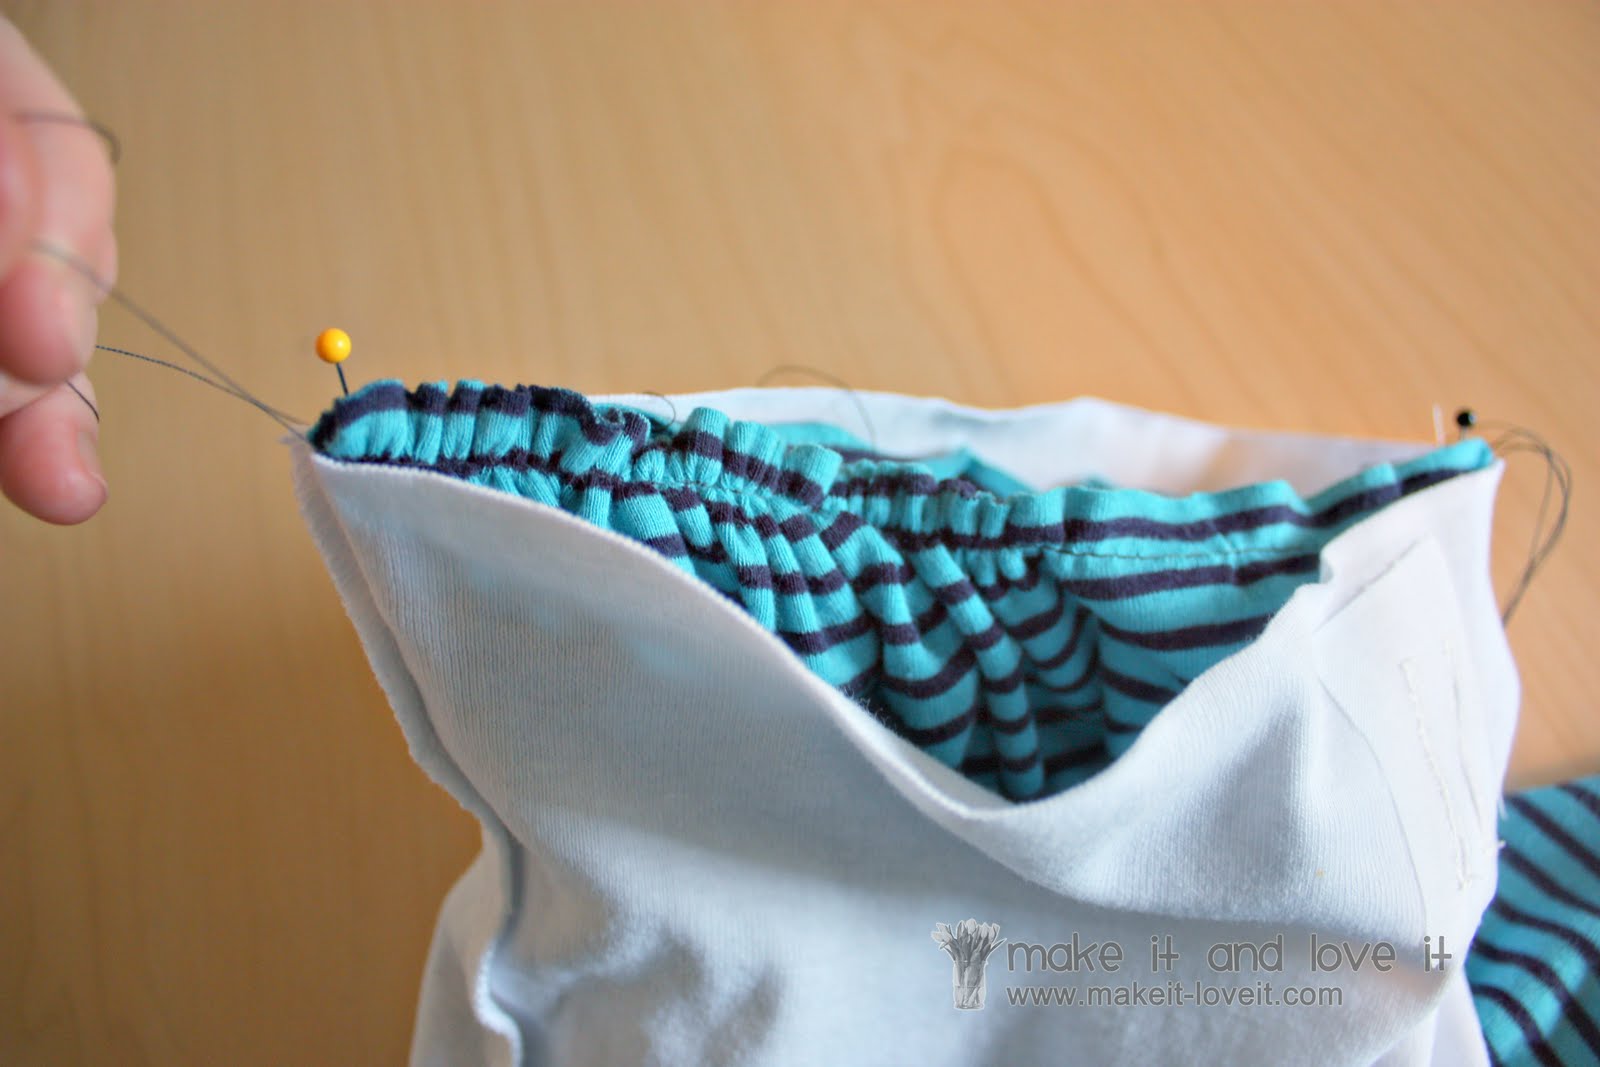
Then start gathering the front part of the skirt, distributing the gather evenly between each side seam.
Pin the two layers in place.
Repeat on the other side and use more pins to keep it all in place.
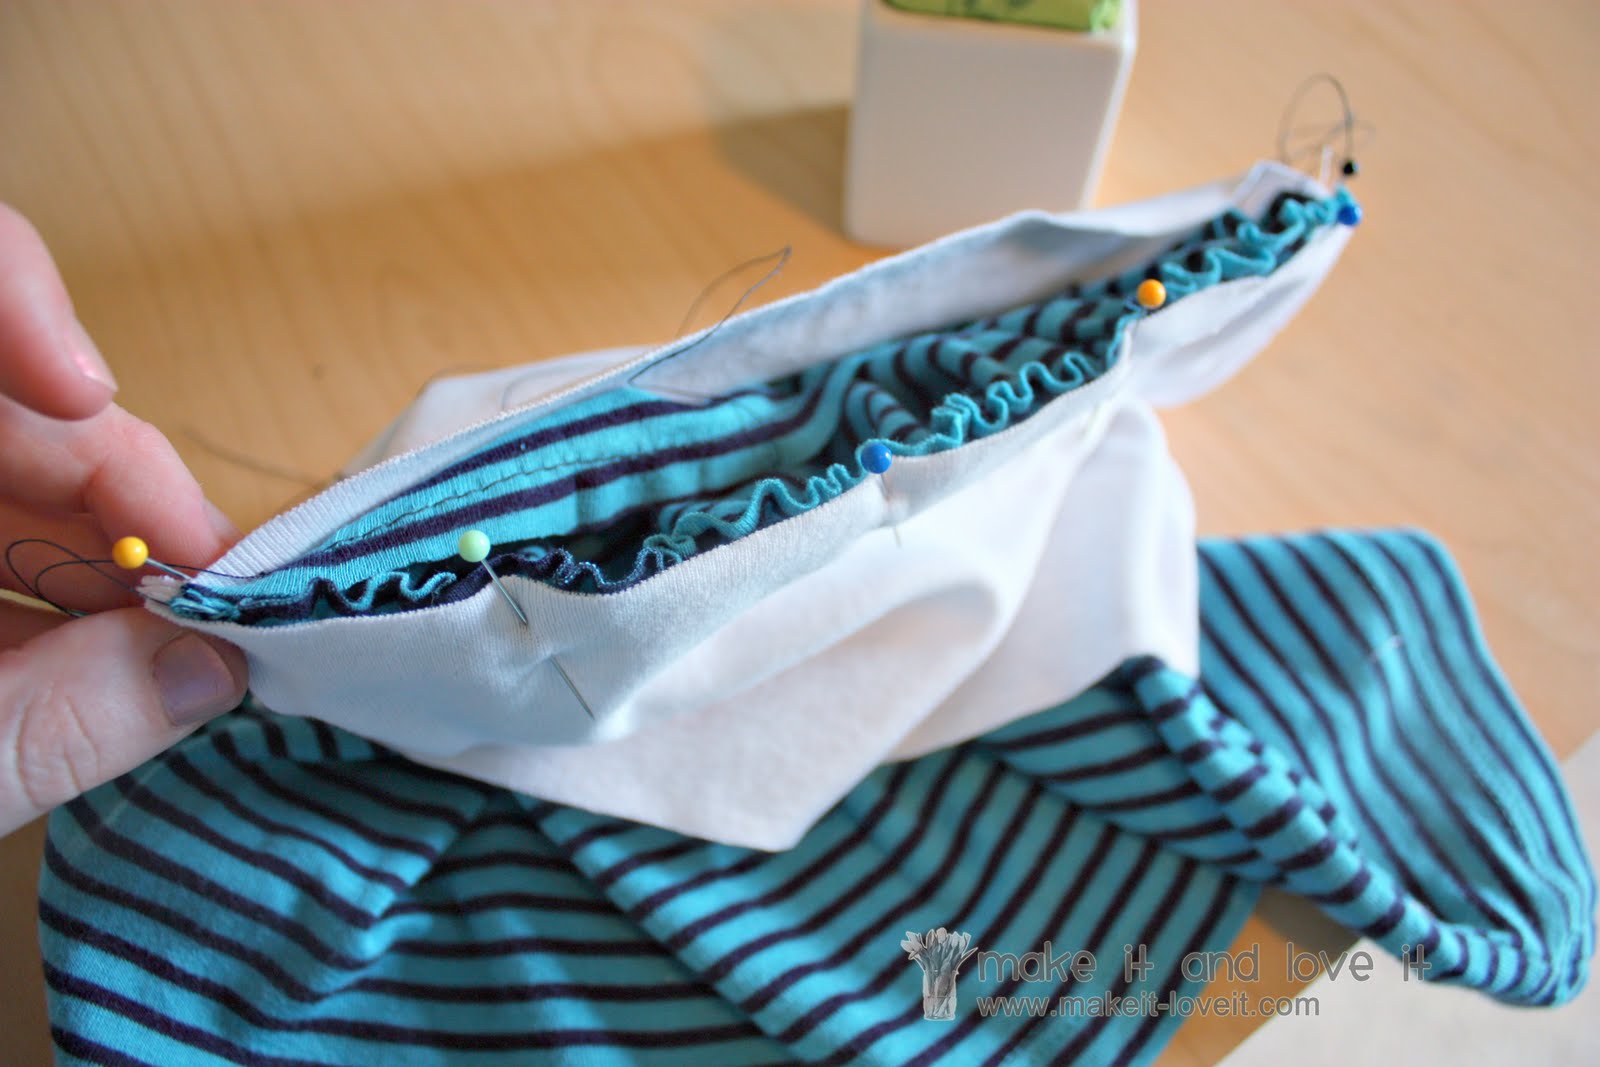
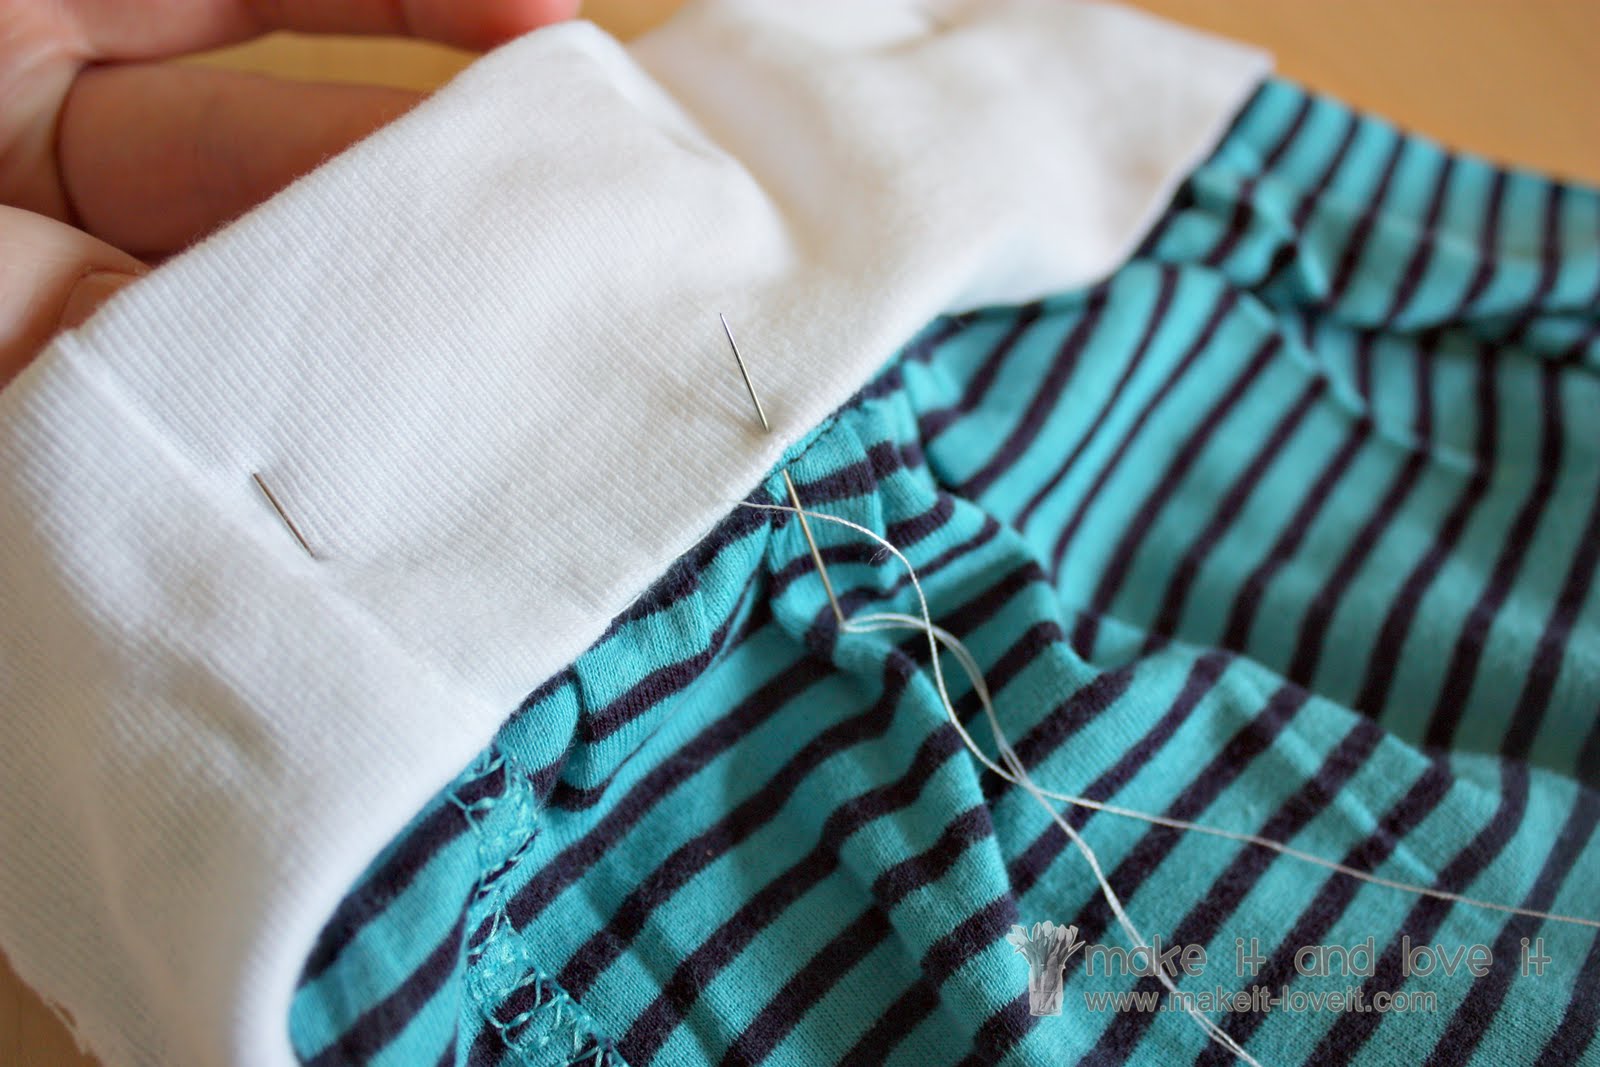
Then make a seam along the top, attaching the waistband to the skirt, taking out the pins as you sew.
Use a 1/2 inch seam allowance.
Then make another seam parallel to the first one, using a 1/4 inch seam allowance.
It’s okay if it ends up pulling a bit, causing a ruffle in the waistband……you wont notice later on.
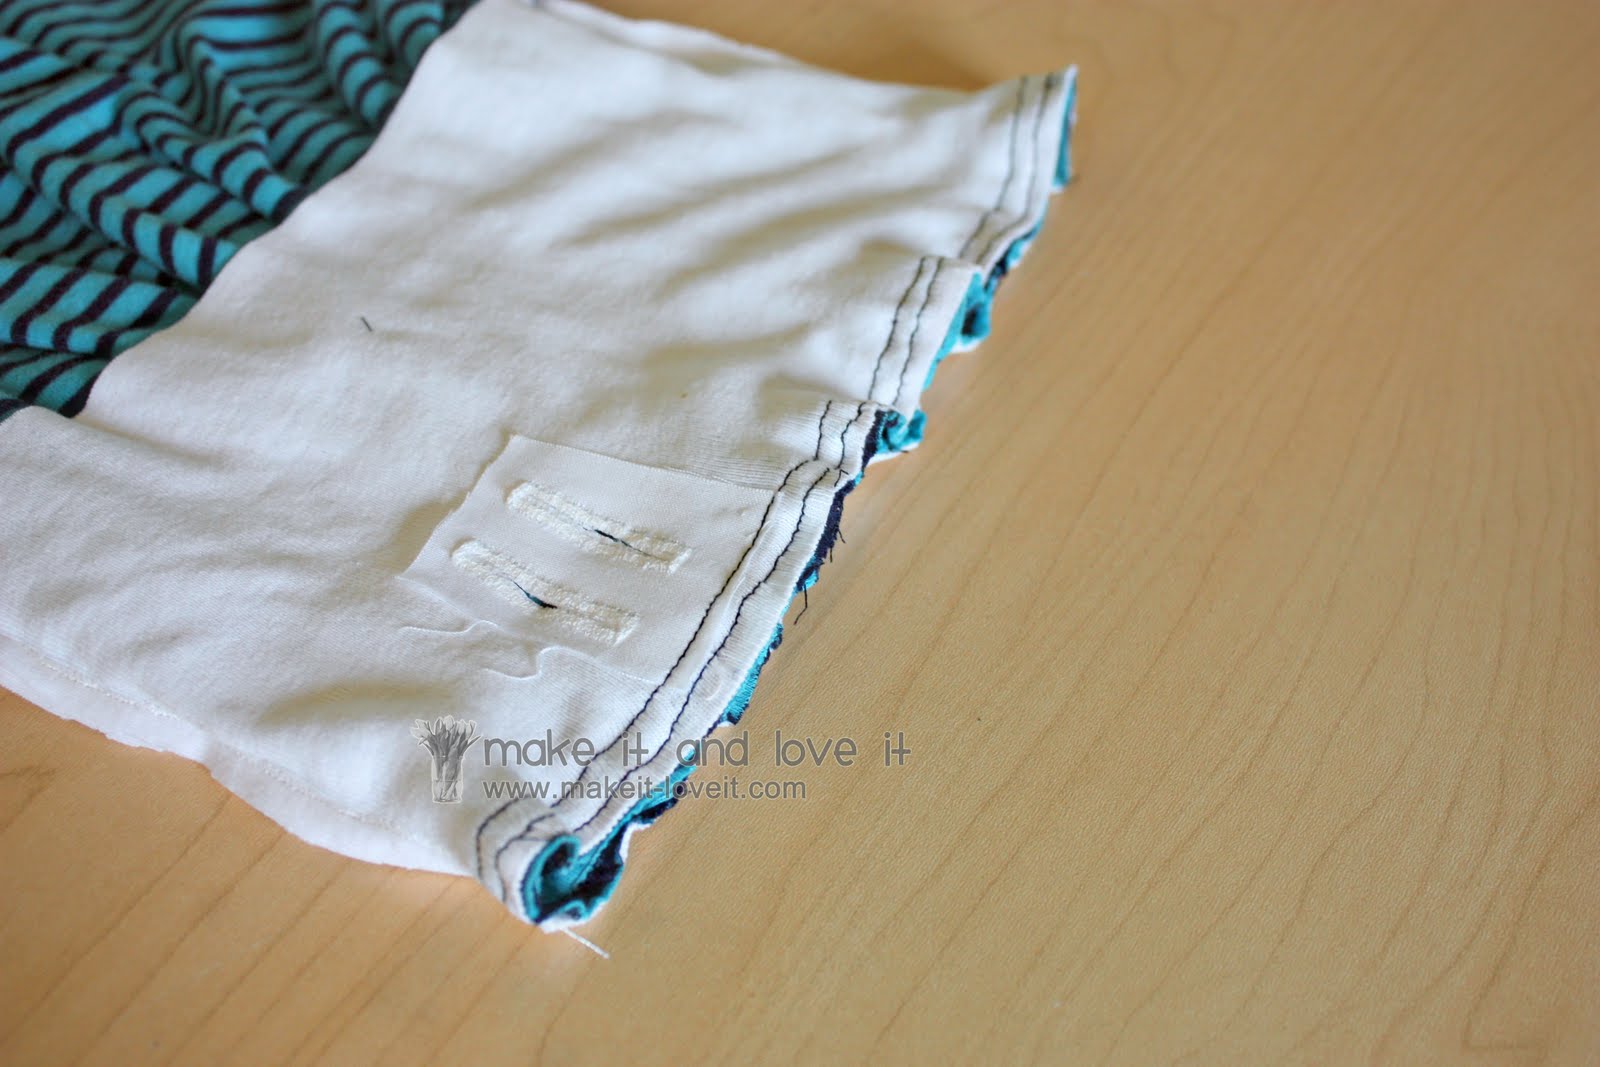
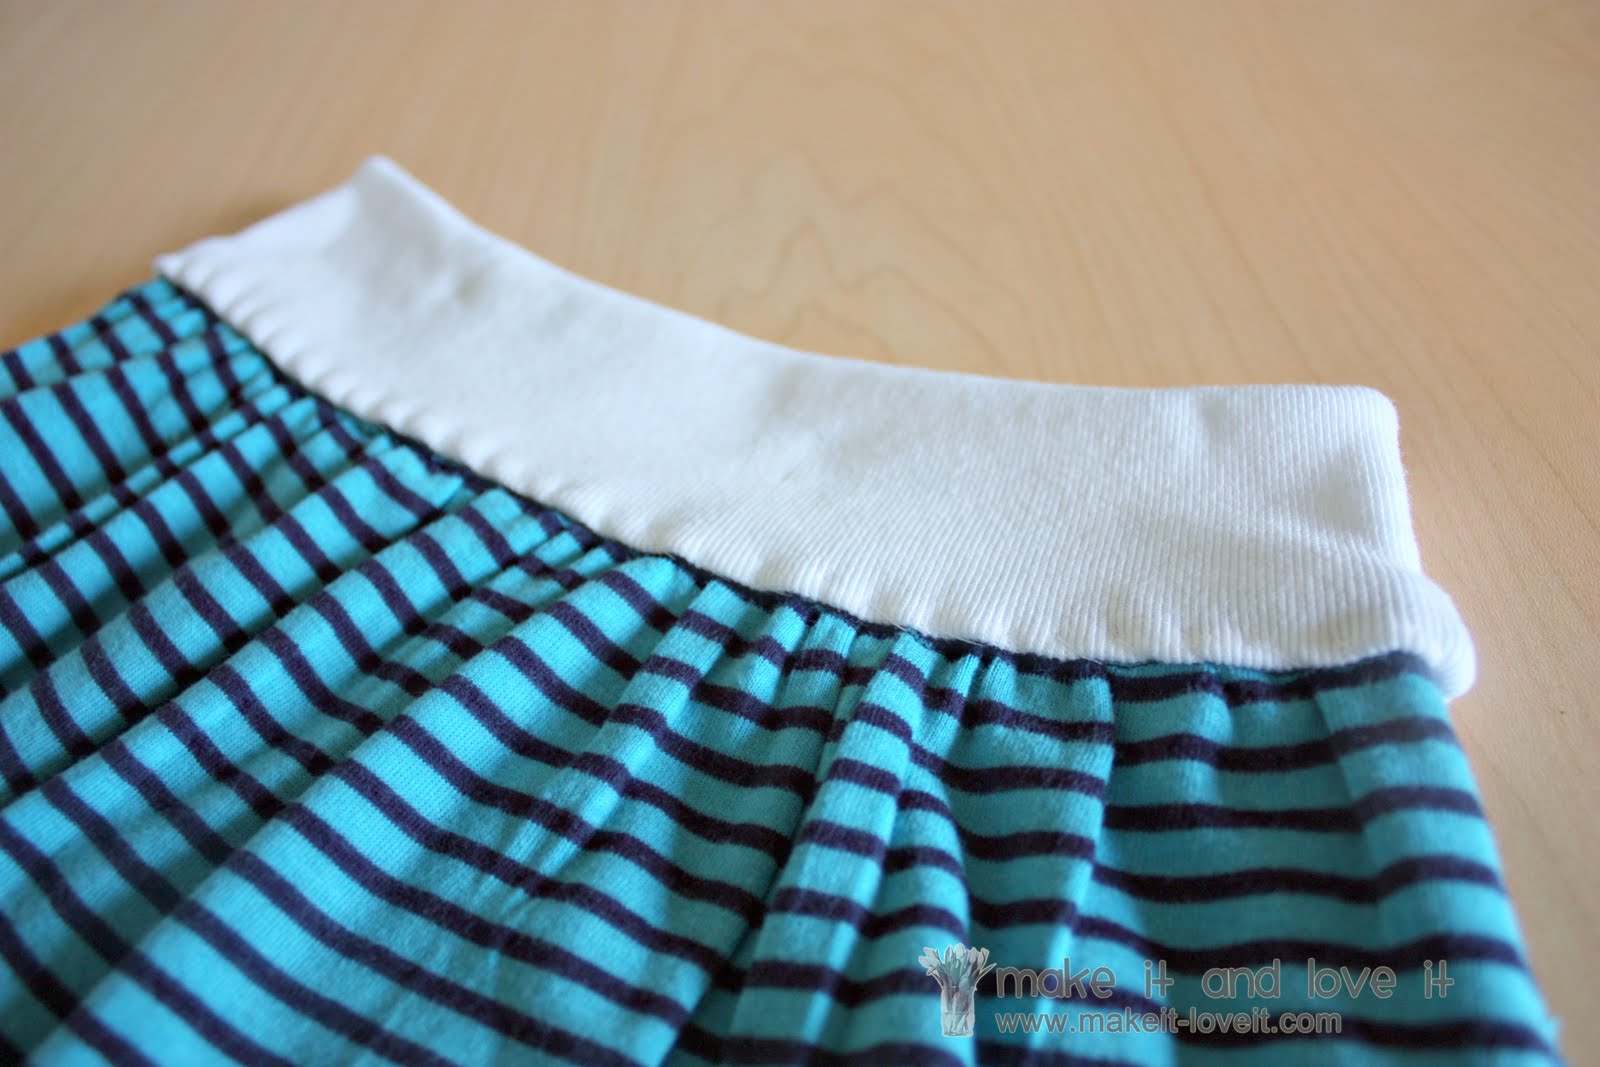
Next, turn the skirt inside out and iron the raw edge upwards, making sure that the seam is laying flat from the inside as well.
Then turn the skirt right side out again and fold the waistband towards the inside, leaving a 2 inch tall waistband. Measure and pin the waistband in place.
Turn the skirt inside out once more and fold under the bottom edge 1/2 of an inch. Pin in place if needed.
Then hand stitch this fold in place…….being careful not to let the thread show from the other side if you’re using a contrasting color of thread. (Need help with hand stitching? Go
here.)
Here’s the hand-stitching all the way around.
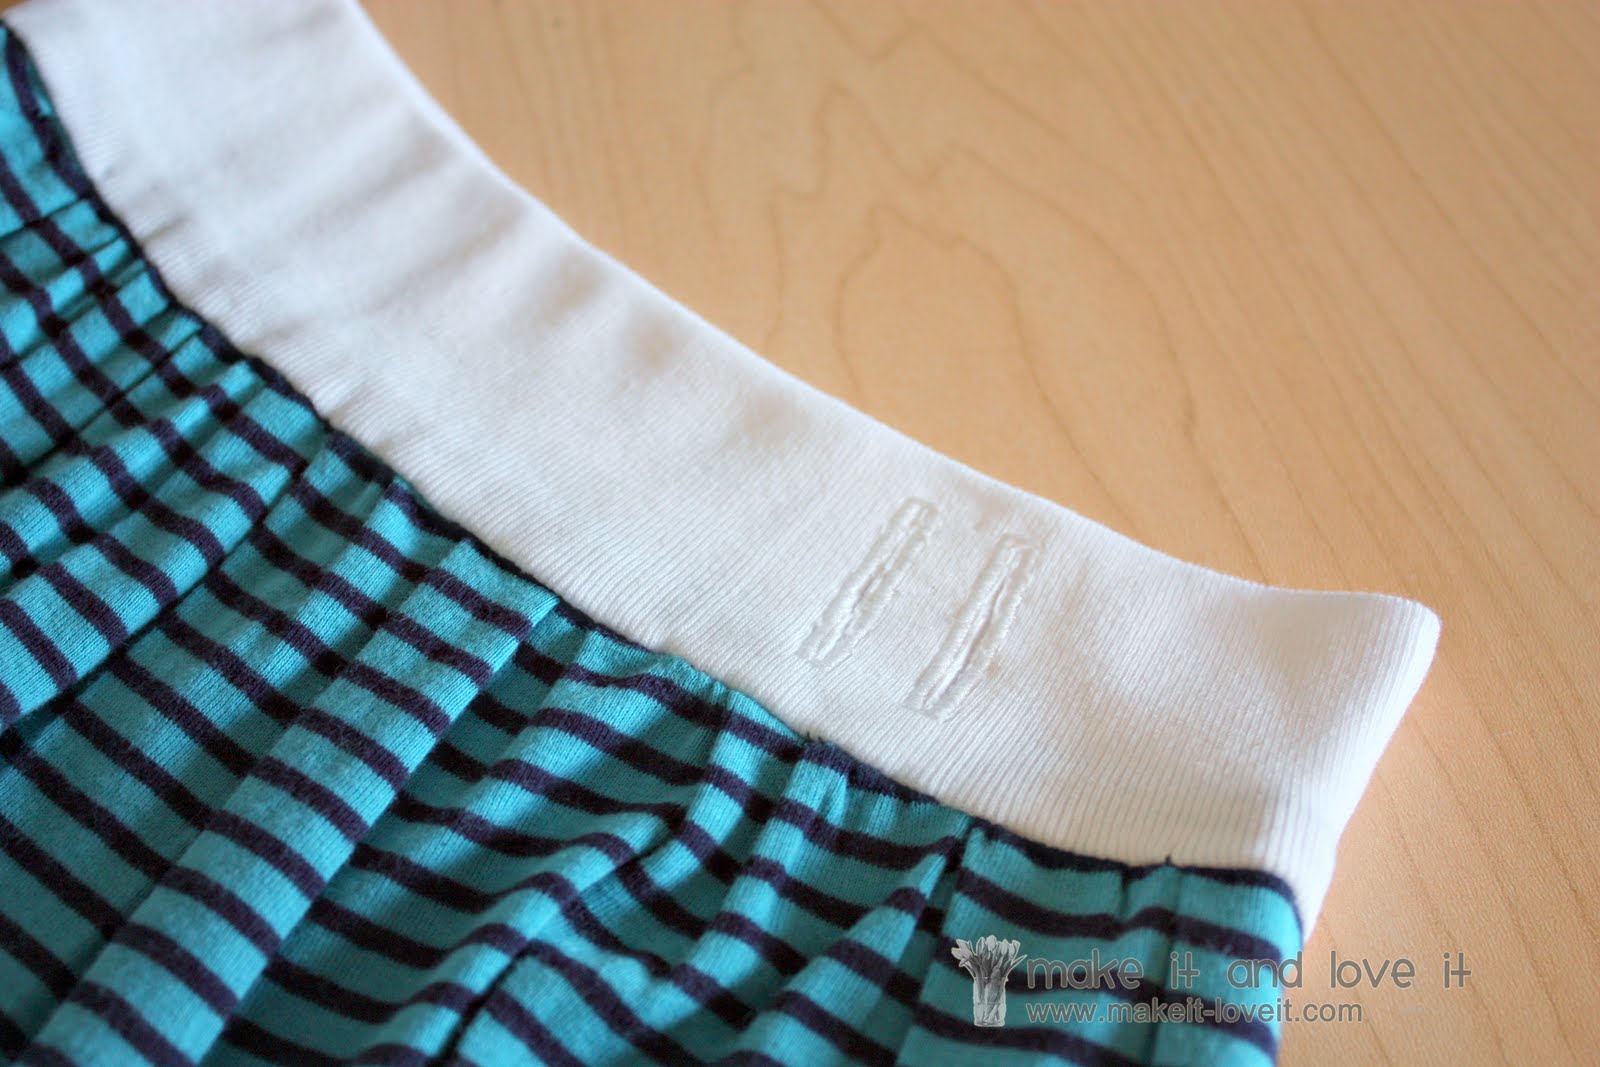
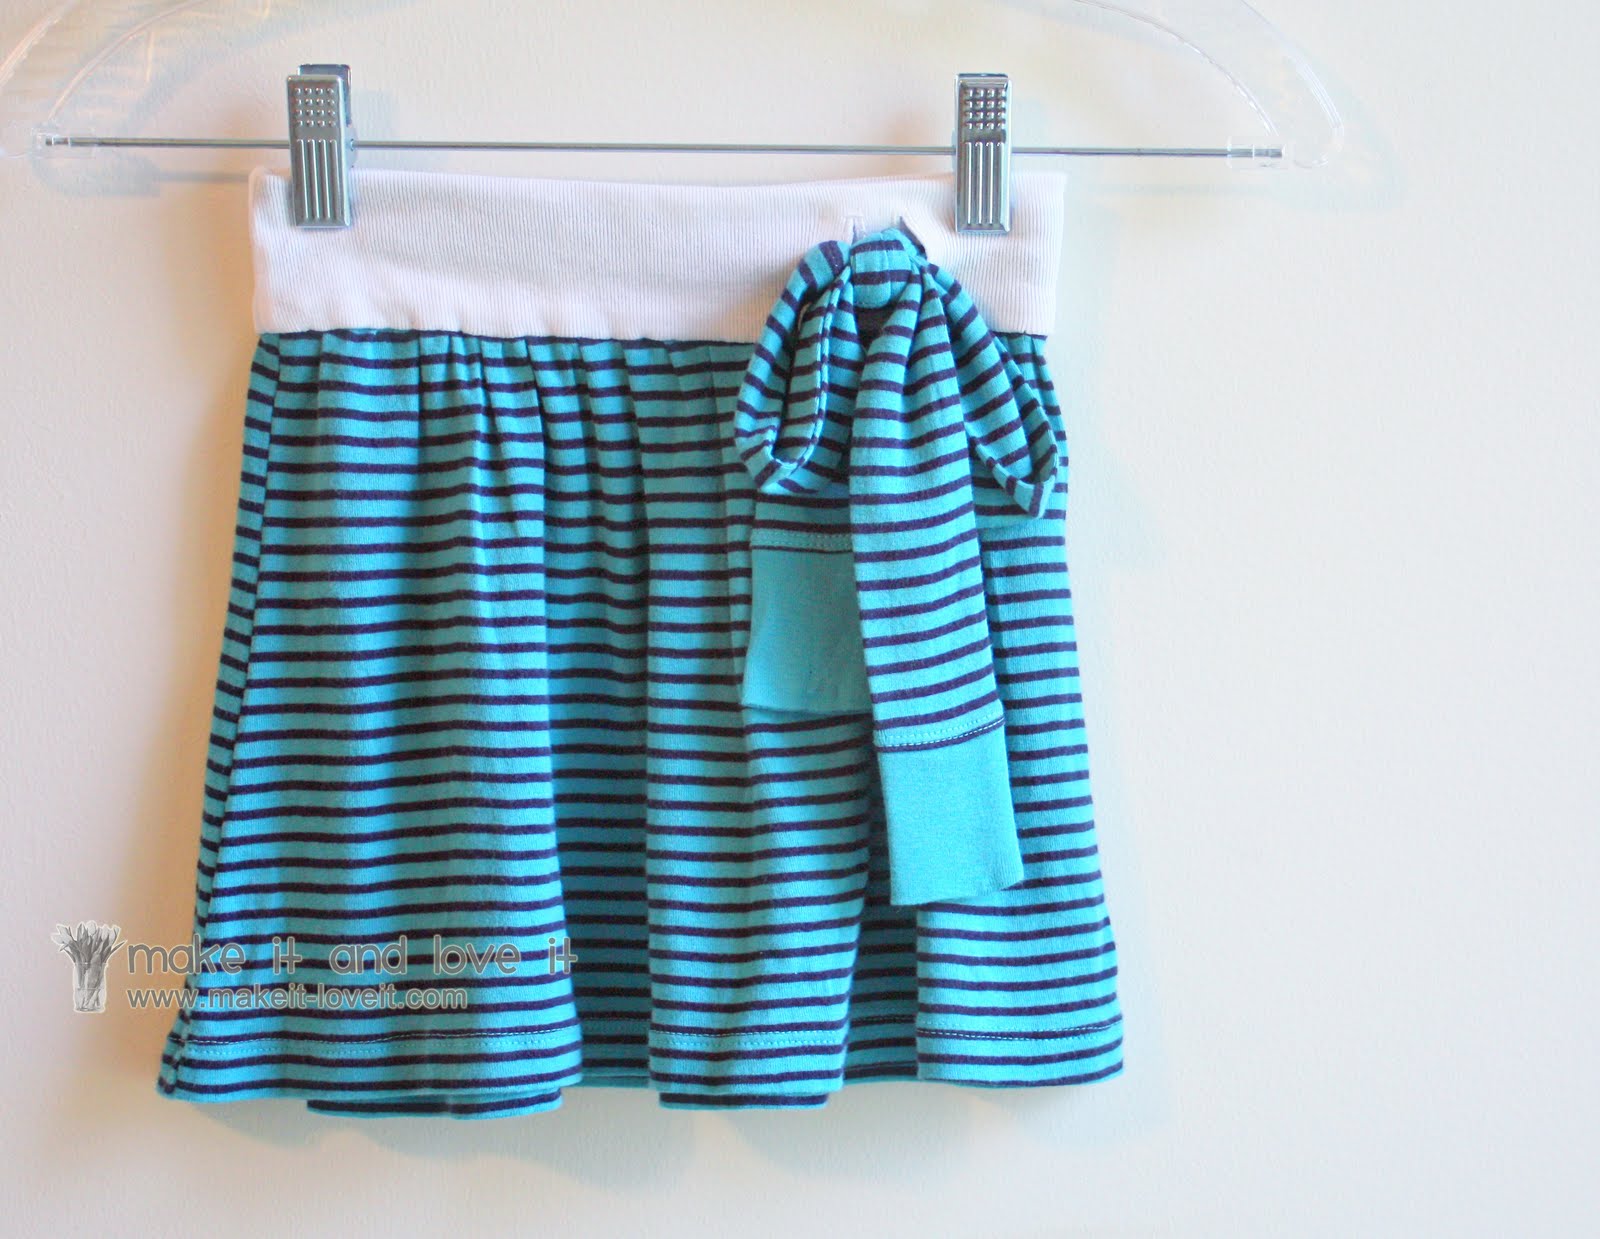
Turn the skirt right side out for the last time and iron/steam the waistband flat.
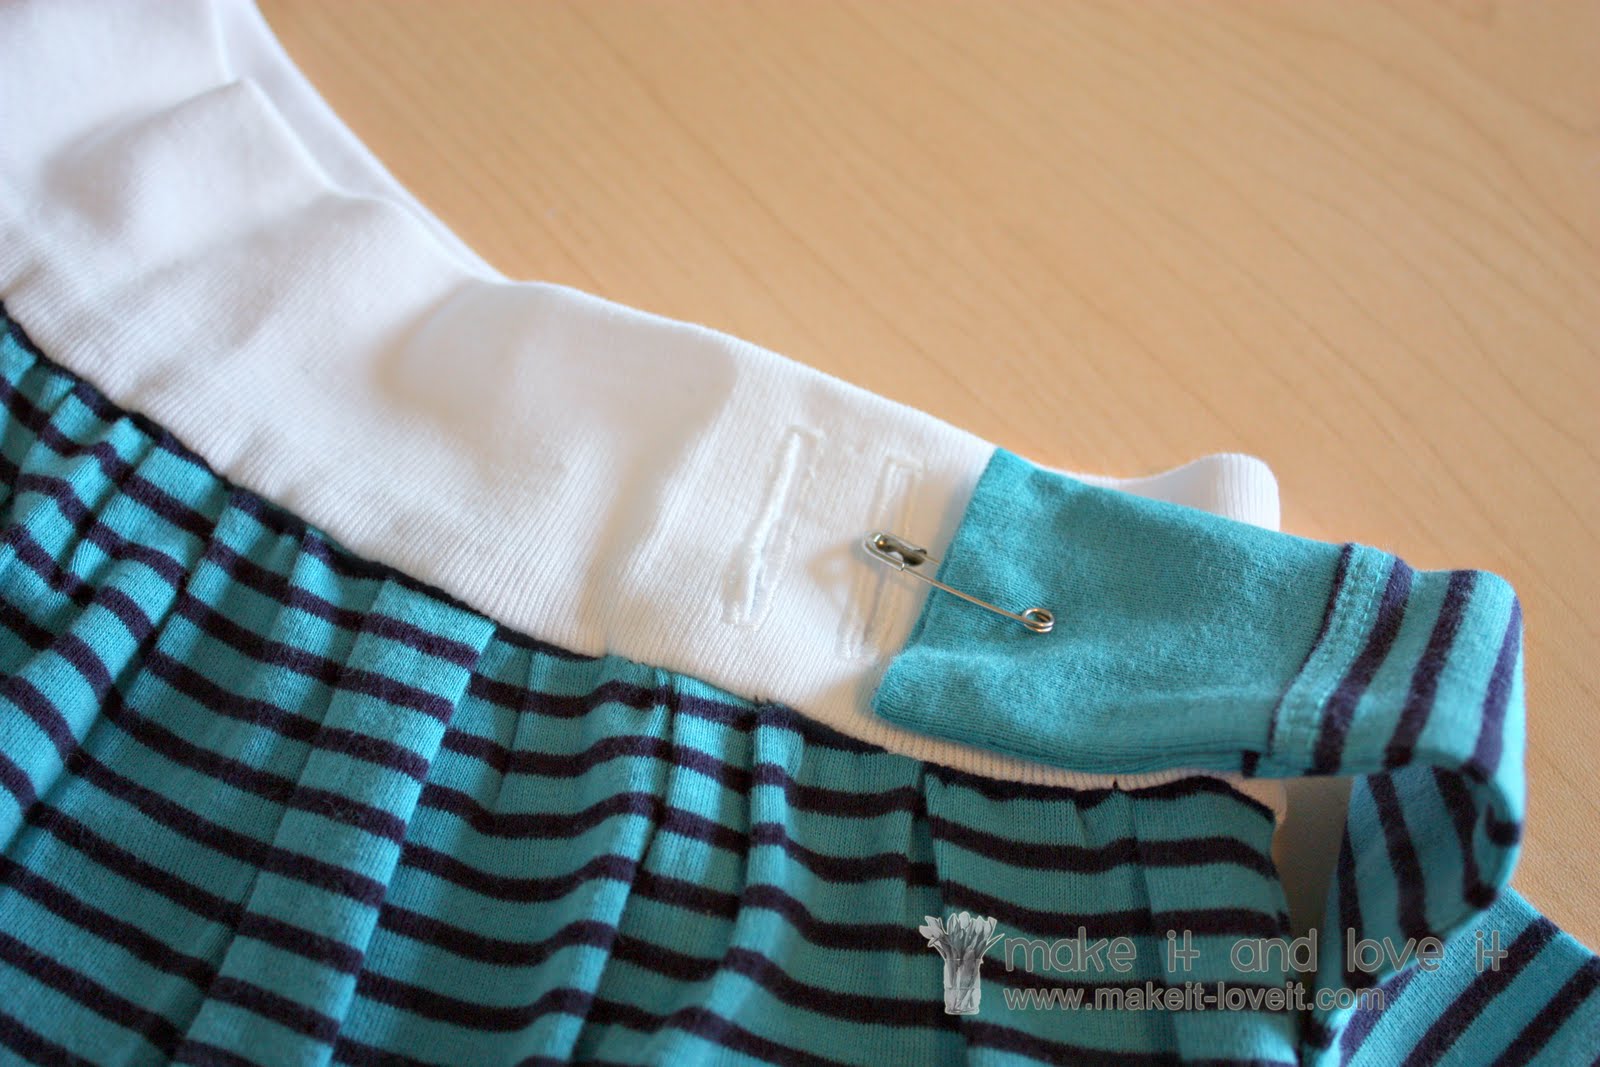
Then put a pin through one end of your tie, and thread it through your waistband…..trying to keep the tie flat as you go.
Lastly, tie the ends into a bow, and you’re ready for a new little flouncy skirt to wear just about anywhere.