Want to join the Make It and Love It CREATIVE TEAM?? Find out how you can share your project ideas right here, with readers from all over the world. More info HERE. -Ashley
. . . . .
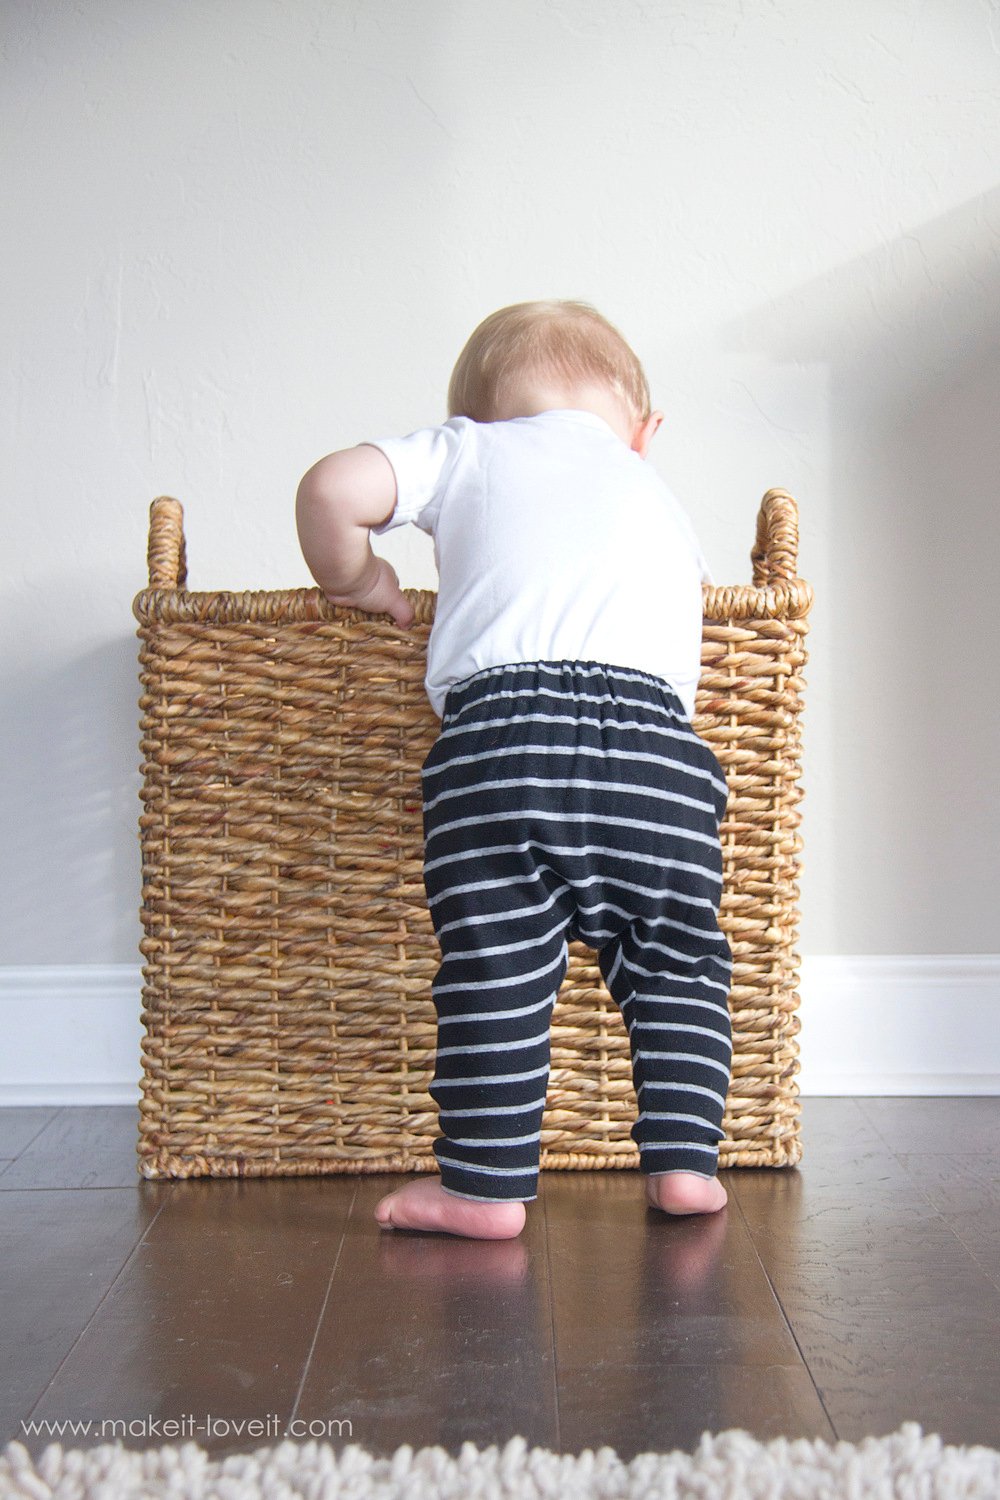
Oliver is 9 months old now….and cruising around the house. In fact, I need to go back and look through all the baby books because I’m pretty sure he is crawling sooner than any of my other babies. I swear the others scooted around on their bellies for MONTHS. But Oliver only did that for a few weeks and then figured out the whole hand and knee thing…and took OFF! Little stinker is getting into everything now! :)
And even though the weather is warming up, this little guy still needs something on his legs, to cover up those poor knees from cruising around all day. He has some jeans but those are so restrictive and he eventually wiggles right out of those. So, I decided to whip up some little knit leggings for him.
But not just any leggings…..some really simple Baby Boho Style leggings.
They just need a front piece and a back piece — and THAT’S IT!
And because I cut up an existing shirt and used the hem of a shirt as the hem for the legs……20 minutes later, and it was DONE.
And I know, I know….I totally agree, they look similar to the Hammer Pants we wore in the early 90s. (Mine were light pink with little kitty cats all over them. And I loved those things!) However, there’s not quite so much gathered fabric and they don’t hang as low….but the whole concept is kinda genius for babies. Especially ones who crawl and wear diapers. Because — plenty of room!
All that extra room in the upper area of the leggings makes movement a cinch. And since the bottom of the legs are more fitted, they stay right in place and don’t shift around or get caught on things.
And those little knee pads? Yeah, they’re mostly just for looks……but they’re perfect for little ones who are on their knees all day!
And what makes this extra speedy, is to use the bottom hem of an adult size Tshirt and then cut 2 quick pieces from it. So simple!
And then let your little one crawl, squirm, climb……..and find trouble!
I have made many pairs of fitted leggings for my girls and they loved them. In fact, they still love wearing leggings. But the tight fitted legging look all the way from top to bottom, just doesn’t quite look right on my little boy. Some little dudes can pull it off, I guess…..but I prefer a little extra room up top for the boys. And this doesn’t require cutting the curves and angles that you normally need to create the crotch section of pants. Just two flat pieces is all you need.
I know I could drape almost anything on a baby and it would be cute……but these really are so perfect for mobile baby boys AND girls!
Scoot along, little buddy! There are things to see…
Ready to whip up a pair? Or 5?
SUPPLIES:
***Check out my Sewing Terms 101 post, for additional help.
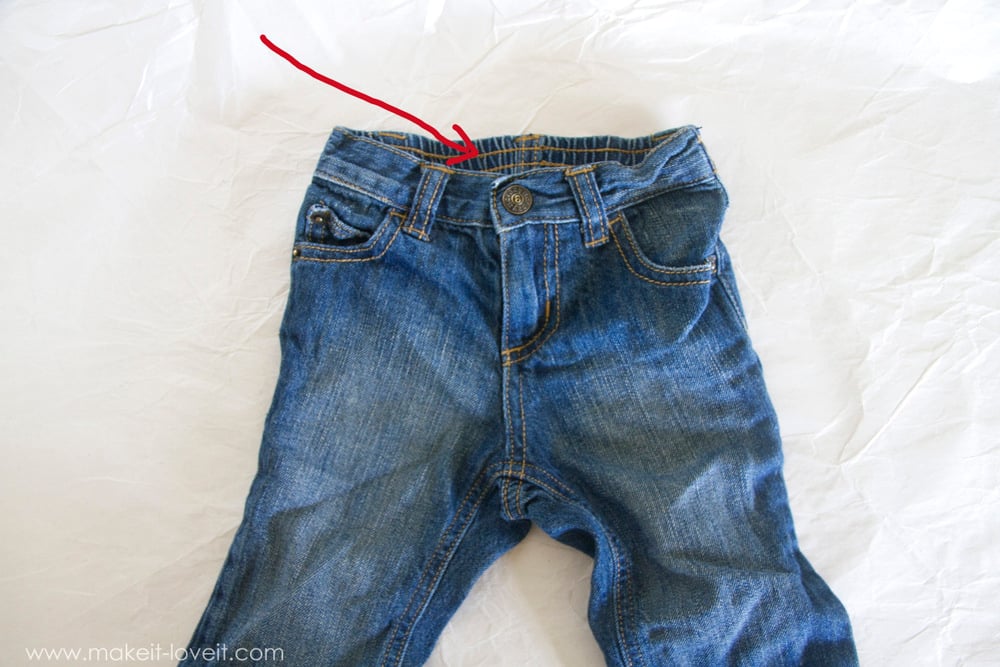
To get started, let’s create a quick pattern piece to use to put these leggings together. Grab a pair of pants that fit your subject loose and comfortably. Place on top of a piece of paper that’s large enough to use as a pattern.
Now, notice….that pants are usually higher and bigger in the back bum area.
Line up the waistband along the top back and front pieces and flatten down towards the crotch. This will make sure you have enough height in the main section of the pants.
Then make a mark above the waistband and then right below the crotch section.
Now, stretch the width of the pants out to the right and left at its widest point. This will most likely be right at the very bottom of the crotch area…and then outward. This is to assure you are making the pants wide enough….and are offering enough room for movement, comfort, etc.
Now, without shifting the pants at all, make marks at the bottom of each pant leg.
Now you should have 6 marks.ll
Now, it’s time to connect the dots. You’ll be creating a rectangle, connecting all of the marks you made. Along the very top mark, create an even horizontal line. Then, two outer vertical lines that meet up with the top line…and then two small lines at the very bottom, which will be the start of your legs.
Without the dotted red lines and blue X’s, it will look something like this…
Determine the width that you want the base of each leg to be. If you’re unsure, measure around the ankle and divide by two. The exact circumference of the ankle will work nicely and you won’t need to add any extra because the pants will be made of knit…so they’ll stretch over the ankle, etc.
Begin drawing the inner line of the leg…
And then curve it up to meet the mark you placed right below the crotch section of the original pants. No need to draw the other leg.
Now, find the very center of the waist section along the top of your drawing and make a mark.
Then, fold the pattern in half width-wise, using the mark you made in the last step as your center point.
Cut out the markings for the one half of the pant shape, except for along the fold….so that when you open it up, you have a symmetric shape for your pattern piece.
Now, because that shape will be the exact pant shape you need after it’s sewn, you’ll need to now add a seam allowance. You’ll need an extra 1 3/4 inches added along the top for a elastic casing…and then 1/4 inch along both sides and around the inner legs. You won’t need any added seam allowance at the bottom of each leg because you’re using the hem of the Tshirt and won’t need to hem the legs.
***However, if you’re cutting leggings from just a plain piece of knit fabric (and not a shirt), you’ll need to add 1-2 inches for your bottom hem.
You can either place the pattern on top of the fabric and cut out the extra seam allowance as you go….or create another pattern by drawing around your pattern piece with the added dimensions from the picture above.
Now, lay your shirt flat and be sure that the bottom hem is even along the bottom edge. Cut out both layers exactly the same size. (If you’re cutting from regular knit fabric and not a shirt, be sure that the stretch of the fabric is going left to right.)
***If you’re not using an existing shirt and are just cutting from a plain piece of knit fabric, this would be the point that you fold up your bottom edge of each leg, and sew your hem in place.
Now, these little knee patches are optional but if you want to attach them, iron some double sided fusible adhesive to the WRONG side of your contrasting knee pad fabric. Before peeling off the paper backing…..draw your ovals onto the paper and then cut them out. (More about fusible adhesive HERE.)
Peel the paper backing off and place the adhesive side down onto the RIGHT side of the front legging piece. Iron until fused.
Sew around each knee pad, about 1/16 of an inch from the outer edge.
Now, place the two pieces together with RIGHT sides together and use a 1/4 inch seam allowance and sew along both vertical edges and along the curve between both legs.
Be sure to use a zig-zag stitch, to allow for added stretch with your knit fabric.
Now, keeping the pants inside out, fold the top of the pants down 1 3/4 inches, creating the beginnings of a waistband.
Sew all the way around with a zig-zag stitch, 1 1/2 inches from the top fold….leaving a 2 inch opening for inserting the elastic.
Measure your subject’s waist and cut a piece of elastic that is exactly that measurement. Insert a safety pin through one end of the elastic and feed it through the opening you created.
Overlap the ends of the elastic by one inch and sew the ends down.
Wiggle the elastic back through the casing and zig-zag the opening closed.
Turn the leggings right side out and iron flat.
And you’re done!
Now enjoy!
-Ashley
. . . . .
Need other ideas for re-purposing old clothing?
Check out the 10-minute Skirt Tutorial. My girls love these simple skirts!
Or how about Turning Shirts into Toddler Dresses. So simple and so sweet!
Or do something a little more funky and Turn Shirts into a Fringe Skirt. So twirly and fun!

Hi, I’m Ashley—the DIY-enthusiast behind this crazy blog!