Home » DIY Tutorials » DIY Crafting » Crafting: No-Sew » Thanksgiving (or any meal) Name Place Ribbons
Thanksgiving is going to be at our house again this year. Which makes it easier because Steve (my husband) has to work that morning at the hospital and hopefully once he gets home, we can all enjoy our holiday meal. It makes it a little easier on us, so I’m glad some of our family is willing to travel to our home again this year.
And since my sister Robin is living with us for a little while (and can help me create things), we decided to add a few extra touches this year.
Nothing too extravagant or time consuming. Just simple.
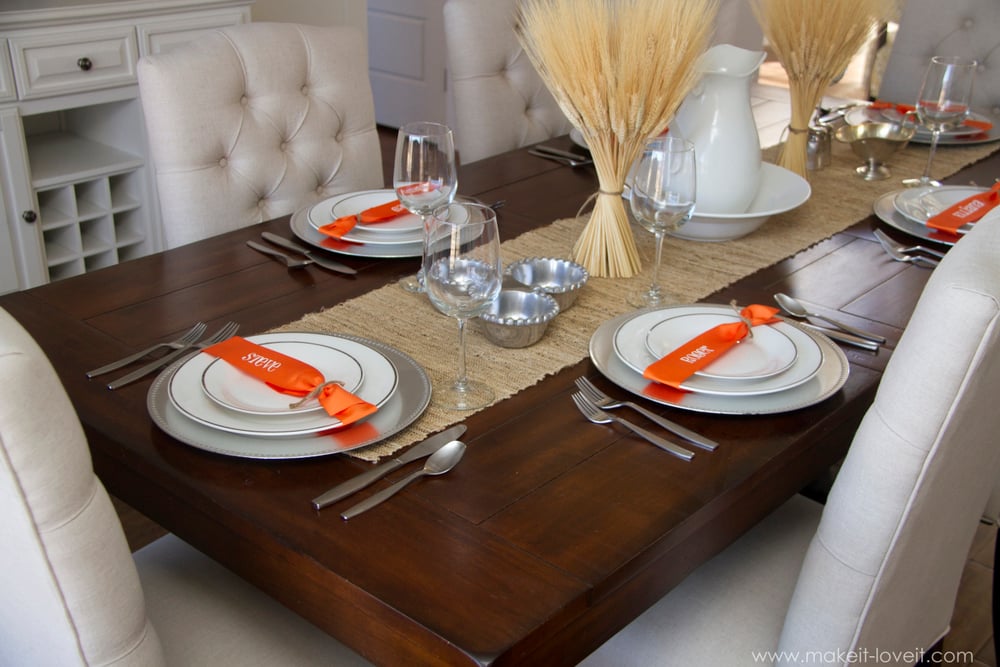
So we kinda put our heads together and created these little Name Place Ribbons…..you know, like place cards. But ribbons.
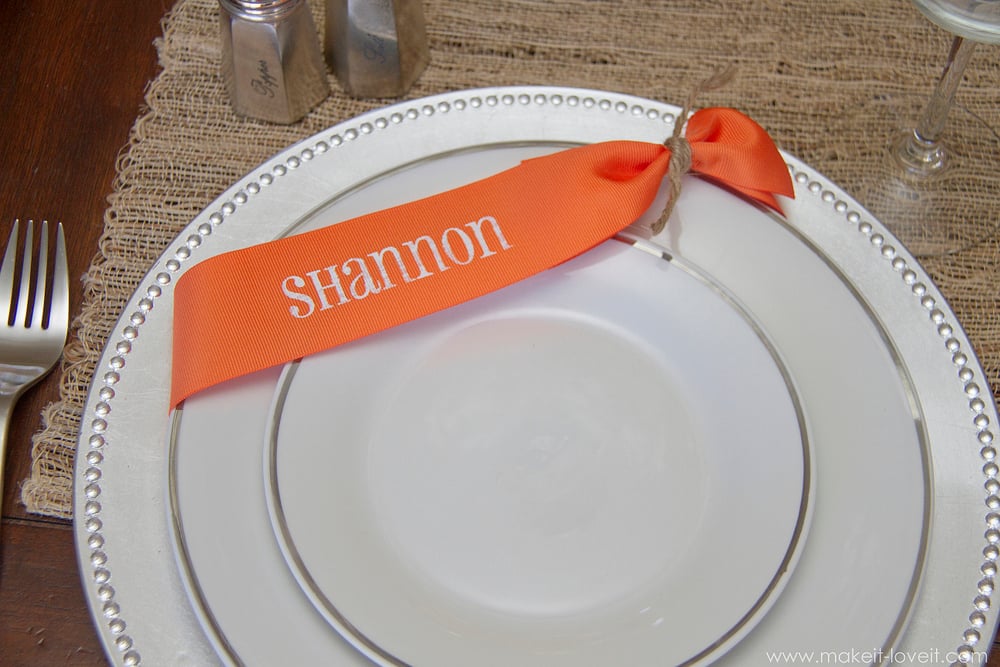
A simple strip of ribbon, tied together with a little jute ribbon. Nothing easier than that, really.
And okay, after we both pitched in a few ideas and made the first ribbon, Robin jumped all over the rest and made the other 11 that we would need. Bless her little ever-loving heart! :)
**Yeah, every place setting needs a napkin. I’m jumping on that next. :)
The ribbon hugs the dinner plates, and easily slips off once it’s time to serve dinner.
Ahhhh, name assignments. Now there’s no confusion of who sits where.
And the punch of color? Perfect for our Thanksgiving table setting.
Thanks Robin! Onto the next little touch of Holiday love, right? ;)
Want to make your own Name Place Ribbons?
Okay, in case you need a little more info, let me show you how simple this is.
First, grab some 2 inch wide grosgrain ribbon in any ol’ color you want. Wrap it around your plates and overlap about 4 inches.
Heat seal the edges with a lighter. (Ribbon frays and will quickly look messy unless you seal the ends. A lighter or candle flame will gently melt the edges and will keep the edges from fraying.)
Pinch the two ribbon ends, in the center of the where they overlap. Wrap some jute string around the ribbon, keeping it tightly cinched in.
Then, create your name stencils from freezer paper. (Want to know more about Freezer Paper?)
I cut mine out with my Silhouette (just like I did here) but I have also traced letters onto the paper and cut out with a utility knife (like here). Both work.
Adjust your ribbon so that the tied jute is off to one side……and then place your stencil where you’d like your name to be.
To keep your stencil right where you need it, place a piece of tape onto the ribbon, right next to where the edge of your freezer paper sits. That way, in case you paper moves a bit while transporting it to the iron, you don’t lose your spot. Then, iron your freezer paper right onto your ribbon.
Next, sponge your acrylic paint right onto the ribbon exposed through the stencil. (Keep in mind that grosgrain ribbon has ridges. So, there’s no way for the freezer paper to make a tight seal between each ridge. So if you glob the paint on, it will seep under and look messy. However, if you lightly sponge the paint onto the ribbon, you won’t have any bleeding and each letter will still keep its shape.)
Let the paint dry completely and then peel back the freezer paper.
Now, your ribbon is ready to slide over your plate setting.
Done.
Enjoy!
-Ashley
. . . . . . . . . . . . . . . .
Featured Sponsor:

Share via:


