-Ashley
. . . . .
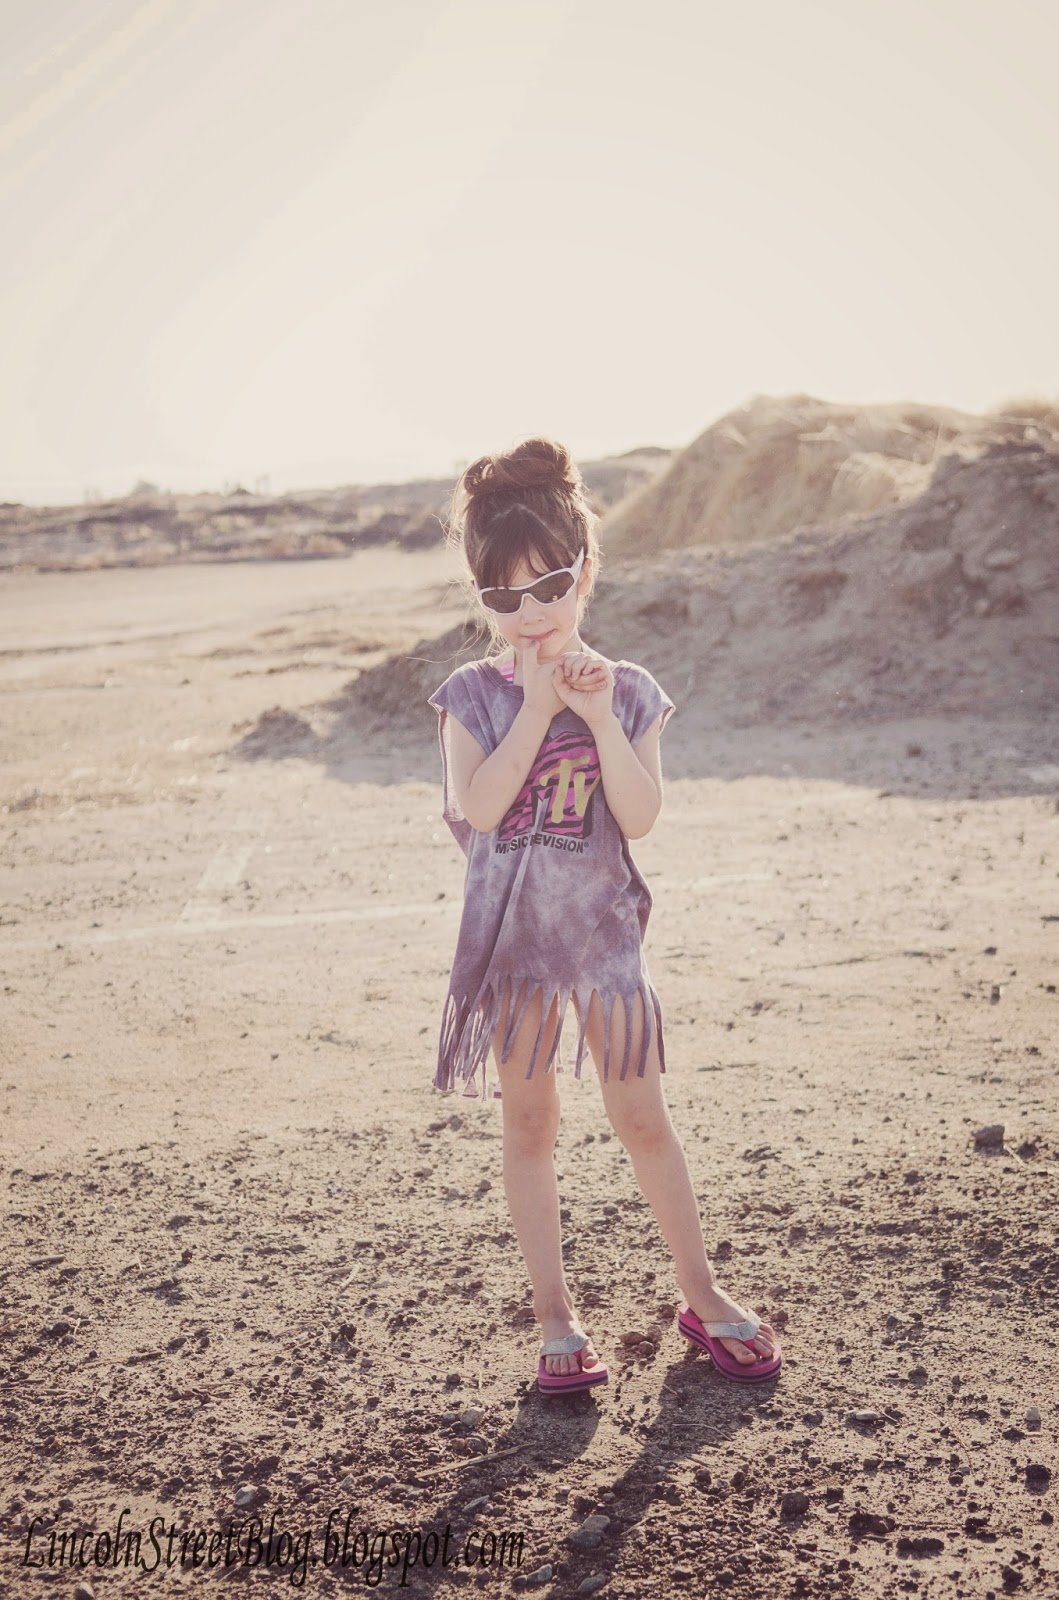
Hello there Make It & Love It readers! It’s your friend Christina from Lincoln Street Blog and I am here to share a super affordable, super easy, NO-SEW way to revamp those old t-shirts you’ve had stuffed in your drawers for decades into stylish and hip cover-ups for your young daughters!
You do have graphic tees from 15+ years ago stuffed into your drawers….right? I mean, I can’t be the only one. However, on the off chance that some of you are staring incredulously at your screens—>have no fear! You, too, can still convert old t-shirts into beach cover-ups for your little ladies on the cheap!
In a matter of two hours (and without sewing a single thing) and a dent of about 5 bucks in your wallet –> BAM, a trio of colorful and fun fringe-y cover-ups!
Oh, and don’t let Emma’s facial expression fool you, she is EC-STA-TIC to be posing for this picture and jumping for joy…on the inside.
If you would like to bring this cheery disposition to your own children’s faces then read on to find out how the magic happens!
Supplies you will need:
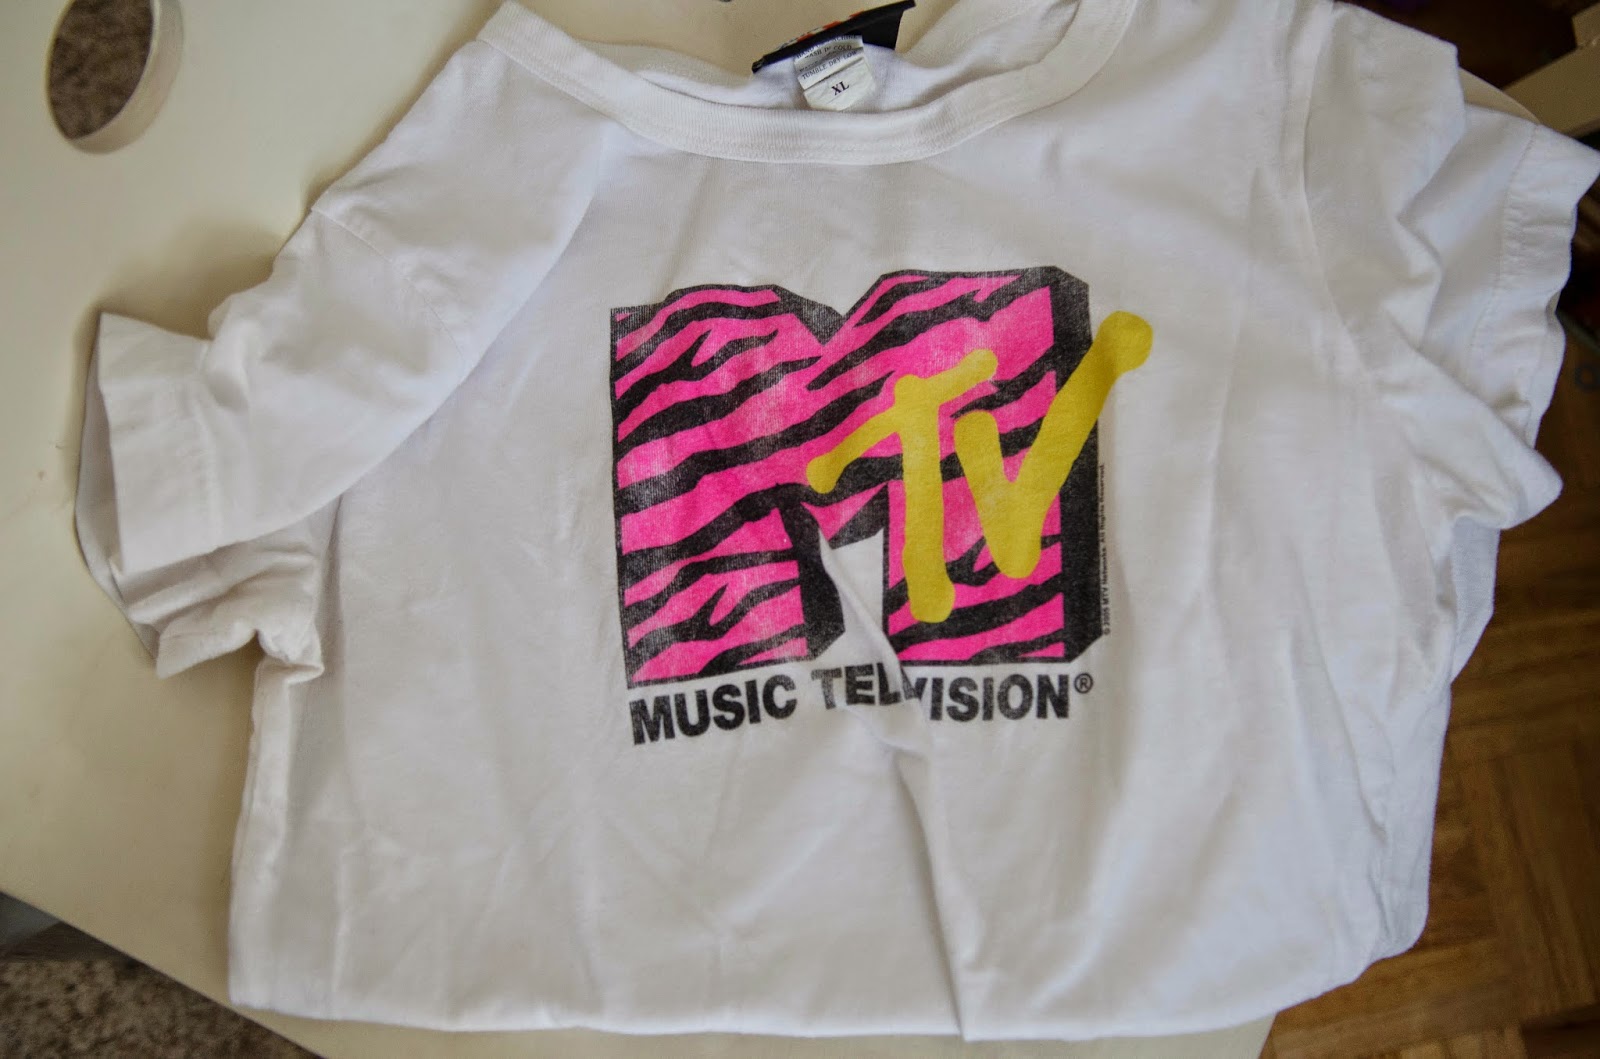
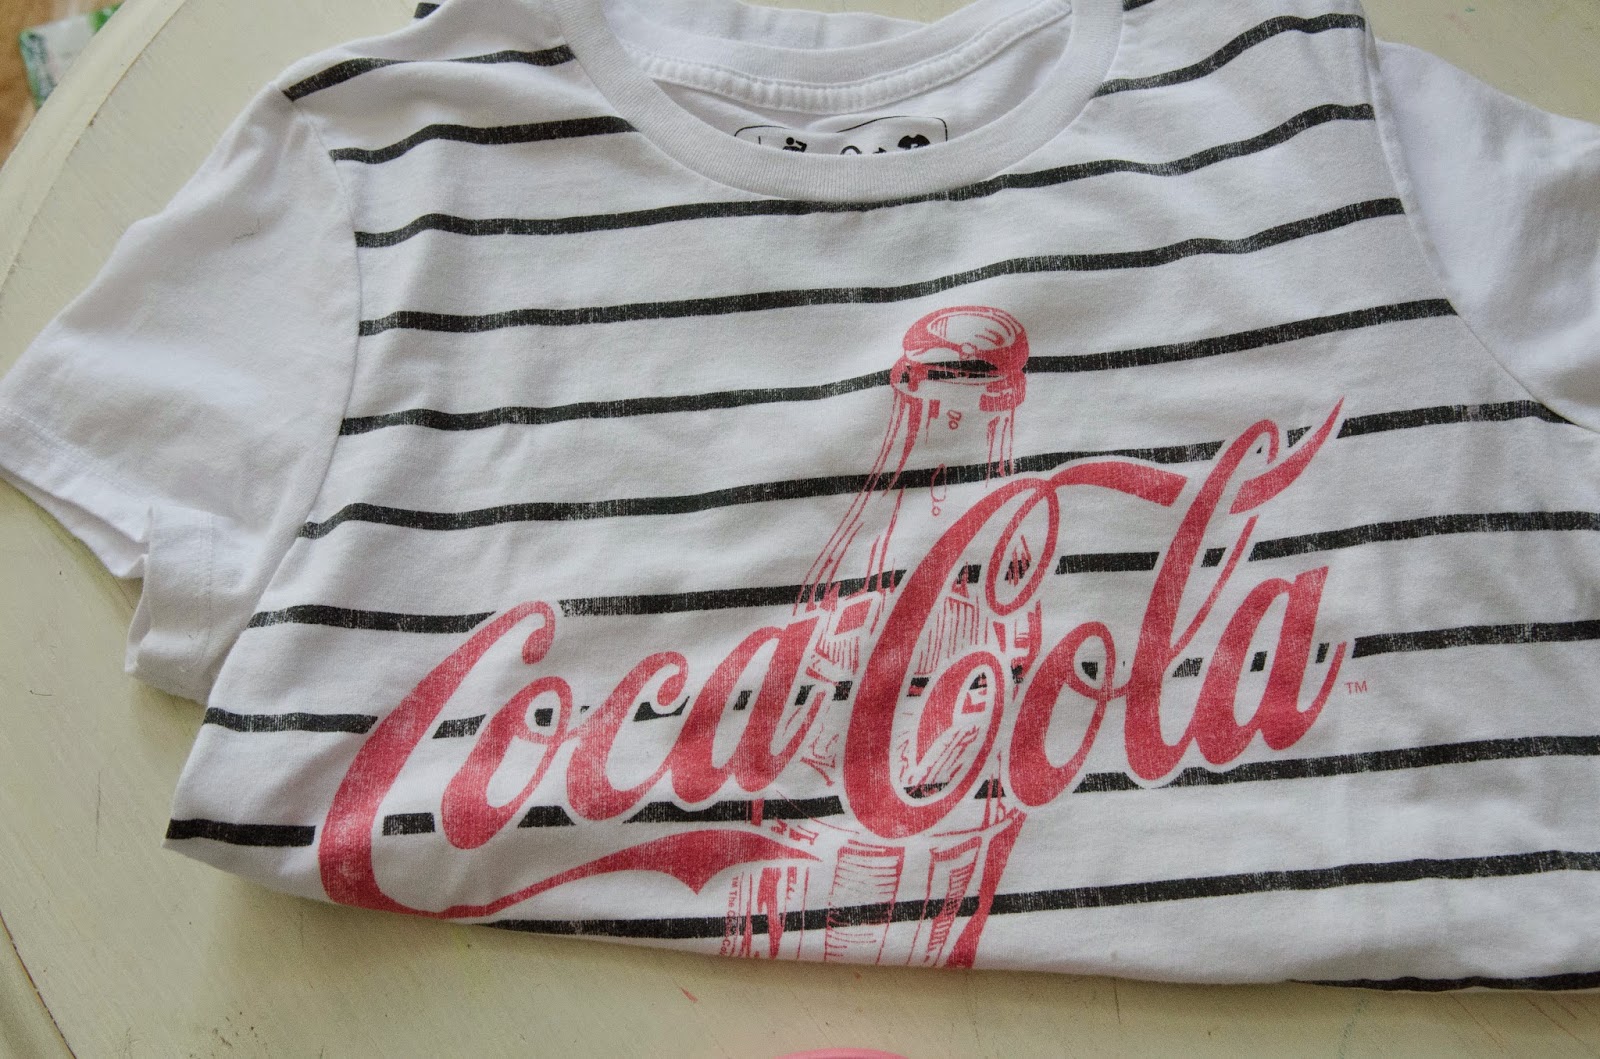
The first thing you will need to do is raid your drawers for old cotton t-shirts you know you are never going to wear again, or shirts that are ::cough:: possibly old and or stained ::cough::.
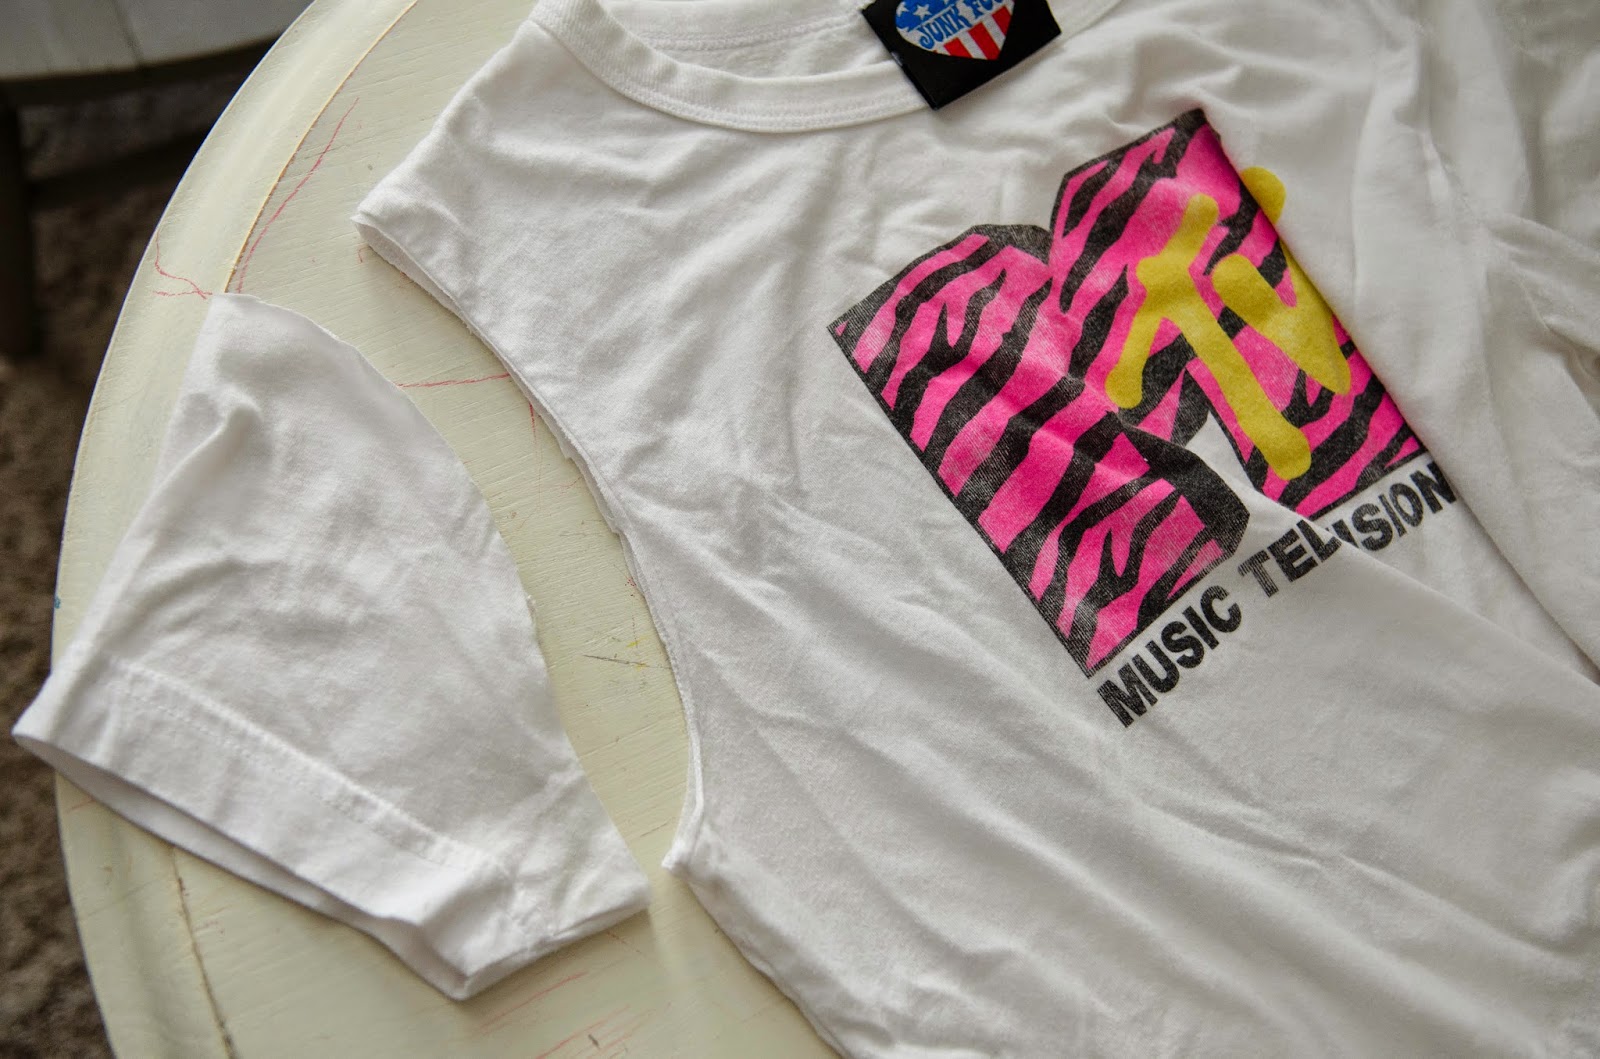
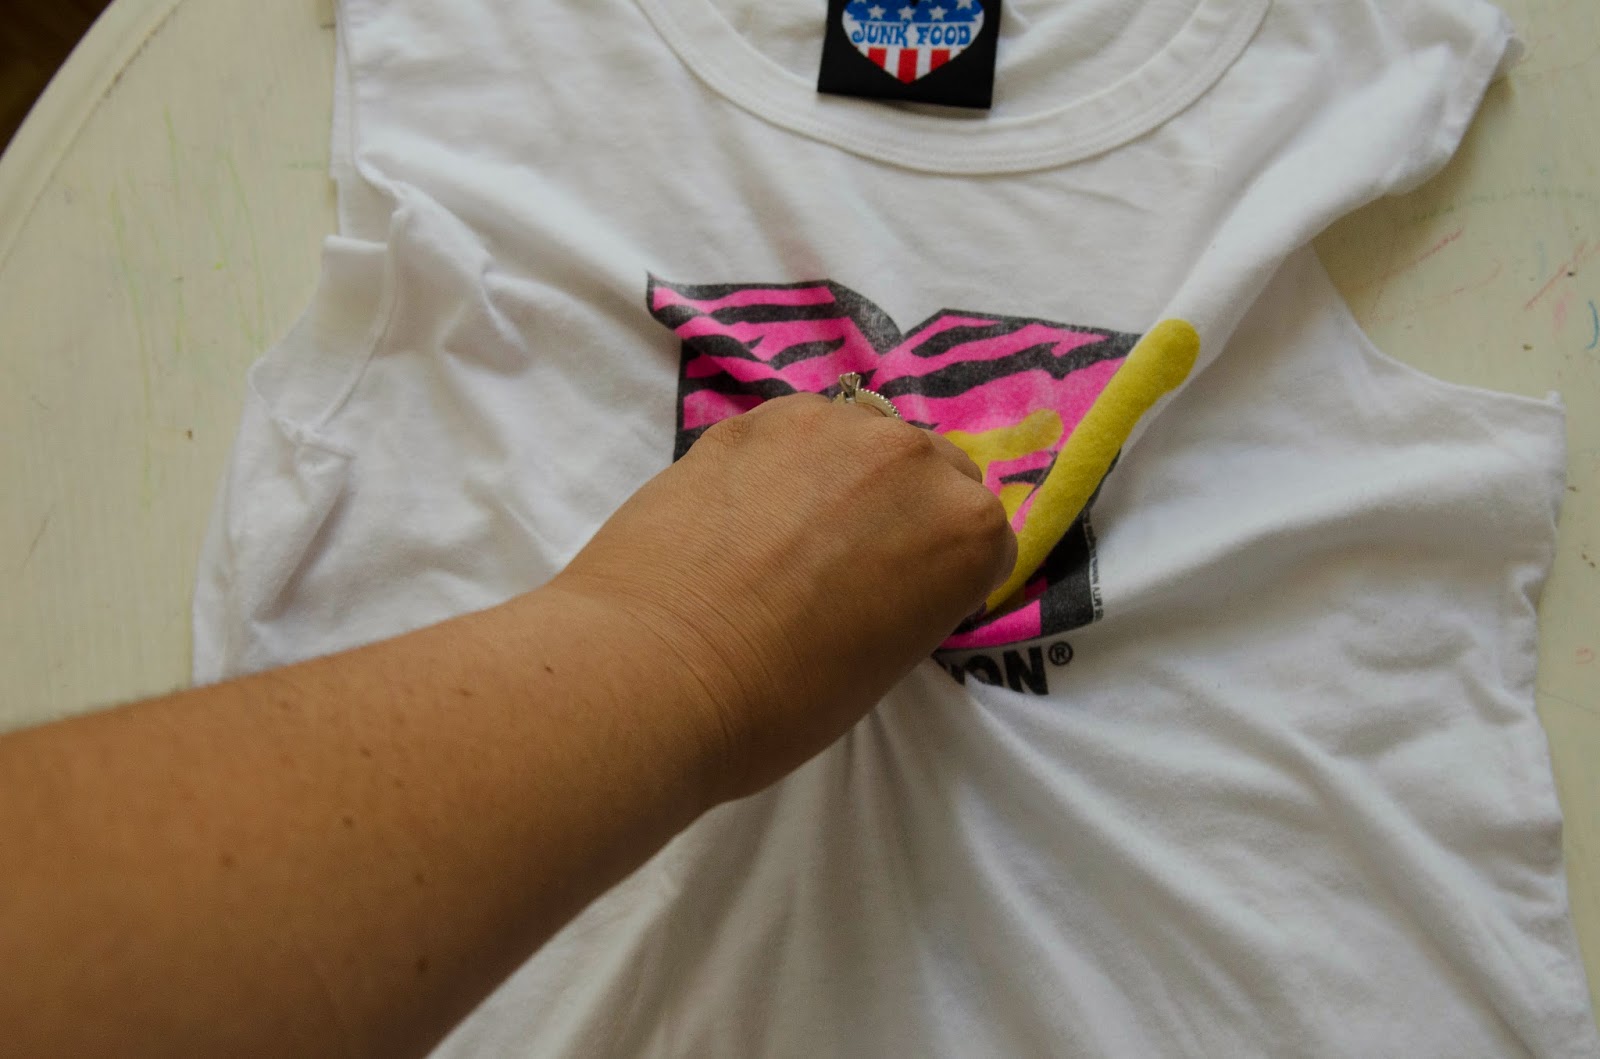
Okay, so for all three of you perfect human specimens that actually clean out and get rid of every single out-dated item in your drawers you will need to make a trip to your local thrift shop. If thrifting isn’t your thing, then by all means head to the clearance section of your local department store and pick out smaller adult t-shirts for kids or larger ones for an adult. You could also raid your pre-teens drawers for tops that are sooooo last season. ;) Once you have the goods you will need to chop off those sleeves! There is no perfect way to do this, just remove the sleeves. Anywhere you cut will be just fine, since these Tshirts are made with knit fabric and won’t fray. But I just cut right along the seam of the sleeve.
Now, this is where things get complicated. (not really) You need to figure out how you will roll-up/ crumple your shirts for dyeing. There really was no rhyme or reason to how I did this. I just rolled and gathered in different areas and secured with rubber bands on different parts of the shirts.
(Is it just me or does my arm look freakish from this angle?)
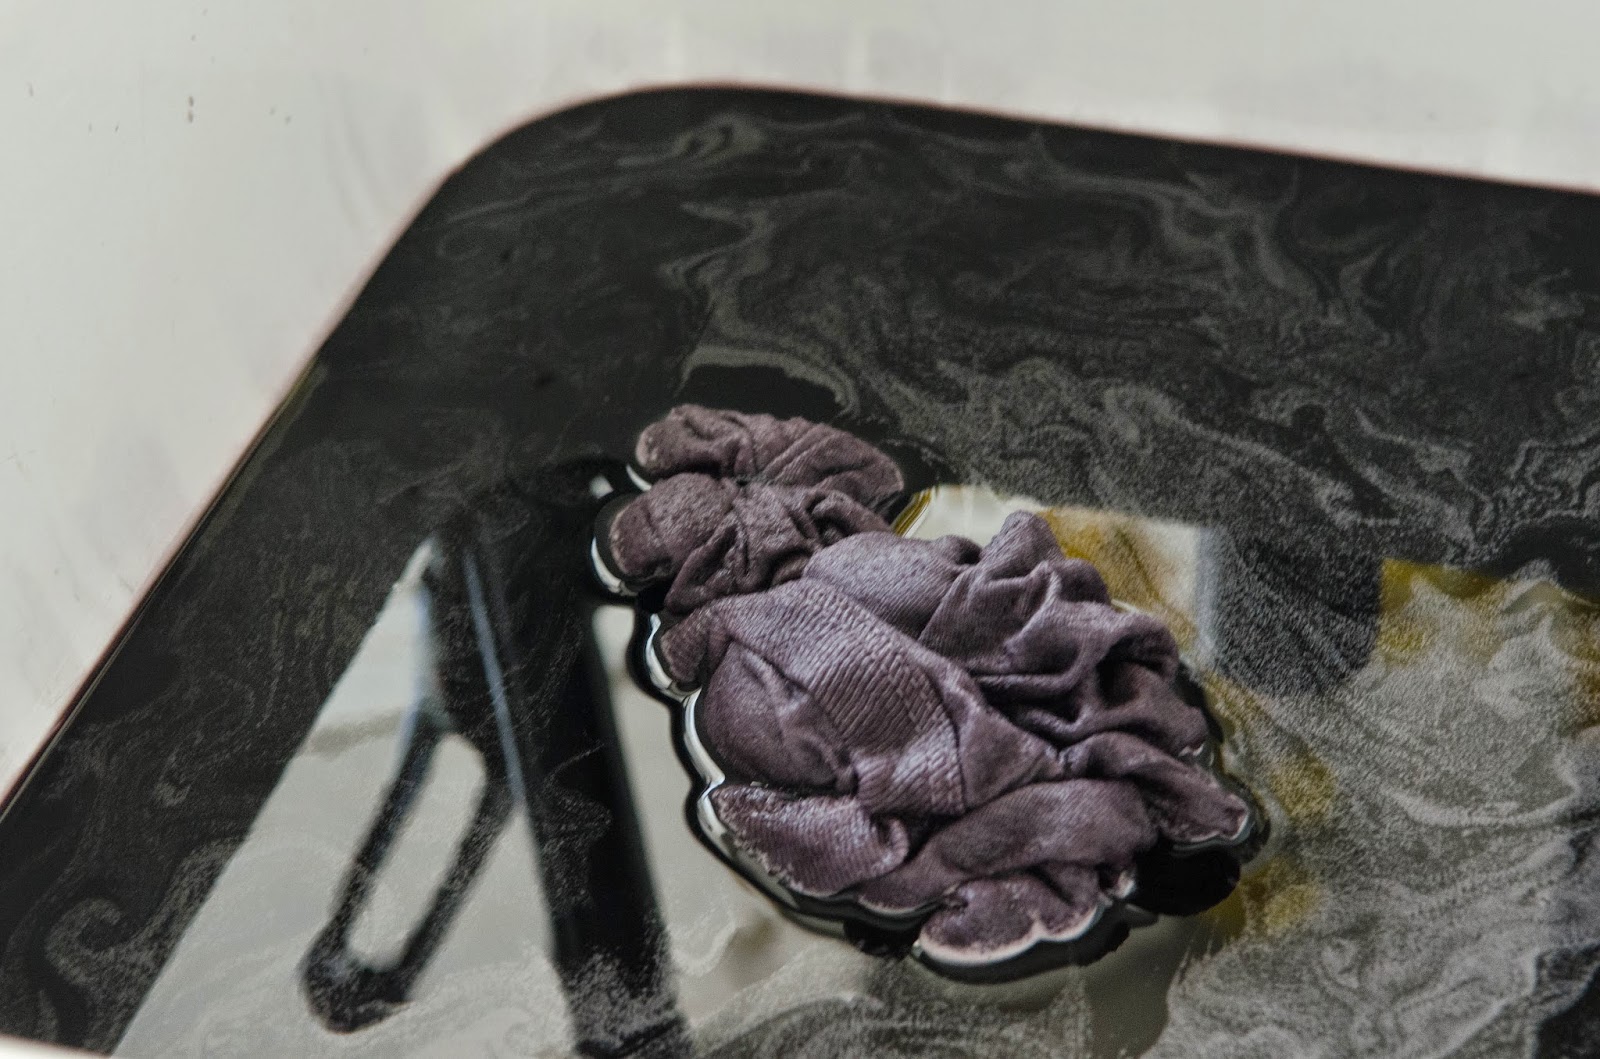
Once you have your tops ready for their color bath you need to prepare it. I knew I would be working with small amounts of fabric so I purchased liquid dye rather than the powder. I filled my sink with about 1 gallon of hot water and added two tablespoons of dye. Those are so NOT the directions given on the back of the dye but I also was not finicky about the exact color these tops would turn out. If you are going for a very specific color then by all means follow along exactly with the bottle’s directions. I did not wet my shirts ahead of time as instructed by the dye (so that the dye would penetrate the fabric better) I just threw the shirts in the dye as is.
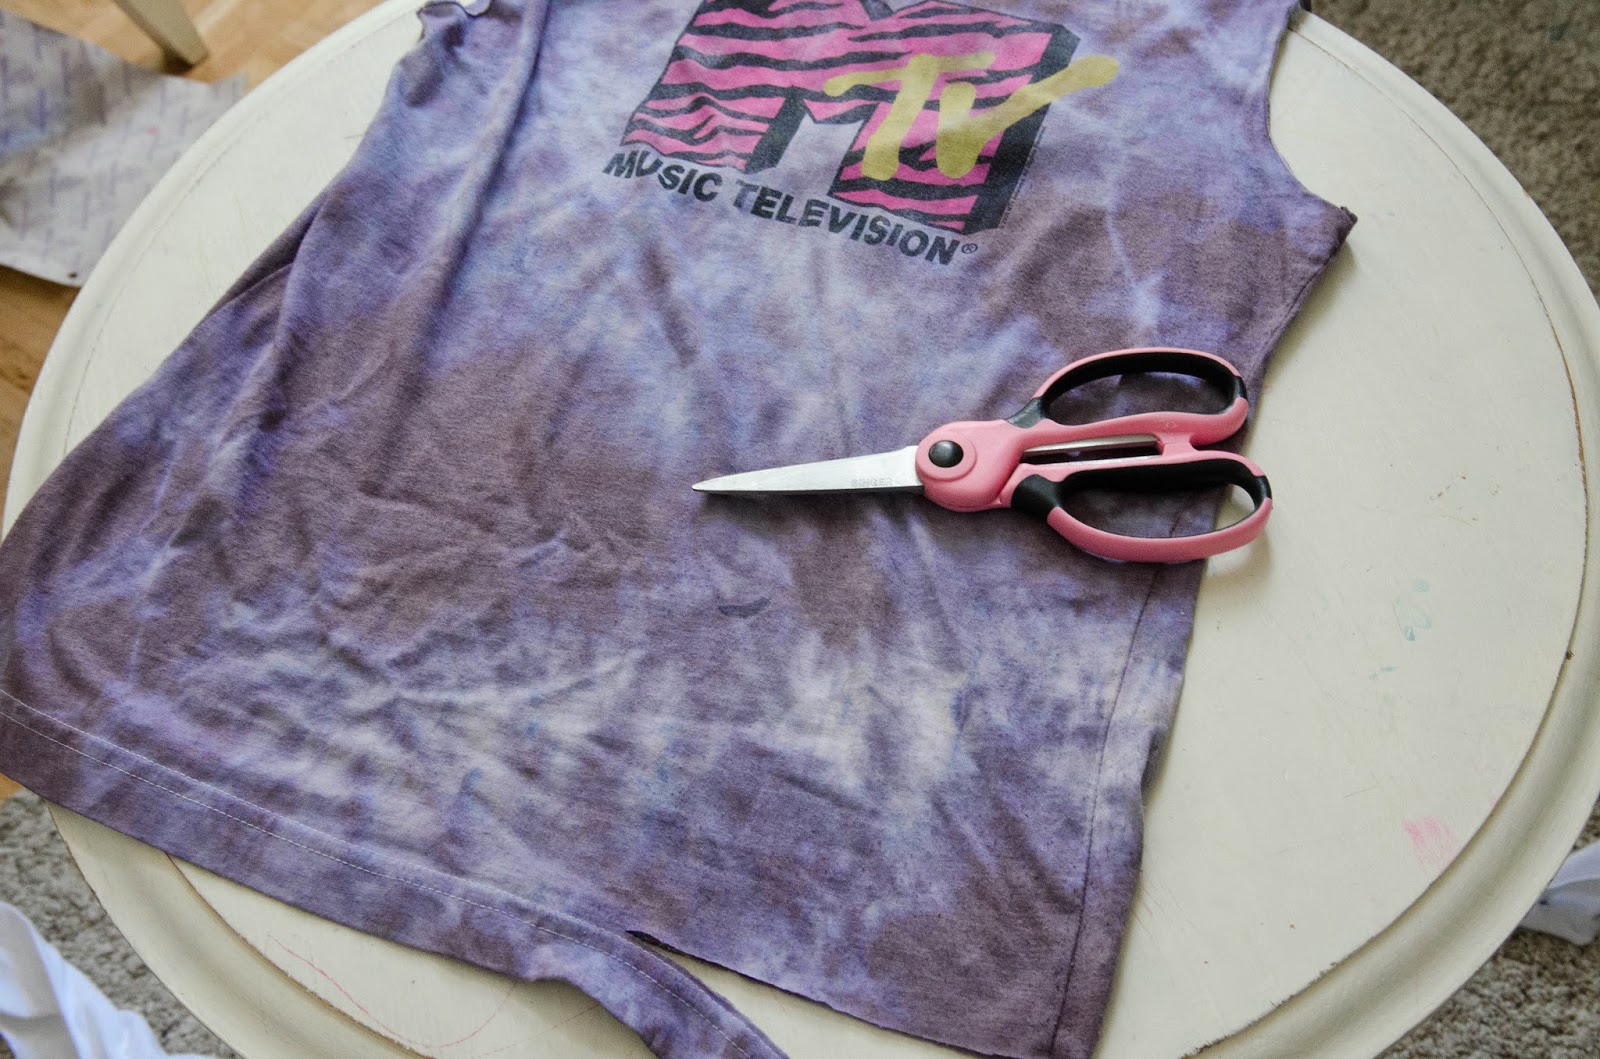
I only let it sit for about 45 minutes before removing the rubber bands and rinsing it with cold water. I then threw it into the wash, by itself. Once it was dry I trimmed off the bottom hem and cut vertical lines into the bottom of the shirt about 4 inches high:
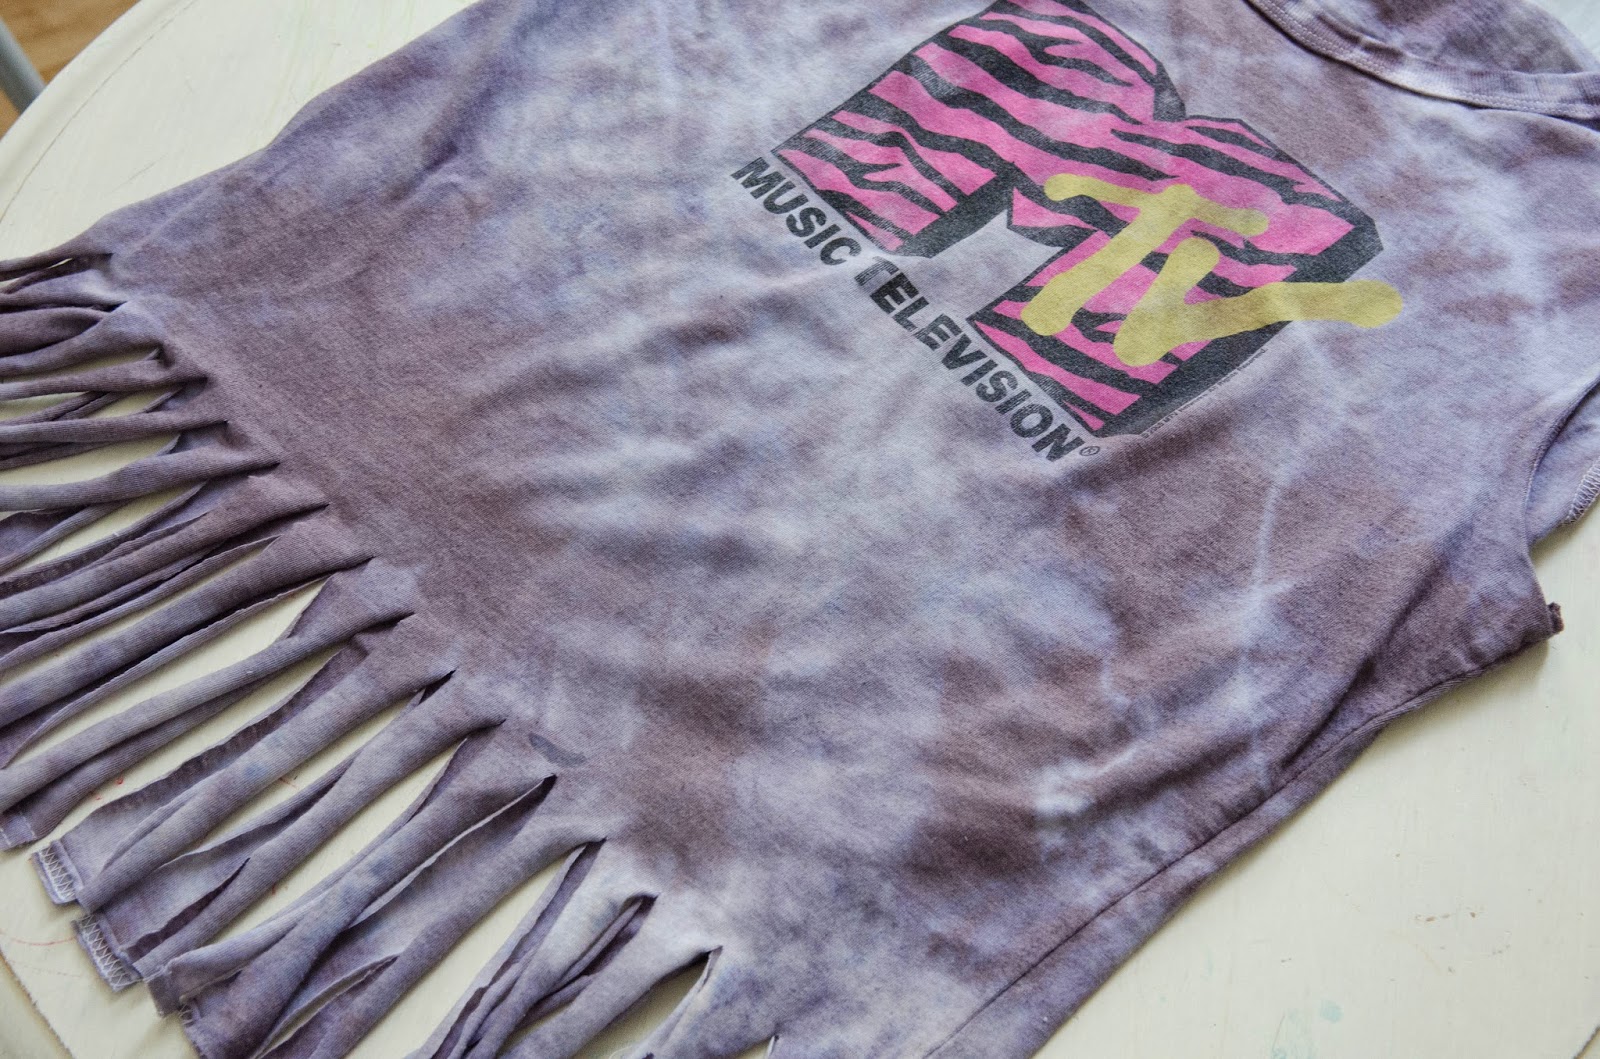
Voila—>beach cover-up complete!
I recommend doing a few of them at a time so that you can just get messy, dyed fingers once. :)
I never thought I would be able to part with my MTV top, but I just love seeing my sweet girl rocking it over her swim suit!
It certainly is better than having it collect dust bunnies in the back of a drawer!
And remember, this Cover-Up is great for all ages. And really, anyone could use one this summer! However, this is also a fun project to do with your older girls and they can wear them as tops! Whatever works!
Hope you enjoy this project and I would love to see your version of it!
xo -Chris
Check out Christina’s blog, her Pinterest boards, and her Instagram account.

Hi, I’m Ashley—the DIY-enthusiast behind this crazy blog!