Home » DIY Tutorials » DIY Sewing » Sewing: Clothing » Baby Clothing » Bear Hooded Towel
Do you just hate those wimpy baby towels once your baby has reached, oh, 2 weeks old? You know, the ones that are paper thin? They have a hood, which is great, but babies just grow out of them way too quickly.
I have been meaning to make one of these for the past 12 months (my little buddy just had a birthday). Ooops. Oh well. He has one now. And really, these dimensions are big enough to use for bigger kids too. I want it to last a while.
Save
You’ll Need:
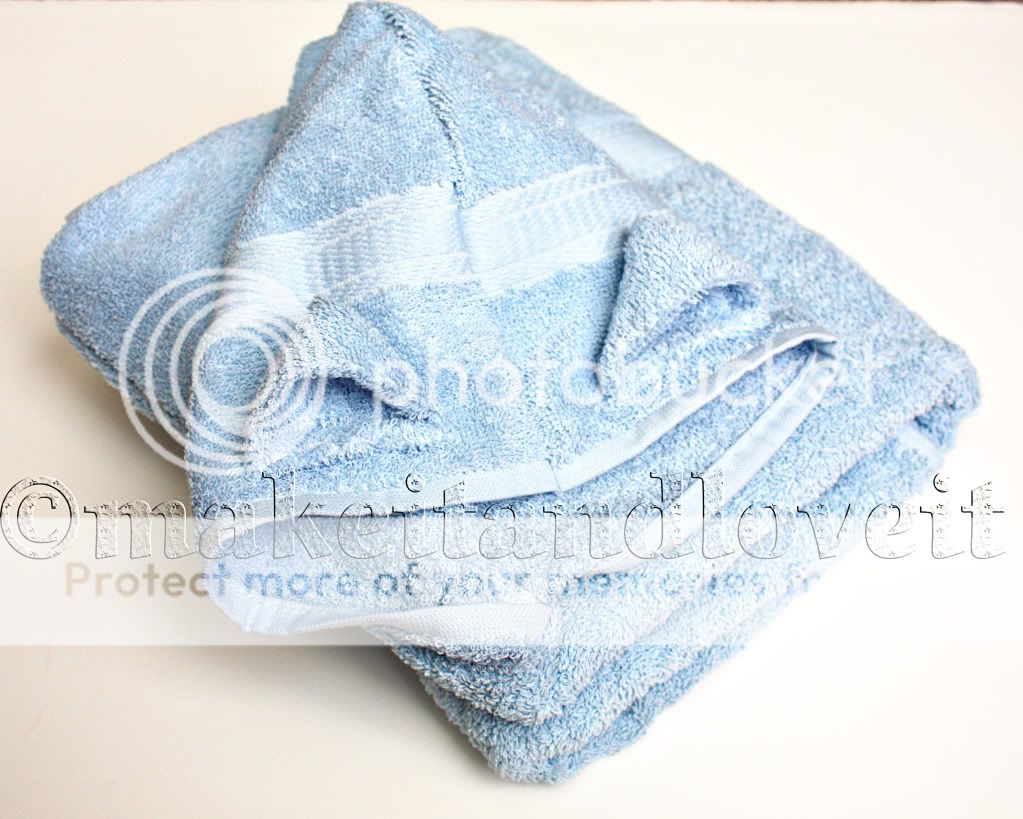
Fold your towel in half lengthwise and mark with a pin. Then measure out 4 inches on either side of the pin and mark with more pins.
Save
Then fold the towel where the pin on the right is and fold it towards the center pin.
Save
Do the same with the left pin. Secure the 2 folds in place with more pins.
Save
Stitch pleat in place, about 1/4 inch from the edge.
Save
Then, fold your hand towel in half lengthwise. You’re going to be using the finished edges of the hand towel as the front finished edge of the hood, so don’t cut it off in this next step.
Save
Measure 10×10 inches, and cut out your 2 squares from the hand towel.
Save
Then, cut a curve into the top left corner. It doesn’t have to be perfect and there is no real guideline, just curve it.
Save
Then make sure these 2 pieces are right sides together and sew around the curved side with a 1/4 inch seam allowance. Then zig-zag right next to it, to secure this seam in place. Trim off the excess material.
Save
Onto the little bear ears.
Then, from your scraps, cut out 2 pieces that are 3.5 x 5 inches. Sew in half lengthwise. Then turn right side out and place the seam up. Press flat with your hand.
Save
Then fold the tube in half, with the seam always laying face up.
Save
Over lap the ends a little bit and match up the raw edges.
Save
Sew into place.
Save
Fold the ends under about 1/4 inch and pin onto the hood, about 1.5 inches away from the center seam.
Save
Then sew into place onto the towel.
Then can you see how the little ears have holes through them?
Save
Just stitch that opening closed using the whip stitch from this tutorial.
Save
Then, lay the main section of your towel down, with the pleat face up. Lay the bottom of the hood against the main section of the towel, with right sides together. Make sure the center of the pleat is lined up with the center seam of the hood.
Save
Pin into place.
Save
Then sew along these two edges, about a 1/4 inch from the edge. Then sew another seam, about 1/8 inch from the edge.
Save
Here’s a look at that pleat in the back.
Save
Now go and bathe your baby and cuddle him/her in their new snuggly bear towel. Okay, maybe it looks like cat ears too. (To keep it more rounded……….hand-stitch the back of the ear all bunched together instead of in a straight line.) Whatever you want it to be……..just name it.

Share via:
