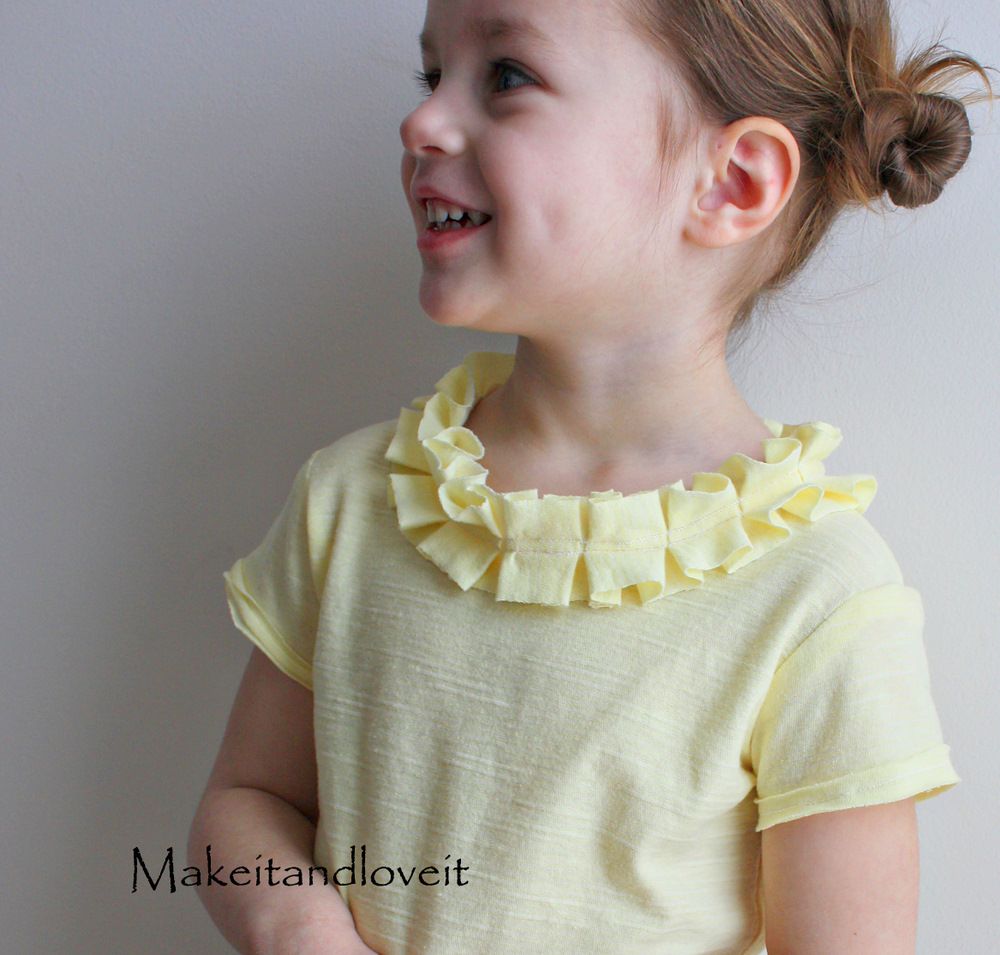
For some reason, I am so drawn to the ruffle, the texture, the fluff……
And I just love raw edges with knits.
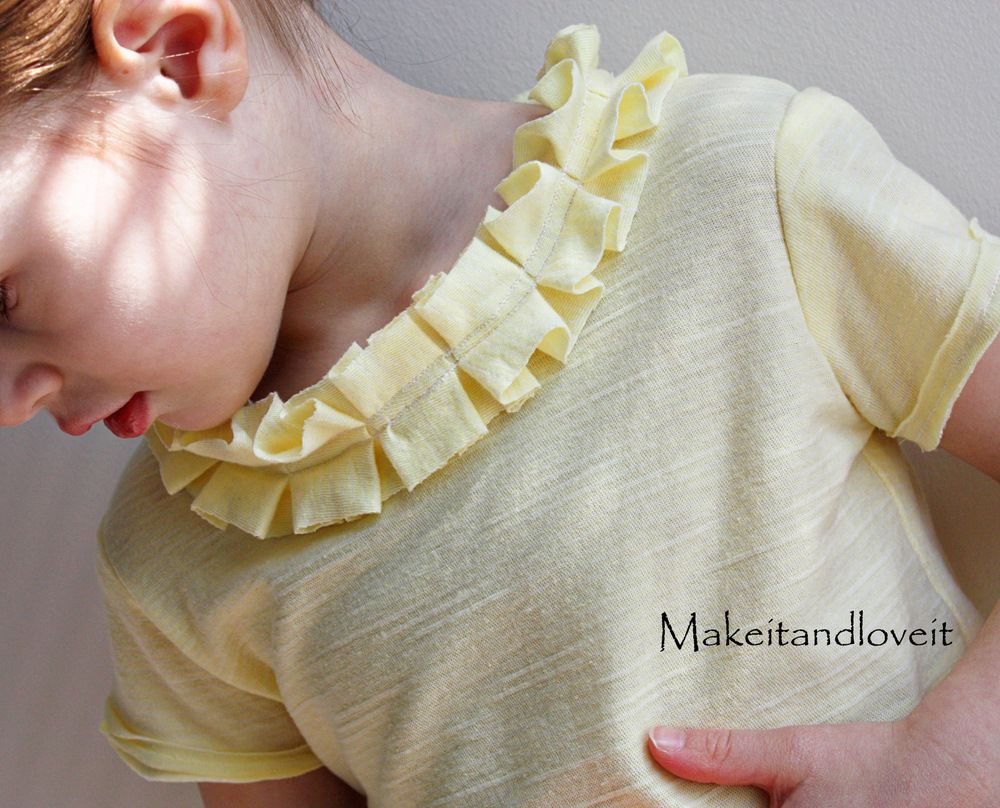
It adds the perfect amount of shabby.
And I also keep working with tone on tone.….. Yum.
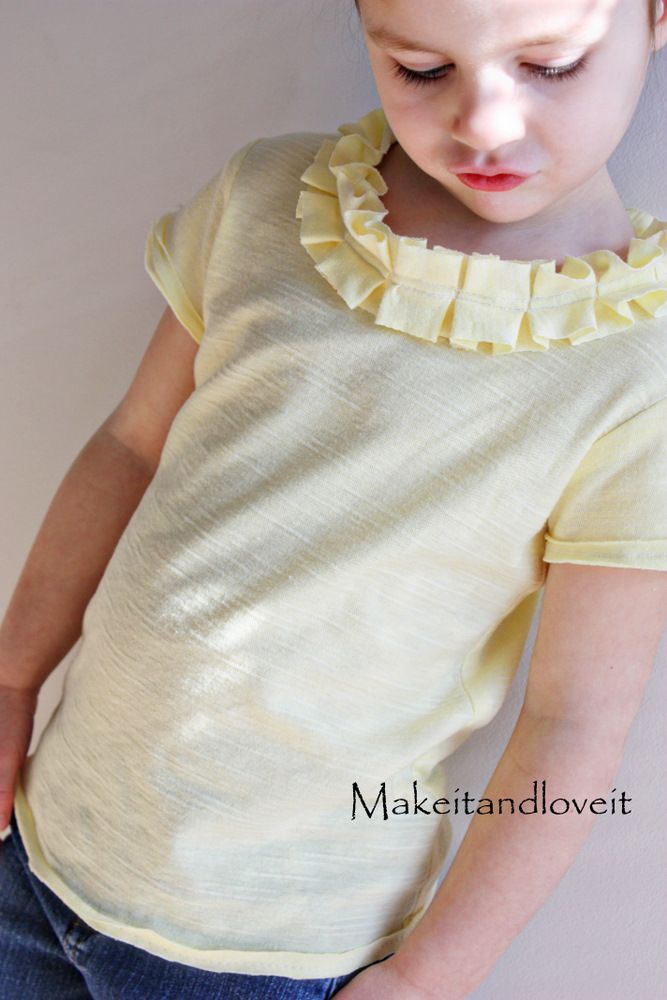
And this top makes me long for spring.
**Remember, you can make this in your own size by just adjusting the measurements a bit.**
And either re-purpose an old shirt……or find some clearanced knit. I found this yellow knit for $2 a yard at hancock fabric. Nice and affordable for a new shirt.
Here’s how to make your own…
First, make a basic shirt using an old shirt just like the tutorial here. Or follow the technique used here. Both will get the same results, it just depends on how you like to piece your sleeves onto your shirt.
However, don’t finish off the neckline, sleeves, or bottom hem. Leave them alone for now.
First, make your pleated neckline by cutting out a long strip of knit. My daughter wears a 3T/4T and I cut out a piece that was 1 1/2 inches wide by about 60 inches. I pieced 2 pieces together to get it that long. Adjust according to the size you’re making.
Then I started making pleats in the strip of knit and pinning each pleat in place.

I folded two folds in toward each other…..

And then did the same going the other way…… Over and over again. Each pleat is folded over about 1/2 an inch.

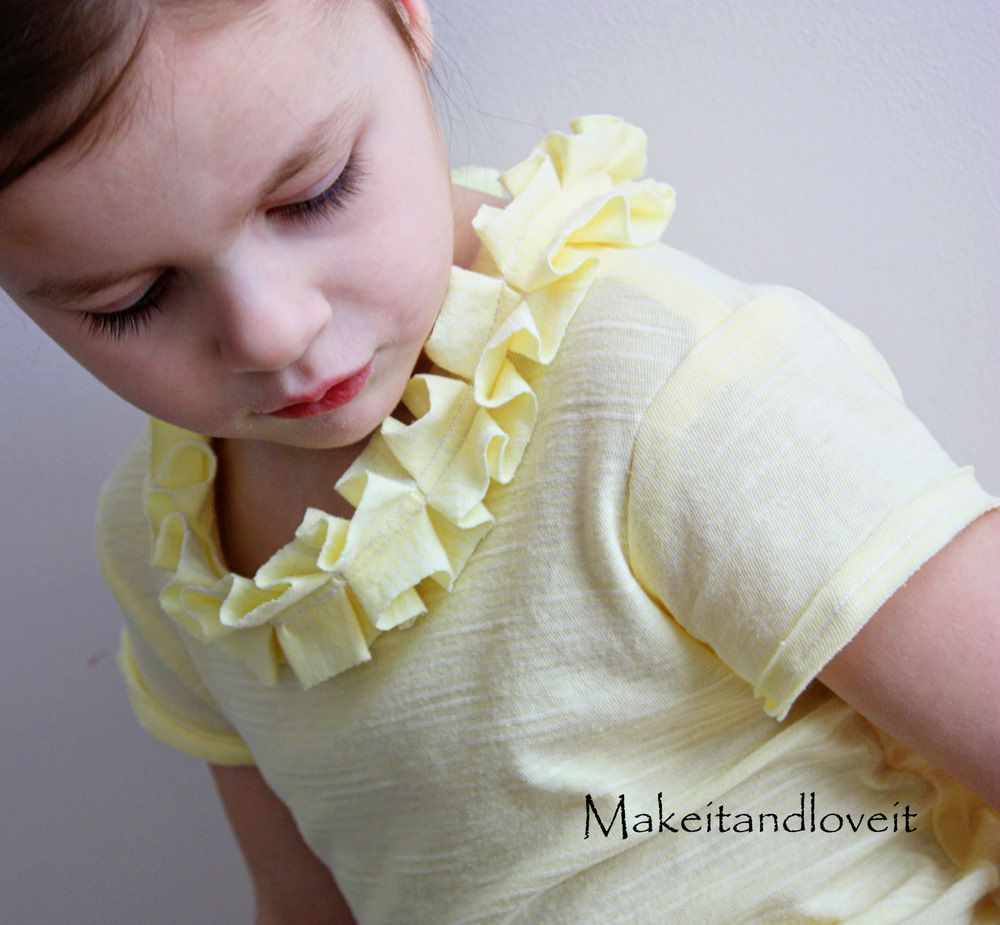
I made this pleated section long enough to go around the entire neckline.

I placed the pleated strip about 3/8 of an inch above the actual neckline of the shirt and sewed down the center of the pleated strip. This will assure that you catch the neckline underneath in your stitch, as you’re stitching down the center of the pleated strip.
I started at one end in the back, starting with a flat tail of your pleated section. I sewed all the way around to the front until I got the the back again, about an inch or two from the end. (Make sure that the shirt underneath is lined up properly and is laying flat as you’re sewing.) I cut the excess fabric off……..

……..and made sure that the loose end was tucked under before sewing the rest of the way around.

Then I made another seam right above the first one, making sure to catch the neck line of the shirt again.

Now you can either hem the shirt sleeves under, or you can cut about 1/4 inch off the end…..

…….and pin it right to the edge of the sleeve.

Then sew all the way around. That gives it kind of a shabby, raw look to it.

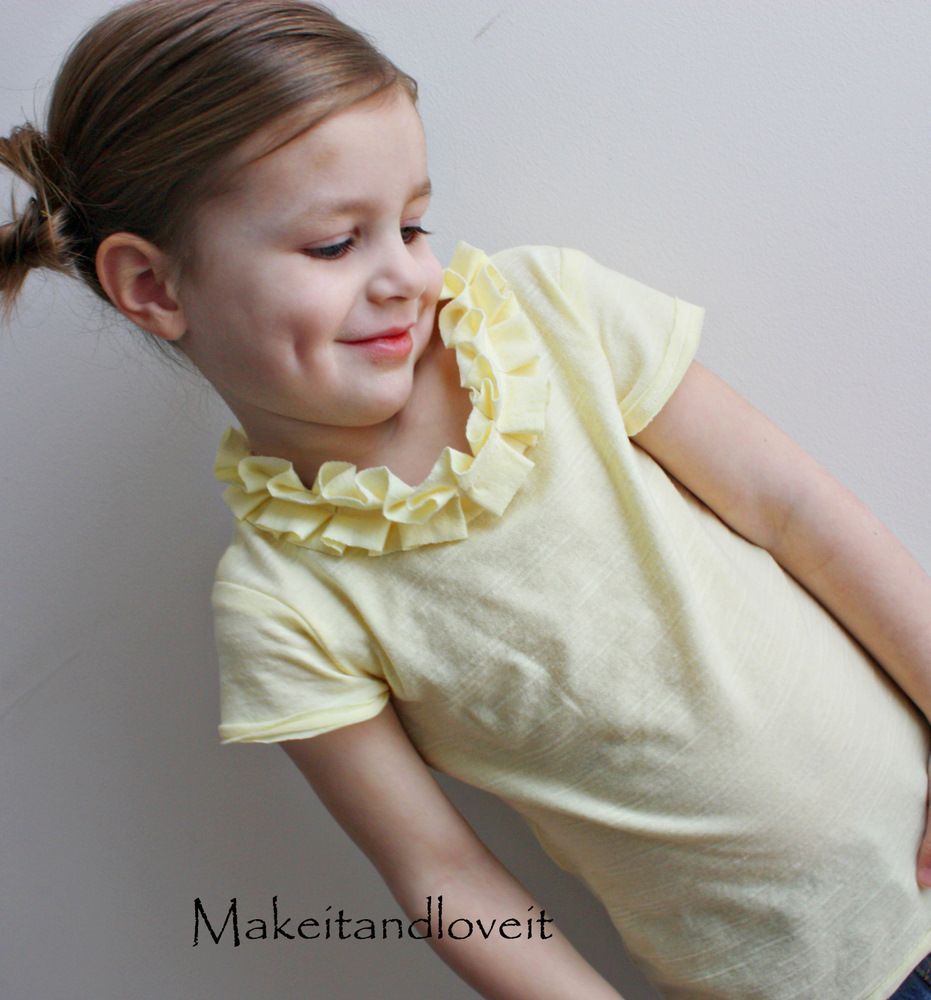
Do the same with the bottom of the shirt.

And now you’re ready to fancy up that little girl of yours. (Or yourself.)
**By the way, I was talking to my mom (my original sewing instructor……bless her for her patience!) and I was asking her what other easy tricks she knew for sewing with knits. She was telling me about a crooked zig-zag, that looked like a lightening bolt. I looked on my machine, and sure enough. There it was. It sews like a zig-zag, but more diagonally, and all squished together. I know that sounds crazy, but it sews in more of a straight line but there’s a zig-zag to it, so it allows the knit to stretch. Try it out.

Hi, I’m Ashley—the DIY-enthusiast behind this crazy blog!