I know, I’ve been a little MIA this week but my head has been other places. Okay, more specifically, doing a few things for the release of my book next week (more about “No-Sew Love”). Plus, we have company in town this weekend and more coming in another week. And if you’re anything like me, when company comes into town….it’s the perfect excuse to finish those projects that are about 80% done and functional. And have been sitting 80% complete and functional for months and months and months. But when someone comes into town, you all of a sudden notice that other 20% that needs to be finished, and you stay up late every night for a week finishing it. (Our banister, random painting, organizing a few overflowing closets, etc.) Am I alone in this? I kinda love it……because so many things suddenly become 100% complete. :)
Anyway, I have had this project done before Oliver was even born but waited to share it so I could snap a few pictures of it in use. Because, come on, everything is cuter on a teeny tiny baby! :)
I have used Pacifier Clips with every child. We actually call a pacifier a “binky” in our house and every child has been a “binky addict”……so having something to keep those pacifiers readily available, has saved me on hundreds of occasions. So, before Oliver was born, I was buying a few baby supplies and reached for the Pacifier Clips and almost bought a couple. But then, like frequently happens to me, my dang brain said “NO!” Really loudly. And I had to put it back. Because, come on, I could make them myself…..and a lot cuter than what they had hanging on the Target shelves. (Yeah, that darn brain of mine adds so many projects to my to-do list. Ha!)
The construction is a really simple strip of fabric with a clip at one end and a string to attach to the pacifier, at the other end.
And any type of pacifier works with these…..because you just place the loop of string through any hole or handle on your pacifier, then place the clip end through the loop, and then pull. Done.
I think my favorite part are the colorful circular clips that I found. (Which are baby safe……and have passed certification testing for lead, phthalates and other harmful substances.) The clips are nice and strong, unlike some of the plastic clips that you find attached to store-bought pacifier clips.
And instead of just making a few clips, I made several extras to shares with friends who are having babies. :)
Also, these clips can be clipped anywhere…..and I currently have one attached to Oliver’s carseat, his bouncer, and an extra in my diaper bag to attach to his shirt when we’re out and about.
Because, you know, those pacifiers don’t always stay in those little baby’s mouths. So, instead of them constantly falling onto the ground (or slipping out of their mouth into the carseat, behind a couch cushion, etc.) those darn pacifiers will always be attached and easily accessible.
Such a quick project that can be made in so many different colors and prints…….and makes such a fun gift to give away. So go on, make several and keep handy!
Okay, enough chatting. Time to whip up several of these simple Pacifier Clips.
Supplies:
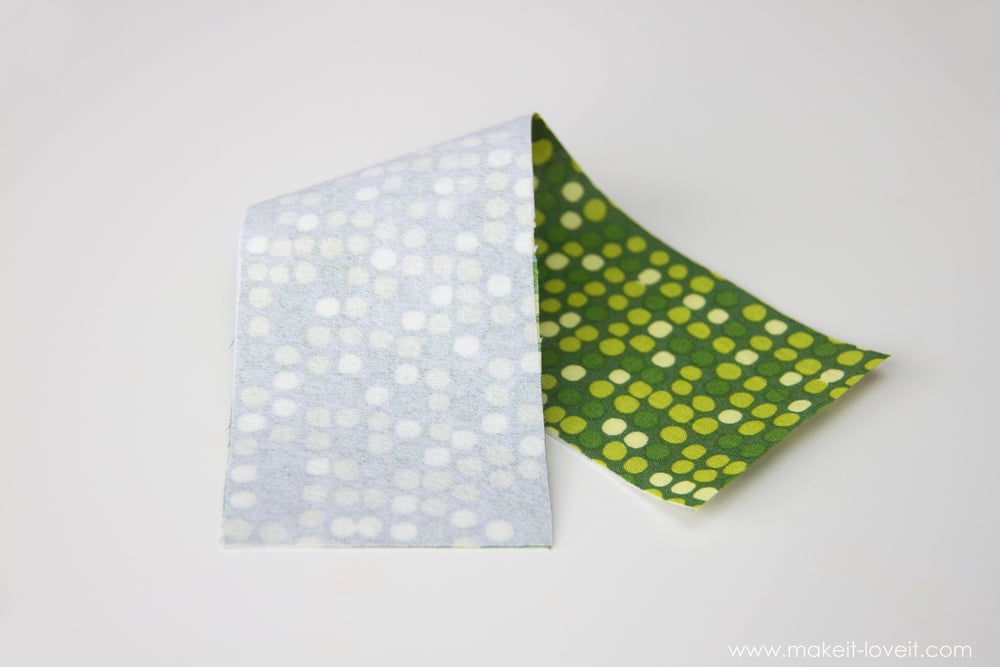
Cut a piece of cotton fabric and interfacing, both 2 1/4 x 9 inches. Also, cut a piece of cotton string (or grosgrain ribbon), 7 inches long.
Iron the interfacing onto the wrong side of your fabric.
Fold the fabric in half lengthwise and sew the long edges together, using a 1/4 inch seam allowance.
Turn the tube right side out and iron flat. (Need help turning a tube right side out?)
Tuck the raw ends of one end towards the inside of the tube, 1/2 inch.
I use a straight pin to help force the edges inside…and that helps a ton. :)
Fold the string in half and tie a knot, so that the loop at the one end is about 2 inches long.
Tuck the ends of the string into the inside of the end of the tube that has the ends tucked inside. Push the ends of the string in far enough so that the knot is about 1/2 an inch from the end of the tube, making the loop about 1 1/2 inches long. Sew a narrow rectangle at the ends of the tube, securing the string in place. (The purpose of the knot is to create something a bit bulkier to get caught in the seams, keeping it from getting pulled out with frequent use. If you use ribbon instead of string, you probably don’t need to tie the knot.)
Slide the other end of your fabric tube through your clip and fold the end over 1/2 inch and then another 1 inch. (Like mentioned above, I bought a set of 15 clips on Amazon. However, you can also buy less from the supplier HERE.)
Sew those folds in place with a large square and then add an “X” in the middle.
And that’s it…….now add your pacifier onto the string end.
…and attach to baby.
Enjoy!
-Ashley
. . . . . . . . . . . . . . . .
Featured Sponsor:

Hi, I’m Ashley—the DIY-enthusiast behind this crazy blog!