My oldest, Elli, is turning 6 on the 20th. Have I ever told you her real name is Elliana? (Pronounced: Ell-ee-on-uh) I met a lady at Joann’s the other day, and her daughter’s name was Elliana, spelled the same way. It’s not very common…..so I was surprised that this lady even spelled hers the same way. By the way, what were we thinking giving her such a hard name to pronounce?!?! The doctor/dentist/school mostly pronounce it Elaina, if they are reading it. Almost every time. Ha! And I have a degree in Elementary Ed…….I know how hard it is when a kid has a hard name to pronounce when reading it from the role. Ooops! ;)
Woah……big ol’ tangent. Back to Miss Elli’s birthday.
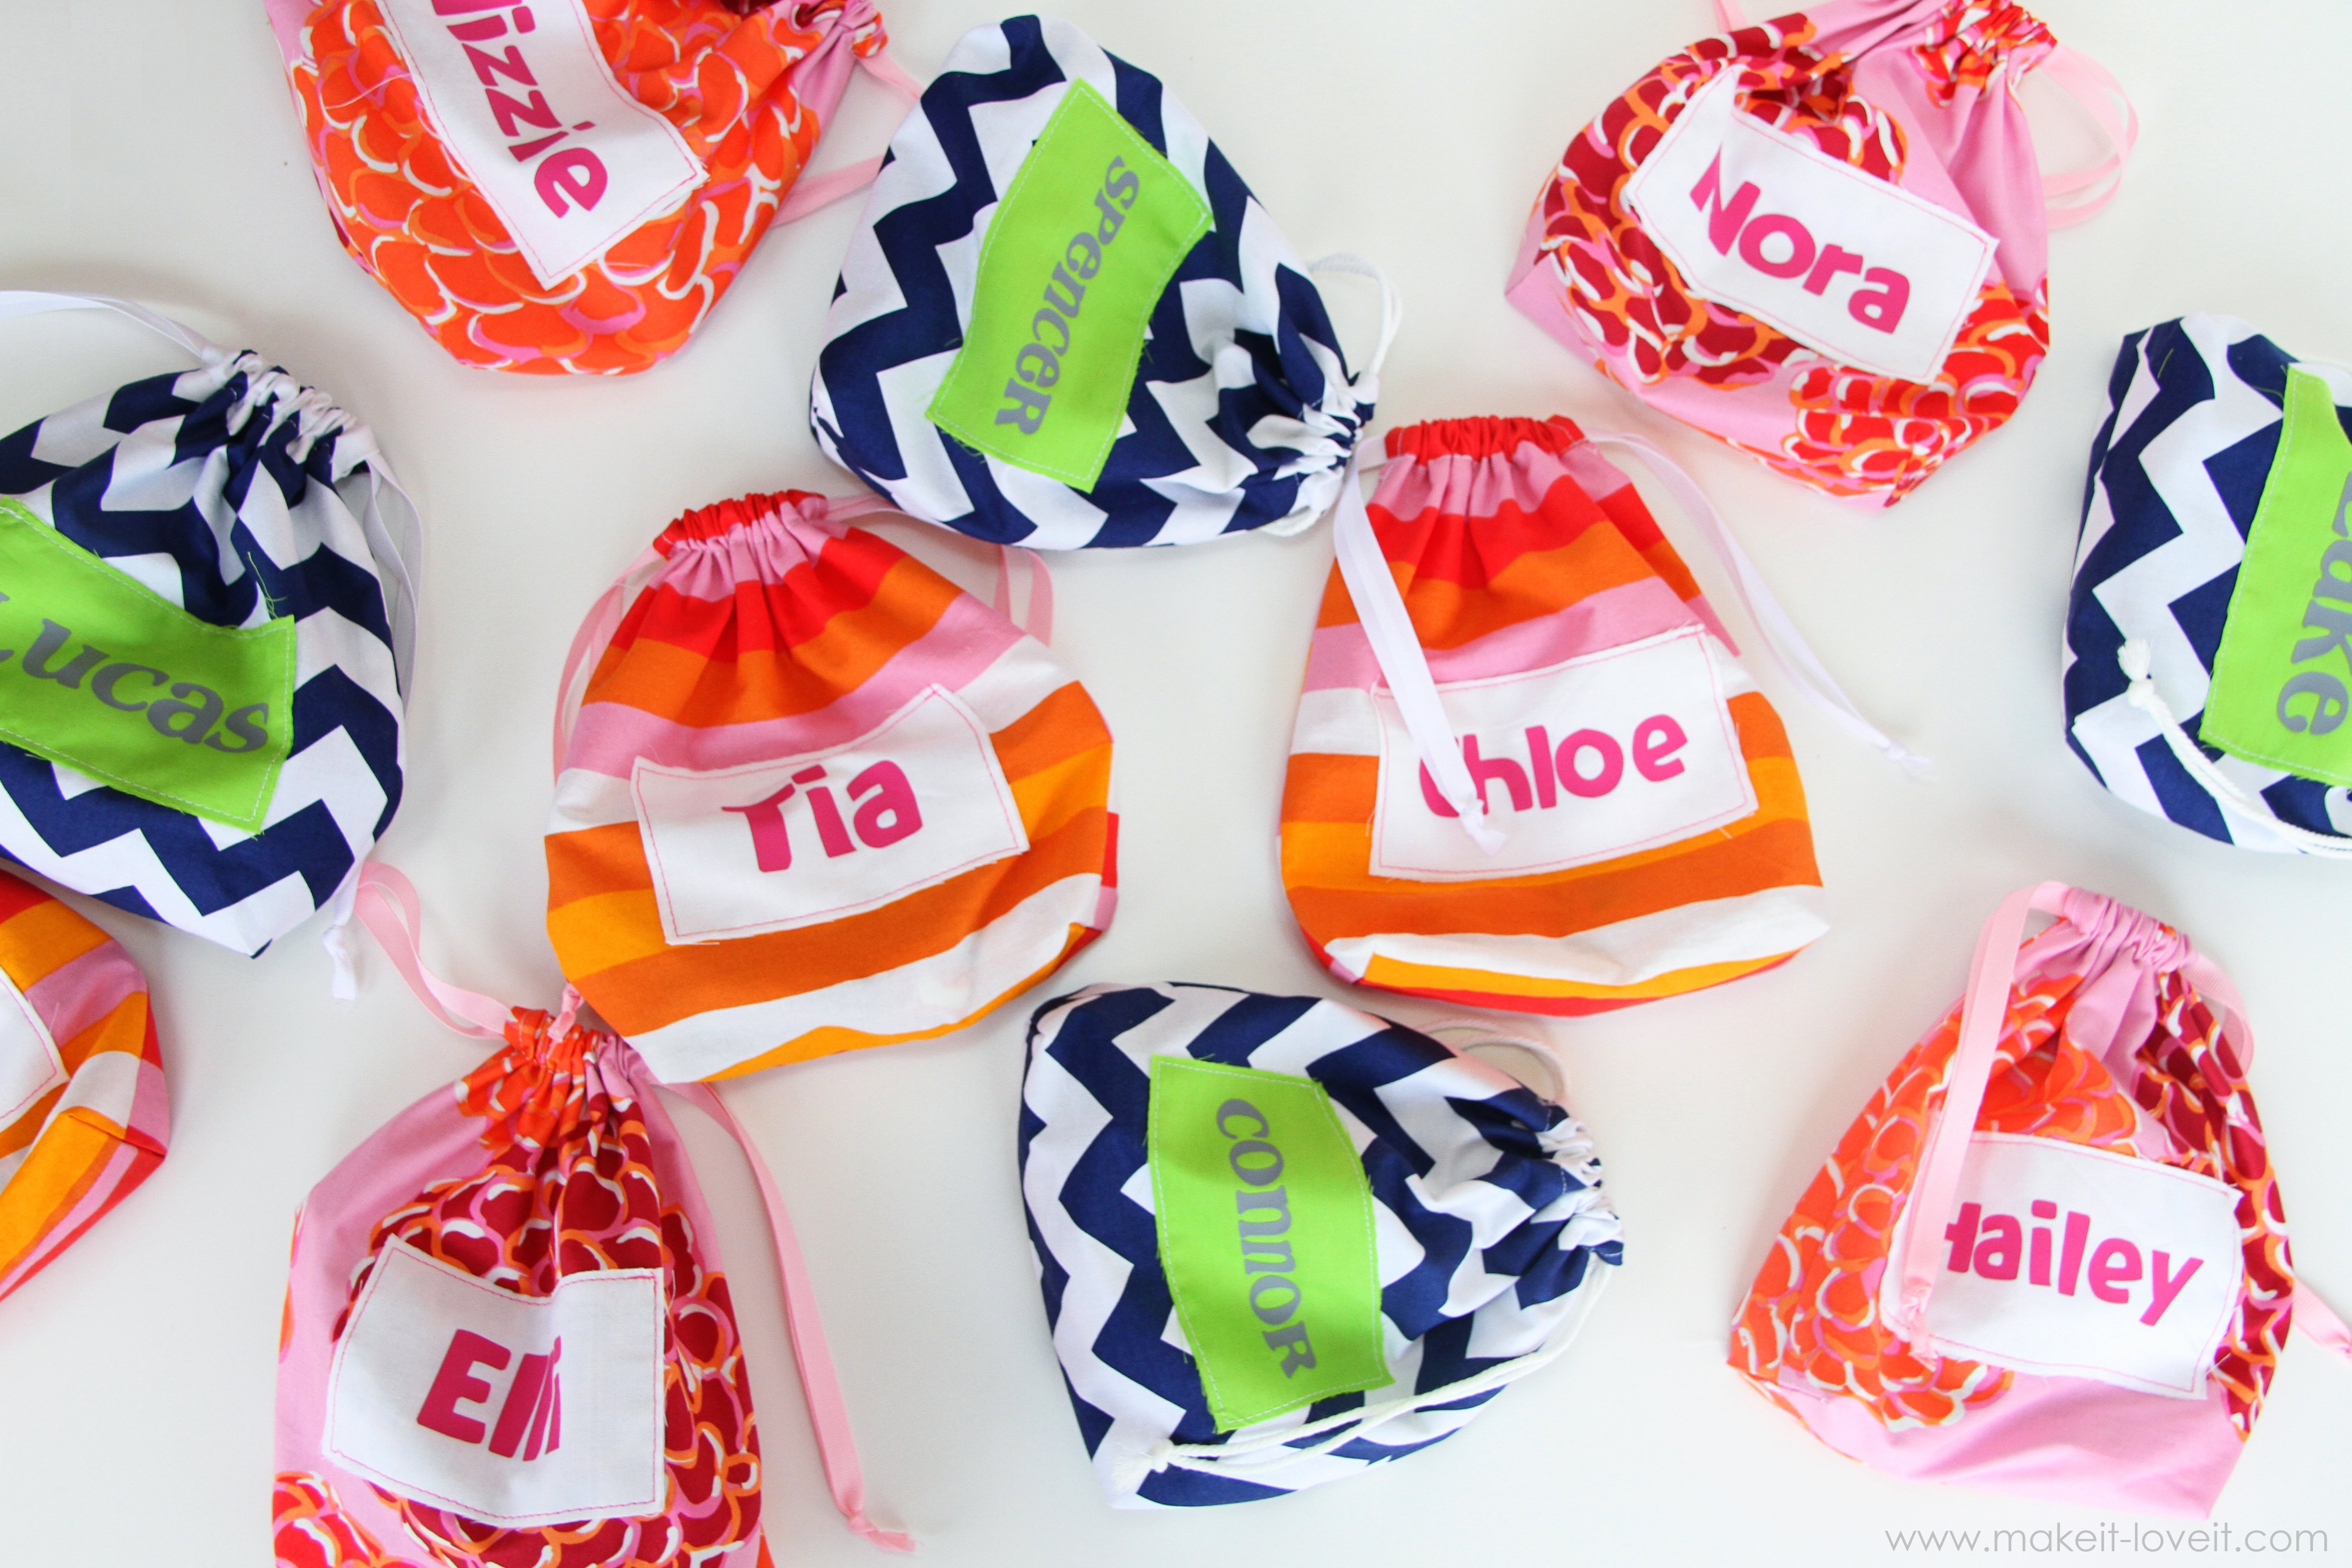
She’s turning 6. And all she wants is “Littlest Pet Shop” stuff. (And a Pinata!) I kinda thought she was over the Pet Shop stuff. But…..that’s all she can talk about. OK then. You got it. However……..remember how there’s about a trillion little pieces?!! When I buy something like that for a gift, I can’t help but think of all those little pieces getting lost. That’s why last year I made those clear plastic toy bags. Remember these?
Yeah, those are awesome too. But I remembered this morning that I really needed to make a quick toy bag for these Pet Shop toys before her little party on Saturday. And I don’t have any vinyl……nor any time to go buy some. Plus, I wanted to make something that took even less time. So I just made her a simple little cinched-up sack (that measures 11 x 11 inches):
You know……..for all of those itty bitty little sure-to-get-lost pieces.
She adores these little things. And asks to watch little commercials online, selling these pets, so that she can get another peek at them.
So, this sack is perfect for them. And is easy to open and close. And is personalized…….just for her!
And yeah, I guess they’re kinda cute……but I’m not sure why she’s so obsessed with them. Is it just an age thing? Any other 6ish year old’s out there, who are ga-ga over these little plastic animals with HUGE heads/eyeballs?!?!
If you don’t have “pet” collectors at home……I’m sure you have legos, barbie clothes, army men, tea sets, etc. Need a quick sack for them?
Or wait, you don’t have kids at home? I’m SURE you have colored pencils, glue sticks, clothes pins, buttons, etc……just laying around. Maybe you need a little sack to tidy up that junk drawer where you keep stashing stuff! Ha……caught you! ;)
Anyway, we bought Elli a little tree house that her little animals can play in…..but I know they’re going to fall right out of it when she’s not playing with it. At least now, I don’t have to worry about where she’s going to store them.
Whew. Check that off the get-ready-for-Elli’s-bday-party list!!
Would you like to make one too?
My little ‘Toy Sack’ ended up measuring about 11 inches wide and 11 inches tall. But really, you could make this any ol’ size. But if you want to make this exact size, here’s how:
All you need, is 4 pieces of fabric……and a little ribbon (not pictured). Cut the pieces like shown below.
***Fabric is Riley Blake Designs, HAPPIER
Then, if you want to add lettering to the fabric, you can use fabric paint, iron on fusible vinyl (which is what I used on this bag, using my Silhouette craft cutter), or sew on some fabric letters. Whatever you choose, do so before moving on.
Then sew the middle sized rectangle (mine is blue polka) down to one of the large rectangles, 4 inches from the bottom and centered right and left. Sew about an 1/8 of an inch from the edge, all the way around. Then sew the smallest rectangle down into the center of the middle sized one, sewing around the edges the same way. (If the fabric frays a bit, no worries. It just adds to the charm.)
Then serge (or zig-zag) around the edges of the two large rectangle pieces.
Then, place the two pieces together, with right sides together, and sew all the way around the bottom and 2 sides (using a 1/4 inch seam allowance). But stop 2 inches from the top on both sides.
Then, looking at the side seams from the “wrong” side of the fabric, fold over the opening edges a 1/4 inch towards the “wrong” side and sew in place.
Then turn over to the “right” side of the fabric and sew a narrow zig-zag stitch right below this 2 inch long opening. Do the same to both sides of the sack.
Then, while the sack is inside out, fold the top edge down 1 inch, then sew in place, right along the very bottom edge.
Now, you can leave your sack just how it is……..or you can box out the bottom a bit, so that it will sit up a little better. To do so, there are more pictures to describe the process at my large tote tutorial. Measure 1.5 inches from the top point and sew your line of stitching.
Do the same to the other corner…..then turn right side out and iron your seams flat.
For your pull strings……..you can sew up a tube of fabric, use cording, or find some ribbon like I did. You’ll need 2 pieces that are equal in length. For more info on stringing it through, visit my fishy purse tutorial.
Then knot the ends.
And that’s it. Hooray!
Now, bag up those itty bitty toy parts and appreciate having a little “home” for them!
-Ashley
. . . . . . . . . . . . . . . .
Featured Sponsor:

Hi, I’m Ashley—the DIY-enthusiast behind this crazy blog!