Home » DIY Tutorials » DIY Crafting » Crafting: No-Sew » MAP ART (and dry erase board)…for the College Bound!
MAP ART (and dry erase board)…for the College Bound!
August 4, 2014 - By Ashley Johnston 7 Comments
So excited for Cami from “Tidbits” to be back today, sharing this incredibly simple Map Art that functions as a white board too. What college kid wouldn’t love taking this to college with them?!! However, I’m thinking it would be just as cute to change up the wording a bit and place it in a kid’s room. Or play room. So darling Cami! -Ashley
. . . . .
It’s Cami from Tidbits, here to share another super simple project with you.
First, I must tell you about this babysitter we use. Her name is Kendra. She is fabulous. She is adorable. She is outgoing. She is one of those people that everyone loves to be around. Just ask my kids. I feel totally confident and relaxed when my sweet children are in her care. It makes going on a date with the hubs that much better.
Fortunately for her – and totally un-fortunate for us – she is moving away to college at the end of summer. I haven’t figured out yet who we are going to call when we need an escape. But nonetheless, I wanted to send her off with something special, so she can always remember how special she is to us.
A very simple map (and inexpensive too!) with a bit of white-washed wood at the top and bottom — with the perfect saying to send Kendra off to college. You could use any saying on your Map Art but this one explains Kendra to a “T”. No challenge seems to scare her.
I am certain she will face living on her own with grace and confidence.
And not only is this the perfect thing to fill up a large dead “blah” space on a boring white wall, but this map is . . . . . . . Portable!
The wood only being at the top and bottom of the map, make it so easy to roll up and pack away. What student has room in their little cars to lug around big fancy art anyway?
And because it is laminated, this map art is virtually indestructible! And did I mention, functional? Gift it with some dry erase markers, and the recipient and their roommates can leave all sorts of messages on the map.
And let’s not forget to mention, educational, inspirational, and motivational.
So, do you know someone going away to college? Wouldn’t this be perfect for them to take on their new adventure?!!
But even if you don’t have a college kid in mind, this map art would look great in any bedroom. Or play room. Or hallway.
And I am going to show you step-by-step how to make your own super affordable hanging map art (even without power tools).
Okay, ready to make your own? Let me show you how!!
There are really so many looks you could give to this hanging map. You could keep it super duper simple and do nothing to the wood. (I thought the natural wood color looked great with the blue map.) Or you can personalize it a bit and stencil inspirational messages onto the wood.
Here are the basic supplies and tools you will need to construct the map.
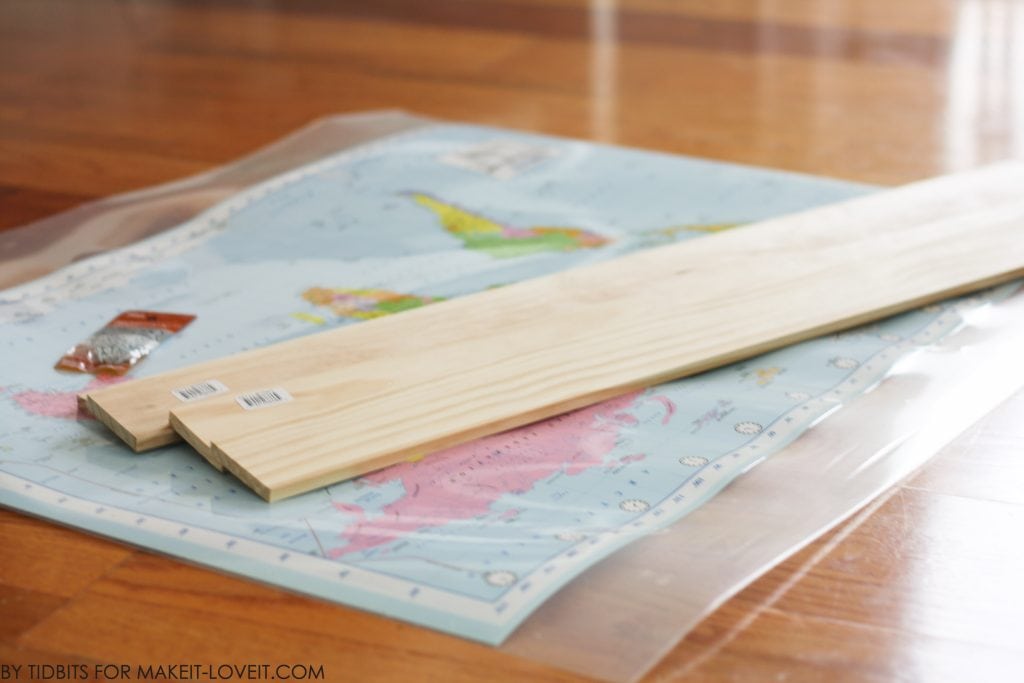
- Laminated Map of any desired size. (This is the one I bought on Amazon for $3.99).
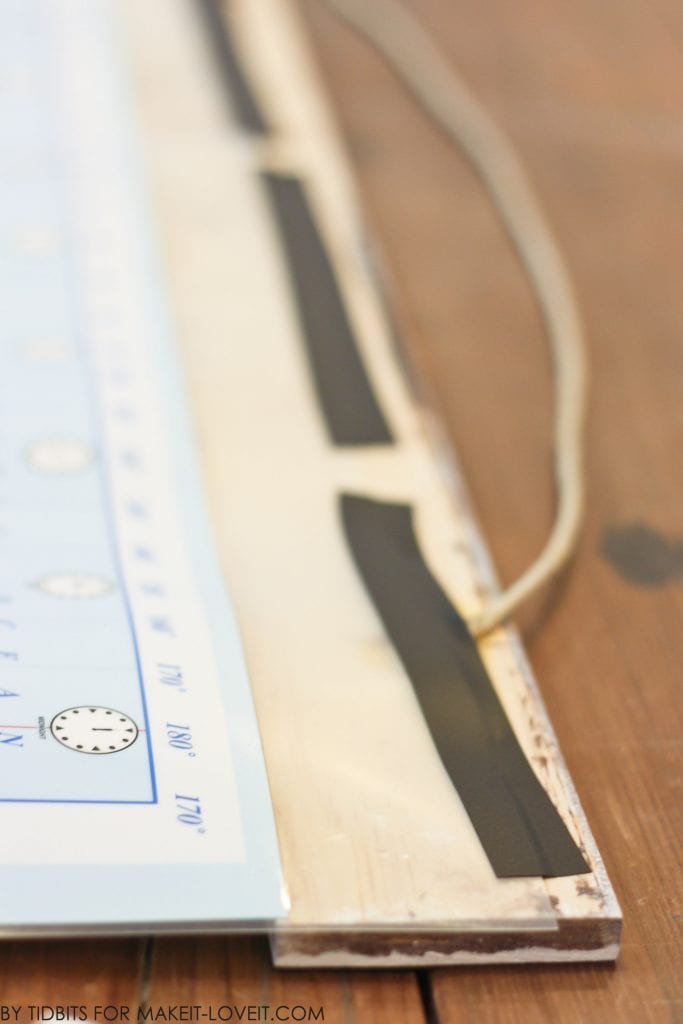
- You can buy pre-laminated maps, but I chose to buy a cheap poster map and have it laminated at a copy shop. Here is why – I wanted the whole map to be exposed without the wood covering it. But the wood needed something in between to hold it in place. I had it laminated and did not trim the laminate on the top and bottom of the map. This extra laminate will go in between the boards. However, you do need to trim the laminate close to the ends on the sides of the map. See picture below:
- 4 boards the length of your map.
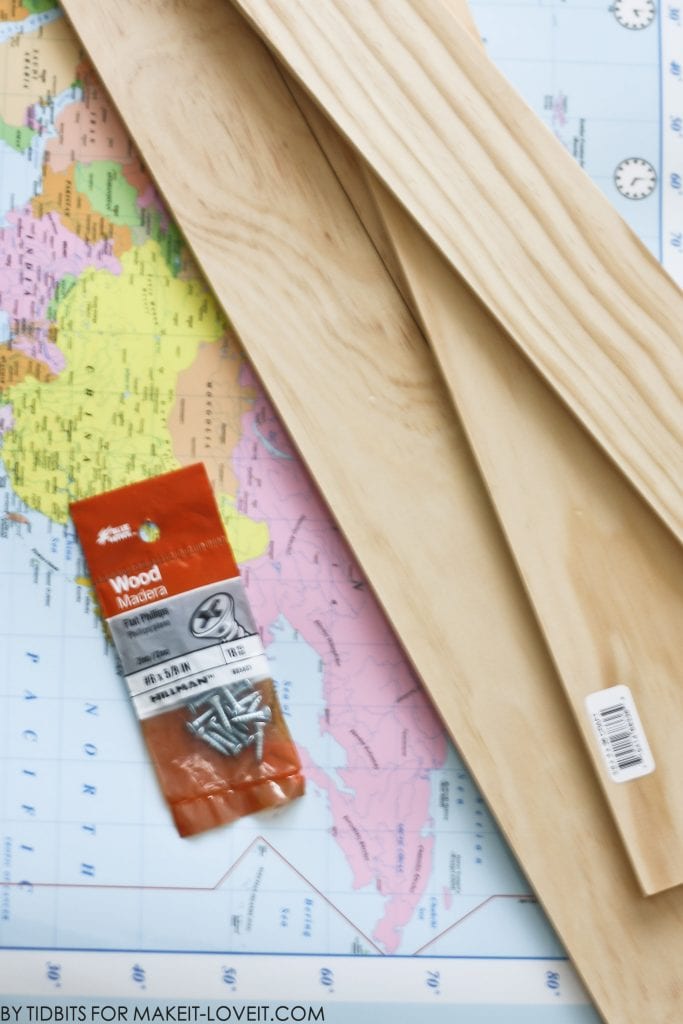
- We found craft sticks at Home Depot (who knew!). My map measured 36 inches across, and the boards were 36 x 3 inches and 1/4 inch in depth. I imagine you could find something similar at a craft store. (At Home Depot they were by the wood moldings and decorative trims.)
- 36 Flat Phillip screws.
- We needed 2 packages of 18 count screws. Depending on the depth of your wood, buy screws long enough to pierce through both boards when stacked together, but not too long that they will go through the front.
- Phillip Screw Driver or Electric Drill
- Wood Glue
- Tape (any kind really)
- Wood clamps (optional, but helpful)
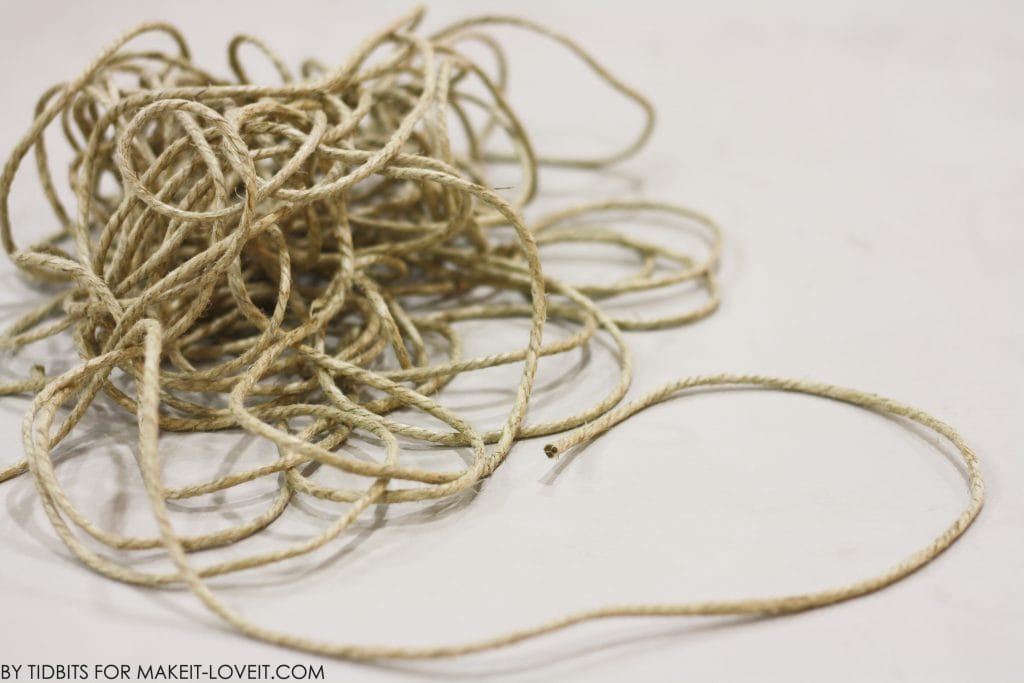
- 30 inches of Rope/Ribbon/Twine
If you are going to be stenciling, distressing and/or “white-washing” the wood, there are many options for that. I chose quick and simple. If you would like to do the same you will need:
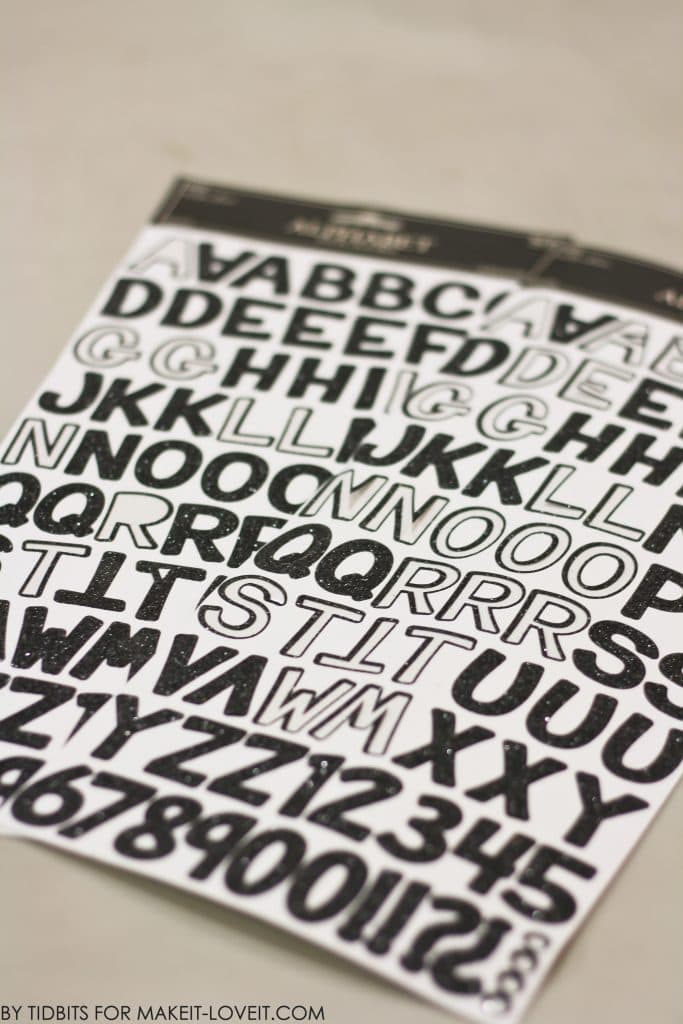
- Pack of Alphabet Stickers
- I needed 2 packs in order to have enough letters that I needed.
- Walnut wood stain
- White craft paint
- Paint brush
- Sandpaper
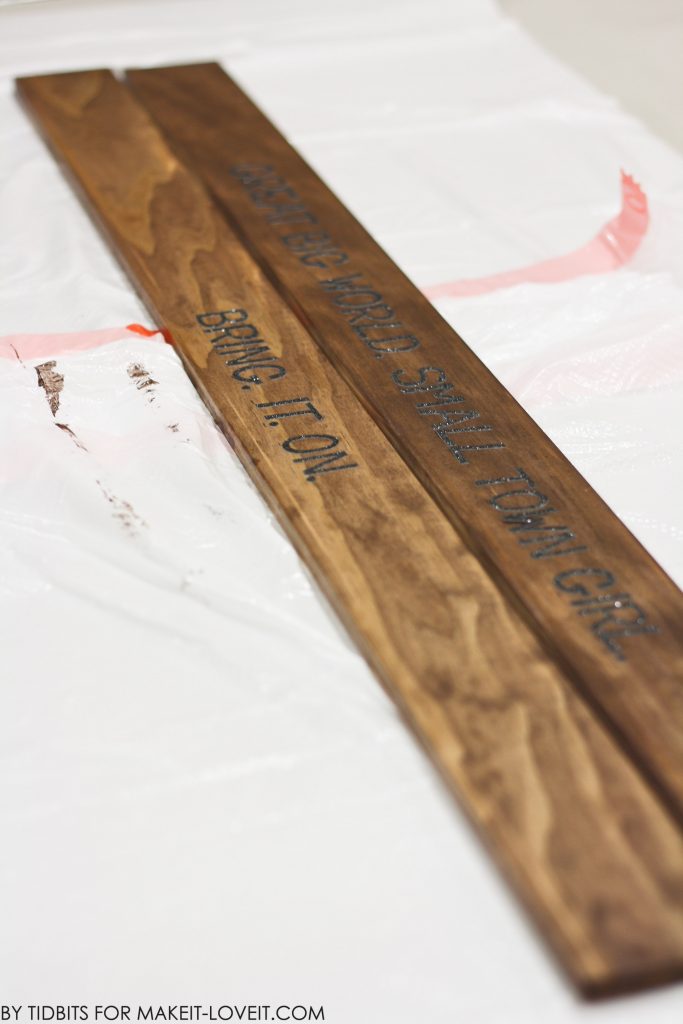
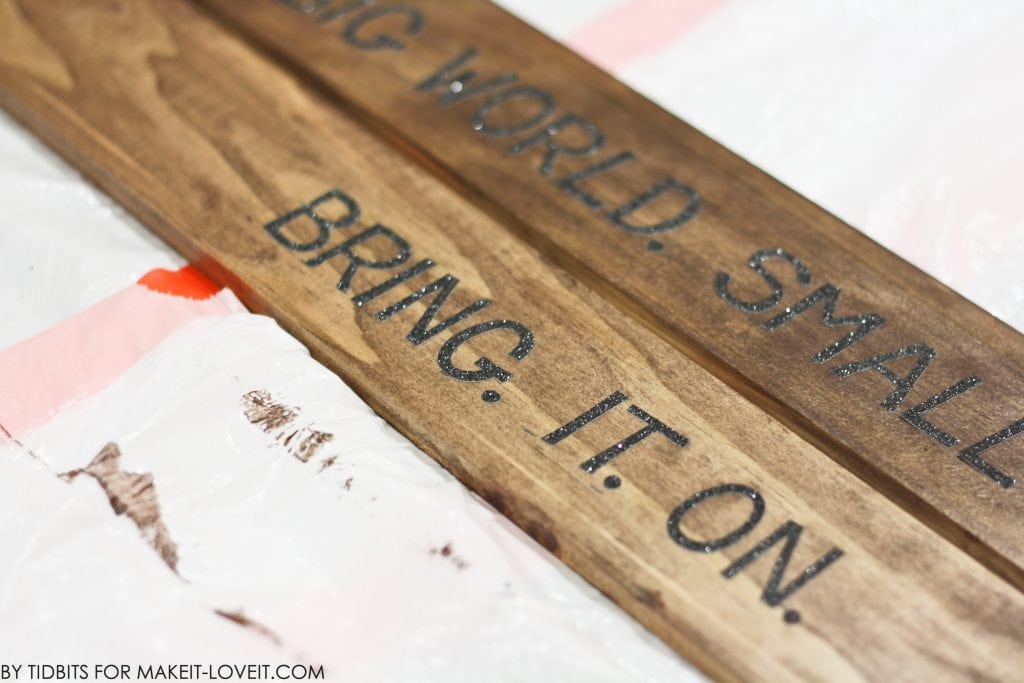
Okay, you will first need to prep your wood in any way desired. To create the same look as I did, first stain all four pieces with Walnut stain. I prefer Gel Stain. You only need to stain the edges and the front section.
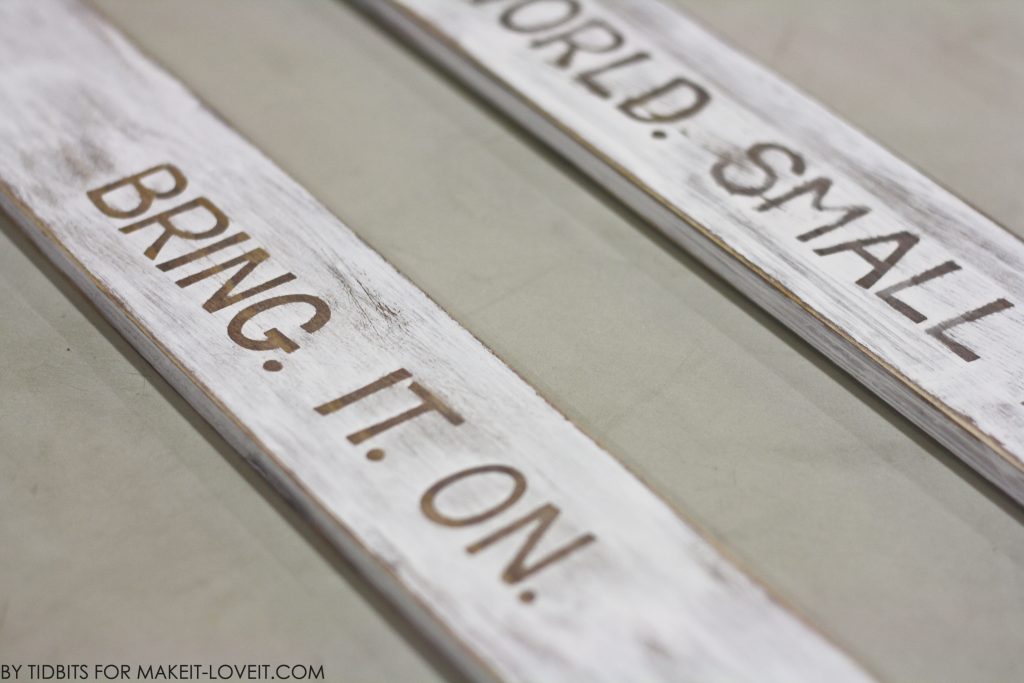
Next, place your letter stickers onto the stained side of two of the pieces of wood.
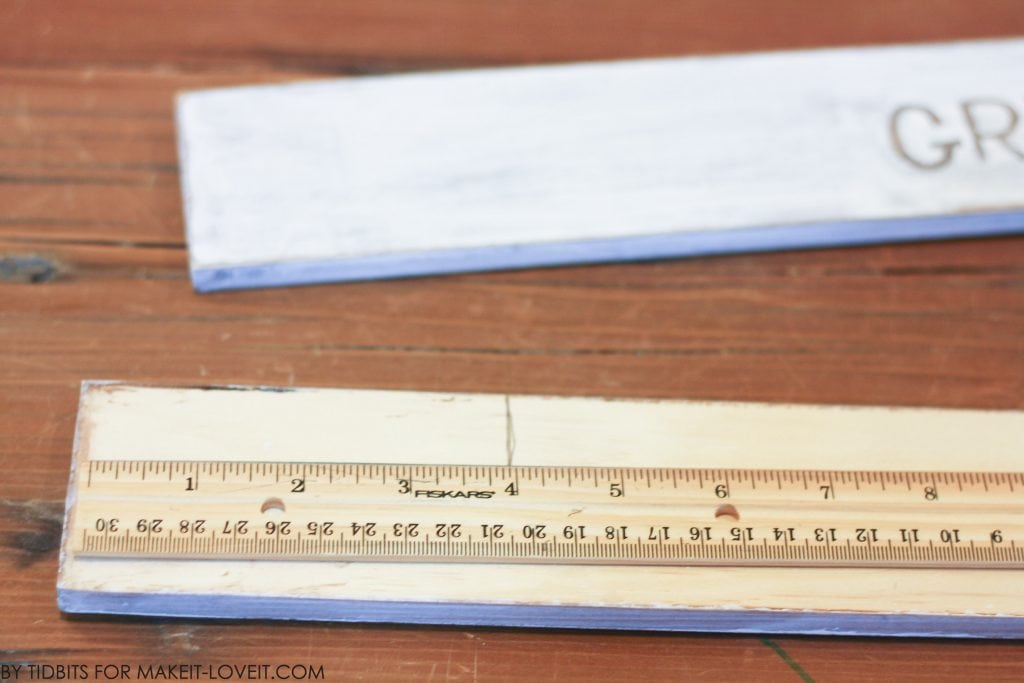
I used a ruler to mark lines from the bottom so the letters were lined up evenly.
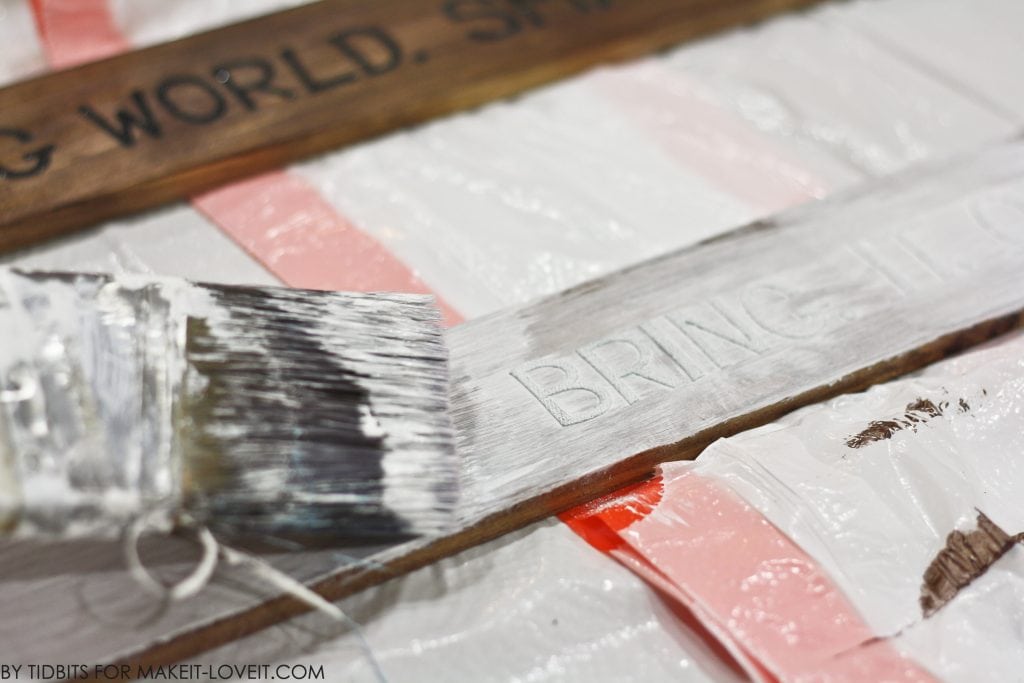
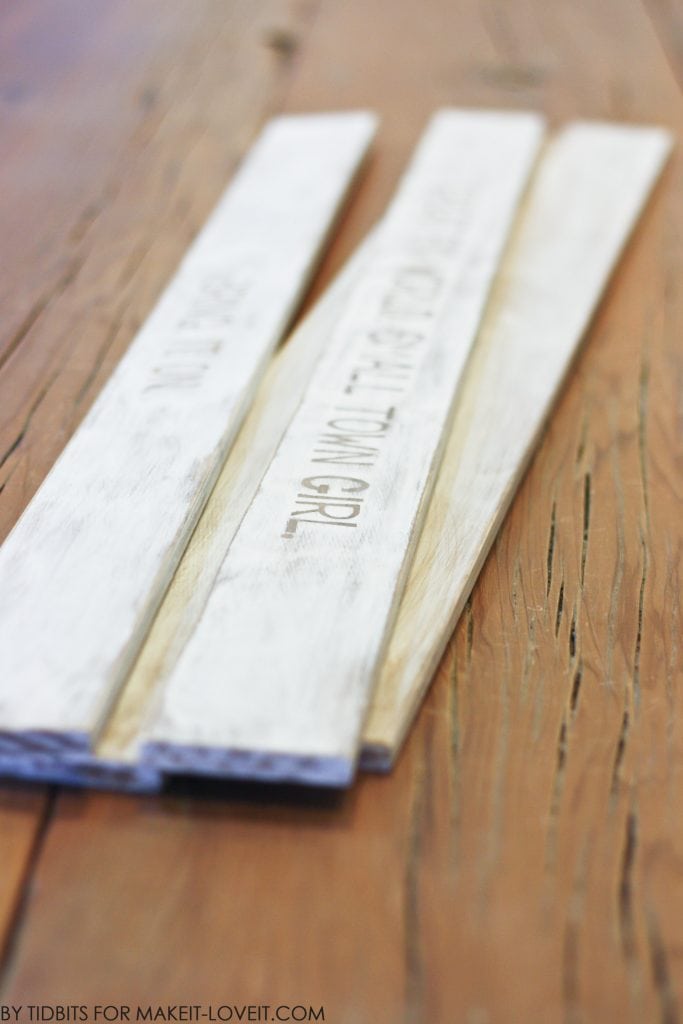
After you are sure the stickers are stuck to the wood as good as they can be, paint 2 layers of white paint over the whole piece of wood.
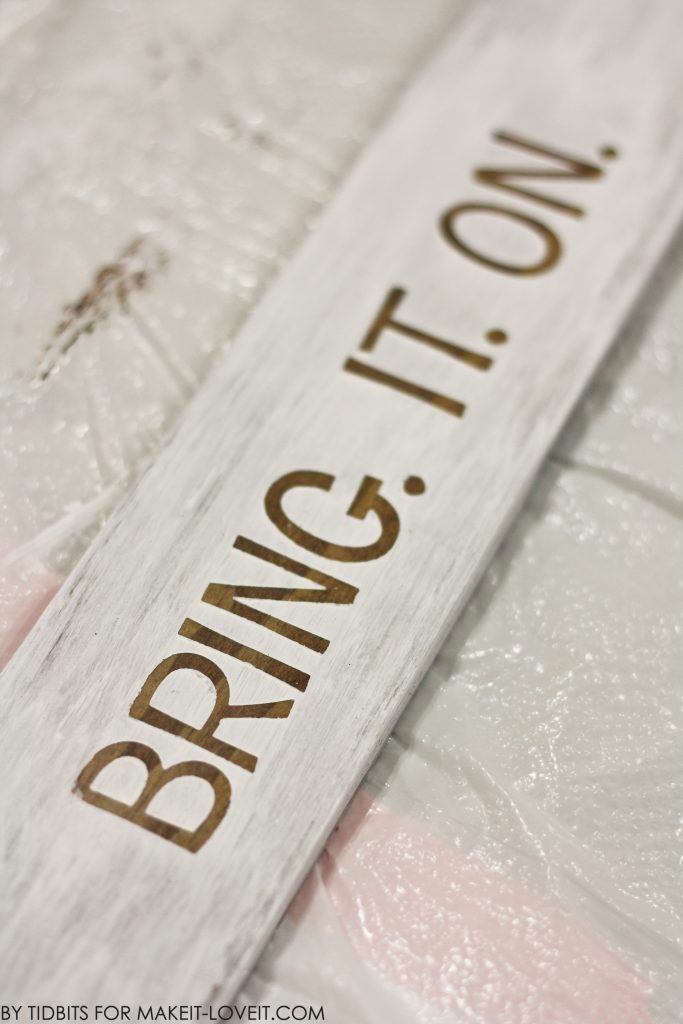
Once the paint is dry, remove the stickers to reveal the wording.
If you would like a distressed look, take some sandpaper and sand off some white paint to your liking.
Once all 4 pieces of the wood are prepped, you are ready to assemble the map.
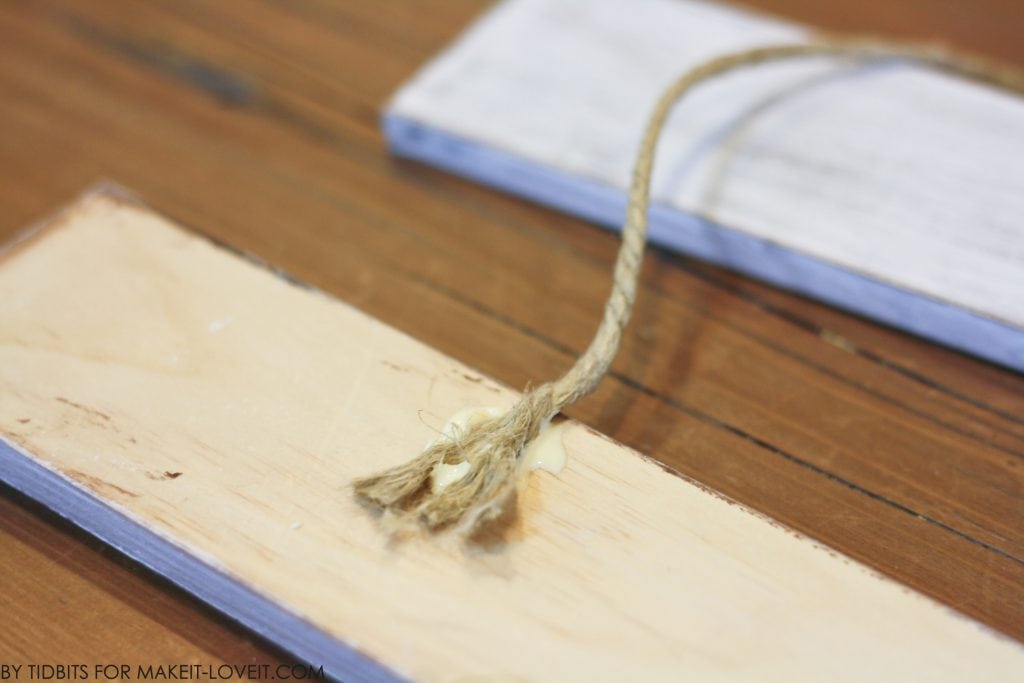
Now, measure and mark 4 inches from the end on the top and inside of one of your pieces of wood, which will be used for the top of the map. Do this on both ends.
Take whatever rope or twine you are using to hang it, and secure it on those 4 inch markings on both ends. I separated the ends of my twine a bit (so it would lay flatter) and used wood glue to secure them in place.
Now you will need something to hold your map in place on the wood while you screw the wood pieces together. I improvised and found some electricians tape and taped the laminated part to the inside board. Not pretty, but that doesn’t matter. It will be sandwiched between the boards and never see again.
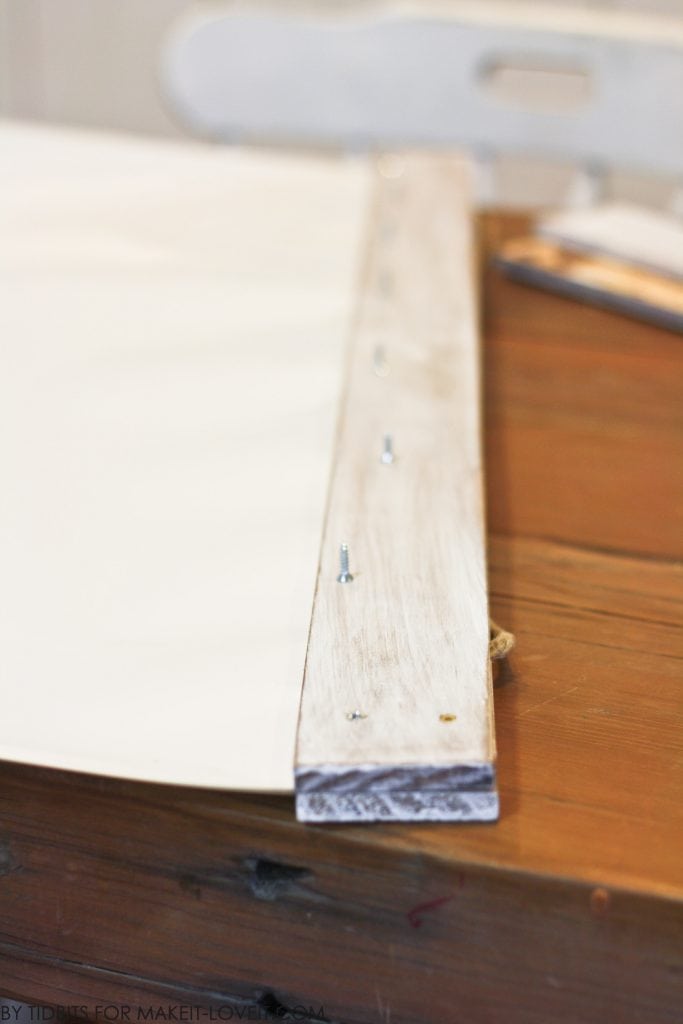
Now, get the other board (with the stenciling on it), and line it up with the board that is secured to the map. Flip the whole thing over to the back side and determine the spacing of the screws. For the top of the map, I figured I needed two lines of screws and screwed them in with a screw driver.
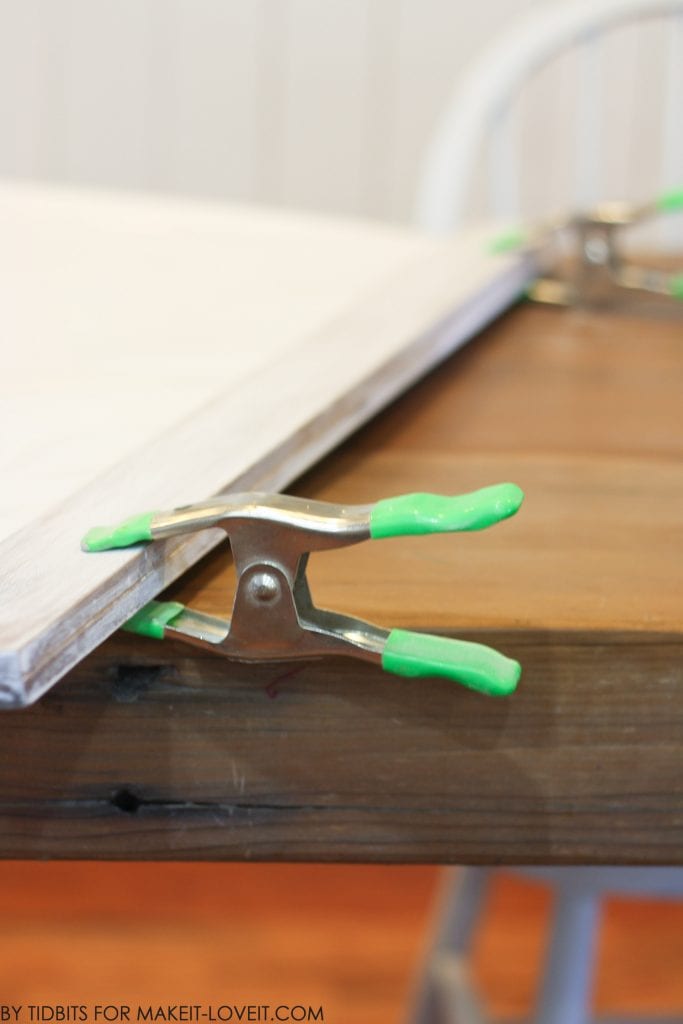
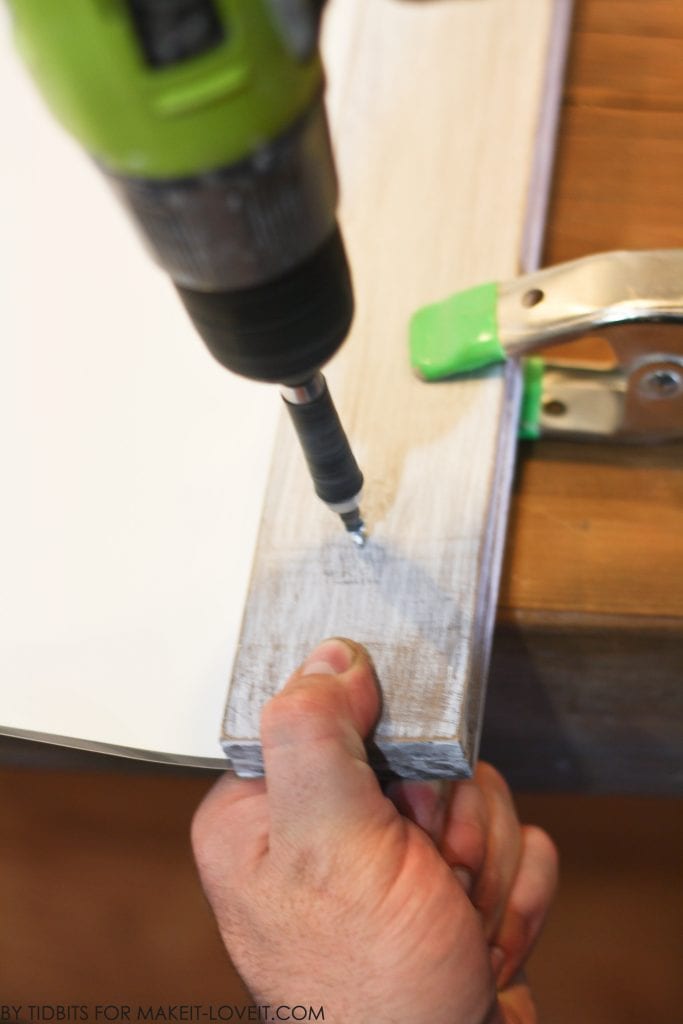
Then my husband got home from work, and showed me on the bottom boards, that I really only needed one row of screws, and these handy wood clamps made it soooo much easier to keep everything tight and in place.
Such a smart husband.
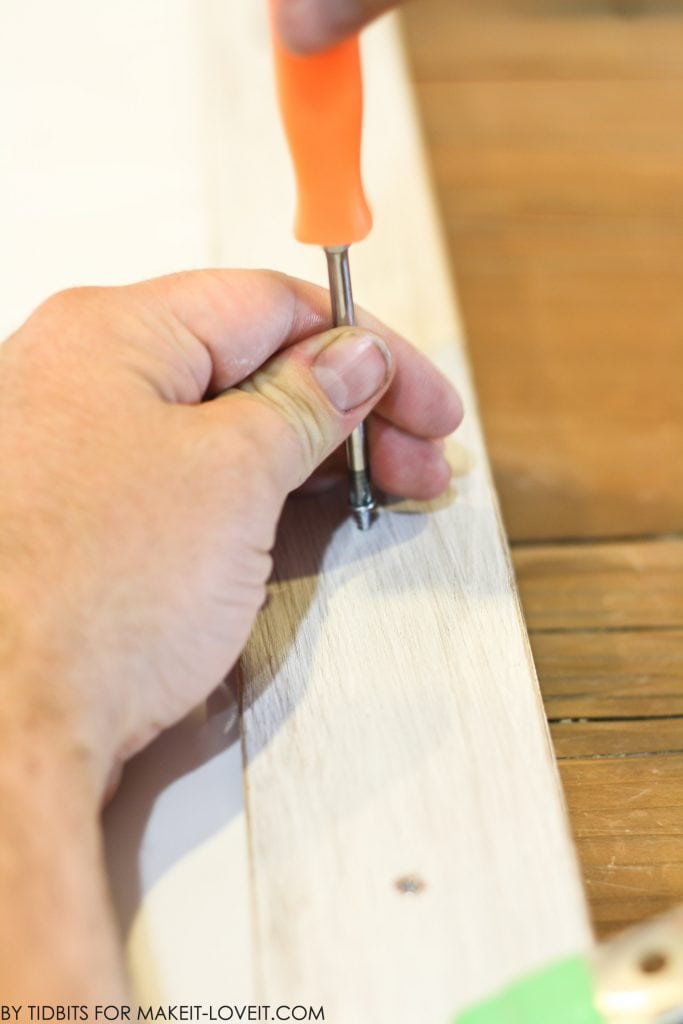
He also got tired of twisting screws in (after one screw) and whipped out his power drill.
I just wanted to prove it could be done without a power tool. I might add, one row of screws holds the bottom boards great, but I actually like the 2 rows of screws for the top boards where the twine adds some bulk and needs a little extra convincing to stay in place.
And that’s a wrap!!! Hang it up, or gift it away.
And really, what room couldn’t use a colorful map on it’s walls?
-Cami
